This post may contain affiliate links, which means I may receive a small commission should you decide to click that link and make a purchase. For more information please refer to the Terms & Conditions.
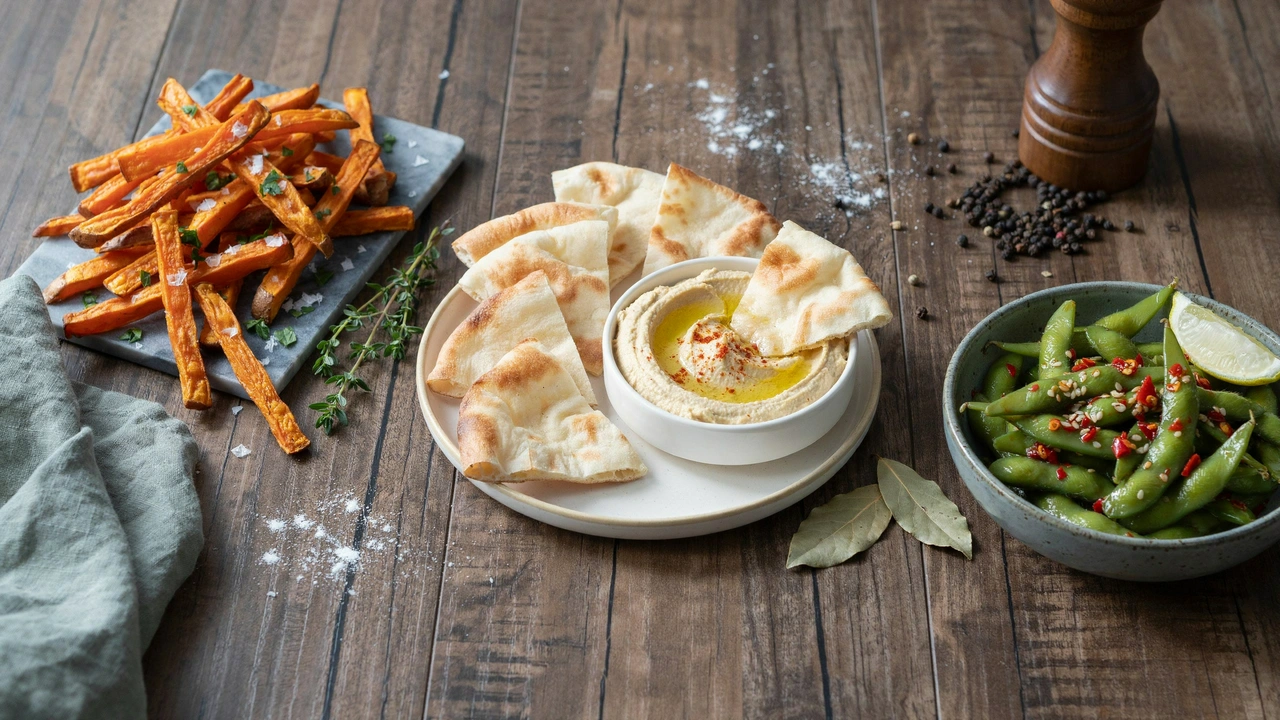
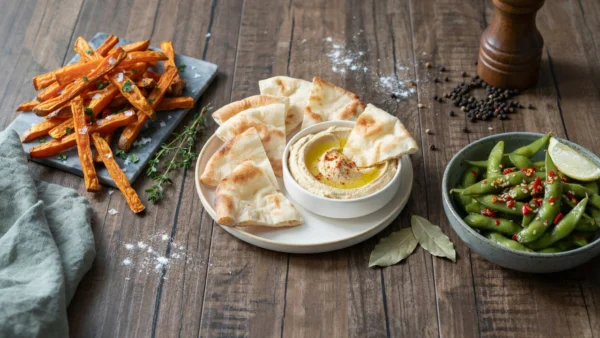
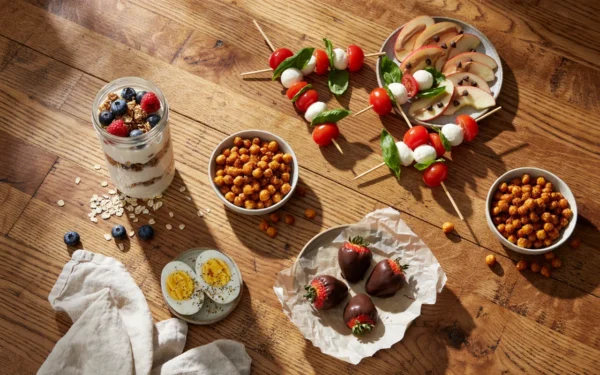
I have always been a snacker. Between lunch and dinner, there is that stretch of the afternoon when I just need a little something to keep me going. Over the years, I’ve put together a list of my favorite Delicious Snack Recipes so I always have something tasty to reach for instead of grabbing a bag of chips.
Today, I’m sharing 13 delicious snack recipes to make at home that really hit the spot. Whether you’re craving something sweet, prefer savory bites, or just want a few fresh ideas to try, you’ll find something here to enjoy. They’re easy to make with simple ingredients, so let’s get right into the recipes!
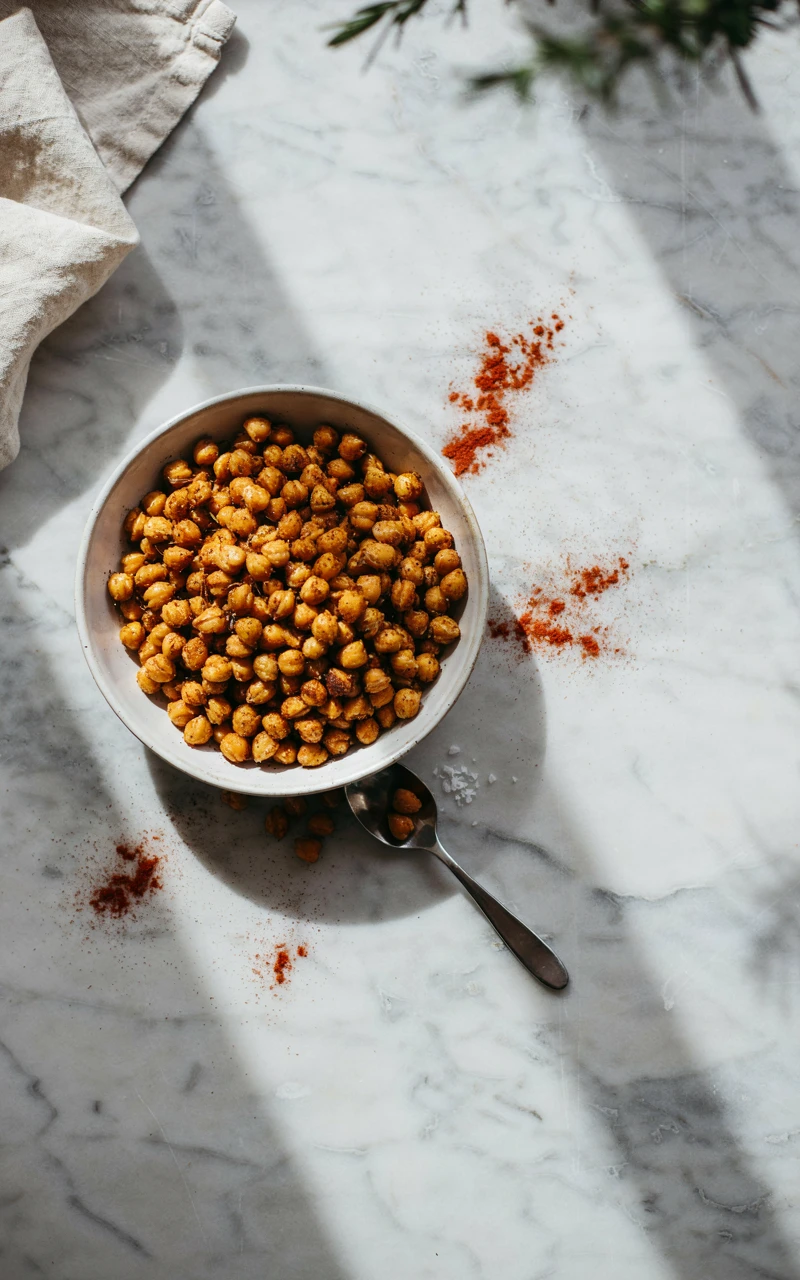
1. Crispy Roasted Chickpeas
Why You’ll Love This Recipe
Roasted chickpeas are incredibly satisfying when you want something crunchy and salty. They take very little effort, and you likely already have a can sitting in your pantry right now. If you are looking for healthy snack ideas, this is a great place to start.
They pack a nice amount of protein and fiber to keep you full until your next meal. Plus, they taste so much better when you make them fresh rather than buying them in a bag at the store.
Ingredients
- 1 can (15 oz / 425 g) chickpeas
- 1 tbsp (15 ml) olive oil
- 1/2 tsp (2 g) salt
- 1/2 tsp (1 g) paprika
Tools and Preparation
You just need a standard baking sheet and some paper towels or a clean kitchen towel. The preparation is mostly about drying the chickpeas thoroughly before they go into the oven.
If they go onto the pan wet, they will steam instead of roasting. Take an extra minute to roll them around in the towel until they feel completely dry to the touch.
Step-by-Step Instructions
- Preheat your oven to 400°F (200°C).
- Drain and rinse the chickpeas under cold water.
- Dry the chickpeas thoroughly with a clean towel.
- Place them on the baking sheet and toss with olive oil, salt, and paprika.
- Bake for 20 to 30 minutes, shaking the pan halfway through, until they are deeply golden and crunchy.
Common Mistakes to Avoid
The biggest mistake is skipping the drying step. Wet chickpeas will never get crispy, no matter how long you leave them in the oven. Another common issue is taking them out too early.
They should look slightly shrunken and feel hard when you tap them with a spoon. If they still feel soft, leave them in for another five minutes.
Variations, Storage, and Final Thoughts
You can easily change the flavor profile by tossing them with garlic powder, cumin, or even a little cinnamon and sugar. Store them in a container with the lid slightly cracked so air can circulate.
If you seal them up completely in a plastic bag, the trapped moisture will make them lose their crunch by the next day. These are always best eaten within a day or two of baking.
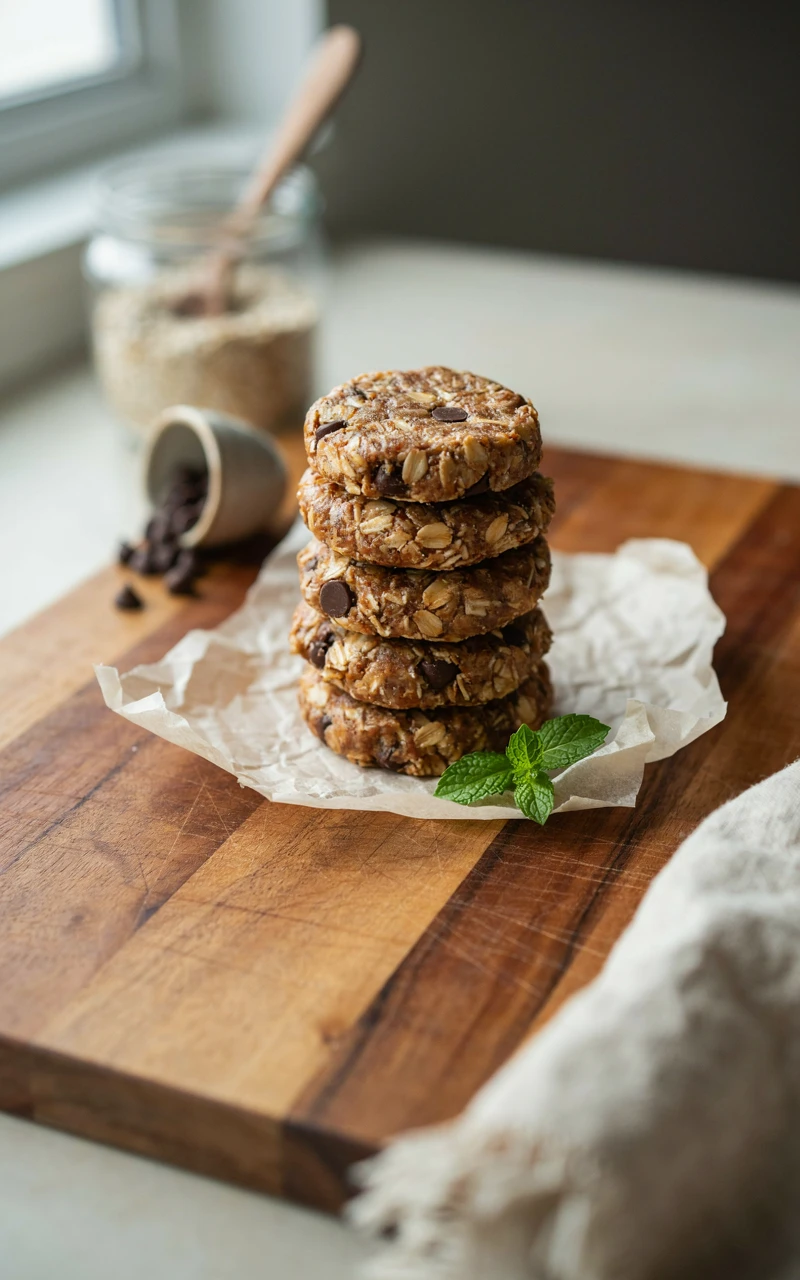
2. Peanut Butter Energy Bites
Why You’ll Love This Recipe
These energy bites are the ultimate grab-and-go option for busy days. They taste like a soft peanut butter cookie, but they require absolutely zero baking. When I want yummy easy snacks that I can prep on a Sunday and eat all week, this is my top choice.
They hold together beautifully and give you a quick boost of energy without a sugar crash. You can eat them straight from the fridge whenever a craving hits.
Ingredients
- 1 cup (90 g) rolled oats
- 1/2 cup (125 g) peanut butter
- 1/3 cup (115 g) honey
- 1/4 cup (45 g) mini chocolate chips
Tools and Preparation
Grab a medium mixing bowl and a sturdy spatula or wooden spoon. The mixture gets quite thick and sticky, so a flimsy spoon might bend or break while you stir.
You will also need a bit of space in your refrigerator to chill the bowl before rolling. Chilling the dough makes it much easier to handle.
Step-by-Step Instructions
- Add the oats, peanut butter, honey, and chocolate chips to your mixing bowl.
- Stir everything together until well combined.
- Place the bowl in the refrigerator for 30 minutes to firm up.
- Scoop out small portions and roll them into bite-sized balls with your hands.
- Place the rolled bites in a container and keep them refrigerated.
Common Mistakes to Avoid
Do not skip the chilling time. If you try to roll the mixture right after stirring, it will stick to your hands and make a huge mess.
If your peanut butter is very dry, the bites might crumble when you try to shape them. Just add an extra spoonful of honey to help bind everything together.
Variations, Storage, and Final Thoughts
Almond butter or sunflower seed butter works perfectly if you want to switch things up. You can also mix in chia seeds or shredded coconut for extra texture.
Keep these stored in an airtight container in the fridge for up to a week. They also freeze really well if you want to make a double batch for later.
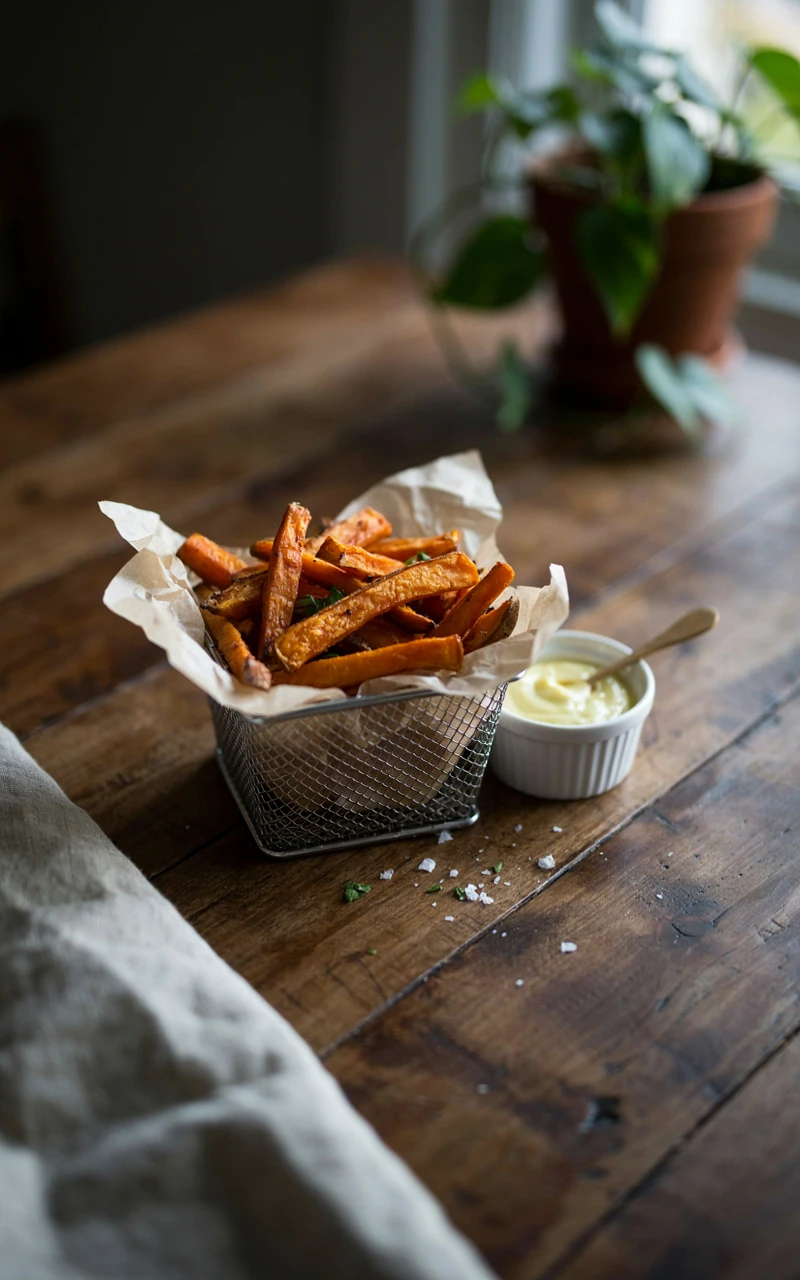
3. Baked Sweet Potato Fries
Why You’ll Love This Recipe
Sometimes you just want a warm, comforting plate of fries. Making them at home means you control the oil and the salt, turning them into fantastic easy recipes snacks that feel like a real treat.
They get nicely browned on the edges while staying soft and sweet in the middle. They are perfect for dipping and always hit the spot on a chilly afternoon.
Ingredients
- 2 medium (about 450 g) sweet potatoes
- 1 tbsp (15 ml) olive oil
- 1/2 tsp (2 g) salt
- 1/4 tsp (1 g) black pepper
Tools and Preparation
You will need a vegetable peeler, a sharp chef’s knife, and a large baking sheet. Cutting the potatoes into even strips is the most important part of the prep.
If the pieces are all different sizes, the thin ones will burn while the thick ones stay raw in the center. Take your time to cut them as uniformly as you can.
Step-by-Step Instructions
- Preheat your oven to 425°F (220°C).
- Peel the sweet potatoes and cut them into long, even matchsticks.
- Place the sticks on the baking sheet and toss them with olive oil, salt, and pepper.
- Spread them out into a single layer, making sure they do not overlap.
- Bake for 20 to 25 minutes, flipping them halfway through, until the edges are crispy.
Common Mistakes to Avoid
Crowding the baking sheet is the fastest way to ruin homemade fries. If the potatoes are touching, they will steam each other and turn out soggy instead of crisp.
Use two pans if you need to give them enough room to breathe. Also, wait to salt them until right before they go in the oven to draw out less moisture.
Variations, Storage, and Final Thoughts
For a sweeter version, swap the black pepper for a dash of cinnamon. You can also add a pinch of cayenne pepper if you like a little heat.
These are definitely best eaten fresh out of the oven while they are still warm. If you do have leftovers, reheat them in the oven or an air fryer rather than the microwave.
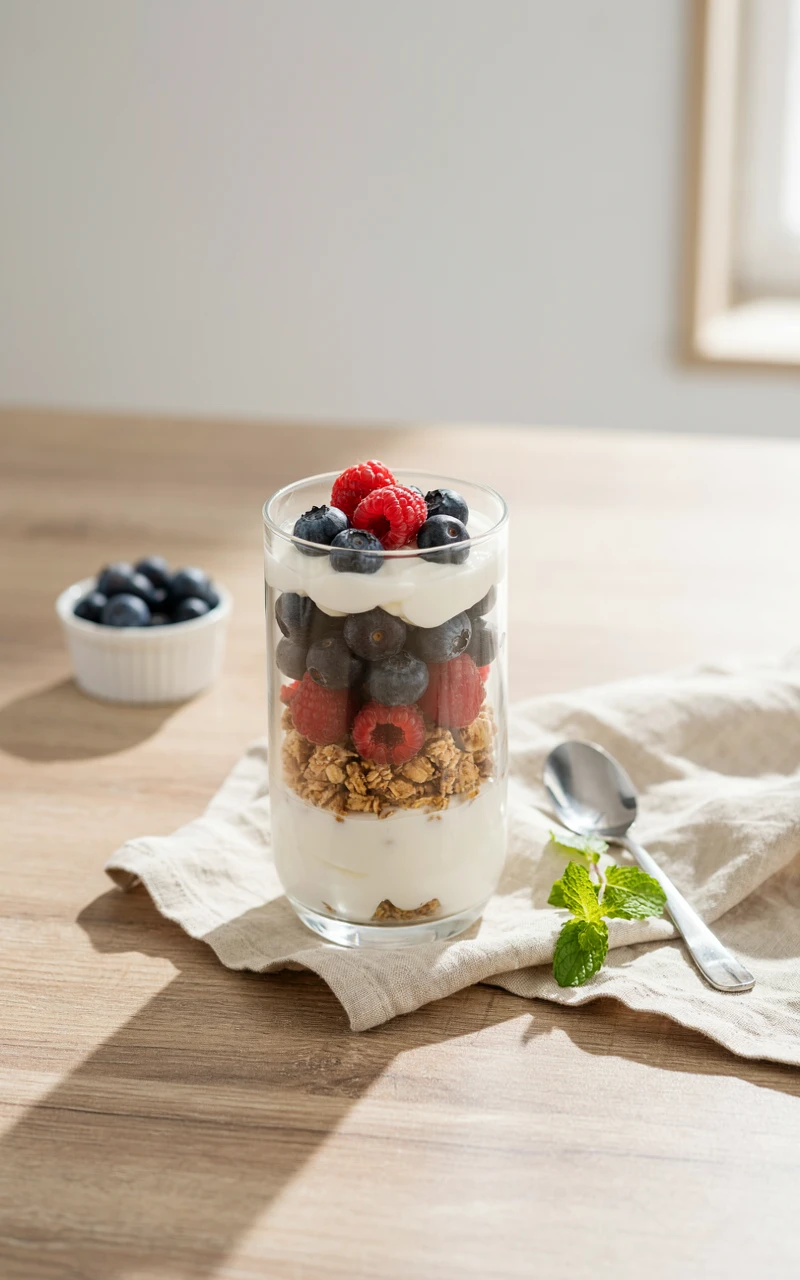
4. Greek Yogurt Parfait with Berries
Why You’ll Love This Recipe
A yogurt parfait is fresh, creamy, and comes together in about two minutes. It works beautifully as a quick snack, but it also fits right in with cozy fall breakfast ideas when you want something light.
The contrast between the smooth yogurt, the tart berries, and the crunchy granola is incredibly satisfying. It feels like eating a dessert, but it leaves you feeling energized.
Ingredients
- 1 cup (240 g) plain Greek yogurt
- 1/2 cup (75 g) mixed berries
- 1/4 cup (30 g) granola
- 1 tbsp (15 ml) honey
Tools and Preparation
You just need a glass or a small bowl and a spoon. There is barely any prep work involved here, which is why it makes such a great afternoon pick-me-up.
If you are using frozen berries, let them thaw for a few minutes first so they release their juices into the yogurt.
Step-by-Step Instructions
- Spoon half of the Greek yogurt into the bottom of your glass or bowl.
- Add a layer of mixed berries and a sprinkle of granola.
- Top with the remaining yogurt, then the rest of the berries and granola.
- Drizzle the honey over the top right before eating.
Common Mistakes to Avoid
Making this too far in advance is the main mistake to watch out for. If the granola sits in the yogurt for more than an hour, it gets soggy and loses all its crunch.
If you want to pack this for work, keep the granola in a separate little bag. Just sprinkle it on top right when you are ready to eat.
Variations, Storage, and Final Thoughts
You can add sliced almonds or walnuts for extra crunch and protein. Maple syrup is a great substitute if you do not have honey on hand.
This is a snack meant to be enjoyed immediately. It is simple, delicious, and completely customizable based on whatever fruit you have in the fridge.
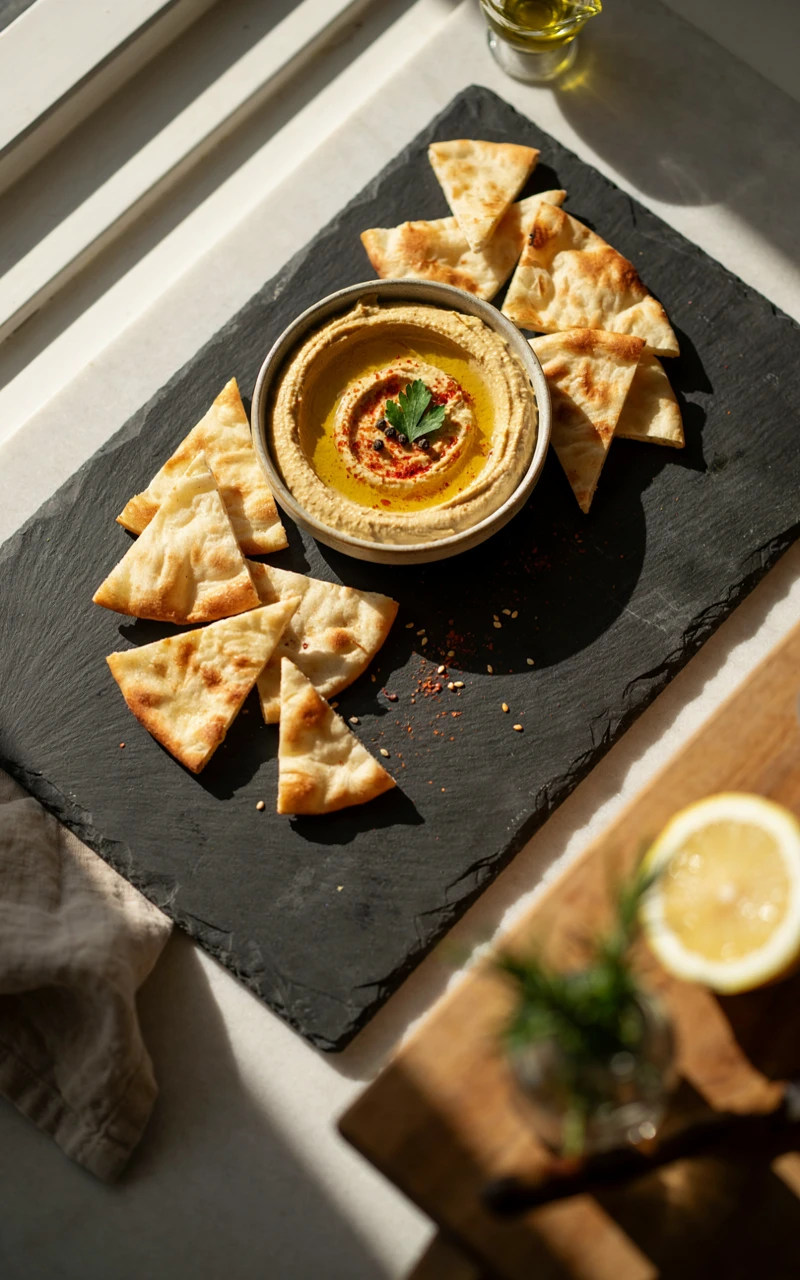
5. Homemade Pita Chips with Hummus
Why You’ll Love This Recipe
Store-bought pita chips are often overly hard and heavily salted. Making them yourself yields crispy, satisfying homemade snack recipes that taste incredibly fresh.
They are sturdy enough to scoop up a heavy amount of hummus without breaking. Plus, the smell of toasted bread and olive oil makes your whole kitchen feel warm and inviting.
Ingredients
- 2 whole (about 120 g) pita breads
- 1 tbsp (15 ml) olive oil
- 1/2 tsp (2 g) salt
- 1/2 cup (120 g) hummus
Tools and Preparation
You will need a knife or kitchen shears, a baking sheet, and a pastry brush. If you do not have a pastry brush, you can just use your fingers to rub the oil onto the bread.
Cutting the pita into triangles gives you the classic chip shape. You can separate the two layers of the pita for thinner chips, or leave them together for a thicker crunch.
Step-by-Step Instructions
- Preheat your oven to 375°F (190°C).
- Cut the pita breads into small triangles.
- Arrange the triangles in a single layer on the baking sheet.
- Brush the tops lightly with olive oil and sprinkle with salt.
- Bake for 8 to 10 minutes until golden brown and crispy.
- Serve warm or at room temperature with the hummus for dipping.
Common Mistakes to Avoid
Pita bread goes from perfectly toasted to burnt very quickly. Do not walk away from the oven during the last two minutes of baking.
Using too much oil will make the chips greasy instead of crisp. A very light brushing is all you need to help the salt stick and the bread brown.
Variations, Storage, and Final Thoughts
Sprinkle some Za’atar spice or garlic powder on the chips before baking for extra flavor. You can also serve these with tzatziki or a simple yogurt dip.
Store any leftover chips in an airtight bag at room temperature for up to three days. They stay wonderfully crunchy and make a great addition to a packed lunch.
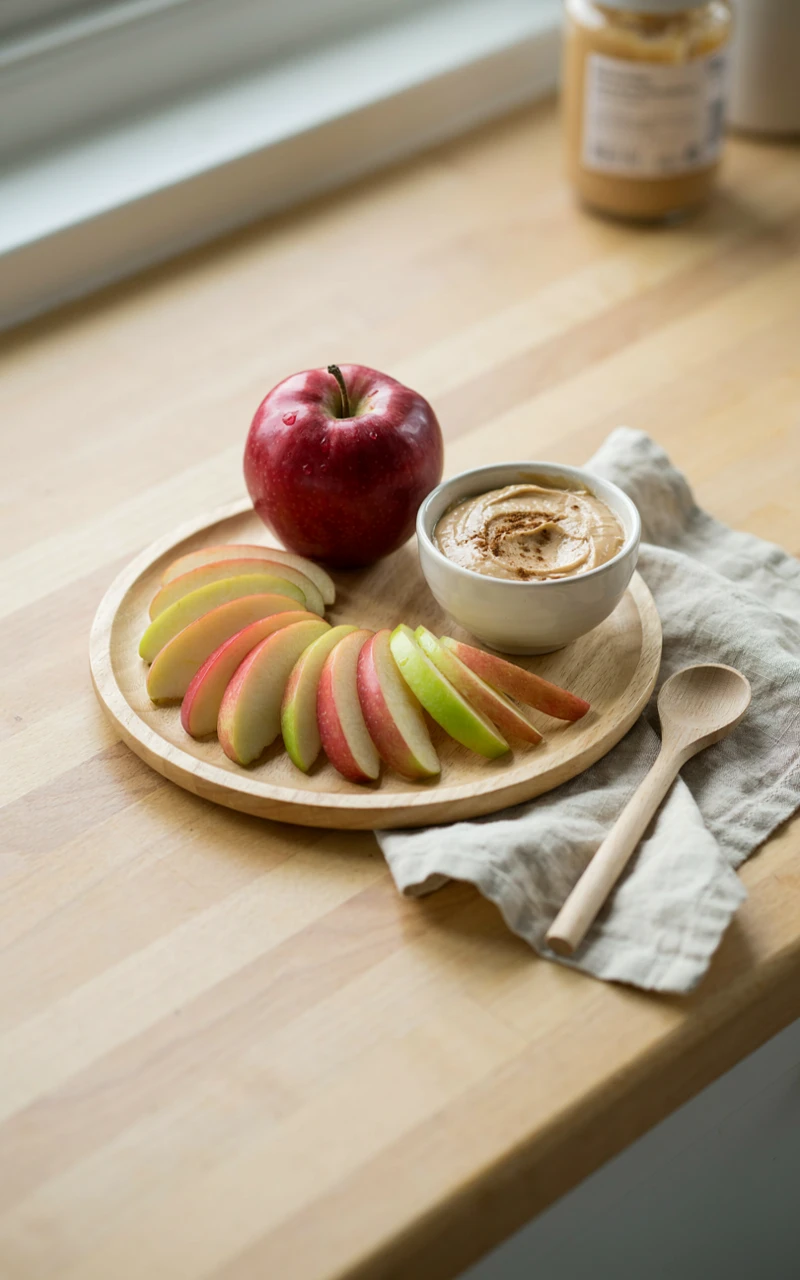
6. Apple Slices with Almond Butter Dip
Why You’ll Love This Recipe
This is a classic for a reason. It is crisp, sweet, and incredibly reliable when you need a fast snack. Mixing the almond butter with a little maple syrup turns it into a proper dip rather than just a spread.
It feels a little more special than just eating an apple out of hand. It is satisfying, simple, and hits that sweet craving perfectly.
Ingredients
- 1 large (about 200 g) apple
- 2 tbsp (30 g) almond butter
- 1 tsp (5 ml) maple syrup
- 1/4 tsp (1 g) cinnamon
Tools and Preparation
You just need an apple corer or a sharp knife and a small bowl for mixing the dip. Any crisp apple works well, though Honeycrisp or Granny Smith are my personal favorites.
Make sure your almond butter is stirred well before you measure it out. If it is too stiff, microwave it for ten seconds to soften it up.
Step-by-Step Instructions
- Wash the apple and cut it into even slices, removing the core.
- In a small bowl, combine the almond butter, maple syrup, and cinnamon.
- Stir the mixture until it is smooth and well combined.
- Arrange the apple slices on a plate around the bowl of dip.
Common Mistakes to Avoid
Using a mealy or soft apple ruins the experience. You want that sharp crunch to contrast with the creamy dip.
If you slice the apples too far in advance, they will turn brown. If you must prep them early, toss the slices in a tiny bit of lemon juice to keep them looking fresh.
Variations, Storage, and Final Thoughts
Peanut butter or cashew butter works just as well if you prefer those flavors. You can also sprinkle a few mini chocolate chips over the dip for a fun twist.
This snack is best prepared and eaten right away. It is a staple in my house because it takes less than three minutes to put together.
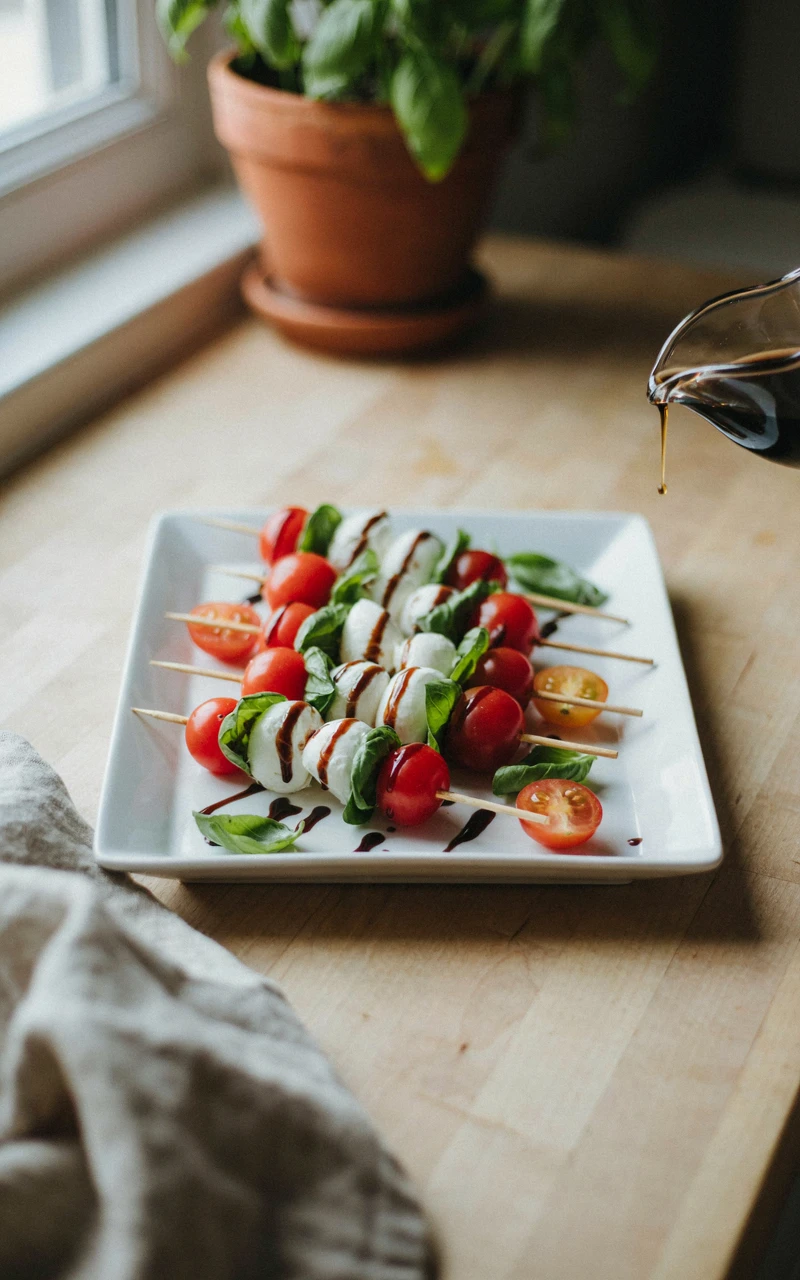
7. Caprese Skewers with Balsamic Glaze
Why You’ll Love This Recipe
These little skewers look fancy, but they are actually incredibly simple snacks to make at home. They offer all the bright, fresh flavors of a Caprese salad in a convenient, bite-sized format.
The sweet balsamic glaze ties the juicy tomatoes and creamy cheese together perfectly. They are great for a light afternoon bite or even as an appetizer if you have friends over.
Ingredients
- 1 cup (150 g) cherry tomatoes
- 1 cup (150 g) fresh mozzarella balls (bocconcini)
- 1/4 cup (10 g) fresh basil leaves
- 2 tbsp (30 ml) balsamic glaze
Tools and Preparation
You will need a pack of short wooden skewers or toothpicks and a serving plate. Wash and dry the tomatoes and basil leaves thoroughly before you start assembling.
If your mozzarella balls are packed in water, drain them and pat them dry with a paper towel. This keeps the skewers from getting watery on the plate.
Step-by-Step Instructions
- Take a skewer and thread a cherry tomato onto it.
- Fold a fresh basil leaf in half and thread it on next.
- Add a mozzarella ball to finish the skewer.
- Repeat until all the ingredients are used, placing the skewers on a plate.
- Drizzle the balsamic glaze generously over the top right before eating.
Common Mistakes to Avoid
Using regular balsamic vinegar instead of a glaze is a common slip-up. Regular vinegar is too thin and will just run off the cheese onto the plate.
If you cannot find balsamic glaze at the store, you can simmer regular balsamic vinegar in a small pot until it reduces and thickens into a syrup.
Variations, Storage, and Final Thoughts
You can add a piece of cooked tortellini to each skewer to make them a bit more filling. A sprinkle of flaky sea salt over the top also brings out the flavor of the tomatoes.
These are definitely best eaten on the same day they are made. The basil will start to wilt and turn dark if left in the fridge overnight.
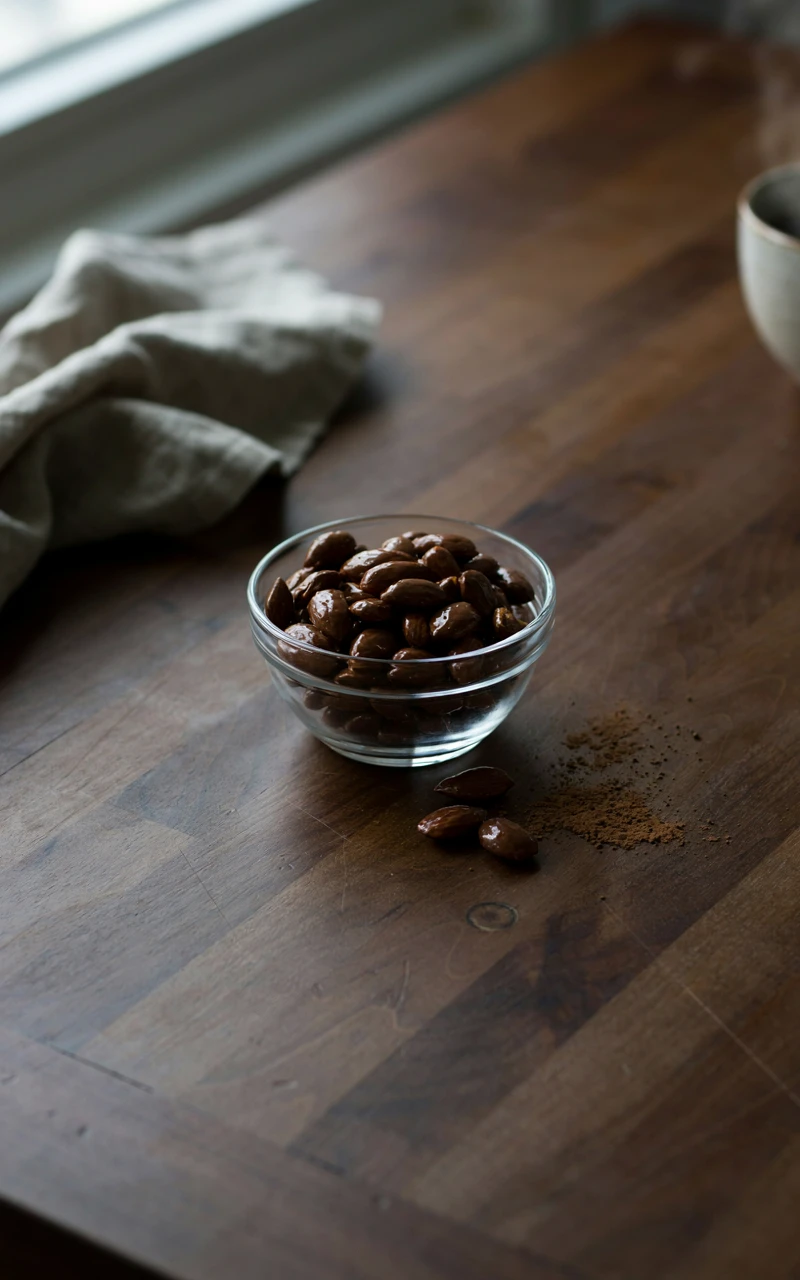
8. Dark Chocolate Covered Almonds
Why You’ll Love This Recipe
When you need a rich, crunchy snack that satisfies a serious sweet tooth, these almonds are perfect. Making them at home means you get a thick, generous coating of chocolate on every nut.
The addition of flaky sea salt on top makes them taste like a high-end candy store treat. They are easy to make in a batch and keep well for days.
Ingredients
- 1 cup (140 g) whole raw almonds
- 1/2 cup (85 g) dark chocolate chips
- 1/4 tsp (1 g) flaky sea salt
Tools and Preparation
You will need a microwave-safe bowl, a baking sheet, and some parchment paper. The parchment paper is absolutely necessary; otherwise, the chocolate will glue the almonds to your pan.
Make sure your bowl is completely dry before adding the chocolate. Even a single drop of water can cause melting chocolate to seize up and turn grainy.
Step-by-Step Instructions
- Line your baking sheet with parchment paper.
- Place the chocolate chips in the microwave-safe bowl and heat in 30-second intervals, stirring in between, until melted and smooth.
- Pour the almonds into the melted chocolate and stir until every nut is coated.
- Use a fork to scoop out the almonds, tapping off the excess chocolate, and place them on the parchment paper.
- Sprinkle the flaky sea salt over the almonds while the chocolate is still wet.
- Place the baking sheet in the refrigerator for 20 minutes until the chocolate sets.
Common Mistakes to Avoid
Overheating the chocolate is the easiest way to ruin this recipe. Once chocolate burns, it becomes thick and clumpy, and you cannot save it.
Take it out of the microwave when there are still a few lumps left; the residual heat will melt them as you stir.
Variations, Storage, and Final Thoughts
Milk chocolate or semi-sweet chocolate works perfectly if you find dark chocolate too bitter. You can also use roasted almonds for a deeper, nuttier flavor.
Store these in an airtight container in a cool, dry place. If your kitchen runs warm, keep them in the fridge so the chocolate does not soften.
9. Spicy Edamame
Why You’ll Love This Recipe
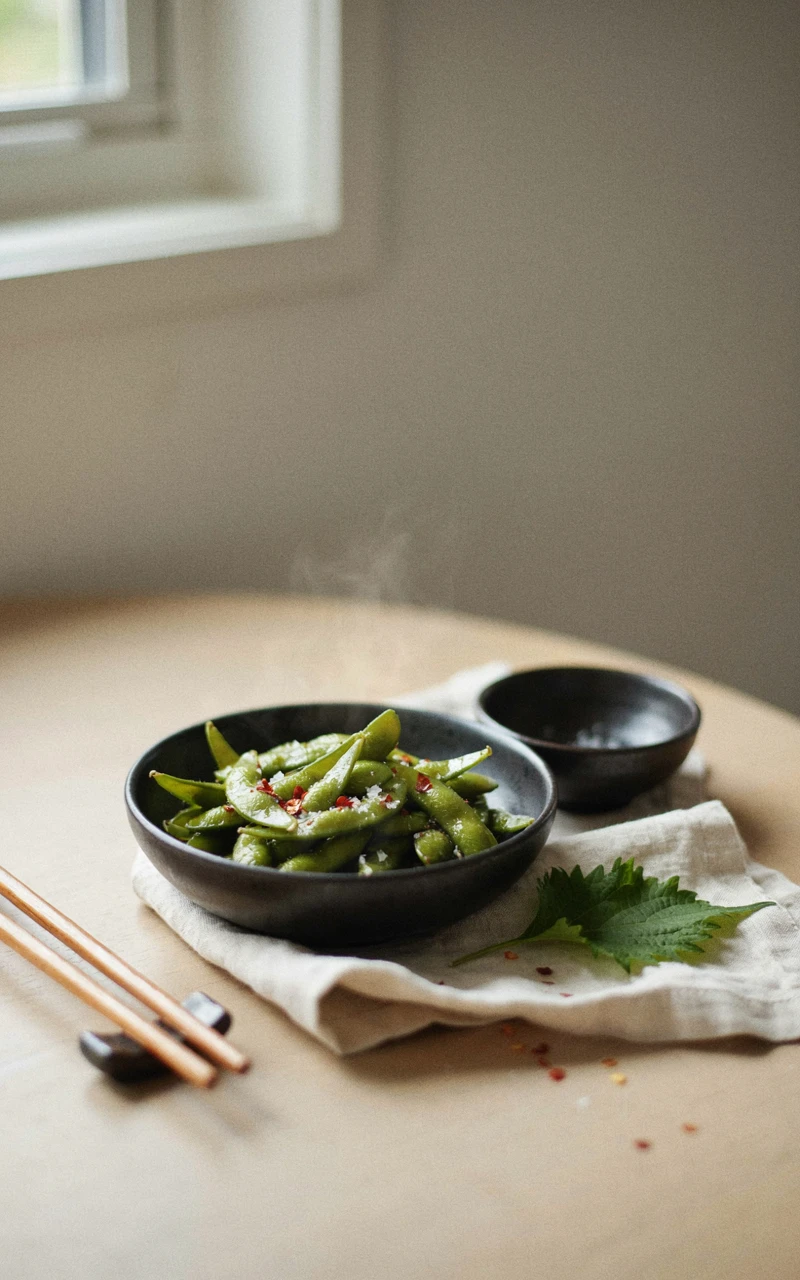
This tastes exactly like the appetizer you get at a great sushi restaurant. It is a warm, savory snack that takes less than five minutes to pull together.
Eating edamame straight from the pod slows you down, making it a really satisfying and mindful snack. The spicy, salty coating on the outside makes every bite delicious.
Ingredients
- 2 cups (300 g) frozen edamame in pods
- 1 tbsp (15 ml) soy sauce
- 1 tsp (5 ml) sesame oil
- 1/2 tsp (1 g) red pepper flakes
Tools and Preparation
You need a pot with a steamer basket or a microwave-safe bowl to cook the edamame. You will also need a medium mixing bowl to toss the pods in the sauce.
Buying the edamame still in the pods is key here. The shelled beans are great for salads, but they do not work well for this hands-on snack.
Step-by-Step Instructions
- Steam or microwave the frozen edamame according to the package directions until tender.
- Drain any excess water and transfer the hot pods to a mixing bowl.
- Add the soy sauce, sesame oil, and red pepper flakes.
- Toss everything together until the pods are evenly coated in the sauce.
- Serve warm with an empty bowl on the side for the discarded pods.
Common Mistakes to Avoid
Overcooking the pods until they are mushy ruins the texture of the beans inside. They should be hot and tender, but still have a slight bite to them.
Make sure you drain them really well before adding the sauce. If there is water in the bowl, it will dilute the soy sauce and wash away the flavor.
Variations, Storage, and Final Thoughts
If you do not like spicy food, leave out the red pepper flakes and just use a little garlic salt instead. A squeeze of fresh lemon juice is also a great addition.
You can store leftover edamame in the fridge for a couple of days. They actually taste fantastic cold right out of the container the next day.
10. Mini Avocado Toast Bites
Why You’ll Love This Recipe
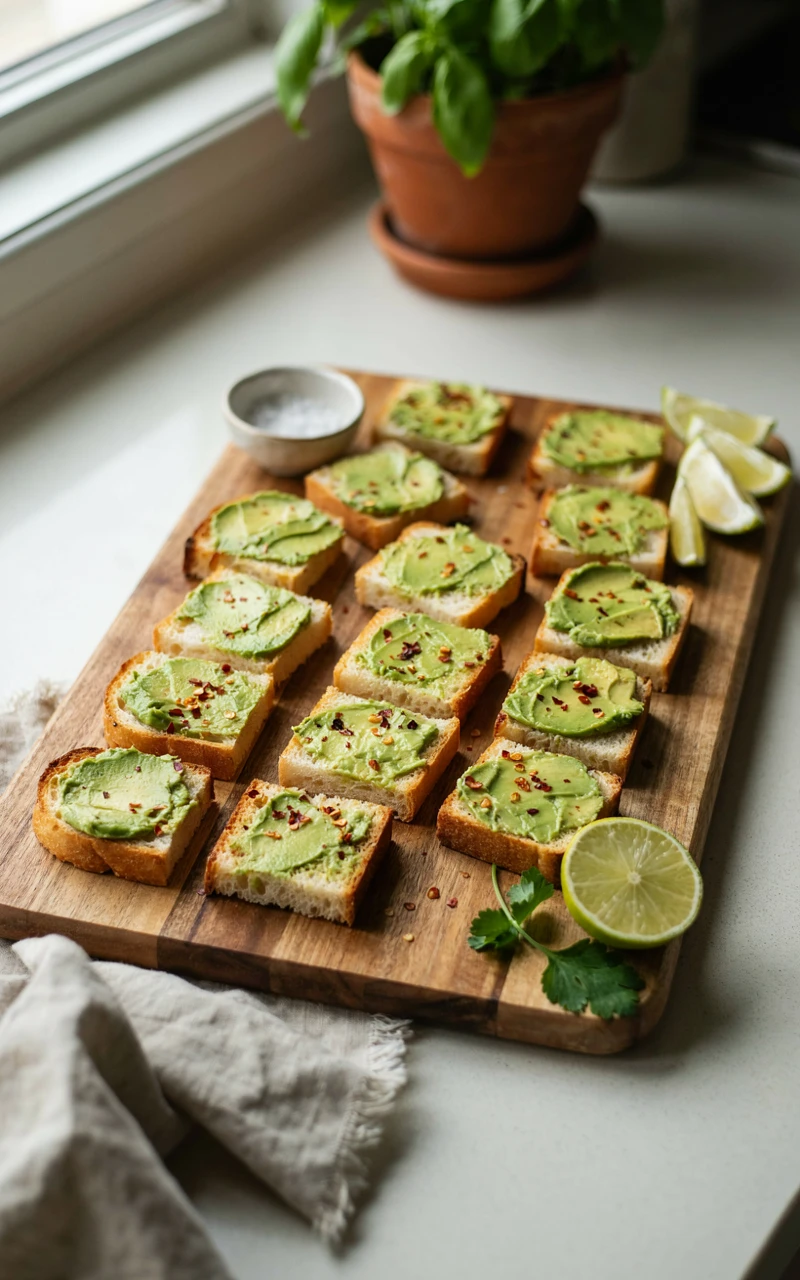
Avocado toast is a breakfast staple, but shrinking it down makes it the perfect afternoon snack. These little bites are creamy, crunchy, and packed with flavor.
They take just a few minutes to assemble and feel much more substantial than a handful of crackers. It is a simple way to get some good fats into your day.
Ingredients
- 1 small (about 60 g) baguette
- 1 ripe (about 150 g) avocado
- 1 tsp (5 ml) lemon juice
- 1/4 tsp (1 g) salt
- 1/4 tsp (1 g) everything bagel seasoning
Tools and Preparation
You will need a serrated bread knife, a toaster or oven, and a small bowl with a fork for mashing. Slicing the baguette on a slight diagonal gives you more surface area for the avocado.
Make sure your avocado gives slightly when you squeeze it gently. A hard avocado will not mash properly and lacks that rich, buttery flavor.
Step-by-Step Instructions
- Slice the baguette into thin rounds and toast them until golden and crisp.
- Cut the avocado in half, remove the pit, and scoop the flesh into a small bowl.
- Add the lemon juice and salt, then mash with a fork until mostly smooth.
- Spread a generous spoonful of the mashed avocado onto each toasted bread slice.
- Sprinkle the everything bagel seasoning over the top of each bite.
Common Mistakes to Avoid
Skipping the lemon juice is a mistake. The acid cuts through the richness of the avocado and keeps it from turning brown too quickly.
Do not mash the avocado until it is a complete puree. Leaving a few small chunks gives the spread a much better texture on the crisp bread.
Variations, Storage, and Final Thoughts
You can top these with a halved cherry tomato, a dash of hot sauce, or a sprinkle of feta cheese. The variations are pretty much endless.
Assemble these right before you plan to eat them. If they sit around too long, the moisture from the avocado will make the toasted bread soggy.
11. Baked Cinnamon Apple Chips
Why You’ll Love This Recipe
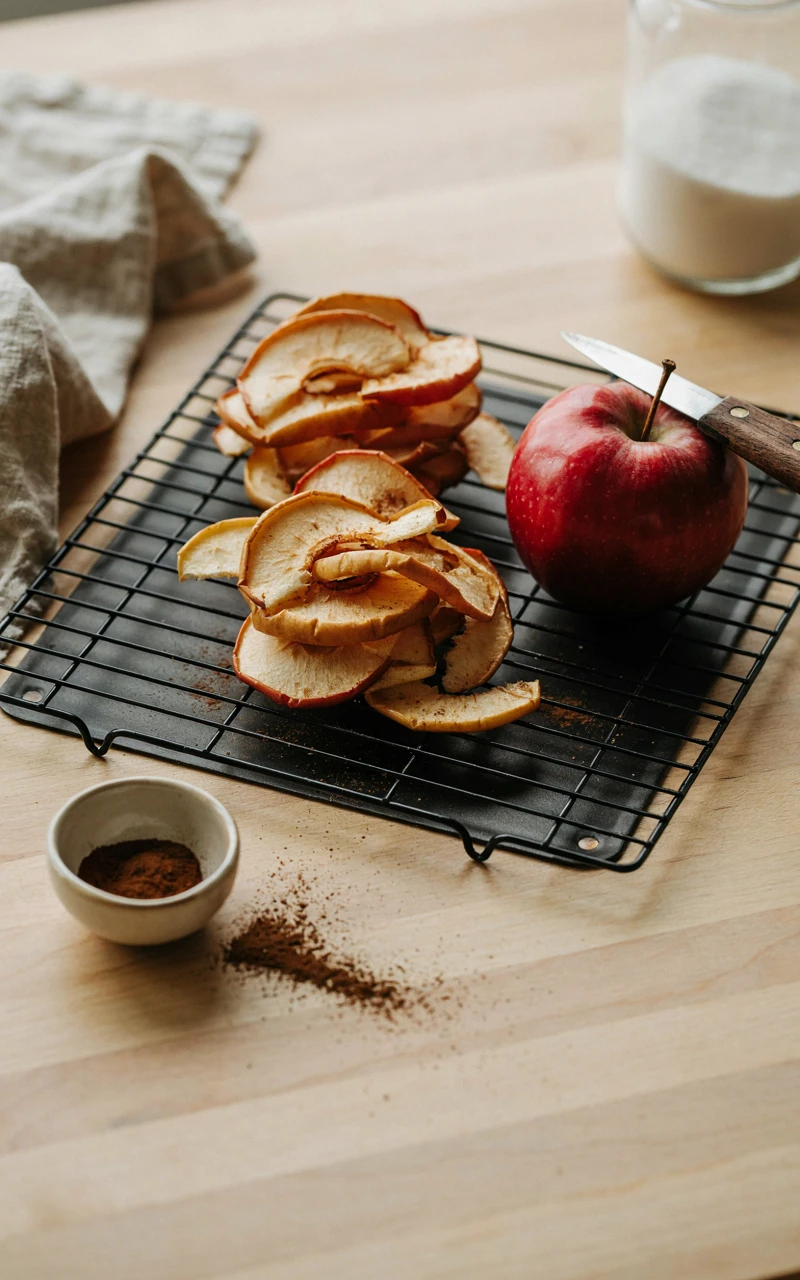
When the weather turns cool, these baked apple chips make the whole house smell incredible. They are sweet, crispy, and a fantastic alternative to potato chips.
If you are planning your thanksgiving recipes and want a light, seasonal snack to keep people happy before the big meal, these are perfect. They take some time in the oven, but the actual hands-on work is minimal.
Ingredients
- 2 medium (about 400 g) apples
- 1 tsp (2 g) ground cinnamon
Tools and Preparation
You will need a mandoline slicer or a very sharp knife, a baking sheet, and parchment paper. A mandoline is the best tool here because it guarantees perfectly even slices.
There is no need to peel the apples; the skin adds great color and texture. Just wash them well and remove any stray seeds as you slice.
Step-by-Step Instructions
- Preheat your oven to 200°F (95°C) and line a baking sheet with parchment paper.
- Slice the apples as thinly as possible.
- Arrange the slices in a single layer on the baking sheet without overlapping.
- Sprinkle the ground cinnamon evenly over the apple slices.
- Bake for 2 hours, flipping the slices halfway through, until they are dried and crisp.
Common Mistakes to Avoid
Slicing the apples too thick means they will turn out chewy rather than crispy. You want them almost paper-thin so they dry out completely in the low heat.
Do not pull them out of the oven too early. They will crisp up a bit more as they cool, but they should feel dry to the touch before you turn the oven off.
Variations, Storage, and Final Thoughts
You can add a pinch of nutmeg or ginger to the cinnamon for a more complex spice blend. According to the FoodSafety.gov guidelines for dried fruit, these will keep well if stored properly.
Keep them in an airtight container at room temperature. If they start to lose their crunch after a few days, you can pop them back in a warm oven for ten minutes to crisp them back up.
12. Cheesy Garlic Parmesan Popcorn

Why You’ll Love This Recipe
Microwave popcorn is convenient, but making it on the stove is a completely different experience. This savory, buttery version is my absolute favorite for movie nights at home.
The garlic and Parmesan coat every single kernel, making it hard to stop eating. It feels like a gourmet treat, but it costs pennies to make.
Ingredients
- 1/2 cup (100 g) popcorn kernels
- 2 tbsp (30 ml) melted butter
- 1/4 cup (25 g) grated Parmesan cheese
- 1/2 tsp (1 g) garlic powder
Tools and Preparation
You need a large pot with a tight-fitting lid and a very large mixing bowl. The pot needs to be big enough to give the kernels plenty of room to expand.
Have your butter melted and your cheese and garlic powder measured out before you start popping. You want to toss the popcorn while it is still piping hot so the flavors stick.
Step-by-Step Instructions
- Place the popcorn kernels in the large pot over medium heat and cover with the lid.
- Shake the pot occasionally as the kernels begin to pop.
- Remove the pot from the heat once the popping slows to one pop every few seconds.
- Pour the hot popcorn into your large mixing bowl.
- Drizzle with the melted butter, then toss with the Parmesan cheese and garlic powder until coated.
Common Mistakes to Avoid
Leaving the pot on the heat for too long is the most common mistake. Once the popping slows down, take it off the stove immediately, or the kernels at the bottom will burn.
Do not use the powdery, shelf-stable Parmesan cheese if you can avoid it. Freshly grated Parmesan melts slightly against the hot popcorn and tastes much better.
Variations, Storage, and Final Thoughts
Nutritional yeast is a fantastic substitute for the Parmesan if you want a dairy-free cheesy flavor. A pinch of smoked paprika also adds a nice depth to the bowl.
Popcorn is always best eaten fresh while it is still warm. If you have leftovers, store them in a sealed bag, though they will lose a bit of their crispness by the next day.
13. Frozen Yogurt Bark with Berries
Why You’ll Love This Recipe
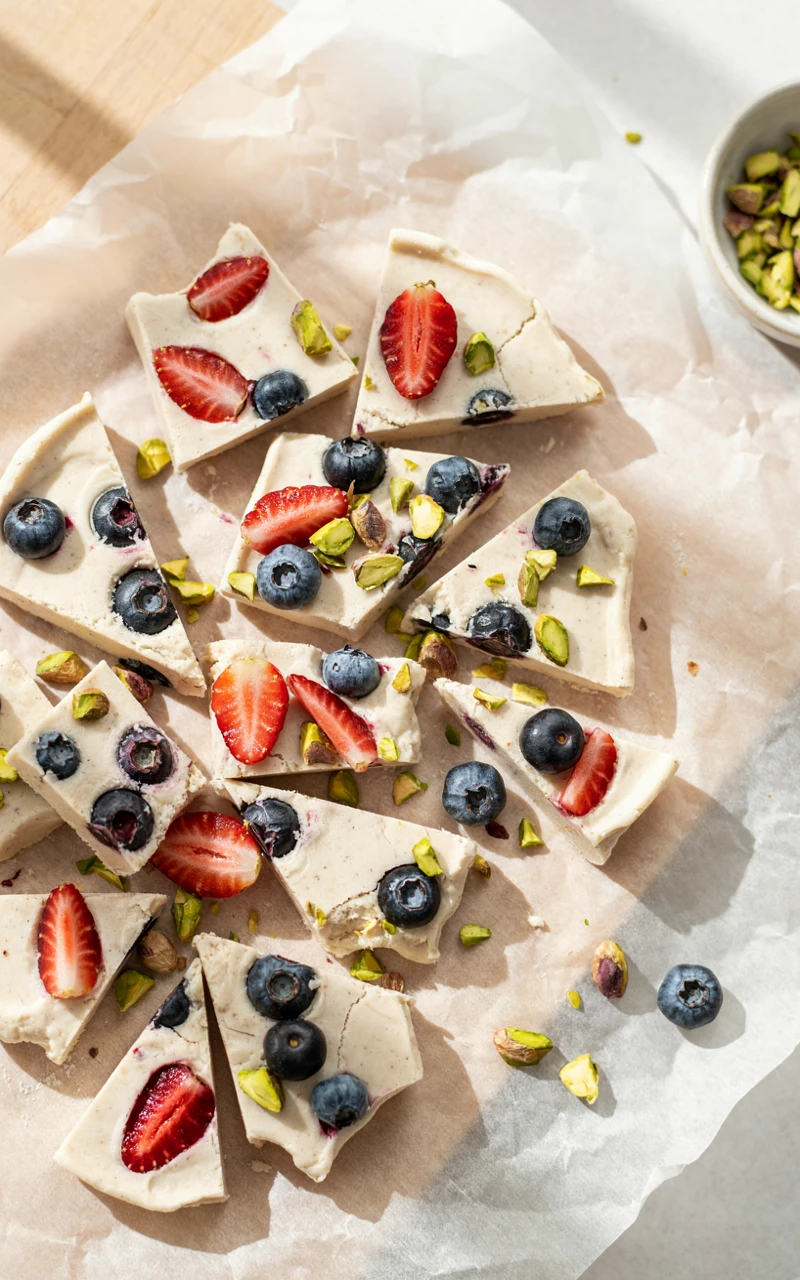
When you want something cool and refreshing, this frozen yogurt bark is incredible. It is sweet, fruity, and so much fun to break apart into jagged little pieces.
It takes about five minutes to prep, and then the freezer does the rest of the work. It is a great alternative to ice cream when you want a lighter treat in the evening.
Ingredients
- 2 cups (480 g) plain or vanilla yogurt
- 2 tbsp (30 ml) honey
- 1 cup (150 g) sliced strawberries
- 1/4 cup (35 g) blueberries
Tools and Preparation
You will need a baking sheet, parchment paper, and a spatula. The parchment paper is crucial here; without it, you will never get the frozen yogurt off the pan.
Make sure you slice the strawberries fairly thin. If the fruit chunks are too big, they become rock-hard and difficult to bite into when frozen.
Step-by-Step Instructions
- Line your baking sheet with parchment paper.
- In a bowl, mix the yogurt and honey together until smooth.
- Pour the yogurt mixture onto the parchment paper and spread it out evenly with a spatula.
- Scatter the sliced strawberries and blueberries over the top, pressing them down slightly.
- Place the baking sheet in the freezer for at least 3 hours until completely solid.
- Remove from the freezer and break the bark into pieces with your hands.
Common Mistakes to Avoid
Spreading the yogurt too thin will result in bark that melts the second you touch it. Aim for a layer that is about a quarter-inch thick so it has some structure.
Using a watery, thin yogurt also makes the bark icy rather than creamy. A thicker yogurt, like Greek yogurt, yields a much better texture once frozen.
Variations, Storage, and Final Thoughts
You can top this with anything you like. Mini chocolate chips, shredded coconut, or chopped nuts all work beautifully pressed into the yogurt.
Keep the broken pieces in a freezer-safe bag or container in the freezer. Grab a piece whenever you need a cold, sweet bite.
Delicious Snack Recipes
I hope you found a few new favorites in this list. Having a good snack ready to go makes the whole day run a little smoother, and making them yourself is always rewarding.
Pick one or two to try this week and see how easy it is to skip the store-bought bags. I would love to hear which recipe you end up making first, so feel free to share your thoughts!