This post may contain affiliate links, which means I may receive a small commission should you decide to click that link and make a purchase. For more information please refer to the Terms & Conditions.
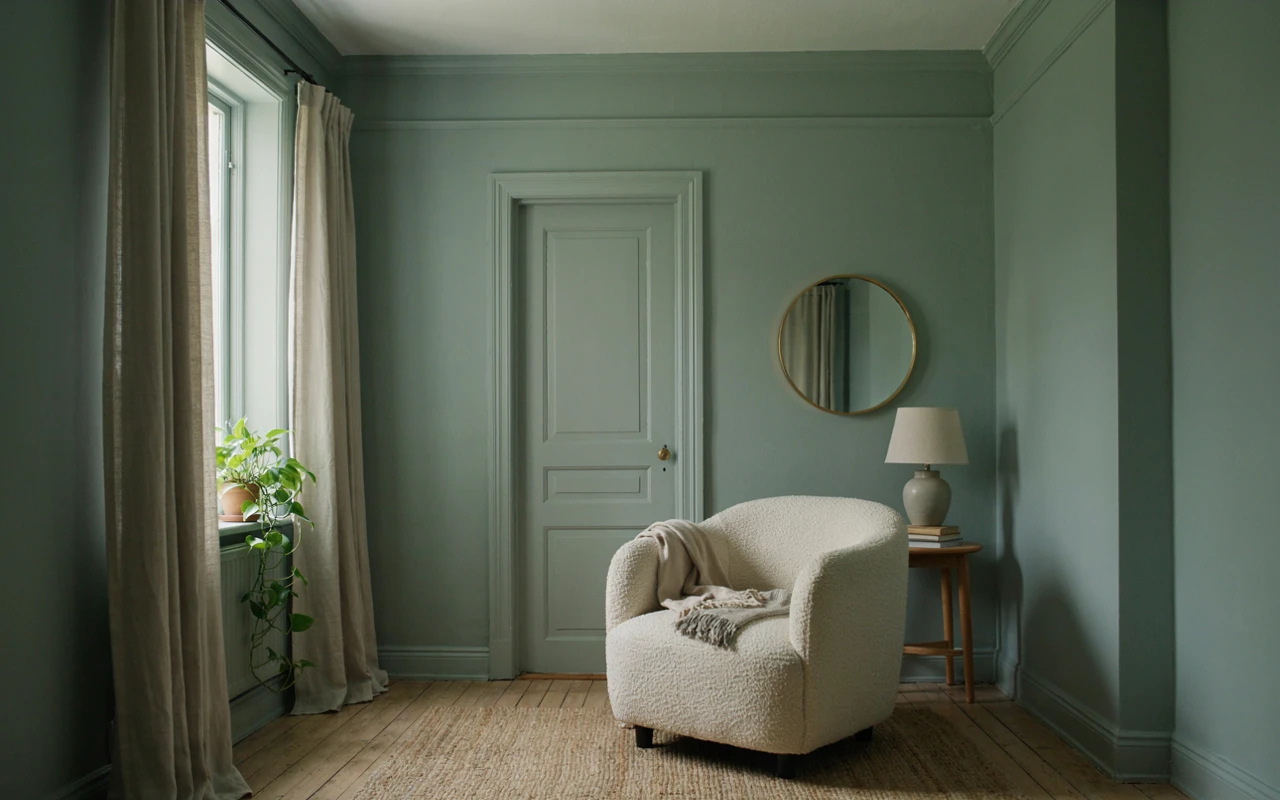
The first time I tried color drenching, I was nervous that my tiny guest room would end up feeling like a closet. I wanted to see whether you could paint a whole room one color without making your space feel smaller.
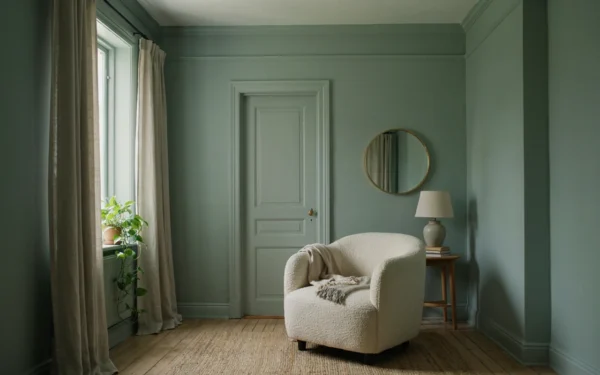
So I picked a soft sage green and painted the walls, the trim, the door and even the ceiling. When I pulled the tape off, the room looked bigger than before. The corners seemed to fade, and my eye stopped jumping from white trim to green wall to white ceiling.
Over the next few rooms, I got some things wrong. One color looked muddy at night, and one finish showed every bump in the wall. I fixed both, and I learned what actually makes a drenched room feel open instead of closed in.
Below, you’ll find simple stages for picking, testing, painting and lighting a room so it feels calm and roomy, not boxed in.
What You Need Before You Start
Color drenching means painting every surface in a room the same color, or very close shades of it. That includes the walls, ceiling, baseboards, window frames, doors and sometimes even the radiator or built-in shelves.
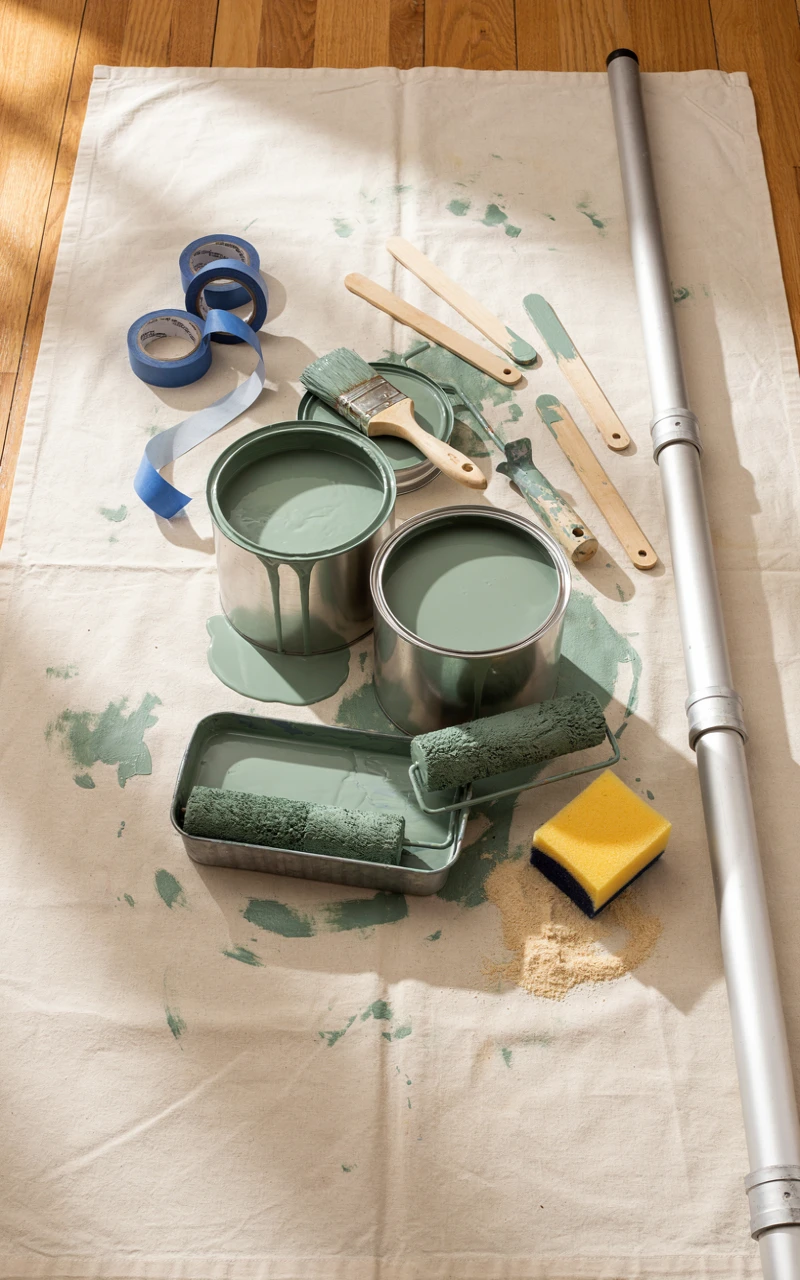
Because you’re painting more surfaces than usual, you’ll use more paint and more tape than a normal wall job. Having everything ready before you start saves a lot of trips to the hardware store with paint on your hands.
Tools and Materials
- 3 to 4 sample pots (about 8 oz each) of the colors you’re considering
- 2 or 3 sheets of white poster board for sample swatches
- Painter’s tape, 1.5 inch wide
- Canvas or plastic drop cloths
- An angled sash brush, 2 to 2.5 inch
- A small artist brush for tight spots
- A 9 inch roller frame with a 3/8 inch nap cover for smooth walls, or 1/2 inch nap for textured walls
- A 4 inch mini roller for doors and trim
- An extension pole for the ceiling
- A paint tray and a few disposable liners
- A sturdy step ladder
- Spackle and a putty knife
- A sanding sponge, 120 to 220 grit
- Mild dish soap, a bucket and a sponge for washing walls
- Stain-blocking primer for marks, patches or glossy trim
- A screwdriver for outlet and switch covers
- Paint in the finishes you choose in Stage 2
- Rags and a damp cloth for drips
How Much Paint to Buy
A gallon of wall paint usually covers about 350 to 400 square feet per coat. A quart covers roughly 90 square feet. You’ll want two coats on everything, especially if you’re going darker than your current color.
Here’s an example for a 10 x 12 foot bedroom with 8 foot ceilings. The walls add up to about 352 square feet, or around 310 once you subtract a door and a window. The ceiling is 120 square feet.
| Surface | Area (one coat) | Two coats | What to buy |
|---|---|---|---|
| Walls | 310 sq ft | 620 sq ft | 2 gallons |
| Ceiling | 120 sq ft | 240 sq ft | 1 gallon |
| Trim, door and window frame | About 60 sq ft | About 120 sq ft | 2 quarts |
Buy a little extra for touch-ups later. Having the same batch on hand matters, because a new can mixed months later can look a touch different.
A Quick Safety Check
If your home was built before 1978, the old paint on the trim may contain lead. Don’t sand it until you’ve tested it, and read the EPA’s guidance on lead in the home before you start scraping.
You’ll also be breathing paint fumes from every surface at once. Look for low-VOC or zero-VOC paint, open the windows and run a fan, since the EPA notes that paint can release volatile organic compounds indoors while it dries.
Key takeaways:
- Plan for two coats on every surface, including the trim.
- Buy all your paint at once so the color matches.
- Check older trim for lead and keep the room well aired.
The Finished Look: Everything on the list is sitting in one corner of the room, your paint math is written down, and you know your trim is safe to sand. You haven’t opened a single can of real paint yet, and that’s exactly right.
Stage 1: Pick Your Color and Test It in Your Own Light
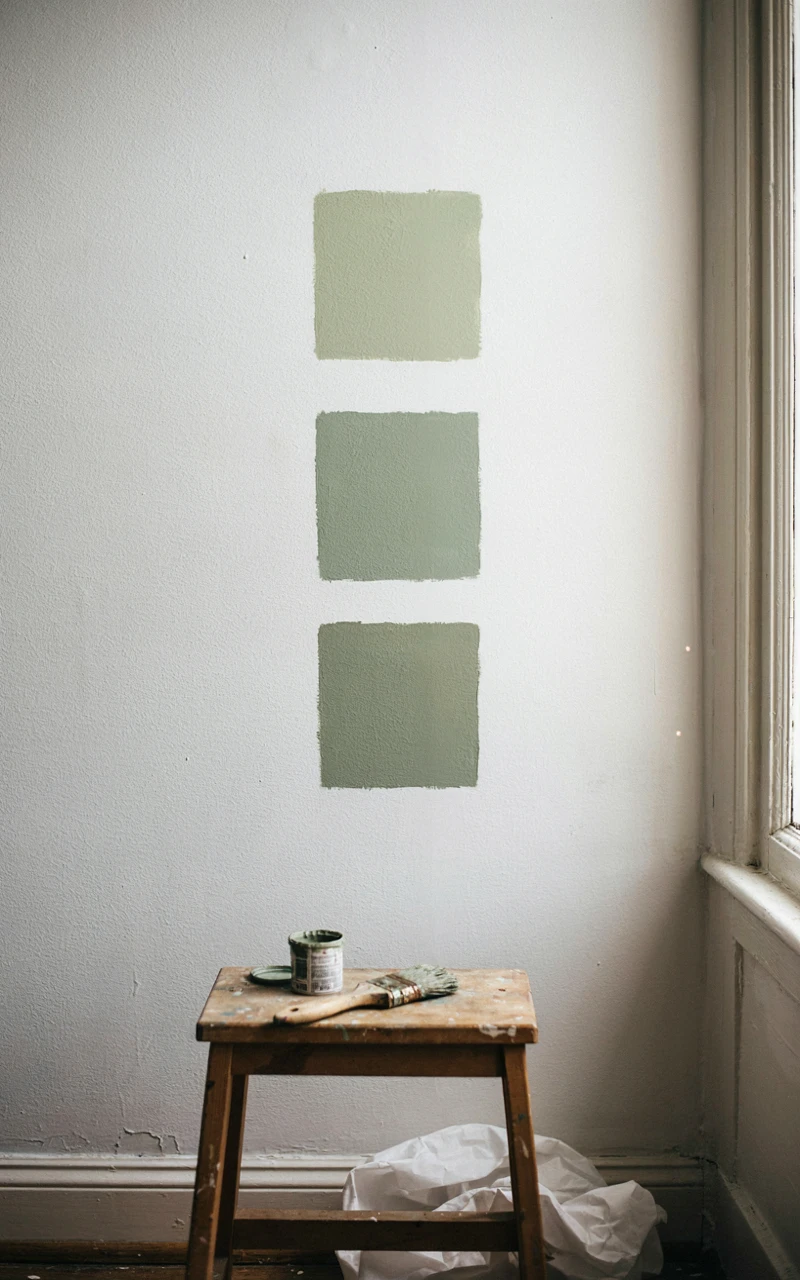
This is the stage that decides whether the room feels open or heavy. The color that looked perfect on a chip in the store can turn gray, green or flat once it’s on four walls and a ceiling.
When every surface is the same color, that color bounces off itself. A warm beige can lean pink, and a soft blue can look almost purple in a north-facing room. Testing in your own light is the only way to know.
Choosing a Color for Color Drenching Small Spaces
Many people assume a small room needs white. In my experience, a mid-tone color often works better for color drenching small spaces, because it blurs the corners and edges your eye uses to measure a room.
A handy number to look for is the LRV, or light reflectance value, which most paint brands print on the back of the chip or list online. It runs from 0 (black) to 100 (pure white) and tells you how much light the color bounces back.
| LRV range | How it feels when drenched | Best for |
|---|---|---|
| 60 and up | Light and airy, soft color | Small rooms with little daylight |
| 40 to 60 | Cozy but still open | Bedrooms, offices, small bathrooms |
| 20 to 40 | Moody and wrapped in | Rooms with good daylight or evening rooms |
| Below 20 | Very dark and dramatic | Powder rooms, dens, rooms with strong lighting |
If you’re worried about the room feeling smaller, start in the 40 to 60 range. Soft greens, warm clay, dusty blue and mushroom beige are all forgiving choices.
How to Test Your Samples
- Paint two coats of each sample on its own sheet of poster board, about 2 x 2 feet. Let each coat dry for 1 hour.
- Write the color name on the back of each board.
- Tape one board near the window, one in the darkest corner and one on the ceiling if you can.
- Look at the boards in the morning, at midday and in the evening with your lamps on.
- Hold each board next to your floor, your sofa and any wood furniture that’s staying.
- Live with the boards for 3 to 4 days before you decide.
- Cross off any color that looks dull, muddy or harsh at any time of day.
I paint on poster board instead of the wall so I can move the samples around. It also keeps the old wall color from changing how the new one looks.
Pay close attention to the evening check. Most of us spend a lot of time in a room after dark, and warm bulbs can push some colors toward brown or yellow.
Key takeaways:
- A mid-tone color can make a small room feel bigger than white does.
- Check the LRV and start between 40 and 60 if you’re unsure.
- Test on large boards for several days, morning and night.
The Finished Look: You have one board left that looks good near the window, in the dark corner and under your lamps at night. When you glance at it, you feel calm rather than unsure, and it sits nicely beside your floor and furniture.
Stage 2: Plan Your Shades and Finishes
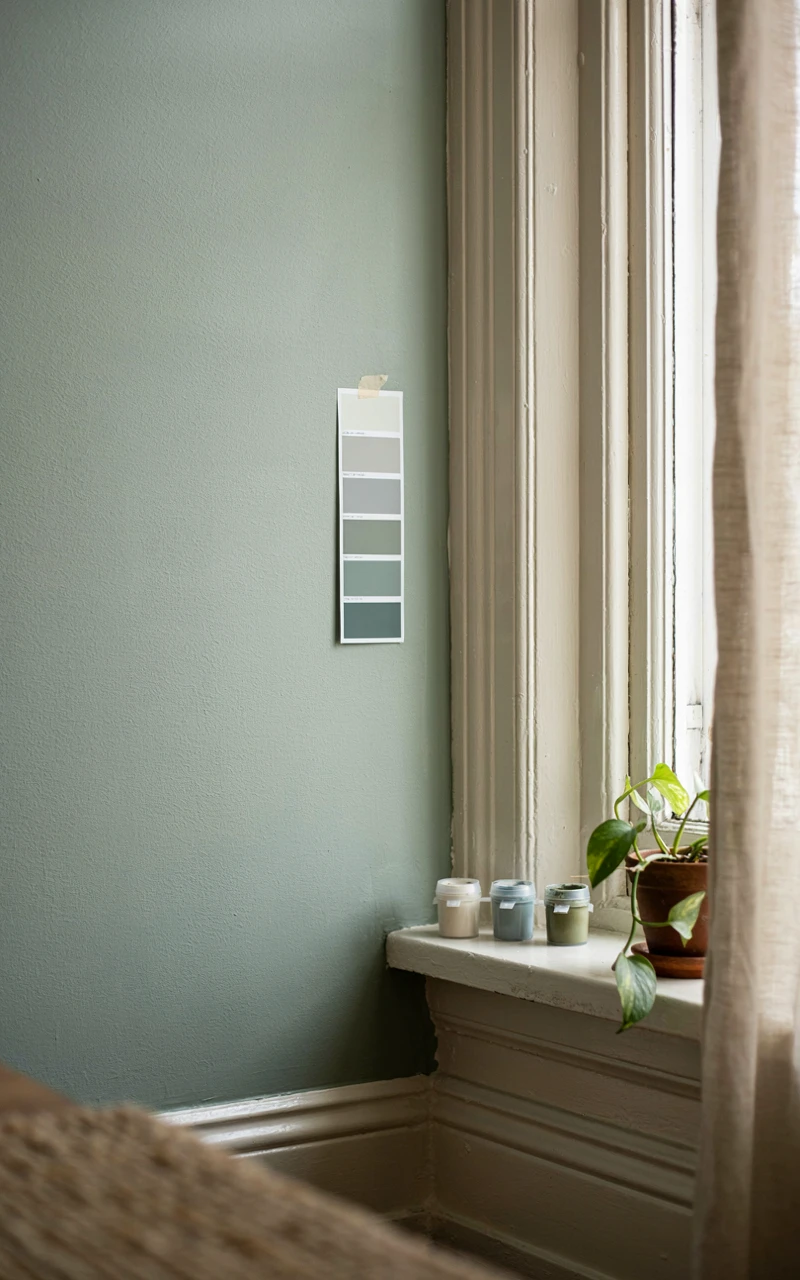
Now that you have your color, you’ll decide whether to use it straight across every surface or to use a few close shades. Then you’ll pick a finish for each surface.
Both choices affect how big the room feels. A room painted in one color and one finish can look flat. A room with the same color in two or three finishes looks rich, and it still keeps that seamless feel.
One Color or a Few Close Shades
The simplest approach is one color everywhere. It gives the cleanest, most wrapped-in look, and it’s the easiest to buy and touch up.
The second approach uses your chosen color plus one shade lighter and one shade darker from the same paint strip. Most paint chips show four to seven shades in a row, so you can pick neighbors from the same card.
- Same color everywhere: Best for small rooms where you want the edges to disappear.
- Lighter ceiling: One shade lighter on the ceiling helps a low ceiling, under about 8 feet, feel taller.
- Darker trim: One shade darker on baseboards and doors adds depth and hides scuffs.
Should the Ceiling Be the Same Color?
In most rooms, yes. A white ceiling draws a hard line around the top of the walls, and that line makes the room feel boxed in.
If your ceiling is very low or the room gets almost no daylight, go one shade lighter instead of jumping all the way to white. You’ll keep the soft, blended look without the ceiling feeling like it’s pressing down.
Picking Finishes for Each Surface
The finish, or sheen, is how shiny the paint looks once it’s dry. A shinier finish bounces more light and is easier to wipe clean, but it also shows every dent and patch.
| Surface | Finish | Why it works |
|---|---|---|
| Ceiling | Flat | Hides bumps and doesn’t glare under lights |
| Walls | Matte or eggshell | Soft and velvety, still wipes clean |
| Baseboards and window frames | Satin or semi-gloss | Holds up to kicks, mops and fingerprints |
| Doors and cabinets | Satin or semi-gloss | Takes daily handling and cleaning |
That slight change in sheen gives the room a quiet glow. The trim catches a little more light than the walls, so you get some depth without breaking up the color.
If your walls have patches or dents, stick with matte. Eggshell in a darker color can show every flaw when light hits the wall from the side.
Writing Your Paint Plan
- List every surface in the room: ceiling, each wall, baseboards, crown molding, window frames, doors and any built-ins.
- Next to each one, write the color name and the finish.
- Add up your square footage again using the amounts from the first section.
- Buy all your paint in one trip and ask the store to label each can with its surface.
Key takeaways:
- One color everywhere gives the most seamless result.
- Use a lighter ceiling only if the ceiling is low or the room is dark.
- Change the finish, not the color, to add depth.
The Finished Look: You have a written list showing every surface, its color and its finish. Your cans are labeled and stacked by surface, so you know exactly which one to open first.
Stage 3: How to Color Drench a Room From Ceiling to Floor
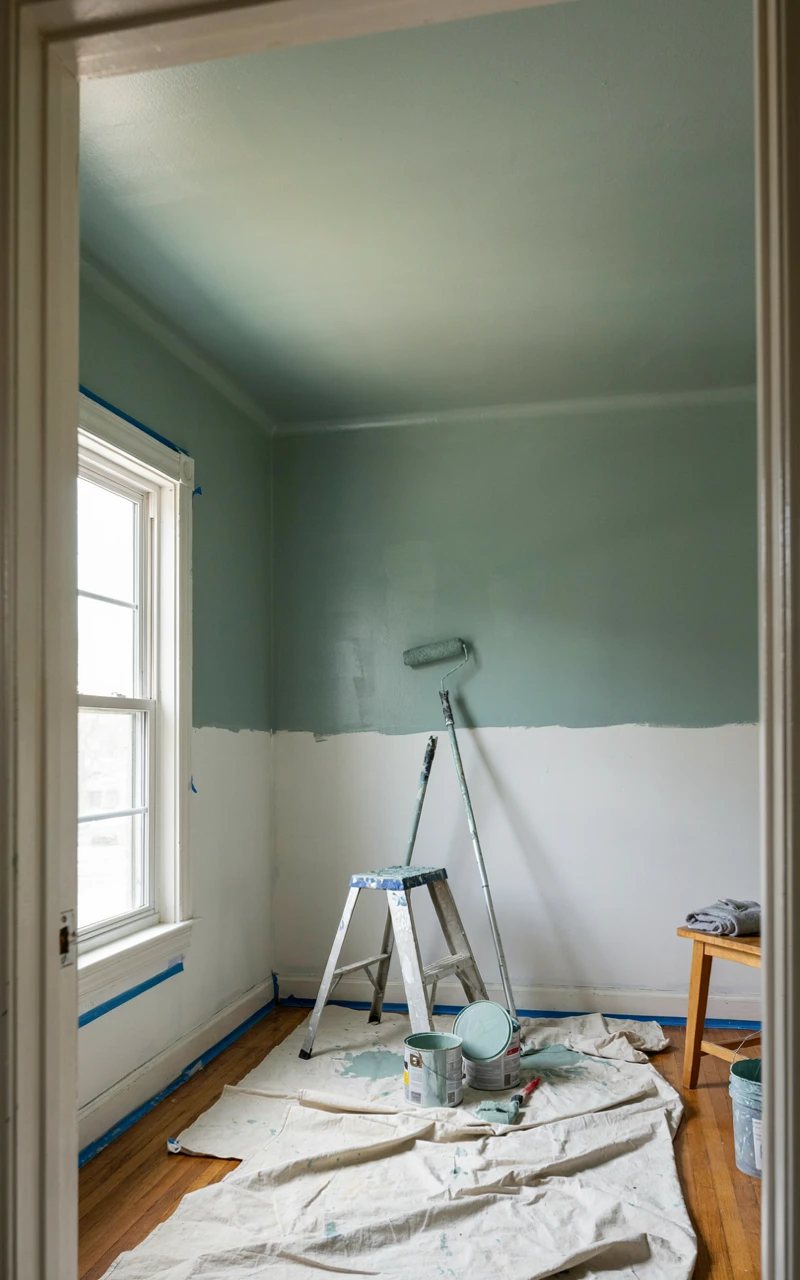
This is the part where the room really changes. Knowing how to color drench a room mostly comes down to order: top to bottom, and flat finishes before shiny ones.
Plan on a full weekend for an average bedroom. You’ll spend most of day one on prep and the ceiling, and day two on the walls and trim.
Prep the Room
- Move the furniture to the middle of the room and cover it with a drop cloth.
- Take off outlet covers, switch plates, curtain rods and any hooks or nails.
- Fill holes and dents with spackle and let it dry, usually 1 to 2 hours.
- Sand the patches smooth and lightly scuff any glossy trim so new paint sticks.
- Wash the walls and trim with warm water and a little dish soap, then let them dry for 1 hour.
- Spot-prime patches and any stains or water marks, and let the primer dry for about 1 hour.
- Tape the edge where the walls meet the floor, plus any window glass and hardware.
You don’t need to tape between the ceiling and walls if they’re the same color. That’s one of the nice surprises of color drenching, and it saves a lot of time.
Paint the Surfaces in Order
- Cut in around the edges of the ceiling with your angled brush, about 2 inches wide.
- Roll the ceiling in one direction, working in 3 x 3 foot sections while the edges are still wet.
- Let the ceiling dry for 2 to 4 hours, then roll a second coat.
- Cut in around the wall edges, windows and door frames with your brush.
- Roll the walls from top to bottom in a loose W shape, then fill it in with straight strokes.
- Let the walls dry for 2 to 4 hours, then cut in and roll a second coat.
- Paint the window frames and door frames with your brush.
- Paint the door with a mini roller, starting with the panels and finishing with the flat parts.
- Paint the baseboards last, so you don’t drip wall paint onto finished trim.
- Let the trim dry for 4 hours, then add a second coat.
- Pull the tape off slowly at a low angle while the last coat is still slightly soft.
Always keep a wet edge, which means rolling into paint that hasn’t dried yet. If you stop in the middle of a wall, you can end up with stripes, and these show up more when every surface is the same color.
Little Things That Make a Big Difference
- Paint the radiator, vents and outlet covers in the same color so nothing stands out.
- Use the same color on the inside of a closet if the door stays open.
- Keep a damp cloth in your pocket for drips on the floor.
- Wait at least 24 hours before putting furniture back against the walls.
Those white outlet covers are easy to miss. In a fully drenched room, they look like little white squares dotted around the walls, so either paint them or buy covers in a close color.
Key takeaways:
- Work from the ceiling down, finishing with the baseboards.
- Two coats on every surface, with 2 to 4 hours between them.
- Paint the small extras, like outlet covers and vents, to keep the look smooth.
The Finished Look: The color looks even from corner to corner with no patchy spots or roller lines. The corners and edges seem to soften, and the room already feels a little bigger, even with the furniture still piled in the middle.
Stage 4: Add Furniture, Fabric and Decor in the Same Color
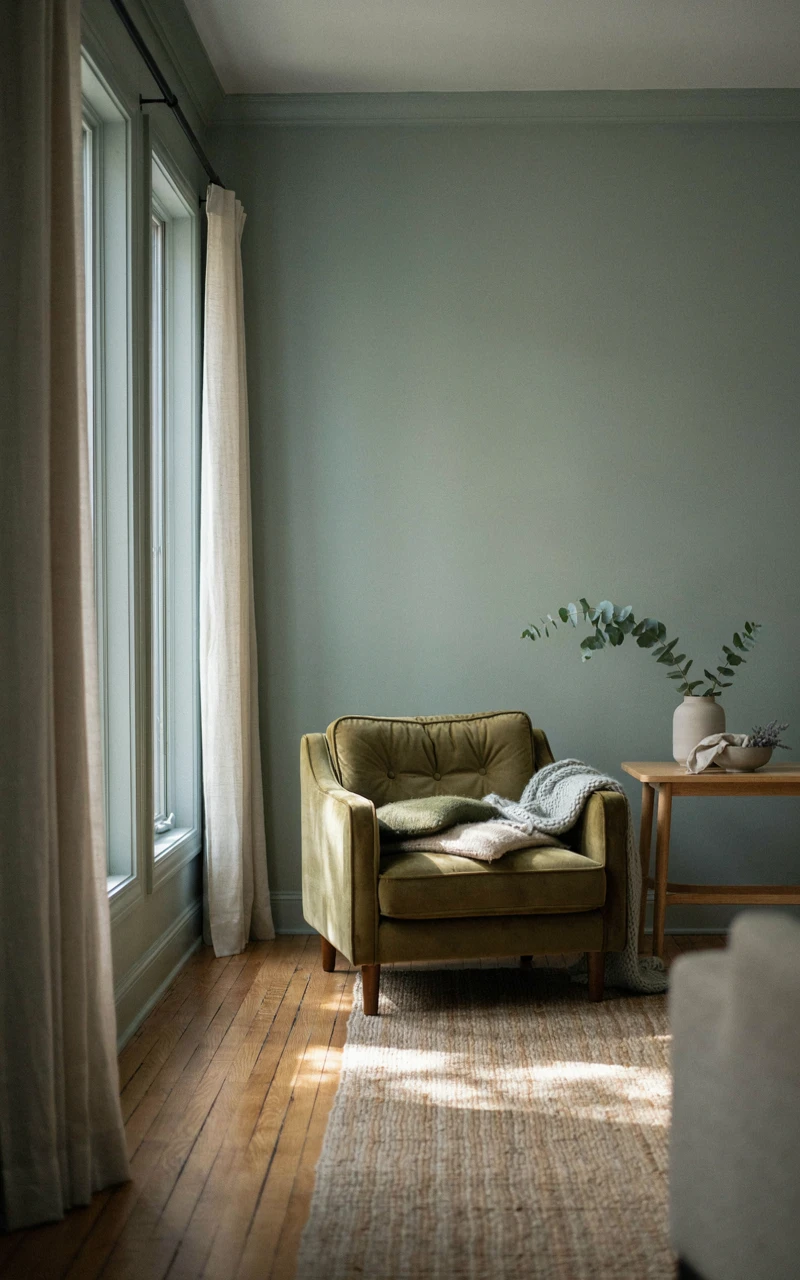
Once the paint is dry, you’ll bring the room back together. This is where many drenched rooms go wrong, because a few loud pieces can chop the room into sections again.
The goal is to let your furniture and fabric sit in the same color family as the walls. That keeps the room feeling like one calm space instead of a busy one.
Monochromatic Room Ideas That Keep Things Open
A monochromatic room uses one color in many shades and textures. Here are a few monochromatic room ideas that worked well in my own rooms:
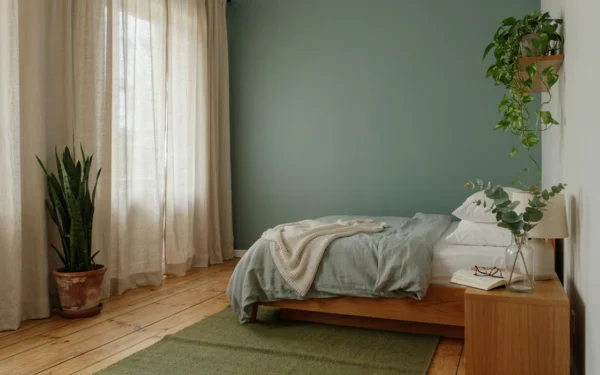
- A sage green bedroom with sage linen sheets, an olive throw blanket and a jar of eucalyptus on the nightstand.
- A dusty blue office with a navy chair, blue-gray curtains and a ceramic lamp in a soft slate.
- A warm clay living room with a rust velvet pillow, a terracotta plant pot and a tan wool rug.
- A mushroom beige bathroom with oatmeal towels, a stone soap dish and a jute bath mat.
If you love green, my post on greenery bedroom ideas has more ways to pair a sage wall with plants and soft bedding.
How to Bring Pieces Back In
- Bring back the largest piece first, like the bed or sofa, and look at the room for a moment.
- Add the rug and curtains next, since they cover the most area after the walls.
- Bring in smaller furniture, like side tables and chairs.
- Add pillows, blankets and bedding.
- Finish with small decor, such as vases, books, frames and plants.
- Step back after each piece and take out anything that pulls your eye too hard.
Tips for Keeping the Room Feeling Big
Pick furniture with legs where you can. A sofa or dresser raised off the floor lets you see more of the floor underneath it, and that makes the room read as larger.
Choose curtains in the wall color and hang the rod close to the ceiling, about 4 to 6 inches above the window frame or higher. Let the curtains fall all the way to the floor so they look like part of the wall.
Mix textures instead of colors. A knit blanket, a linen pillow, a wood bowl and a glass vase in the same color family give the room interest without any clashing.
- Do: Use one large mirror to bounce light across the room.
- Do: Keep surfaces fairly clear, with a few pieces grouped together.
- Don’t: Add lots of bright patterned fabric in different colors.
- Don’t: Push big, dark furniture flat against every wall.
You don’t need to buy all new things. Look around your home for pillows, books and vases that already fit the color, and move pieces from other rooms before you shop.
Key takeaways:
- Use shades of your wall color in your fabric and decor.
- Furniture with legs and floor-length curtains keep the room feeling tall and open.
- Add texture, not new colors, to keep things interesting.
The Finished Look: When you stand in the doorway, your eye moves around the room slowly instead of jumping from one bright thing to the next. The bed or sofa looks like it belongs to the walls, and nothing seems to stick out.
Stage 5: Light the Room So It Feels Open Day and Night
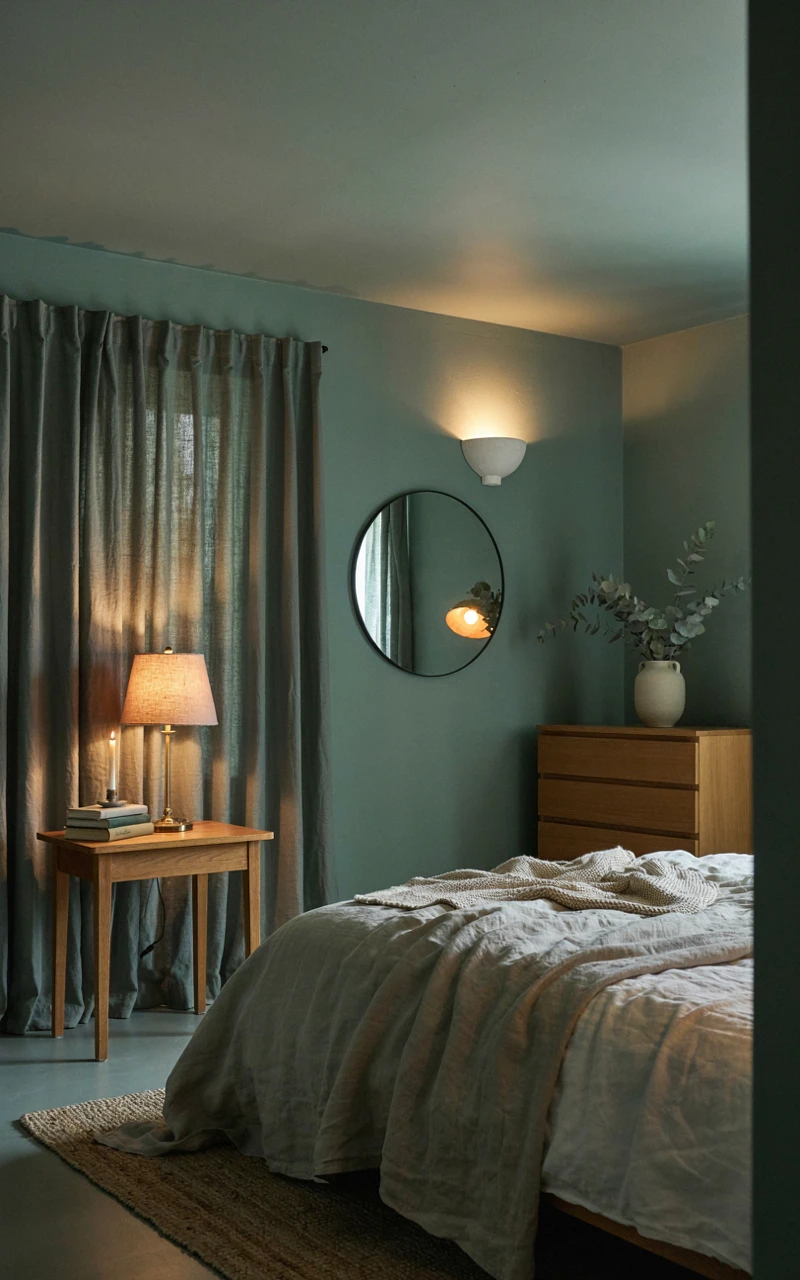
Lighting is the final piece, and it’s what keeps a drenched room from feeling small after dark. One ceiling light in a fully painted room can leave dark corners, and dark corners pull the walls in.
The fix is to light the room from several heights. You want light up high, at eye level and down low, so the color glows evenly across every surface.
Make the Most of Daylight
- Keep the windows clear of heavy furniture and thick blinds.
- Use light, sheer curtains during the day, or pull heavier curtains fully to the side.
- Hang a mirror across from or beside a window to bounce light deeper into the room.
- Wash the windows, since a dusty pane can block more light than you’d think.
Set Up Your Lamps and Bulbs
- Choose warm white bulbs around 2700K to 3000K, which are easy on the eyes and kind to most paint colors.
- Put the main ceiling light on a dimmer if you can, so you can lower it in the evening.
- Place a floor lamp in the darkest corner of the room.
- Add a table lamp at eye level, such as on a nightstand, desk or side table.
- Add one low light, like a small lamp on a shelf or an LED strip under a cabinet.
- Turn everything on at night and walk around the room to find any dark spots.
- Move a lamp or add one more until every corner has some light.
Try to have at least three light sources in the room besides the ceiling light. I like to keep the ceiling light off most evenings and use only lamps, which makes the color look soft and deep rather than flat.
Cool white bulbs, around 4000K and above, can make warm colors look gray and tired. If your color suddenly looks off at night, check your bulbs before you blame the paint.
Use Lamps That Match the Room
Lamp shades in linen or paper give a warm, soft glow. A lamp base in the same color as the walls, or a natural material like ceramic, wood or glass, keeps the look calm.
Shiny pieces help too. A brass lamp base, a glass vase or a mirrored tray catches the lamplight and sends a little sparkle around the room.
Key takeaways:
- Light the room from three heights so no corner goes dark.
- Use warm white bulbs between 2700K and 3000K.
- Mirrors and a few shiny pieces bounce light around the room.
The Finished Look: During the day, the room feels bright and soft, with light reaching every wall. At night, with the lamps on, the color looks warm and even, the corners stay lit, and the room feels cozy rather than closed in.
Looking back at that first little guest room, I’m glad I pushed past my worry. Painting everything one color felt like a big leap, but testing my samples and adding the right lamps made all the difference.
Color drenching isn’t about being bold for the sake of it. It’s about picking a color you love and letting it wrap the whole room, so the edges soften and the room feels calm.
If you’re curious about who’s behind these posts, you can read more about me here. And if you get stuck on a color or a finish, feel free to send me a message.
You can do this, even in your smallest room. Pick up a few sample pots this week, and then tell me in the comments which color you’re testing first.