This post may contain affiliate links, which means I may receive a small commission should you decide to click that link and make a purchase. For more information please refer to the Terms & Conditions.
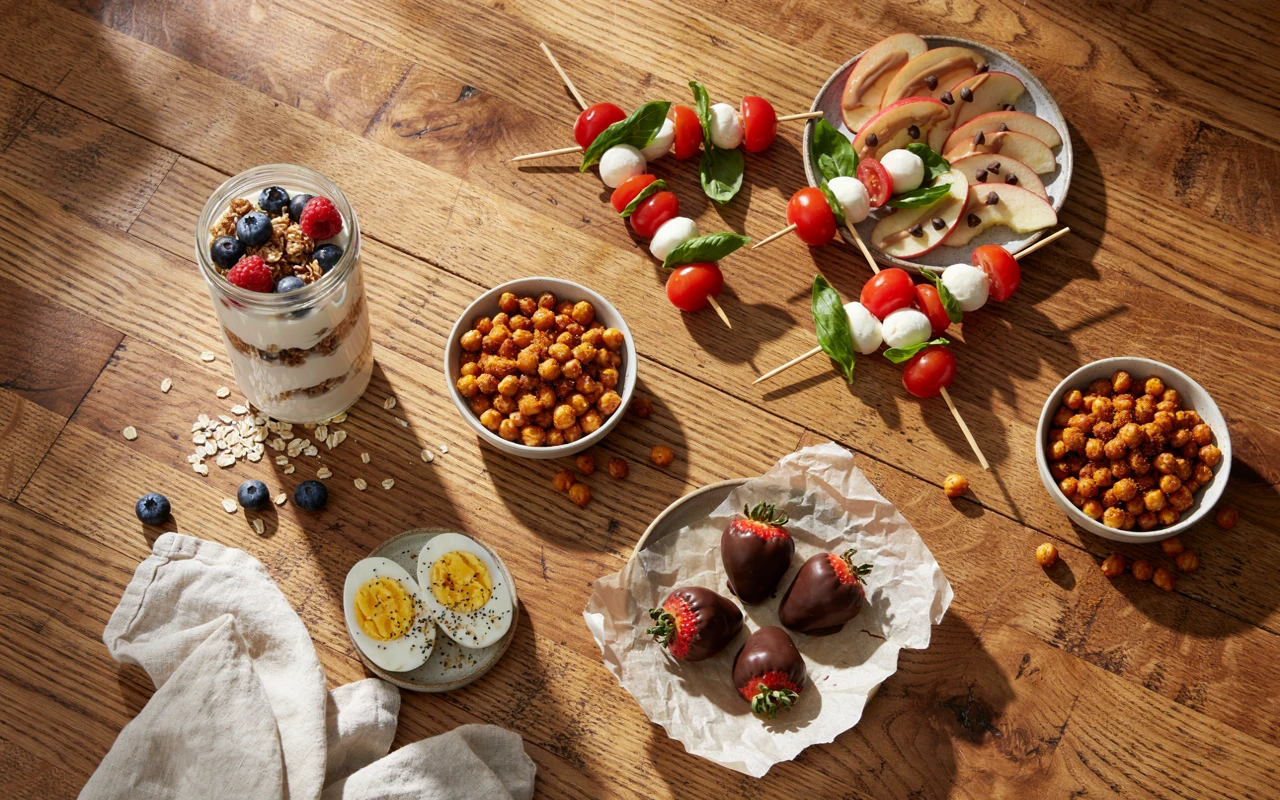
I used to think a snack meant a bag of chips eaten standing up at the kitchen counter. Then I started keeping a short list of healthy snack ideas for any time of day on a sticky note on my fridge, and my 3 p.m. slump got a lot easier to handle.
Most of them came from what I already had: a tub of yogurt, a can of chickpeas, a couple of apples going soft in the fruit bowl. None of them need special gear or a trip to a fancy store.
Some are sweet, some are salty, and a few are good enough to put out when friends come over. I make them on busy weekdays, slow Sundays, and late nights when I want something that won’t leave me feeling heavy.
Below, you’ll find 11 easy healthy snacks you can make for any time of day, each with real measurements, timing, and the small mistakes to skip.
1. Greek Yogurt Berry Parfait
Why You’ll Love This Recipe
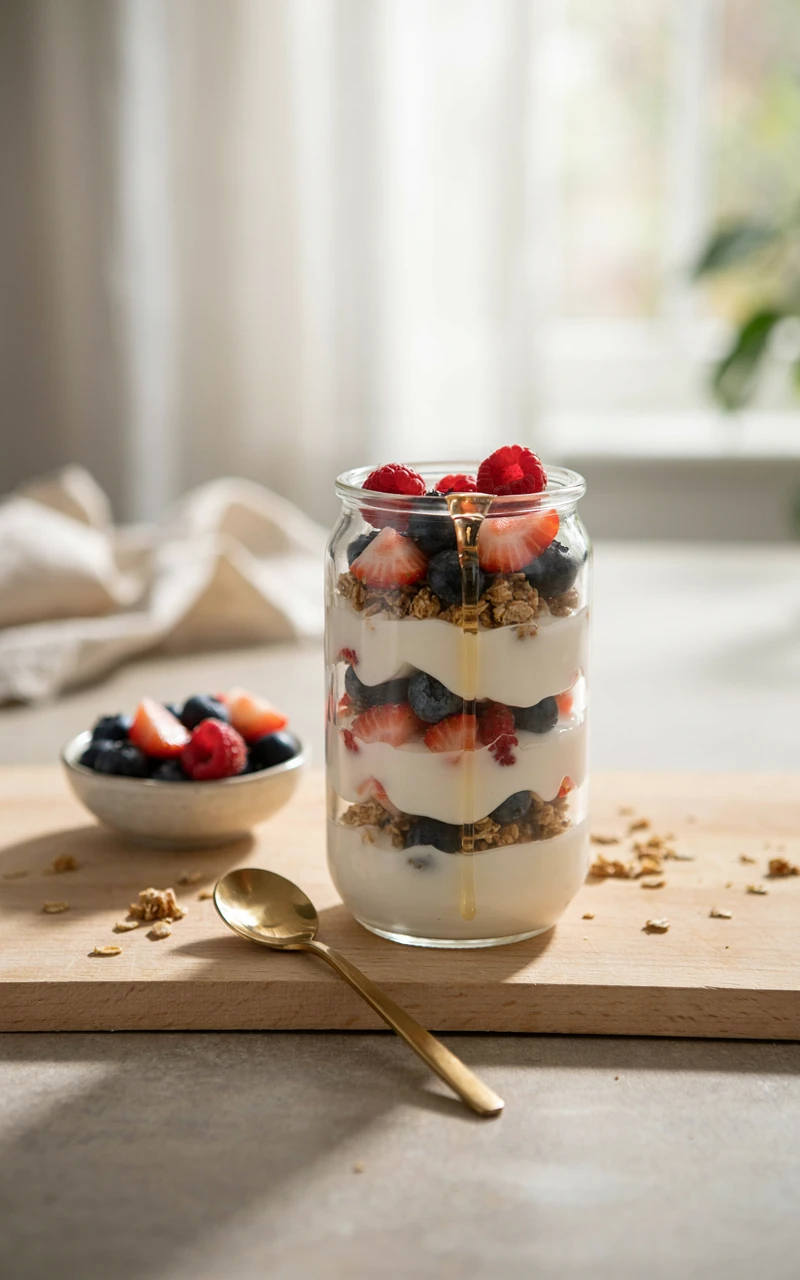
This is the snack I make most often, because it takes five minutes and tastes like dessert. Thick Greek yogurt gives you protein that keeps you full, the berries bring natural sweetness, and the granola adds the crunch that makes every spoonful fun.
It works as a mid-morning snack, an after-school snack for kids, or a light breakfast when you’re short on time. If you like starting your day with something a little more filling, my cozy fall breakfast ideas pair well with a small parfait on the side.
Ingredients
- 3/4 cup (170 g) plain Greek yogurt
- 1/2 cup (75 g) mixed berries, such as blueberries, raspberries, and sliced strawberries
- 1/4 cup (30 g) granola
- 1 tsp (7 g) honey or maple syrup
- 1 tbsp (10 g) chia seeds (optional)
Tools and Preparation
All you need is a glass or small jar, a spoon, and a knife for slicing strawberries. A clear glass is nice because you can see the layers, but any bowl works.
Prep time: 5 minutes. Cook time: none. Total time: 5 minutes. Serves: 1.
Step-by-Step Instructions
- Rinse the berries and pat them dry with a paper towel. Slice any large strawberries into bite-size pieces.
- Stir the honey into the yogurt so the sweetness spreads evenly.
- Spoon half the yogurt into the bottom of your glass and smooth it flat.
- Add half the berries, then half the granola.
- Repeat with the rest of the yogurt, berries, and granola. Sprinkle chia seeds on top if you’re using them.
Common Mistakes to Avoid
- Adding granola too early. If you make the parfait hours ahead, the granola goes soft. Pack it separately and add it right before eating.
- Using wet berries. Water from freshly rinsed fruit makes the yogurt runny, so dry them well.
- Buying flavored yogurt. Many flavored tubs have a lot of added sugar. Plain yogurt plus a little honey lets you decide how sweet it gets.
Variations, Storage, and Final Thoughts
Swap the berries for diced mango and toasted coconut, or use sliced banana with a drizzle of peanut butter. In winter, frozen berries thawed in the fridge overnight work just as well as fresh.
Without the granola, a parfait keeps in a lidded jar in the fridge for up to 2 days. Key takeaway: keep the crunchy layer separate until you eat, and this becomes a grab-and-go snack you can prep on Sunday.
2. Peanut Butter Oat Energy Bites
Why You’ll Love This Recipe
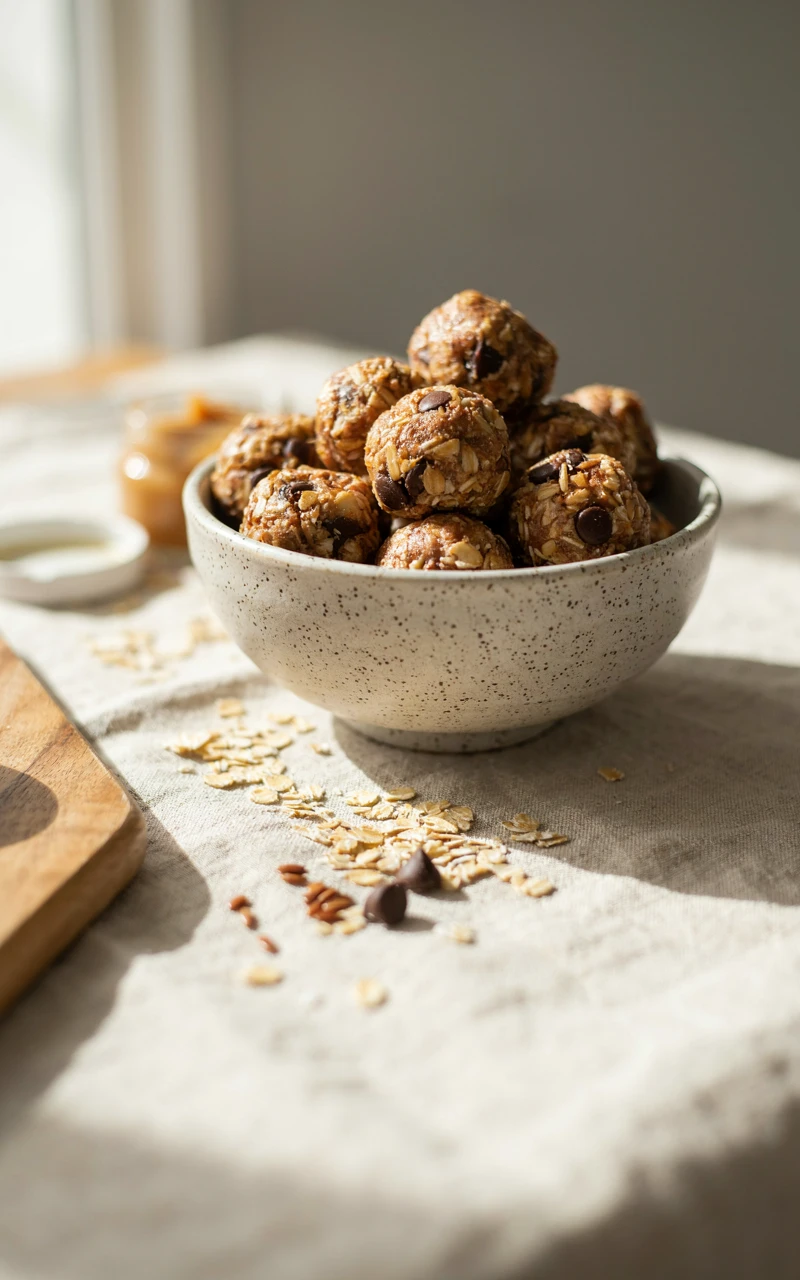
These no-bake bites taste like cookie dough, but they’re made with oats, peanut butter, and a little honey. One batch makes enough for the whole week, so you always have something ready when hunger hits.
They’re small enough to toss in a lunch box or a gym bag, and they hold together without crumbling. When people ask me for simple snack ideas they can make once and forget about, these are always first on my list.
Ingredients
- 1 cup (90 g) old-fashioned rolled oats
- 1/2 cup (130 g) creamy peanut butter
- 1/3 cup (110 g) honey
- 1/2 cup (85 g) mini dark chocolate chips
- 2 tbsp (14 g) ground flaxseed
- 1 tsp (5 ml) vanilla extract
- 1 pinch of salt
Tools and Preparation
Grab a medium mixing bowl, a sturdy spatula or wooden spoon, a tablespoon or small cookie scoop, and a plate or tray lined with parchment paper. Clear a small spot in the fridge for chilling.
Prep time: 10 minutes. Chill time: 30 minutes. Total time: 40 minutes. Makes: about 16 bites.
Step-by-Step Instructions
- Add the peanut butter, honey, vanilla, and salt to the bowl and stir until smooth.
- Add the oats, flaxseed, and chocolate chips. Mix until there are no dry pockets of oats left.
- Chill the mixture for 15 minutes. This makes it much less sticky to roll.
- Scoop about 1 tablespoon at a time and roll it between your palms into a ball about 1 inch (2.5 cm) wide.
- Set the balls on the lined tray and chill for another 15 minutes, until they feel firm when you press one.
Common Mistakes to Avoid
- Using natural peanut butter straight from the jar without stirring. The oil sits on top, and your bites end up greasy in some spots and dry in others.
- Skipping the first chill. Warm dough sticks to your hands and won’t hold a round shape.
- Using quick oats only. They work in a pinch, but rolled oats give a chewier, more satisfying bite.
Variations, Storage, and Final Thoughts
Try almond butter with dried cranberries, or sunflower seed butter if you need a nut-free version for school. A spoonful of cocoa powder turns them into a brownie-style bite.
Store them in an airtight container in the fridge for up to 1 week, or freeze for up to 3 months. Key takeaway: chill twice, roll small, and you’ll have a week of good snacks in under an hour.
3. Mini Avocado Toast Bites
Why You’ll Love This Recipe
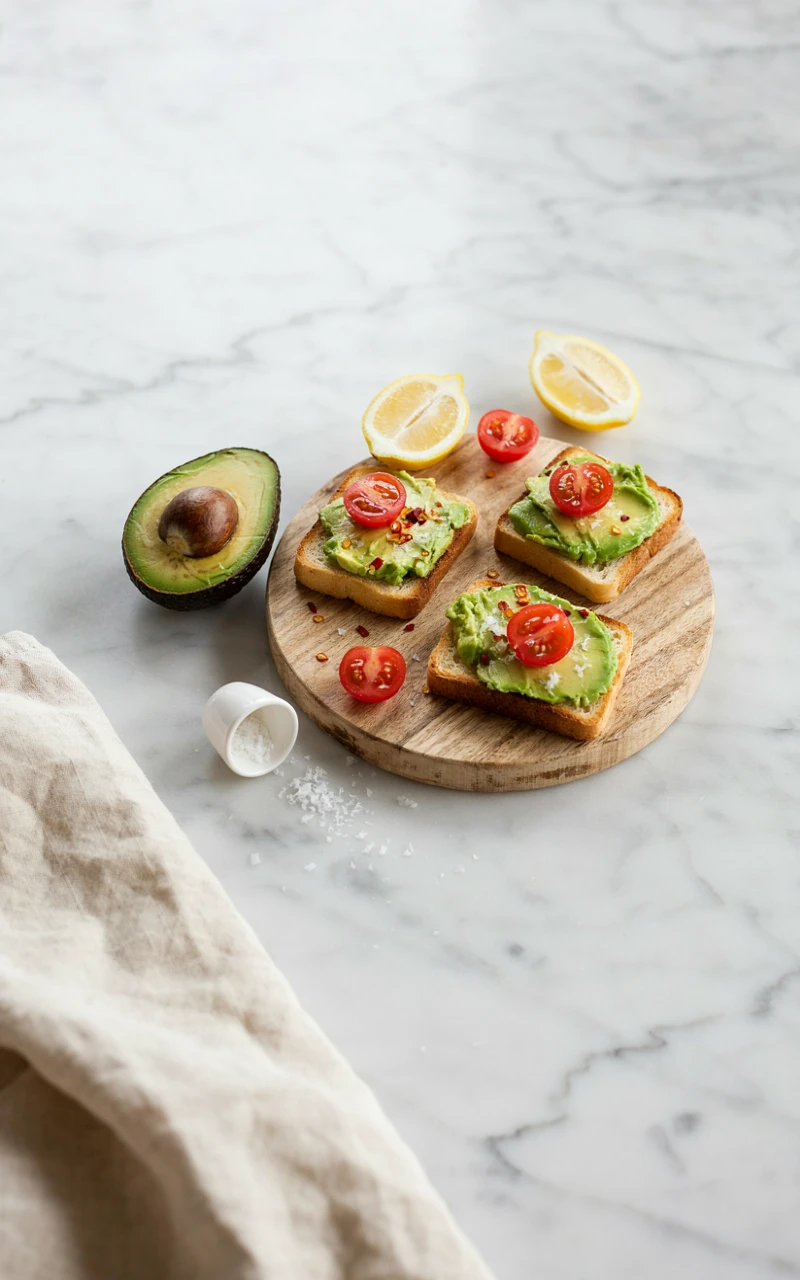
Full-size avocado toast can feel like a meal, but these mini slices are just right for a snack. The crisp bread, creamy avocado, and juicy tomato give you three textures in one bite.
They look pretty on a plate, so I also make them when friends drop by. The healthy fats in avocado help keep you full well into the afternoon.
Ingredients
- 8 slices whole wheat baguette, about 1/2 inch (1.5 cm) thick
- 1 ripe avocado
- 1 tsp (5 ml) lemon juice
- 1/4 tsp (1.5 g) salt
- 1/4 tsp (0.5 g) red pepper flakes
- 8 cherry tomatoes, halved
- 1 tbsp (15 ml) olive oil
Tools and Preparation
You’ll need a baking sheet, a small bowl, a fork, and a sharp knife. Heat your oven to 400°F (200°C) before you start slicing.
Prep time: 10 minutes. Cook time: 6 to 8 minutes. Total time: about 18 minutes. Serves: 2.
Step-by-Step Instructions
- Lay the baguette slices on the baking sheet and brush the tops lightly with olive oil.
- Bake for 6 to 8 minutes, until the edges turn golden and the bread feels crisp when tapped.
- While the bread toasts, scoop the avocado into the bowl and mash it with lemon juice and salt. Leave it a little chunky.
- Spread about 1 tablespoon of avocado on each toast.
- Top with two tomato halves and a pinch of red pepper flakes. Serve right away.
Common Mistakes to Avoid
- Picking an unripe avocado. It should give slightly when you press near the stem. A rock-hard one won’t mash.
- Topping the bread too soon. Avocado on warm, untoasted bread makes it soggy, so always toast first.
- Forgetting the lemon. It adds brightness and slows the avocado from turning brown.
Variations, Storage, and Final Thoughts
Add a crumble of feta, a slice of radish, or a few pumpkin seeds on top. Rice cakes or cucumber rounds make a gluten-free base.
The toasts are best eaten fresh, but leftover mashed avocado keeps for a day in the fridge with plastic wrap pressed right onto the surface. Key takeaway: toast the bread well, and these little bites stay crisp until the last one is gone.
4. Everything Bagel Deviled Eggs
Why You’ll Love This Recipe
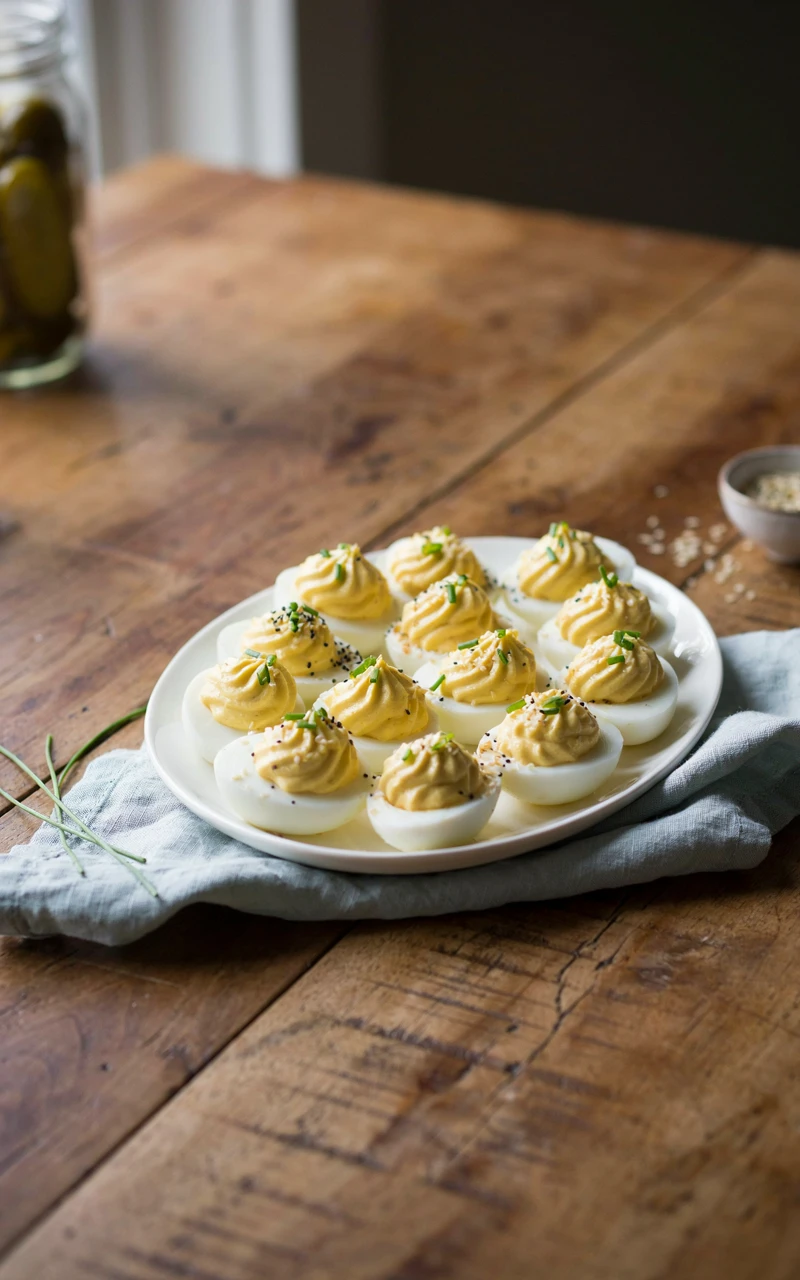
Deviled eggs are an old party favorite, and the everything bagel seasoning on top makes them taste new again. Each half is packed with protein, so two or three make a filling snack.
I swap some of the mayo for Greek yogurt, which keeps the filling creamy with a little tang. They’re a hit at brunch, on a picnic, or straight from the fridge after work.
Ingredients
- 6 large eggs
- 3 tbsp (45 g) plain Greek yogurt
- 1 tbsp (15 g) mayonnaise
- 1 tsp (5 g) Dijon mustard
- 1 tsp (5 ml) lemon juice
- 1 pinch each of salt and black pepper
- 2 tsp (6 g) everything bagel seasoning
Tools and Preparation
Get out a medium pot with a lid, a bowl of ice water, a fork, a small bowl, and a spoon or piping bag for filling. A zip-top bag with one corner snipped off works just fine as a piping bag.
Prep time: 15 minutes. Cook time: 12 minutes plus 5 minutes cooling. Total time: about 32 minutes. Makes: 12 halves, serving 4 to 6.
Step-by-Step Instructions
- Place the eggs in the pot and cover them with cold water by about 1 inch (2.5 cm).
- Bring the water to a full boil, then cover the pot, turn off the heat, and let the eggs sit for 12 minutes.
- Move the eggs into the ice water for 5 minutes. Peel them under cool running water.
- Slice each egg in half lengthwise and pop the yolks into the small bowl.
- Mash the yolks with yogurt, mayo, mustard, lemon juice, salt, and pepper until smooth.
- Spoon or pipe the filling back into the whites and sprinkle with everything bagel seasoning.
Common Mistakes to Avoid
- Boiling the eggs hard the whole time. This gives you a green ring around the yolk and a rubbery white.
- Skipping the ice bath. Warm eggs are much harder to peel cleanly.
- Seasoning too early. The seasoning loses its crunch if it sits on the filling overnight, so add it just before serving.
Variations, Storage, and Final Thoughts
Try smoked paprika and chives for a classic look, or mash in a little avocado for a green filling. A pinch of curry powder is also lovely.
Plain hard-cooked eggs keep for about a week in the fridge, according to the FoodSafety.gov cold food storage chart. Once filled, I eat deviled eggs within 2 days. Key takeaway: boil a batch on Sunday, and you can fill a few whenever you need a quick protein snack.
5. Crispy Roasted Chickpeas
Why You’ll Love This Recipe
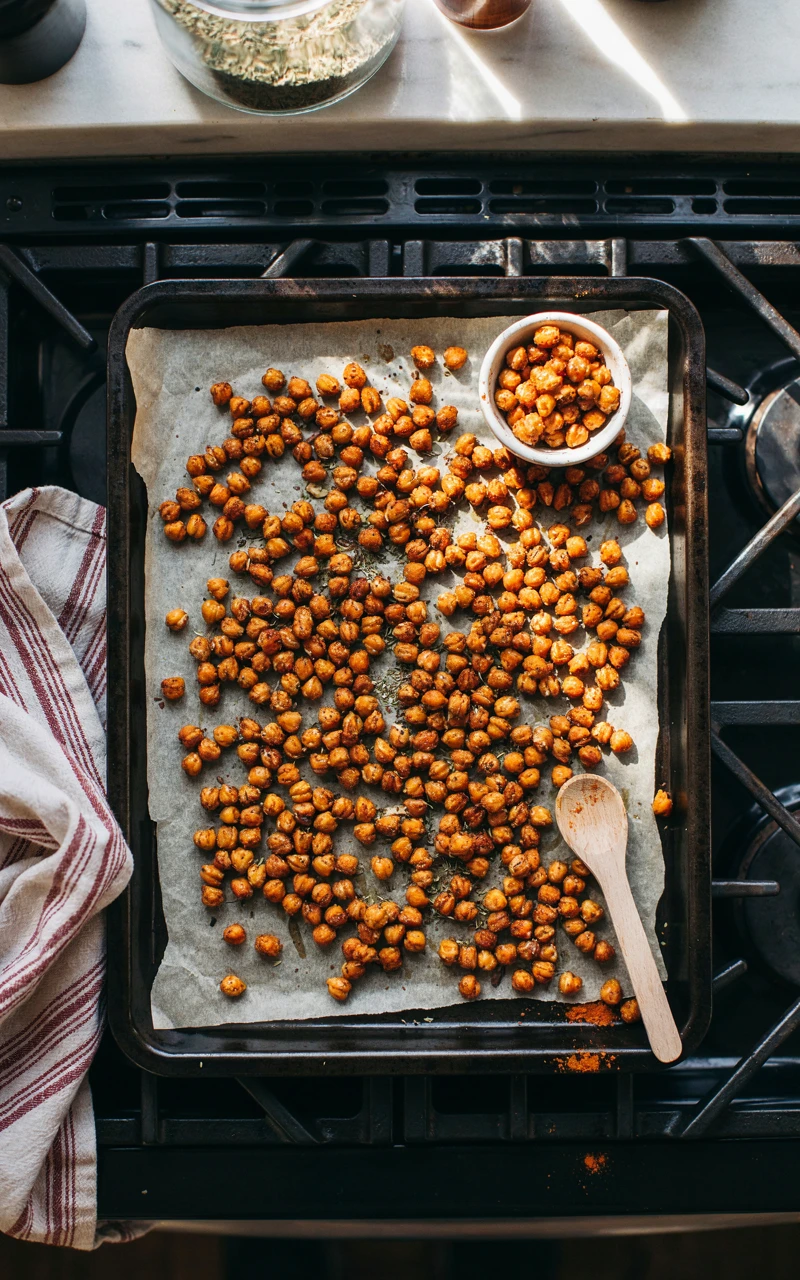
If you love crunchy, salty snacks, roasted chickpeas will scratch that itch. They taste a bit like corn nuts, but they’re made from one can of beans and a few pantry spices.
Chickpeas bring both fiber and plant protein, with roughly 7 grams of protein in a half cup of cooked beans. You can check the numbers for this or any other ingredient in the USDA FoodData Central database.
Ingredients
- 1 can (15 oz / 425 g) chickpeas, drained and rinsed
- 1 tbsp (15 ml) olive oil
- 1/2 tsp (1 g) smoked paprika
- 1/2 tsp (1.5 g) garlic powder
- 1/2 tsp (3 g) salt
Tools and Preparation
You’ll need a colander, a clean kitchen towel, a rimmed baking sheet, and a mixing bowl. Heat the oven to 400°F (200°C).
Prep time: 10 minutes. Cook time: 25 to 35 minutes. Total time: about 45 minutes. Serves: 3 to 4.
Step-by-Step Instructions
- Drain and rinse the chickpeas, then roll them in a kitchen towel to dry them. Pull off any loose skins that come away.
- Spread the chickpeas on the baking sheet in a single layer and roast plain for 10 minutes to dry them out further.
- Tip them into the bowl and toss with olive oil, paprika, garlic powder, and salt.
- Return them to the baking sheet and roast for another 15 to 25 minutes, shaking the pan halfway.
- They’re done when they’re deep golden and rattle when you shake the pan. Let them cool on the sheet, where they’ll crisp up even more.
Common Mistakes to Avoid
- Leaving them damp. Wet chickpeas steam instead of roast, and they stay chewy.
- Crowding the pan. Give them space, or use two sheets.
- Storing them warm. Steam trapped in a closed jar makes them soft by morning.
Variations, Storage, and Final Thoughts
For a sweet version, toss them with cinnamon and a little maple syrup in the last 5 minutes. Ranch seasoning or chili lime are great too.
Keep cooled chickpeas in a jar with the lid slightly loose for up to 3 days. If they soften, crisp them in a 350°F (175°C) oven for 5 minutes. Key takeaway: dry beans and a hot oven are the whole secret here.
6. Hummus Veggie Snack Box
Why You’ll Love This Recipe
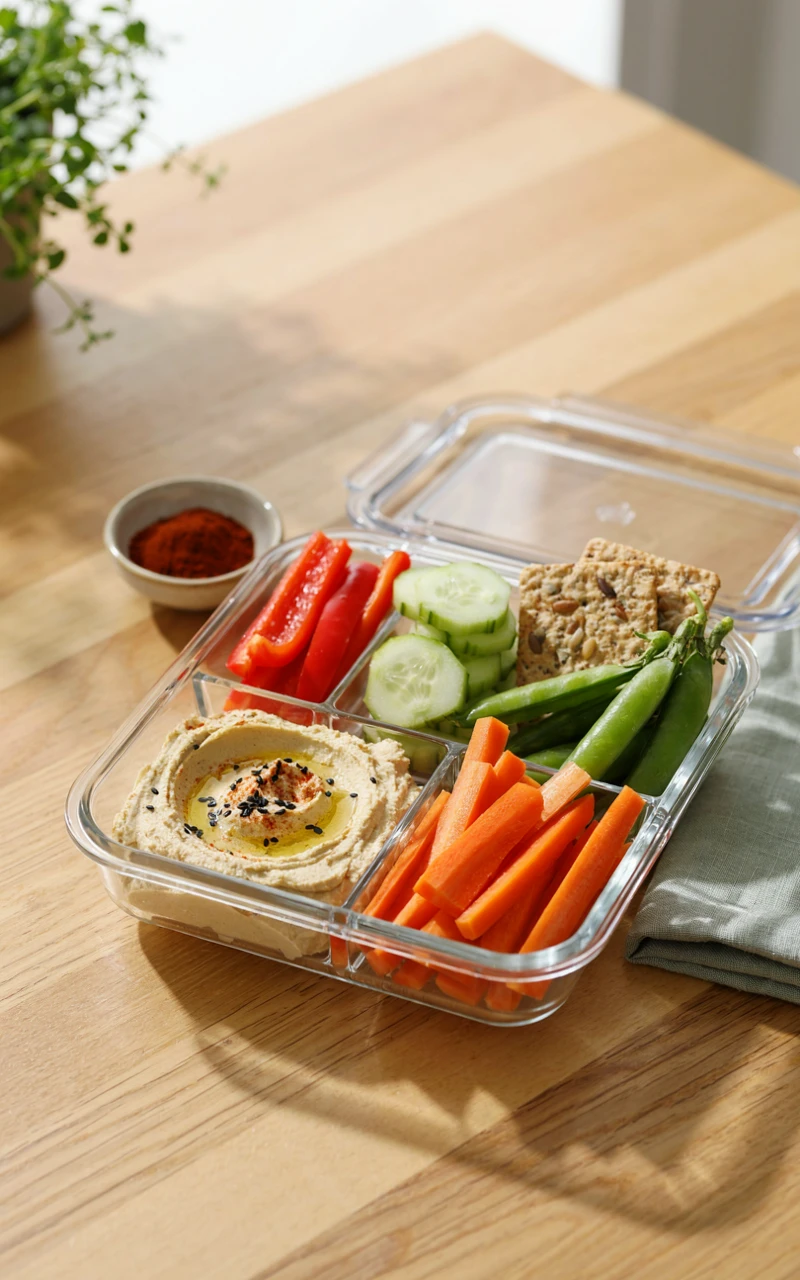
This is less of a recipe and more of a smart way to pack your fridge. A snack box with hummus, crunchy veggies, and crackers feels like a little picnic, and it’s one of the best good snacks for work or long drives.
You get fiber from the vegetables, protein from the hummus, and enough variety that you won’t get bored halfway through. If you’re scrolling for healthy snack inspo that grown-ups and kids both like, this one is hard to beat.
Ingredients
- 1/2 cup (120 g) hummus
- 1 small cucumber, sliced into rounds
- 1 medium carrot, cut into sticks
- 1/2 red bell pepper, sliced into strips
- 6 cherry tomatoes
- 8 whole grain crackers
- 1/4 cup (35 g) pitted olives (optional)
- 2 tbsp (20 g) crumbled feta (optional)
Tools and Preparation
A bento-style container with a few compartments is ideal, but a lidded container plus a small cup for the hummus works too. You’ll also need a cutting board and a sharp knife.
Prep time: 10 minutes. Cook time: none. Total time: 10 minutes. Serves: 1.
Step-by-Step Instructions
- Wash and dry all the vegetables.
- Slice the cucumber, carrot, and bell pepper into pieces you can easily dip.
- Spoon the hummus into its own section or a small cup with a lid.
- Fill the other sections with veggies, tomatoes, olives, and feta.
- Keep the crackers in a separate small bag until you’re ready to eat.
Common Mistakes to Avoid
- Packing wet veggies. Moisture makes everything slimy by lunchtime.
- Putting crackers next to cucumber. They soak up moisture and lose their snap.
- Cutting veggies too thin. Thin sticks snap when you scoop thick hummus.
Variations, Storage, and Final Thoughts
Swap hummus for tzatziki or a white bean dip. Snap peas, celery, and radishes are all great dippers, and a handful of grapes adds something sweet.
Prepped vegetables keep in a sealed container with a folded paper towel for 3 to 4 days. Key takeaway: cut a few days of veggies at once, and building a snack box takes about two minutes each morning.
7. Apple Nachos With Almond Butter
Why You’ll Love This Recipe
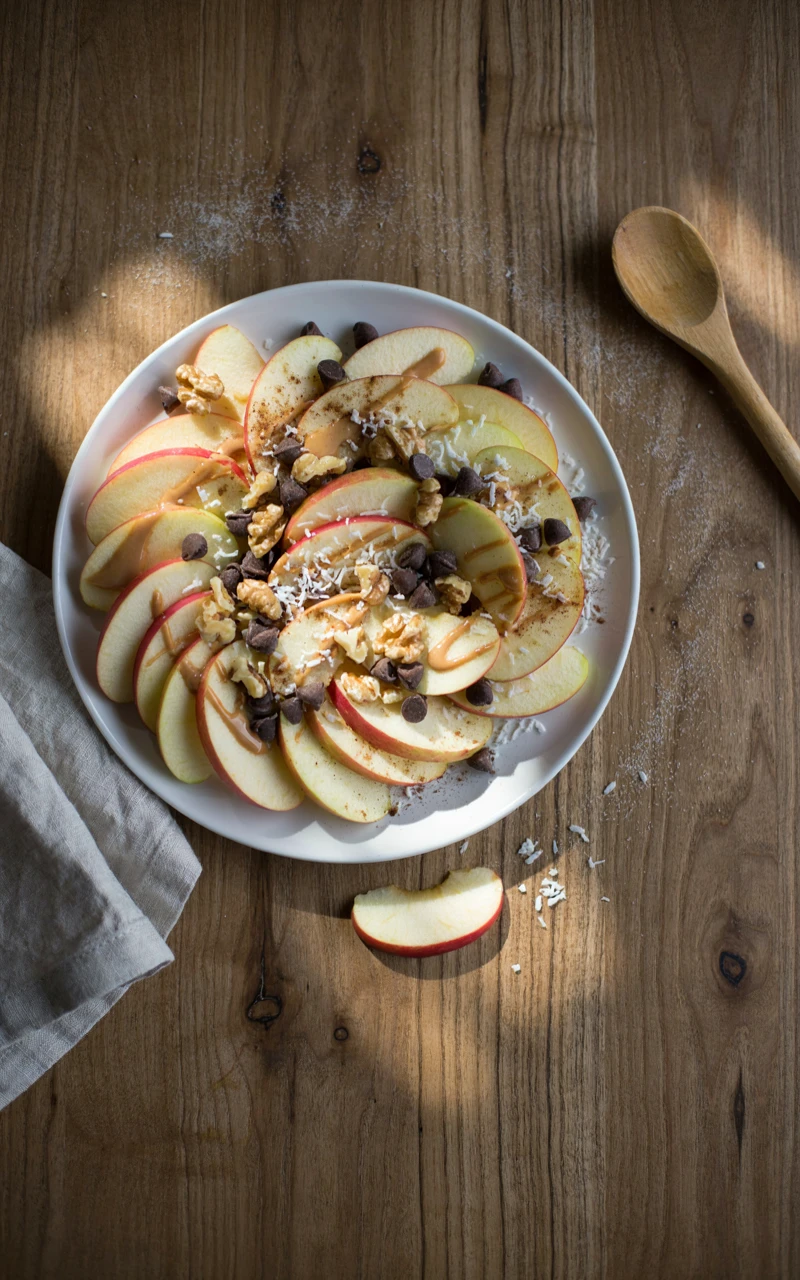
Apple nachos are thin apple slices spread on a plate and topped like nachos, with a drizzle of almond butter, a few chocolate chips, and some crunchy nuts. It’s playful, it’s quick, and kids think it’s the best thing ever.
The apple gives you crunch and fiber, while the almond butter adds staying power. It’s my go-to sweet snack when I want something that feels like a treat without a sugar crash.
Ingredients
- 2 crisp apples, such as Honeycrisp or Gala
- 1 tsp (5 ml) lemon juice mixed into 1 cup (240 ml) cold water
- 2 tbsp (32 g) almond butter
- 1 tbsp (10 g) mini dark chocolate chips
- 1 tbsp (8 g) chopped walnuts
- 1 tbsp (5 g) unsweetened coconut flakes
- 1 pinch of ground cinnamon
Tools and Preparation
You’ll need a sharp knife or apple slicer, a small bowl, a microwave-safe cup, a spoon, and a large plate. A mandoline gives perfectly even slices, but use the hand guard every time.
Prep time: 10 minutes. Cook time: none. Total time: 10 minutes. Serves: 2.
Step-by-Step Instructions
- Core the apples and cut them into rounds or wedges about 1/4 inch (6 mm) thick.
- Dip the slices in the lemon water for a few seconds, then pat them dry.
- Fan the slices out on the plate, overlapping them a little.
- Warm the almond butter in the microwave for 10 to 15 seconds, until it pours off a spoon.
- Drizzle it over the apples, then scatter the chocolate chips, walnuts, coconut, and cinnamon on top.
Common Mistakes to Avoid
- Slicing too thick. Chunky wedges are hard to pick up with toppings on them.
- Overheating the nut butter. It can scorch and turn bitter. Short bursts are enough.
- Choosing a soft apple. Mealy apples go limp under the toppings.
Variations, Storage, and Final Thoughts
Try peanut butter with granola, or a spoonful of Greek yogurt with honey for a lighter drizzle. Pears work well too.
Apple nachos are best eaten right away. If you have extra apples in the fruit bowl, my easy apple pie ideas are a lovely weekend project. Key takeaway: thin slices and warm nut butter make this snack feel special with almost no effort.
8. Caprese Skewers With Balsamic Glaze
Why You’ll Love This Recipe
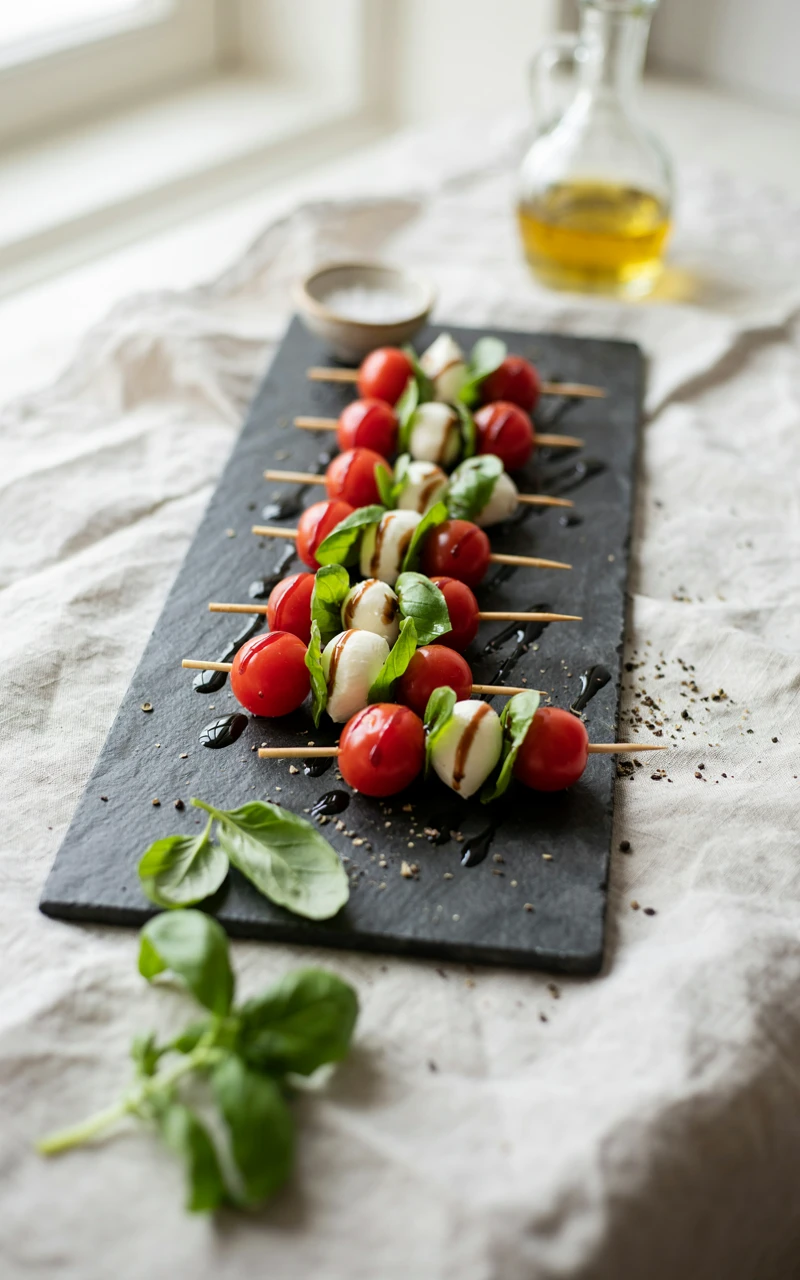
These skewers take the classic Italian salad of tomato, mozzarella, and basil and put it on a stick. They look like something from a party platter, but you can make a dozen in about 15 minutes.
They’re light, fresh, and full of flavor, and the balsamic glaze adds a sweet-sour finish. I love them on summer afternoons, but they make good appetizers any time of year.
Ingredients
- 12 cherry tomatoes
- 12 small fresh mozzarella balls (about 8 oz / 225 g)
- 12 fresh basil leaves
- 1 tbsp (15 ml) extra virgin olive oil
- 2 tbsp (30 ml) balsamic glaze
- 1 pinch each of flaky salt and black pepper
Tools and Preparation
You’ll need 12 short wooden skewers or sturdy toothpicks, a serving plate, and paper towels. If you’d like to make your own glaze, grab a small saucepan and 1/2 cup (120 ml) of balsamic vinegar.
Prep time: 15 minutes. Cook time: none, or 10 minutes for homemade glaze. Total time: 15 to 25 minutes. Makes: 12 skewers, serving 4.
Step-by-Step Instructions
- If making glaze, simmer the balsamic vinegar over low heat for 8 to 10 minutes, until it has reduced by half and coats the back of a spoon. Let it cool.
- Pat the mozzarella balls dry with paper towels.
- Thread one tomato onto each skewer, then a basil leaf folded in half, then a mozzarella ball.
- Lay the skewers on the plate and drizzle lightly with olive oil.
- Sprinkle with salt and pepper, then drizzle the glaze over the top just before serving.
Common Mistakes to Avoid
- Using wet mozzarella. The brine waters down the glaze and makes the plate soggy.
- Letting the glaze boil hard. It can burn quickly and taste bitter.
- Adding basil too early. Basil darkens after a few hours, so build these close to serving time.
Variations, Storage, and Final Thoughts
Add a cube of cucumber or a folded slice of prosciutto, or swap basil for a small spinach leaf. Grilled zucchini rounds are a nice summer twist.
Undressed skewers keep in the fridge for up to 1 day, covered. Add the oil and glaze right before eating. Key takeaway: dry cheese and a last-minute drizzle keep these looking as good as they taste.
9. Baked Kale Chips
Why You’ll Love This Recipe
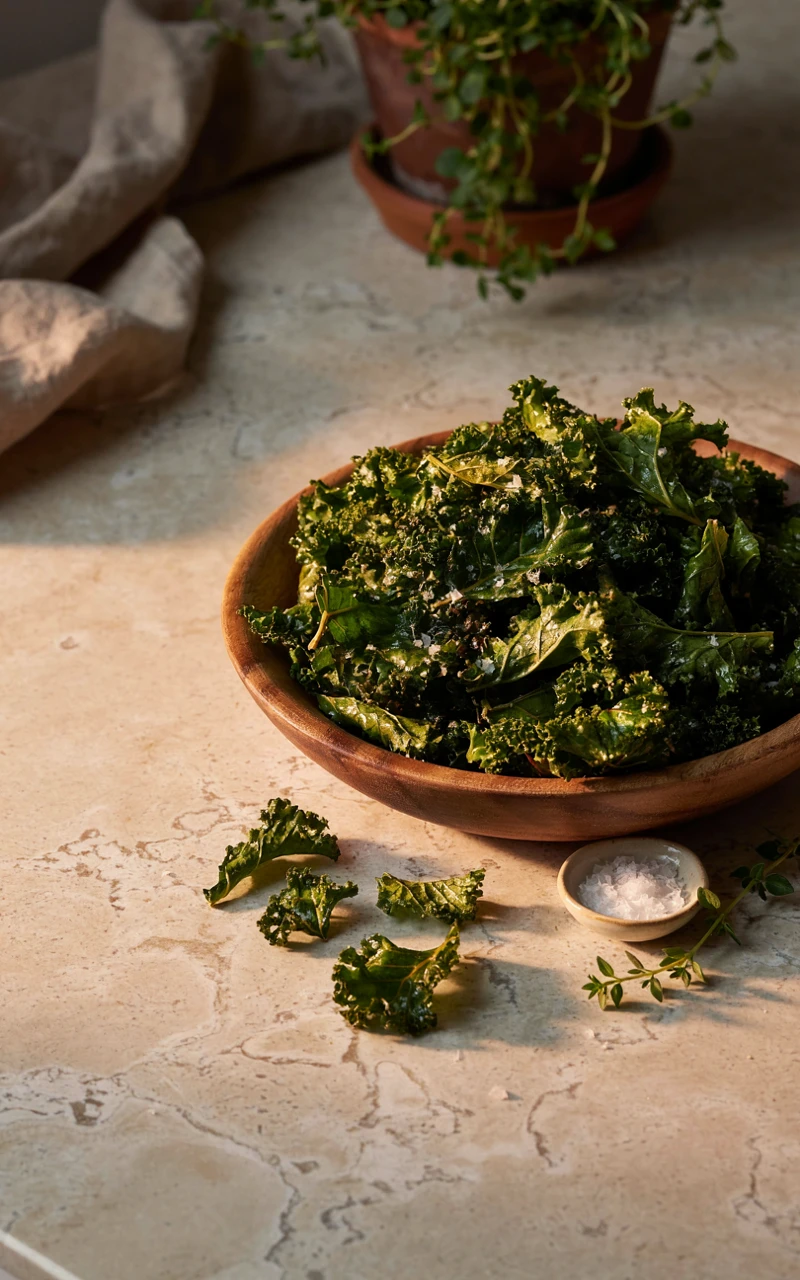
Kale chips sound like a stretch until you try a good batch. They’re paper-thin, salty, and crisp, and they melt on your tongue the way potato chips do.
One bunch of kale bakes down into a big bowl of chips, so you get a lot of crunch for very little oil. Nutritional yeast gives them a cheesy flavor that even picky eaters tend to like.
Ingredients
- 1 bunch curly kale (about 8 oz / 225 g)
- 1 tbsp (15 ml) olive oil
- 1/4 tsp (1.5 g) salt
- 1 tbsp (5 g) nutritional yeast (optional)
Tools and Preparation
You’ll need two baking sheets lined with parchment paper, a salad spinner or clean towels, and a large bowl. Heat the oven to 300°F (150°C). A low oven is the key to chips that crisp without burning.
Prep time: 10 minutes. Cook time: 18 to 22 minutes. Total time: about 30 minutes. Serves: 2.
Step-by-Step Instructions
- Wash the kale and dry it completely in a salad spinner, then pat with a towel.
- Strip the leaves from the thick stems and tear them into pieces about the size of a potato chip.
- Put the kale in the bowl, add the oil, and rub it into every leaf with your hands.
- Spread the leaves on the baking sheets in a single layer and sprinkle with salt and nutritional yeast.
- Bake for 18 to 22 minutes, turning the pans halfway. They’re done when the edges are crisp and the leaves are dark green, not brown.
Common Mistakes to Avoid
- Baking damp kale. Any water left on the leaves makes them steam and stay chewy.
- Using too much oil. Heavy oil makes them greasy and limp.
- Oven too hot. Above 350°F (175°C), the thin edges burn before the centers crisp.
Variations, Storage, and Final Thoughts
Try smoked paprika, garlic powder, or a squeeze of lime with chili flakes. Lacinato kale works too, but it bakes a little faster.
Kale chips are best within a few hours. Store leftovers in a paper bag at room temperature for up to 1 day. Key takeaway: dry leaves, a light hand with oil, and a low oven give you crisp chips every time.
10. Olive Oil and Parmesan Popcorn
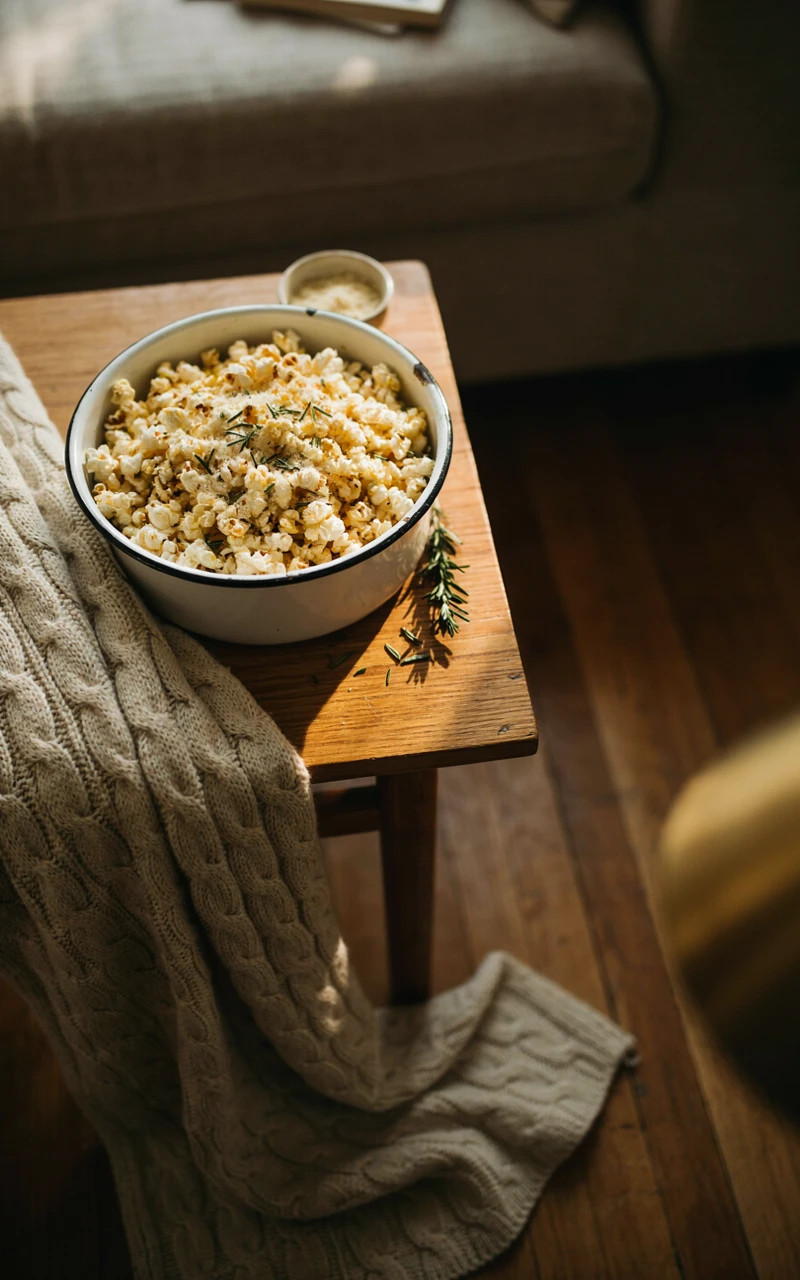
Why You’ll Love This Recipe
Popcorn is a whole grain, and when you make it on the stove, you control exactly what goes on it. A drizzle of good olive oil and a snowfall of Parmesan makes it taste rich without a pile of butter.
This is my movie-night snack and my late-night snack. Pair a bowl with a warm mug from my cozy fall drinks list, and you have a perfect evening on the couch.
Ingredients
- 1/3 cup (65 g) popcorn kernels
- 2 tbsp (30 ml) olive oil, divided
- 1/4 cup (20 g) finely grated Parmesan
- 1/2 tsp (3 g) fine salt
- 1/4 tsp (0.5 g) black pepper
- 1/2 tsp (0.5 g) dried rosemary, crushed (optional)
Tools and Preparation
You’ll need a large heavy pot with a lid and a big serving bowl. Grate the Parmesan on the finest side of your grater so it clings to every piece.
Prep time: 5 minutes. Cook time: 5 minutes. Total time: 10 minutes. Makes: about 8 cups popped, serving 3 to 4.
Step-by-Step Instructions
- Add 1 tablespoon of olive oil and 3 kernels to the pot. Cover and heat over medium-high.
- When all 3 kernels pop, add the rest of the kernels, cover, and take the pot off the heat for 30 seconds so they warm evenly.
- Return the pot to the heat and shake it gently every few seconds while it pops.
- When the popping slows to 2 or 3 seconds between pops, take it off the heat and pour it into the bowl.
- Drizzle with the remaining olive oil, toss, then add the Parmesan, salt, pepper, and rosemary. Toss again until coated.
Common Mistakes to Avoid
- Leaving the pot on too long. The last kernels aren’t worth burning the whole batch.
- Using coarse salt. It bounces off. Fine salt sticks much better.
- Adding cheese to dry popcorn. Toss with the oil first so the Parmesan has something to grab onto.
Variations, Storage, and Final Thoughts
Try garlic powder and dried oregano for a pizza flavor, or skip the cheese and use cinnamon with a pinch of sugar. Nutritional yeast works as a dairy-free swap for Parmesan.
Store cooled popcorn in an airtight bag for up to 2 days. Key takeaway: the three-kernel test and a little patience give you a full pot of fluffy popcorn with almost no burnt bits.
11. Dark Chocolate Dipped Strawberries
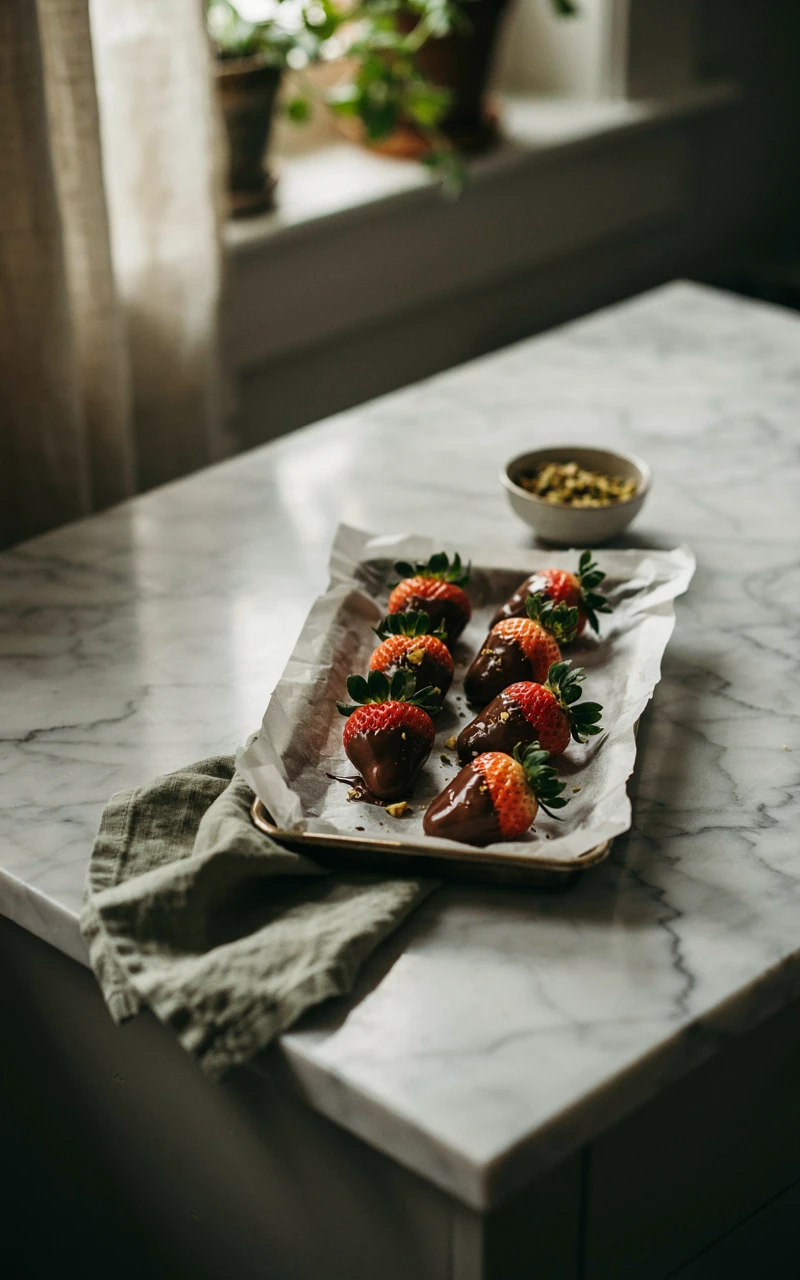
Why You’ll Love This Recipe
Sometimes you just want chocolate, and these strawberries let you have it in a sensible way. Juicy berries with a crisp dark chocolate shell feel fancy, yet you only need two main ingredients.
Dark chocolate has less sugar than milk chocolate and a deeper flavor, so a few berries feel like plenty. They’re lovely for date night, a birthday, or a holiday table next to my Christmas dessert ideas.
Ingredients
- 1 lb (450 g) fresh strawberries, about 16 to 20
- 4 oz (115 g) dark chocolate, 70% cocoa, chopped
- 1 tsp (5 ml) coconut oil
- 1 pinch of flaky sea salt
- 2 tbsp (15 g) crushed pistachios (optional)
Tools and Preparation
You’ll need a microwave-safe bowl, a spoon, paper towels, and a baking sheet lined with parchment paper. Make room in the fridge for the baking sheet before you start dipping.
Prep time: 15 minutes. Setting time: 20 to 30 minutes. Total time: about 45 minutes. Serves: 4.
Step-by-Step Instructions
- Wash the strawberries, then dry them completely, leaving the green tops on as handles.
- Put the chocolate and coconut oil in the bowl and microwave in 30-second bursts, stirring after each one, until smooth and glossy.
- Hold a berry by its leaves and dip it about two-thirds of the way into the chocolate. Let the extra drip off.
- Set it on the parchment and sprinkle with flaky salt or pistachios right away.
- Chill for 20 to 30 minutes, until the chocolate is firm and no longer shiny.
Common Mistakes to Avoid
- Dipping wet berries. Even a drop of water can make melted chocolate seize and turn grainy.
- Overheating the chocolate. Long bursts in the microwave scorch it. Stir often and stop when a few small lumps remain, then keep stirring.
- Waiting to add toppings. Once the chocolate sets, nothing will stick.
Variations, Storage, and Final Thoughts
Drizzle melted white chocolate on top for stripes, or roll the dipped berries in shredded coconut. Banana slices and dried apricots dip beautifully too.
Keep them in the fridge, loosely covered, and eat within 1 to 2 days. Key takeaway: dry berries and gentle heat are all it takes to make a sweet snack that looks like it came from a shop.
That’s all eleven, and I hope at least a few of them end up on your own fridge sticky note. Here’s a quick guide to which snack fits which part of your day.
| Time of Day | Snacks to Try | Why They Fit |
|---|---|---|
| Morning | Greek Yogurt Berry Parfait, Mini Avocado Toast Bites | Quick, filling, and easy to eat on the go |
| Midday | Hummus Veggie Snack Box, Everything Bagel Deviled Eggs | Packed with protein and travel well to work or school |
| Afternoon slump | Peanut Butter Oat Energy Bites, Apple Nachos With Almond Butter, Crispy Roasted Chickpeas | Steady energy with a little sweetness or crunch |
| Evening and late night | Baked Kale Chips, Olive Oil and Parmesan Popcorn, Dark Chocolate Dipped Strawberries | Light enough to enjoy without feeling heavy before bed |
| Get-togethers | Caprese Skewers With Balsamic Glaze, Dark Chocolate Dipped Strawberries | Pretty on a plate and easy to share |
When I first started swapping chips for these, I didn’t overhaul anything. I just made one batch of energy bites, then a pan of chickpeas the next week, and slowly built a habit that stuck.
You don’t need to make all eleven at once. Pick the one that sounds best right now, try it this week, and see how much better your afternoons feel.
You’re more than capable of making snack time both easy and nourishing. Tell me in the comments which recipe you’re trying first, or share your own favorite so we can all try something new.