This post may contain affiliate links, which means I may receive a small commission should you decide to click that link and make a purchase. For more information please refer to the Terms & Conditions.
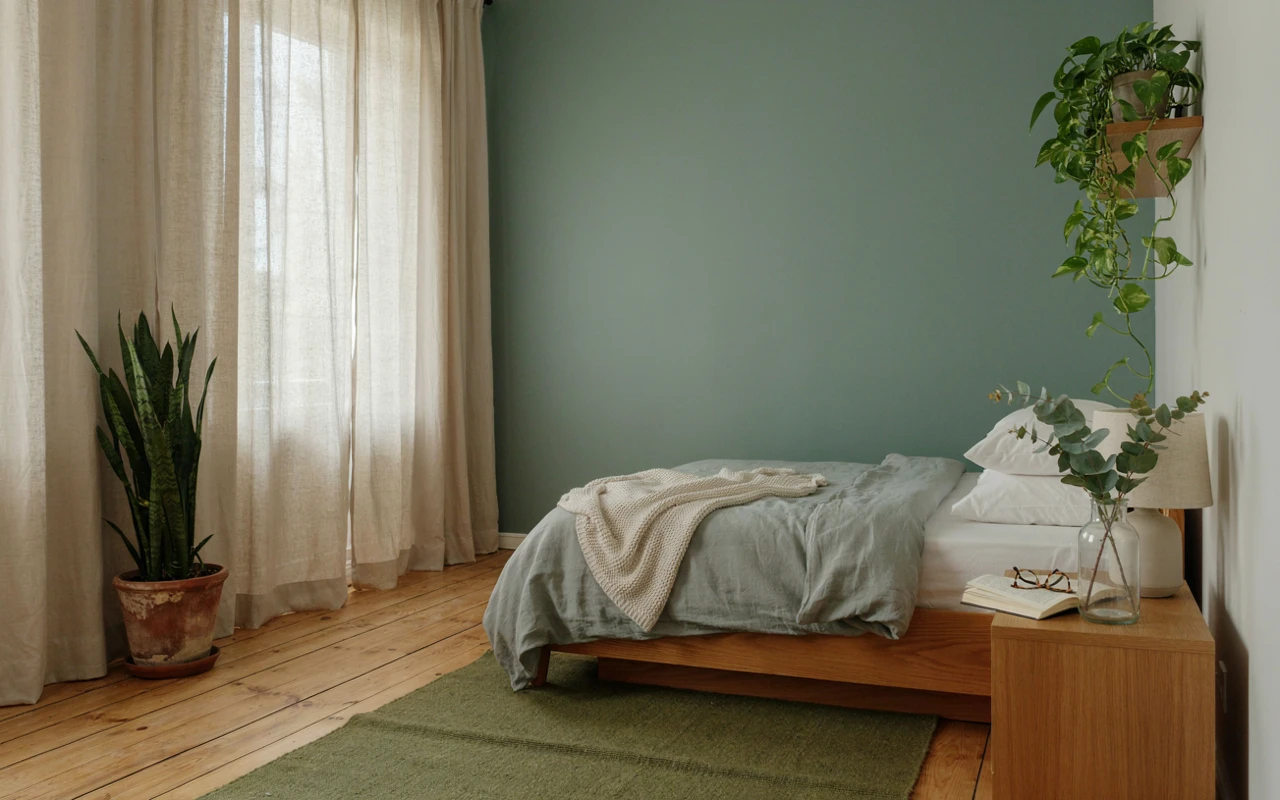
The first plant I ever kept alive was a pothos my aunt handed me in an old yogurt cup. I set it on my bedroom windowsill, and within a month the room felt calmer. That little plant got me trying beautiful greenery bedroom ideas, one at a time, until my plain bedroom became a cozy space I actually loved.
Back then, my bedroom had white walls, a gray comforter, and one bare lamp. It looked clean, but it never felt like a place where I wanted to slow down.
Adding green changed that. I sleep better in a room that feels soft and alive, and I even make my bed most mornings now because I like looking at it.
You don’t need a big budget or a green thumb for any of this. You can work in four stages, starting with the big surfaces and finishing with the small touches you notice at night.
Below are 11 easy greenery bedroom ideas, in the order I’d do them, so you can get a cozy space that feels fresh without redoing your whole bedroom.
Stage 1: Start With Green on the Big Surfaces
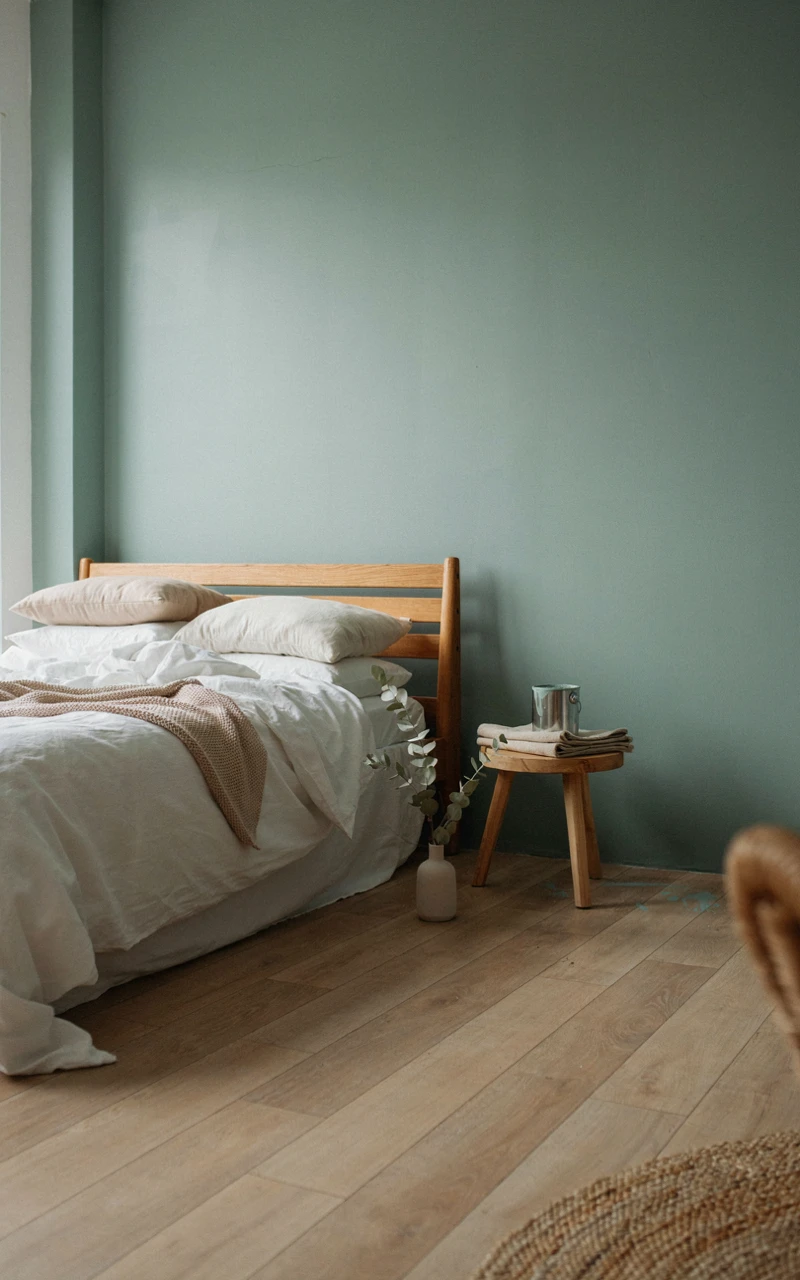
The walls, the bed, and the floor take up most of what you see when you walk in. If you add green there first, everything you bring in later has something to tie back to.
Here’s what you’ll need for this stage:
- Two or three sage green paint sample pots
- One gallon (3.8 L) of wall paint in eggshell finish
- A roller, a 2-inch (5 cm) angled brush, a paint tray, and painter’s tape
- A drop cloth
- A green linen duvet cover and two pillowcases
- A moss green rug and a non-slip rug pad
- A tape measure
1. Paint One Wall a Soft Sage Green
One painted wall does more for a green aesthetic bedroom than a whole cart of decorations. I painted only the wall behind my bed, and the room looked finished for the first time.
Sage is the easiest green to live with. It has a little gray in it, so it looks calm in daylight and cozy in lamplight instead of loud.
Before you buy a full gallon, test your colors. Green shifts more than almost any other paint color, and a sage that looks soft on the card can turn minty on your wall.
| Shade of green | How it looks | Best for |
|---|---|---|
| Sage | Soft, grayish, calm | Most bedrooms, any light |
| Olive | Warm, a little earthy | Bedrooms with wood furniture |
| Moss | Deeper, rich, cozy | Bright bedrooms with big windows |
| Pale eucalyptus | Light, airy, almost white | Small or dark bedrooms |
- Paint each sample in a 12 x 12 inch (30 x 30 cm) square on the wall behind your bed.
- Look at the squares in the morning, at midday, and at night with your lamps on.
- Pick the shade you still like at night, since that’s when you’ll spend the most time in your bedroom.
- Move furniture away from the wall, lay down a drop cloth, and tape the edges and baseboards.
- Cut in along the edges with the angled brush, then roll the middle in a W shape.
- Let the first coat dry for 2 to 4 hours, then roll on a second coat.
- Pull the tape off while the second coat is still slightly wet for clean lines.
One gallon covers roughly 350 to 400 square feet (32 to 37 square meters) per coat. A typical wall of 12 x 8 feet (3.7 x 2.4 m) is about 96 square feet, so one gallon covers two coats with plenty left for touch-ups.
Key takeaway: Test your green at night before you commit, because that’s the light you’ll see it in most.
2. Dress the Bed in Green Linen Bedding
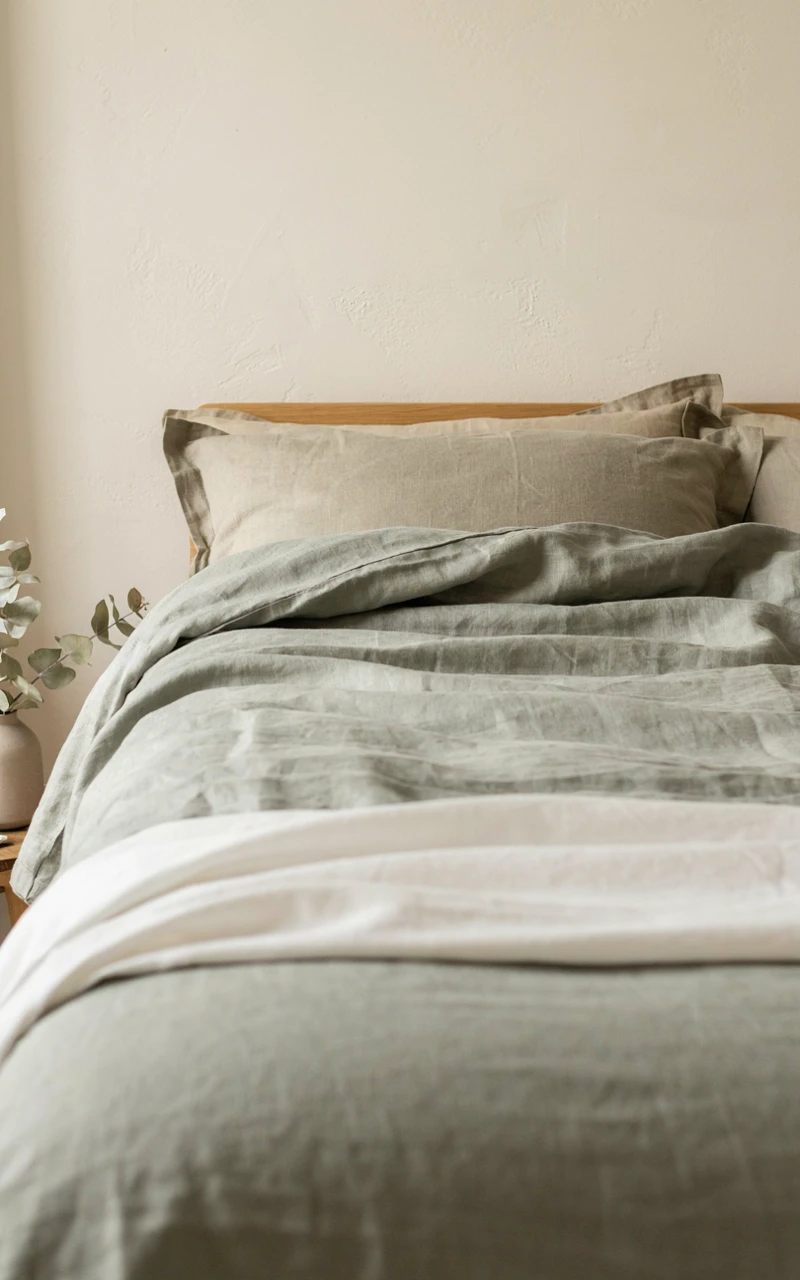
Your bed is the biggest thing in your bedroom, so the bedding sets the mood. Green linen is my favorite way to bring color in without making the room feel busy.
Linen has a soft, slightly wrinkled look that feels relaxed. You don’t have to iron it, which is honestly half the reason I love it.
You also don’t need to make everything green. A green duvet cover over plain white sheets looks fresh and keeps the bed from feeling heavy.
- Wash your new linen duvet cover and pillowcases before using them, in cool or warm water on a gentle cycle.
- Tumble dry on low for about 20 minutes, then pull them out while slightly damp to cut down on stiff creases.
- Put on white or cream fitted and flat sheets first.
- Add the green duvet cover and shake it out so it falls evenly on both sides.
- Stack your sleeping pillows in white cases at the back and the green pillowcases in front.
- Fold a darker green or cream knit blanket across the bottom third of the bed.
If your wall is sage, go one shade deeper or lighter for the bedding. Olive bedding against a sage wall looks warm and layered, while the exact same green on both can look flat.
Linen gets softer every time you wash it. If yours feels scratchy at first, give it three or four washes before you decide whether you like it.
Key takeaway: Pair green bedding with white sheets so the bed looks fresh, not heavy.
3. Ground the Room With a Moss Green Rug
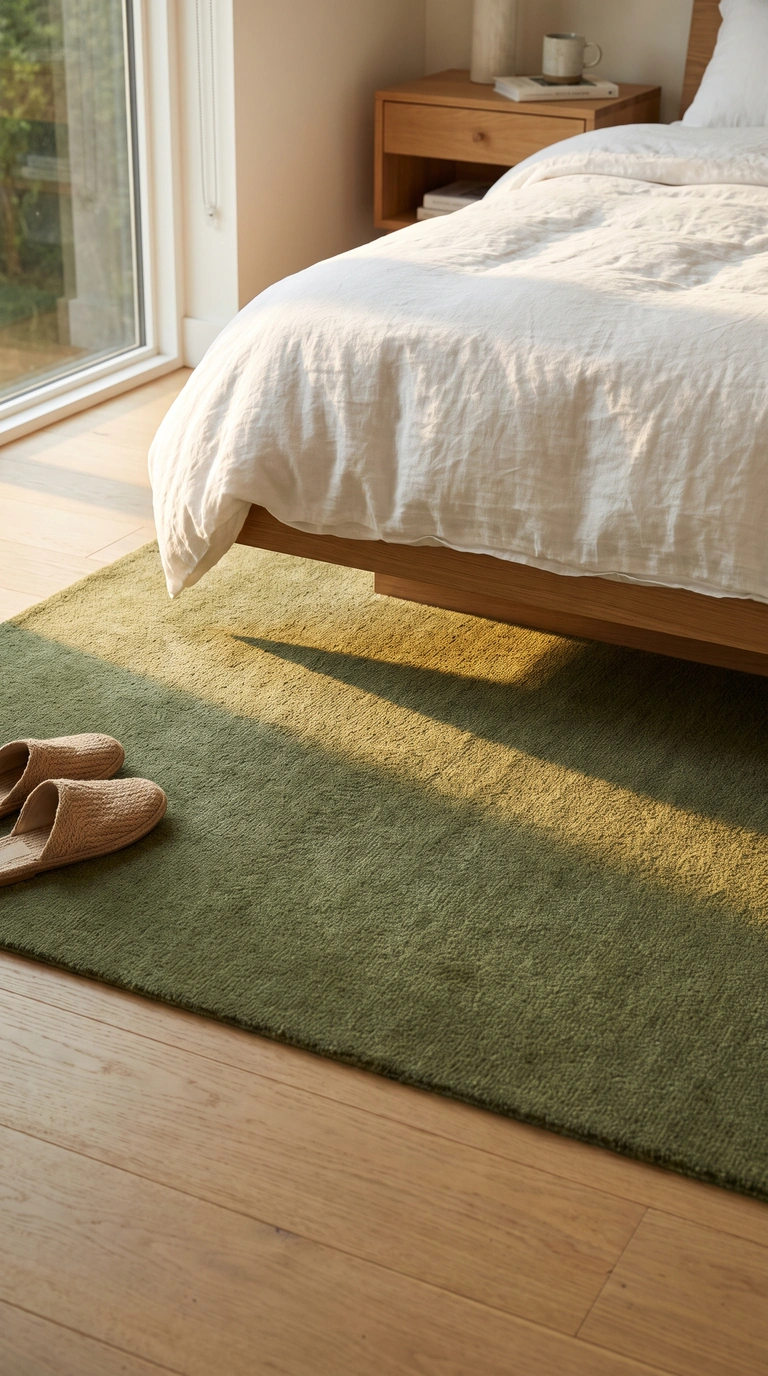
A rug is the piece people skip most, and it’s often what makes a bedroom feel unfinished. A moss green rug under the bed gives your feet something soft in the morning and ties the wall and bedding together.
Moss green is darker than sage, which helps. A deeper color on the floor makes the room feel steady, with the lighter greens sitting above it.
Size matters more than color here. A rug that’s too small looks like a bath mat floating in the middle of the floor.
- Full or queen bed: 8 x 10 feet (2.4 x 3 m)
- King bed: 9 x 12 feet (2.7 x 3.7 m)
- Twin bed or small bedroom: 5 x 8 feet (1.5 x 2.4 m)
- Measure your bed and the floor around it before you shop.
- Lay the rug pad down first, trimming it 1 inch (2.5 cm) smaller than the rug on every side.
- Place the rug so it starts just in front of your nightstands and runs past the foot of the bed.
- Check that 18 to 24 inches (45 to 60 cm) of rug shows on each side of the bed.
- Slide the bed back onto the rug with a friend so you don’t bunch it up.
- Vacuum it once a week, and turn it every few months so it wears evenly.
Wool and low-pile cotton rugs are the easiest to keep clean. A flatweave is great if you’re on a budget or have pets that shed.
Key takeaway: Go big enough that you step onto the rug, not the cold floor, when you get out of bed.
The Finished Look: When you stand in the doorway, you see a soft green wall behind the bed, green bedding on top, and a deeper green rug underneath. The three greens look like they belong together without matching exactly. If one of them jumps out at you, swap the bedding or rug for a lighter or darker shade before you move on.
Stage 2: Bring In Green Bedroom Plants
Now the fun part. Real plants are what make a green bedroom feel alive, and you don’t need many of them.
Start with plants that forgive you for forgetting to water. Every plant below handles normal bedroom light and a busy schedule.
Here’s what you’ll need for this stage:
- One snake plant and one pothos
- Three to five small plants in 4-inch (10 cm) pots
- Pots with drainage holes, plus saucers or drip trays
- A plant stand, a ceiling hook rated for at least 25 lb (11 kg), and a hanging planter
- A floating shelf with wall anchors or screws for studs
- Indoor potting mix and a small watering can
If you have cats or dogs, check every plant first. The ASPCA’s list of toxic and non-toxic plants shows that snake plants and pothos are toxic to pets, so place them well out of reach or pick a pet-safe option instead.
| Plant | Light | Watering | Safe for pets? |
|---|---|---|---|
| Snake plant | Low to bright, indirect | Every 2 to 3 weeks | No |
| Pothos | Medium to bright, indirect | When the top 1 inch (2.5 cm) is dry | No |
| Spider plant | Medium to bright, indirect | About once a week | Yes |
| Peperomia | Medium, indirect | Every 1 to 2 weeks | Yes |
| Parlor palm | Low to medium | About once a week | Yes |
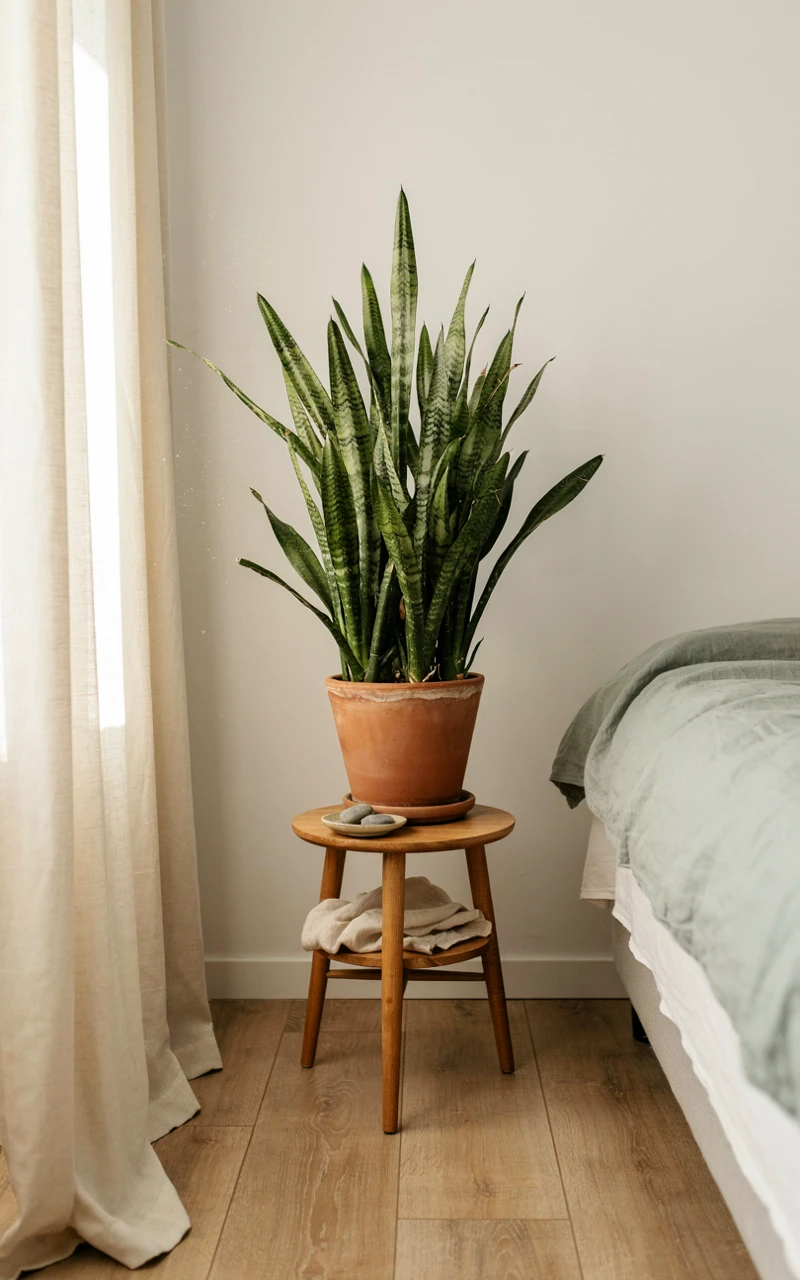
4. Put a Snake Plant in an Empty Corner
Almost every bedroom has one bare corner that nobody knows what to do with. A snake plant fills it with tall, upright green leaves and asks for almost nothing in return.
I kept mine alive through a busy year when I forgot about it for weeks at a time. Snake plants actually prefer being ignored a little, because too much water is what kills them.
They also handle lower light better than most plants. A corner a few feet from the window is perfect.
- Choose a snake plant that’s at least 2 feet (60 cm) tall so it fills the corner.
- Pick a pot about 2 inches (5 cm) wider than the nursery pot, with a drainage hole.
- Add a layer of potting mix, set the plant in, and fill around it, pressing gently.
- Water slowly until it drains out the bottom, then empty the saucer after 15 minutes.
- Set the pot on a plant stand 12 to 18 inches (30 to 45 cm) high if the corner needs more height.
- Water again only when the soil is completely dry, usually every 2 to 3 weeks.
In winter, you can stretch watering to once a month. If the leaves start to feel soft or look yellow at the base, you’re watering too often.
A plain ceramic pot in cream, white, or terracotta keeps the focus on the green leaves. Woven baskets look lovely too, as long as you hide a plastic pot with a saucer inside.
Key takeaway: A snake plant is the easiest way to fill a bare corner, and it does best when you water it less.
5. Hang a Trailing Pothos Near the Window
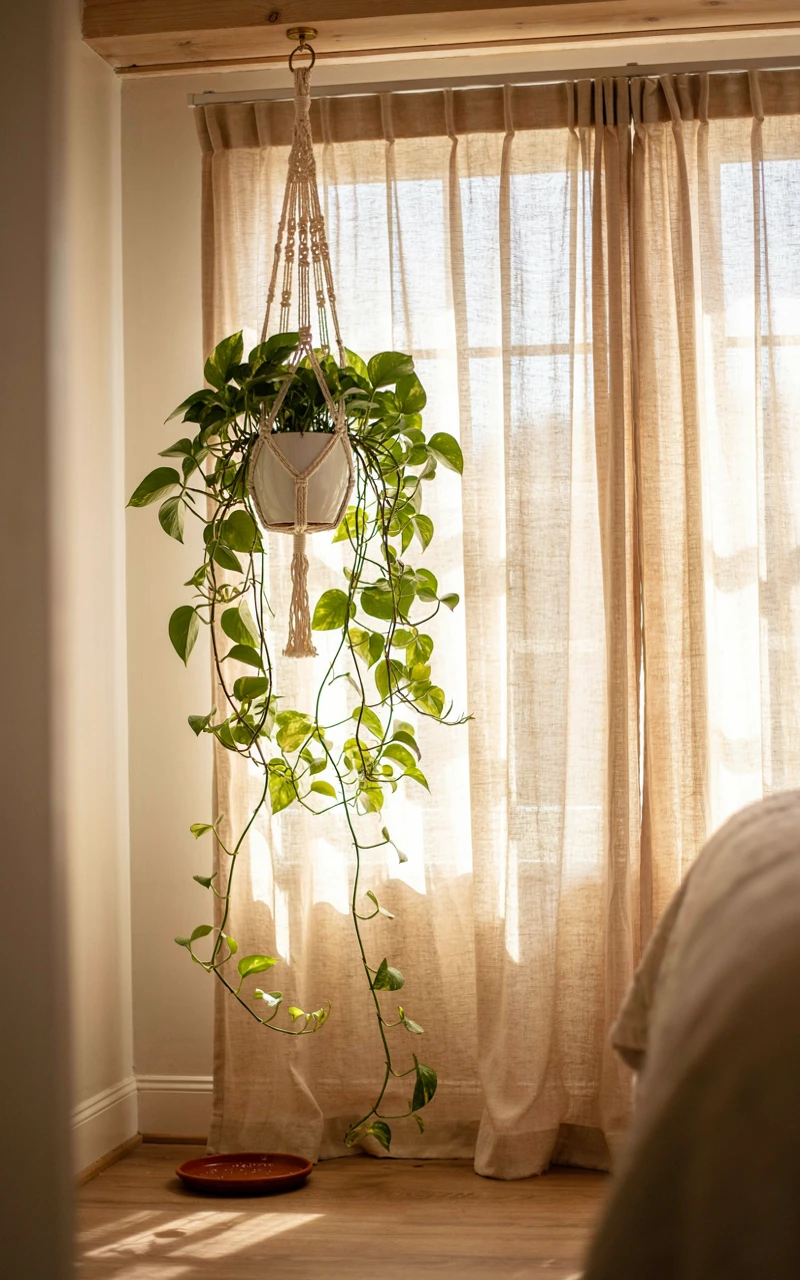
A hanging pothos was the first plant in my bedroom, and it’s still my favorite. The vines spill down in soft curtains of heart-shaped leaves, which looks pretty against a window.
Hanging it also saves your floor and tables. This one is great for small bedrooms where every surface already has a job.
Pothos grows fast in bright, indirect light. Keep it close to the window but out of harsh afternoon sun, which can scorch the leaves.
- Find a ceiling joist near the window with a stud finder.
- Screw in a ceiling hook rated for at least 25 lb (11 kg), since a wet 8-inch (20 cm) pot can weigh around 10 lb (4.5 kg).
- Plant the pothos in a hanging planter with a drainage hole and a built-in drip tray.
- Hang it so the bottom of the pot sits about 6 to 7 feet (1.8 to 2.1 m) off the floor, out of the way of your head.
- Water when the top 1 inch (2.5 cm) of soil feels dry, usually every 1 to 2 weeks.
- Trim any vine longer than you like just above a leaf, and new growth will branch out from there.
To water easily, take the planter down and carry it to the sink. Let it drip for 10 minutes before you hang it back up, and you’ll never have water on the floor.
Don’t throw away the vines you trim. Drop them in a glass of water, and they’ll grow roots in 2 to 3 weeks, giving you free plants for the shelf in idea 7.
Key takeaway: A hanging pothos adds lots of green without taking up a single inch of floor or tabletop.
6. Keep a Small Plant on Your Nightstand
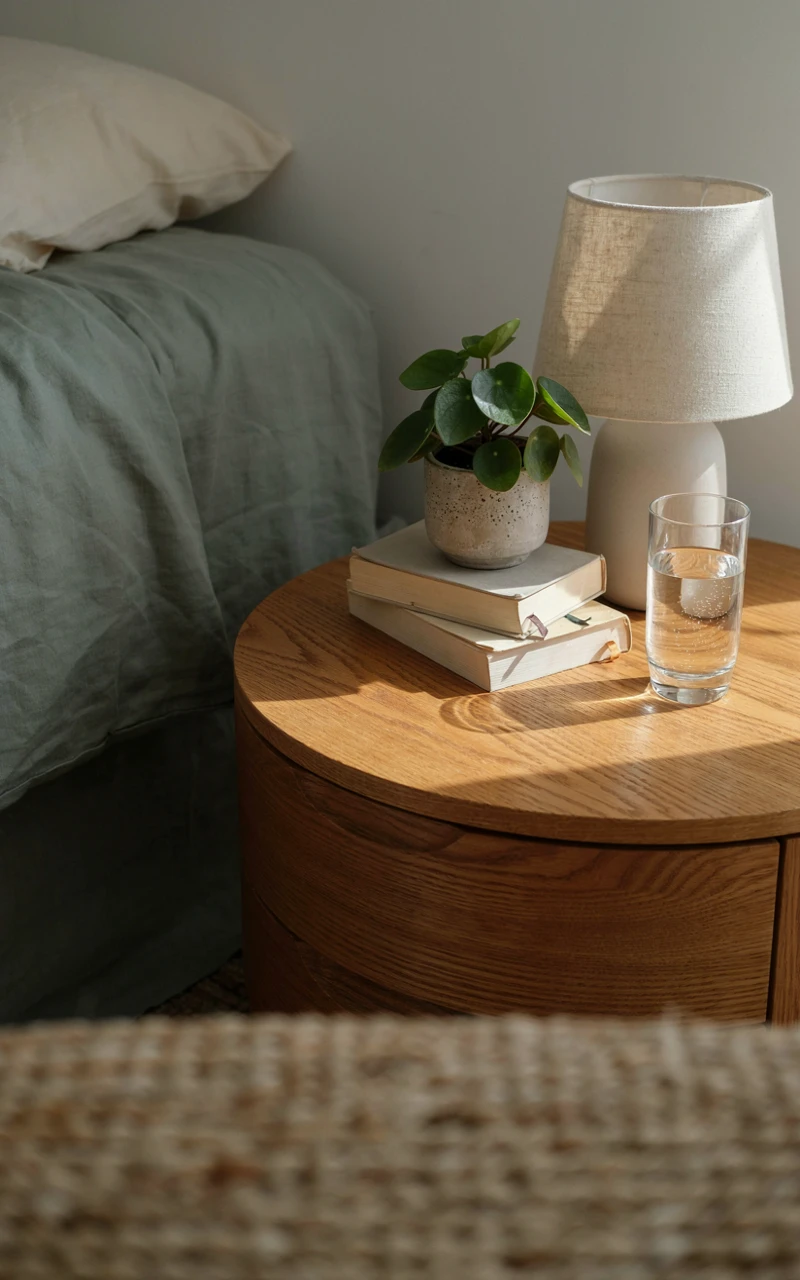
Your nightstand is the first thing you see when you wake up and the last thing you see at night. One small plant there makes those moments feel a little gentler.
The trick is keeping it small. Your nightstand still needs room for your lamp, a glass of water, and your phone.
Pick a plant that stays compact and can live a few feet from the window. Peperomia, a small spider plant, or a little parlor palm all work well.
- Clear your nightstand and put back only what you use every night.
- Choose a plant in a 4-inch (10 cm) pot, no taller than about 10 inches (25 cm).
- Set it on a saucer or cork mat to protect the wood from water rings.
- Place it on the side farthest from where you reach for your alarm, so you don’t knock it over.
- Check the soil with your finger once a week and water when the top inch is dry.
- Turn the pot a quarter turn each time you water so it grows evenly toward the light.
Aim for the plant, lamp, and everyday items to take up no more than two-thirds of the nightstand. That bit of empty surface keeps it from looking cluttered.
If your nightstand is too far from the window, a peperomia is the safest choice. It’s happy in medium light and won’t mind a darker corner for a while.
Key takeaway: Keep your nightstand plant small and leave some empty surface around it.
7. Line Up Small Plants on a Floating Shelf
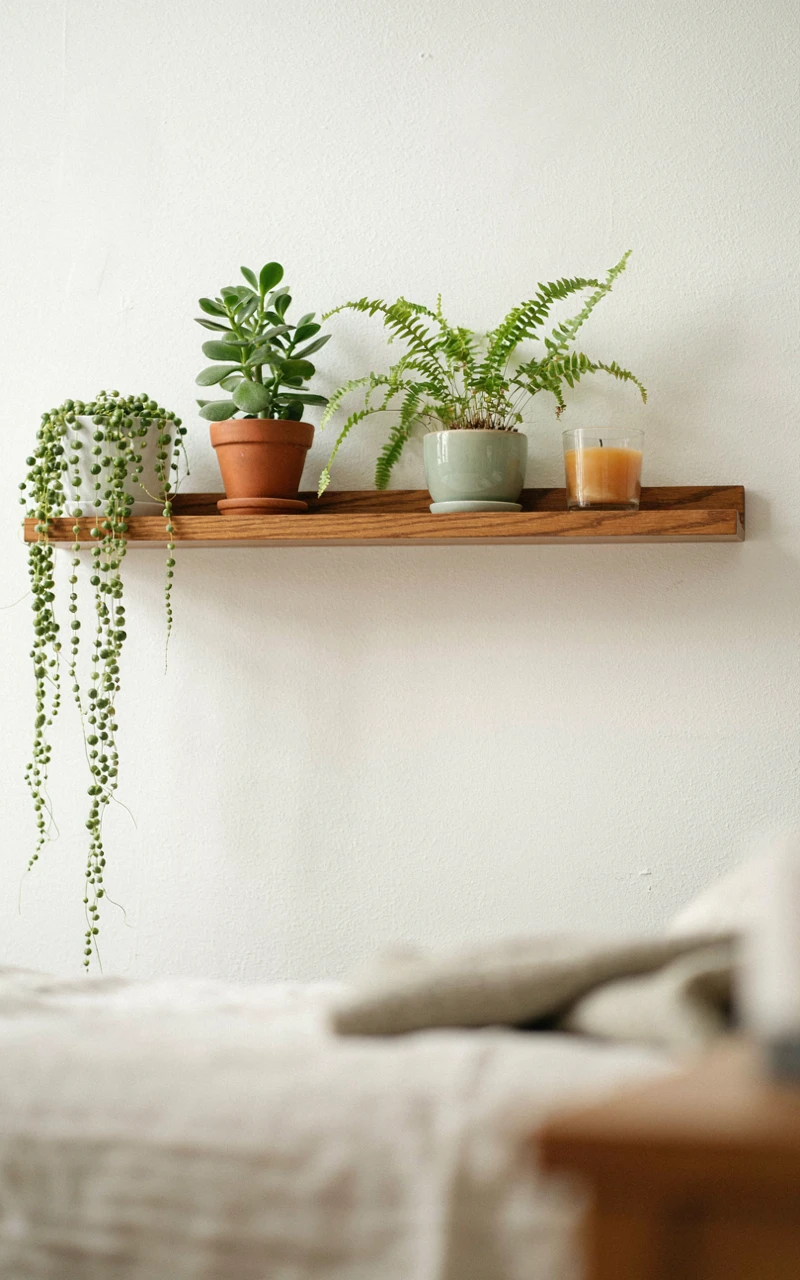
If you love plants but your floor is full, go up. A floating shelf lined with small plants is one of my favorite bedroom decor ideas because it looks full and fresh without crowding the room.
It’s also where those pothos cuttings from idea 5 can live. A row of little green pots looks so much more charming than one big plant on its own.
Place the shelf where it gets some light, like the wall beside the window or above a dresser.
- Pick a shelf 24 to 36 inches (60 to 90 cm) long and at least 6 inches (15 cm) deep.
- Find the wall studs and mark them, or use heavy-duty wall anchors if there are none.
- Mount the shelf about 12 to 18 inches (30 to 45 cm) above your dresser or desk.
- Check it’s level before you tighten the final screws.
- Set a cork mat or small saucer under every pot.
- Arrange three or five plants, mixing a tall one, a bushy one, and a trailing one.
- Leave 2 to 3 inches (5 to 8 cm) between pots so each plant gets light and air.
Odd numbers just look more natural on a shelf. Add a small book or a candle between plants if it looks too uniform.
Here’s my easy routine: every Sunday, I take the whole row to the bathroom sink, water them, and let them drain for 15 minutes. Then they go back up, and I don’t think about them for another week.
Key takeaway: A floating shelf gives you room for lots of small plants without losing any floor.
The Finished Look: Your bedroom now has green at three heights: a tall plant in the corner, trailing vines near the window, and small pots on the shelf and nightstand. Your eye moves around the room instead of stopping in one spot. If one corner still looks bare, move a plant there before you add anything else.
Stage 3: Add Botanical Bedroom Decor
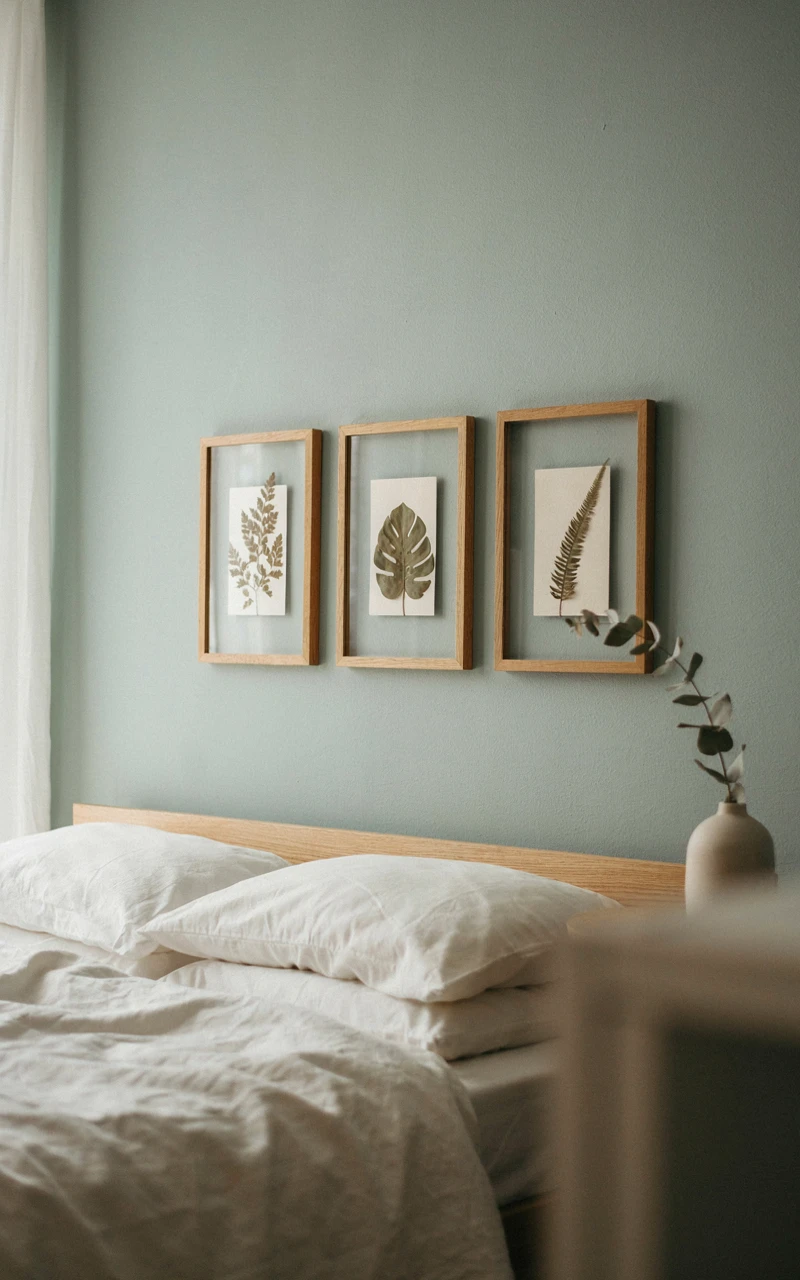
Real plants do a lot, but botanical bedroom decor fills the spots where plants can’t live, like the wall above your bed. This stage is cheap, quick, and very personal.
Here’s what you’ll need for this stage:
- Fresh leaves or ferns for pressing, or printed botanical art
- Parchment paper and a few heavy books
- Three matching frames, around 8 x 10 inches (20 x 25 cm) each
- Painter’s tape, a level, nails, and a hammer
- A clear glass jar or vase about 10 inches (25 cm) tall
- A bunch of fresh eucalyptus stems and sharp scissors
8. Frame Pressed Leaves or Botanical Prints Above the Bed
The wall above the bed is the spot everyone looks at, and it’s often the emptiest. Framed pressed leaves fill it with real green and make the room feel like yours.
I pressed ferns from a walk in the park one spring, and they’re still hanging above my bed. Every time I look at them, I remember that day, which no store-bought print could give me.
If you don’t want to wait for pressing, botanical prints work just as well. Look for vintage plant drawings in soft greens and creams.
- Pick flat leaves or ferns that aren’t too thick or juicy.
- Lay them between two sheets of parchment paper inside a heavy book.
- Stack a few more books on top and leave them for 1 to 2 weeks until they’re dry and papery.
- Arrange each leaf on a plain white or cream backing inside the frame.
- Cut painter’s tape to the size of each frame and stick the pieces to the wall to test the layout.
- Hang the frames so the bottom edges sit 8 to 10 inches (20 to 25 cm) above the headboard.
- Space them 2 to 3 inches (5 to 8 cm) apart and check each one with a level.
Three frames in a row work for a queen bed. For a king bed, use larger frames or add a fourth so the group is about two-thirds the width of the bed.
Keep pressed leaves out of strong direct sun. Over time, bright light can fade the green to brown, though some people love that softer look too.
Key takeaway: Pressed leaves from your own walk make the wall above your bed feel personal, and they cost almost nothing.
9. Set Eucalyptus Stems in a Glass Jar
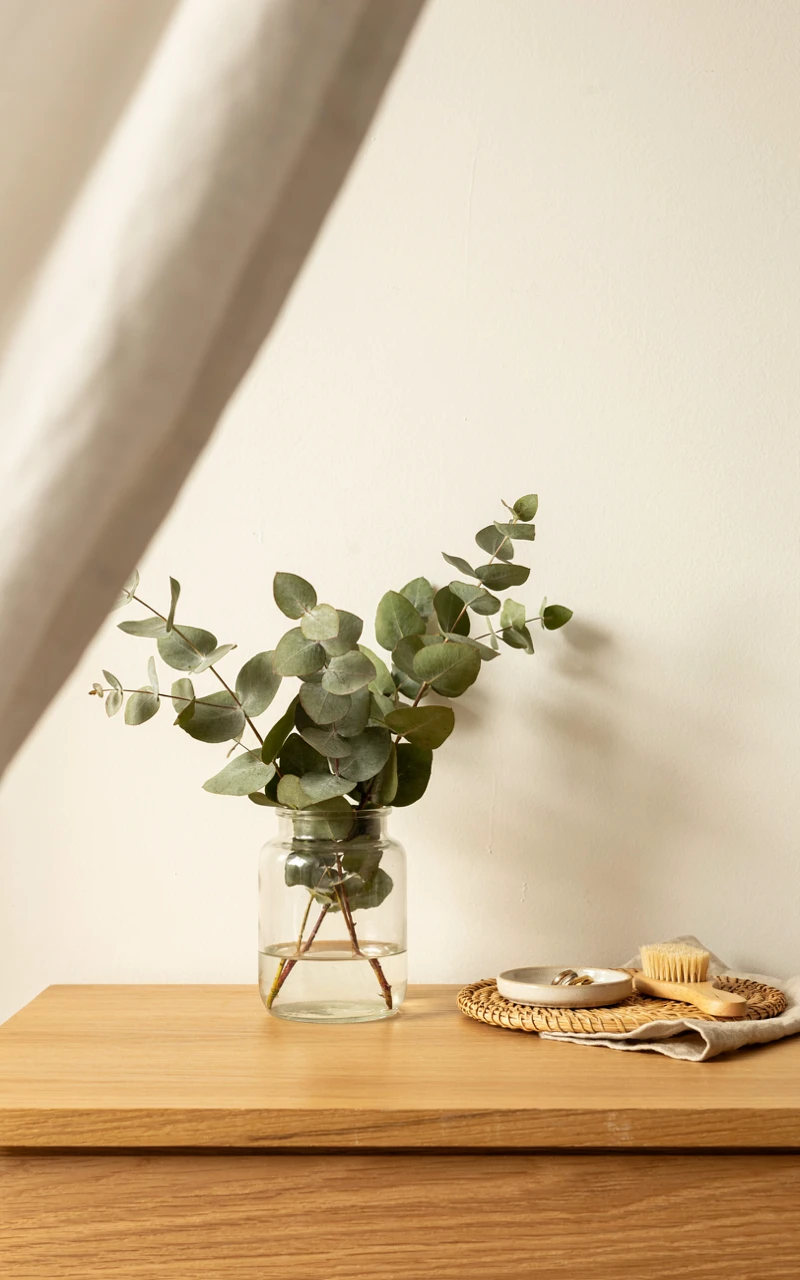
Eucalyptus is my favorite cheap trick for a green bedroom. A handful of stems in a glass jar adds soft silvery green and a light, fresh scent.
You’ll find bunches at most grocery stores and flower markets. One bunch is usually all you need for a dresser or a corner of your nightstand.
The best part is that it lasts. Fresh eucalyptus stays nice for 2 to 3 weeks, then dries in place and keeps looking pretty for months.
- Fill a clear glass jar about one-third full with room-temperature water.
- Strip off any leaves that would sit below the waterline.
- Trim 1 inch (2.5 cm) off each stem at an angle with sharp scissors.
- Arrange the stems so the tallest are in the middle and shorter ones lean out to the sides.
- Place the jar on your dresser, away from heaters and direct sun.
- Change the water every 2 to 3 days and trim the stems again each time.
- Once the leaves start to curl, pour out the water and let the stems dry right in the jar.
If you want more scent, gently crush a couple of leaves between your fingers. It wakes up the oils, and the smell is lovely while you’re getting ready for bed.
Eucalyptus is toxic to cats and dogs if they chew it. Keep the jar on a high dresser or shelf if you have pets that like to nibble.
Key takeaway: One bunch of eucalyptus gives you weeks of fresh green, then months of dried stems.
The Finished Look: The wall above your bed now has green that ties into your bedding, and a jar of eucalyptus brings green to the dresser. You should feel like green is in every part of the room, from the floor to the walls. If the wall above the bed still feels empty, try one larger frame instead of several small ones.
Stage 4: Finish With Cozy Green Bedroom Touches
The last two ideas are what turn a green bedroom into a cozy green bedroom. They change how your room feels at night, which is when you’re there the most.
Here’s what you’ll need for this stage:
- Sage green linen or cotton curtain panels
- A curtain rod with brackets and wall anchors
- A drill, a tape measure, and a pencil
- Two table or floor lamps with fabric shades
- Warm white bulbs at 2700K or lower
- A plug-in dimmer or smart plugs (optional)
10. Hang Sage Green Curtains
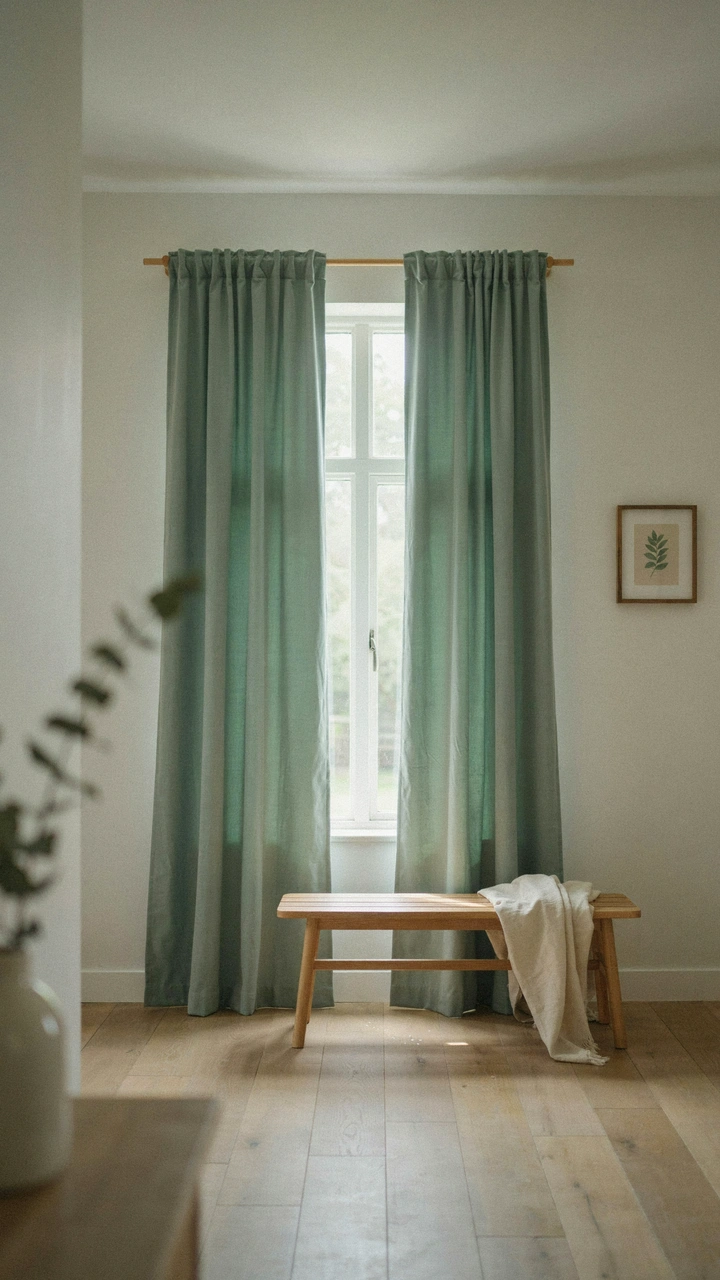
Curtains frame your window and soften the hard lines of the room. Sage green curtains bring your wall color to the other side of the bedroom so it all feels connected.
Light fabric like linen or cotton lets daylight glow through in the morning. If you need a dark room for sleep, add a blackout liner behind them.
Where you hang the rod matters as much as the curtains themselves. Hanging it high and wide makes your window and your ceiling look bigger.
- Measure the width of your window frame.
- Mark the bracket spots 4 to 6 inches (10 to 15 cm) above the top of the frame.
- Extend the marks 8 to 10 inches (20 to 25 cm) past each side of the frame.
- Drill in the brackets with wall anchors and set the rod in place.
- Measure from the rod to the floor to find the right curtain length.
- Choose panels that together equal 1.5 to 2 times the window width so they look full.
- Hang them so the bottoms just touch the floor or sit about half an inch (1 cm) above it.
Most curtain panels come in 84, 96, and 108 inch lengths (213, 244, and 274 cm). Pick the one closest to your measurement and hem it if needed.
Steam or hang the curtains for a day before judging how they look. The creases from the package usually fall out on their own.
Key takeaway: Hang your curtain rod high and wide, and your window will look bigger than it really is.
11. Light the Room With Warm Lamps at Night
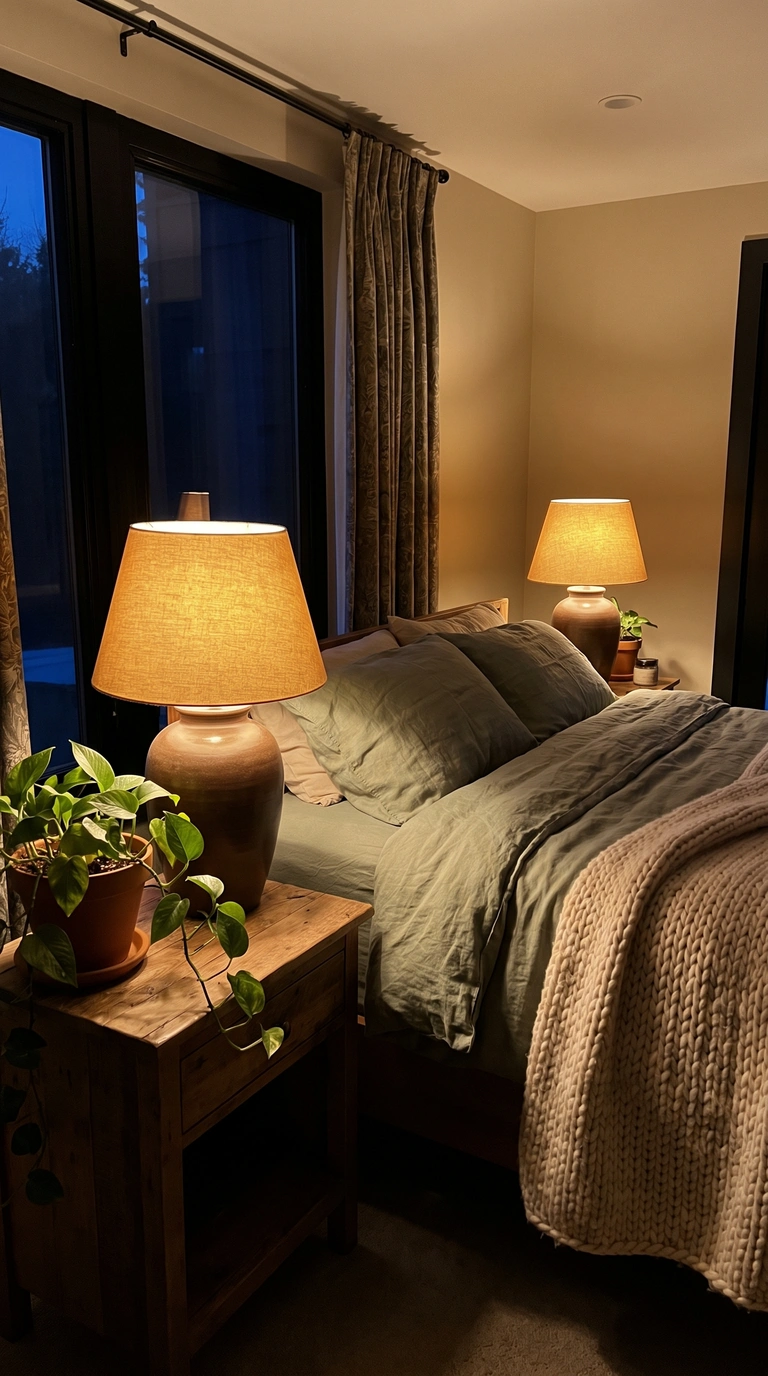
This is the change that made my bedroom feel cozy for real. Bright overhead lighting makes green look cold, while warm lamps make it look soft and golden.
Warm light at night also helps you wind down. Harvard Health explains that blue light in the evening can throw off your sleep, so warm bulbs make sense for more than just looks.
I use the same trick in my cozy autumn living room: no big overhead light after sunset, just a few lamps at different heights.
- Swap every bulb in your bedroom lamps for warm white bulbs labeled 2700K or lower.
- Put one lamp on your nightstand for reading.
- Place a second lamp across the room, on a dresser or as a floor lamp in a corner near your snake plant.
- Choose fabric shades in cream or linen so the light spreads softly.
- Add a plug-in dimmer or smart plug so you can lower the light as bedtime gets closer.
- Turn off the overhead light about an hour before bed and use only your lamps.
Light hitting your plants from below or the side casts soft leaf shadows on the walls. It’s one of my favorite parts of a green bedroom at night.
Make it a little routine. Turn on your lamps, grab a book, and settle in with one of these cozy fall drinks, and your bedroom becomes the place you look forward to all day.
Key takeaway: Two warm lamps instead of one overhead light make your green bedroom feel cozy as soon as the sun goes down.
The Finished Look: At night, your bedroom glows with warm light, the greens look soft instead of cool, and your curtains frame the window from floor to near-ceiling. It should feel calm the moment you walk in. If anything still looks harsh, try a warmer bulb or move a lamp lower.
Final Thoughts
When I started, I just wanted my bedroom to feel less blank. I didn’t expect a few plants, one painted wall, and some warm lamps to make me want to spend my evenings there.
You don’t have to do all 11 ideas at once. Start with Stage 1 this weekend, add a plant or two next month, and let your green bedroom come together at your own pace.
If you’re looking for bedroom inspo, the best place to start is the bare corner or empty wall you already have. One green thing there is enough to get going.
You can absolutely make a bedroom that feels fresh, calm, and cozy, even if you’ve never kept a plant alive before. Tell me in the comments which idea you’re trying first, and if you want to know more about the person behind these posts, you can read a bit about me here.