This post may contain affiliate links, which means I may receive a small commission should you decide to click that link and make a purchase. For more information please refer to the Terms & Conditions.
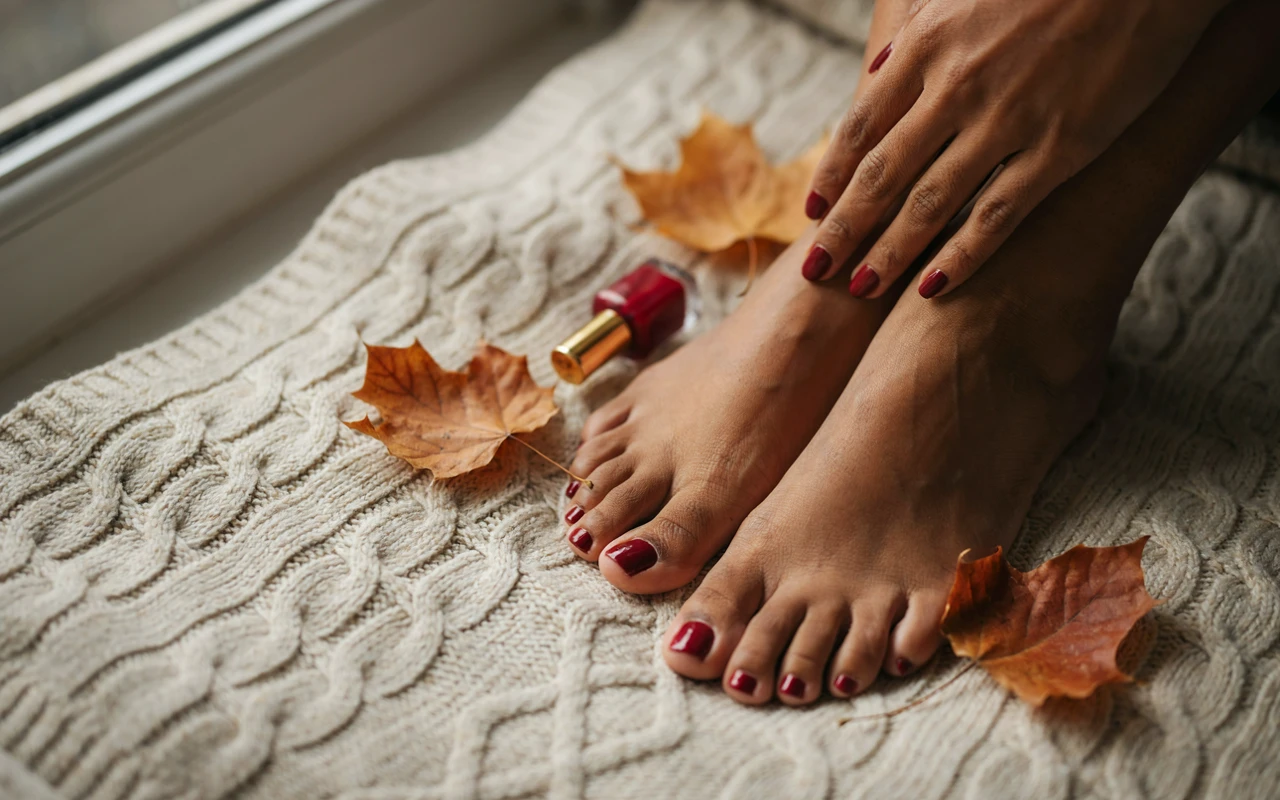
I wore the same pale pink on my toes all year until a friend talked me into a deep burgundy before a fall wedding, and that’s how I learned to choose fall toe nail colors for a beautiful pedicure. I kept looking down at my feet in my open-toe heels all night.
Since then, I’ve tried a lot of shades. Some looked amazing in the bottle and dull on my skin. Others I almost skipped became my favorites.
What helped most was having a simple way to pick. Once I started checking my undertone, thinking about my shoes, and testing a color before painting all ten toes, I stopped wasting polish and time.
Below, you’ll find easy ways to choose fall toe nail colors that suit your skin and your plans, plus how to paint them so they look neat and last.
What You Need for a Fall Pedicure
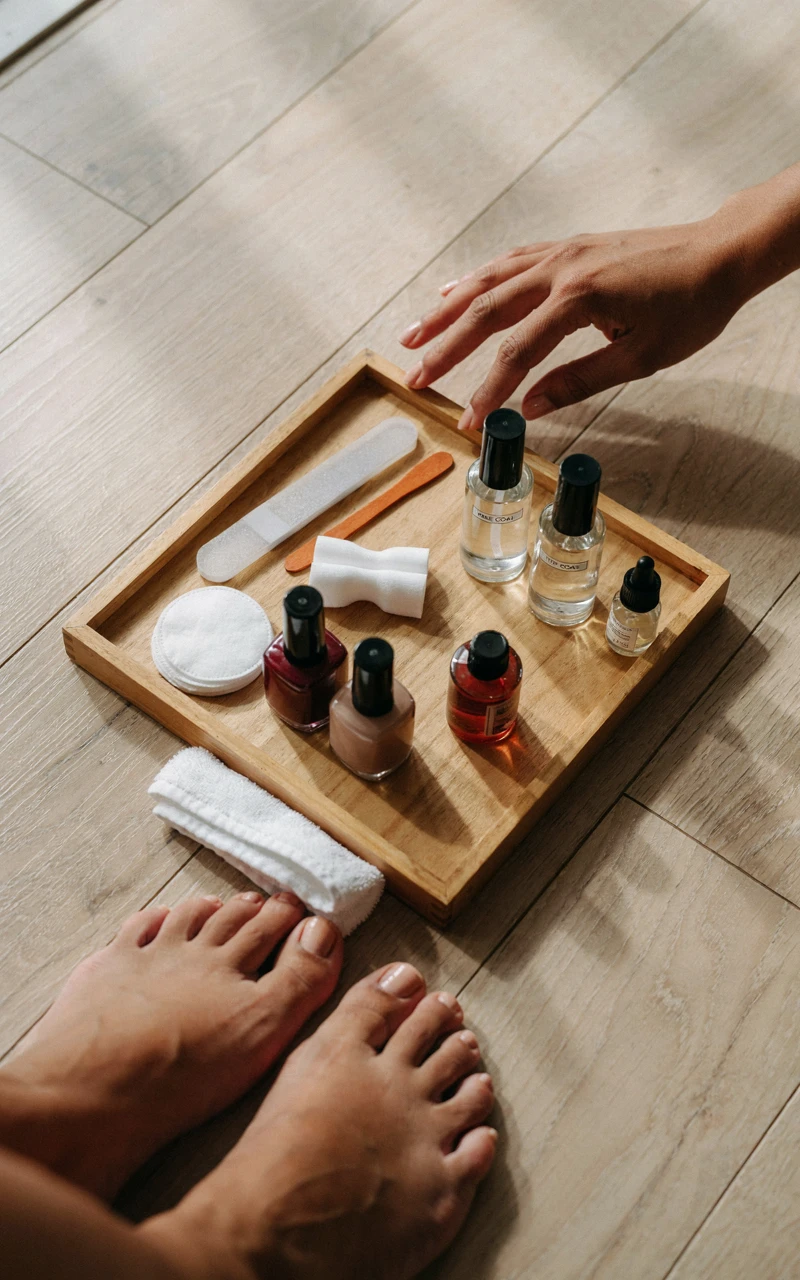
You don’t need a salon setup to get great results at home. Most of these things are probably already in your bathroom drawer. Gather everything before you start so you’re not hopping across the room with wet toes.
- Nail polish remover, ideally acetone-free if your nails are dry or thin
- Cotton pads or reusable remover pads
- Toenail clippers with a straight edge
- A nail file, 180 to 240 grit, or a glass file
- A wooden orange stick or a soft cuticle pusher
- Cuticle oil or a small bottle of plain jojoba oil
- A basin or tub big enough for both feet, filled with warm water
- A pumice stone or foot scrub for heels and rough spots
- An old towel you don’t mind getting polish on
- Toe separators, or a strip of tissue woven between your toes
- A base coat
- Two or three polish shades you’re thinking about for fall
- A quick-dry top coat
- A small flat brush or cotton swabs for cleaning up mistakes
- Foot cream for the end
- A white piece of paper and clear tape for testing colors
A few of these matter more than they seem. The base coat is the big one, especially for dark fall shades. Deep browns, reds, and plums can leave a yellow or orange stain on bare nails, and a base coat stops that from happening.
A good top coat is the second thing worth spending a little more on. It adds shine, helps the color dry faster, and keeps chips away for longer. If you only buy one new thing this season, make it a quick-dry top coat.
Toe separators also save you a lot of fixing. When toes press together, wet polish smudges onto the toe next to it. Even a folded tissue woven between each toe works if you don’t have the foam kind.
You’ll also want good light. Sit near a window during the day if you can. Lamp light can make warm shades look more orange and dark shades look almost black, which makes it hard to see where you’re painting.
Finally, give yourself time. A full pedicure with soaking, painting, and drying takes about an hour. Picking an evening when you can sit with a show on, and maybe one of your favorite cozy fall drinks, makes it feel like a treat instead of a chore.
The Finished Look: Your towel is spread out, your basin is filled, and every tool and bottle is lined up within reach. Your old polish is still on, and you haven’t opened a single color yet.
Key takeaway: A base coat, a quick-dry top coat, and toe separators do most of the work. Get those three, and the rest can be whatever you already own.
Step 1: Find Your Undertone Before You Pick a Shade
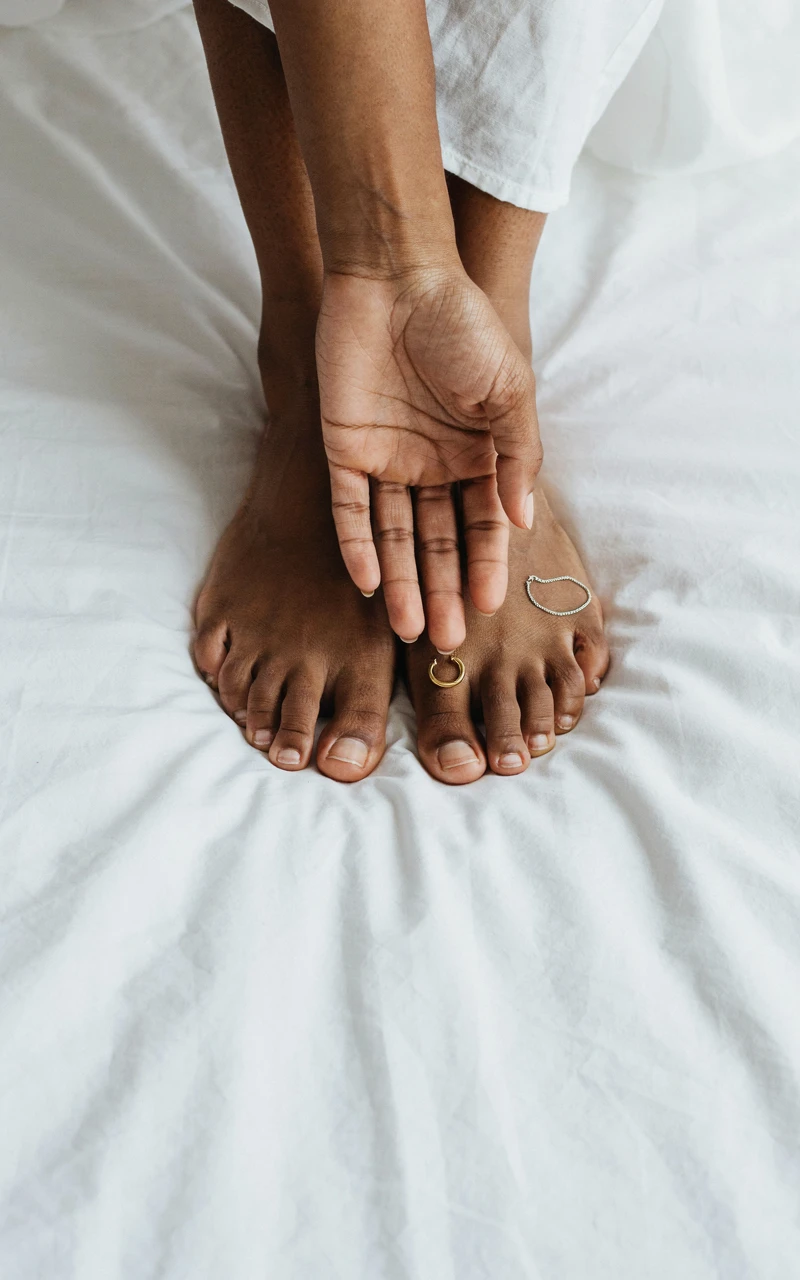
This is the step I skipped for years, and it explains why some shades never looked right on me. Your undertone is the color under the surface of your skin. It doesn’t change with a tan, and it’s the reason the same polish can look rich on one person and dull on another.
There are three main undertones. Warm skin has a golden, peachy, or yellow tint. Cool skin has a pink, red, or bluish tint. Neutral skin sits in the middle, with a bit of both.
The skin on your feet can look a little different from the skin on your face. It’s often a bit redder, especially after a long day in shoes. So check your undertone on your feet and ankles, not just your wrists.
Here’s how to figure it out:
- Sit in natural daylight with bare feet. Skip lamp light for this step.
- Look at the veins on top of your feet. Green-looking veins point to warm. Blue or purple veins point to cool. If you can’t tell, you’re probably neutral.
- Hold a sheet of bright white paper next to your foot, then a cream or off-white sheet. If your skin looks better beside the cream, you lean warm. If it looks better beside the white, you lean cool.
- Think about jewelry. If gold anklets and toe rings look best on you, you likely run warm. If silver looks best, you likely run cool. If both look good, you’re neutral.
- Write down your answer so you remember it when you’re standing in front of the polish shelf.
Once you know your undertone, use this table as a starting point for fall shades:
| Undertone | Signs | Fall shades that tend to look great |
|---|---|---|
| Warm | Green veins, gold jewelry looks best, skin looks good next to cream | Rust, burnt orange, copper, warm chocolate brown, olive green, brick red |
| Cool | Blue or purple veins, silver looks best, skin looks good next to white | Burgundy, plum, berry, navy, cool taupe, deep wine |
| Neutral | Mixed veins, gold and silver both work | Mauve, mocha, oxblood, forest green, greige, most deep reds |
Your skin depth matters too, not just your undertone. On fair skin, very dark shades stand out strongly and look bold. On medium skin, mid-tones like mocha and brick look balanced. On deep skin, rich jewel tones and metallics glow, while very pale nudes can look chalky.
Don’t treat any of this as a strict rule. The table helps you narrow things down so you’re not choosing from 200 bottles at random. If you love a shade that’s “supposed” to be wrong for you, try it anyway in Step 4.
The Finished Look: You know whether you lean warm, cool, or neutral, and you have a short list of three or four color families to look at. You haven’t bought anything yet.
Key takeaway: Check your undertone on your feet in daylight. It’s the fastest way to cut a huge polish shelf down to a handful of shades that will actually flatter you.
Step 2: Choose Your Autumn Toe Nail Colors
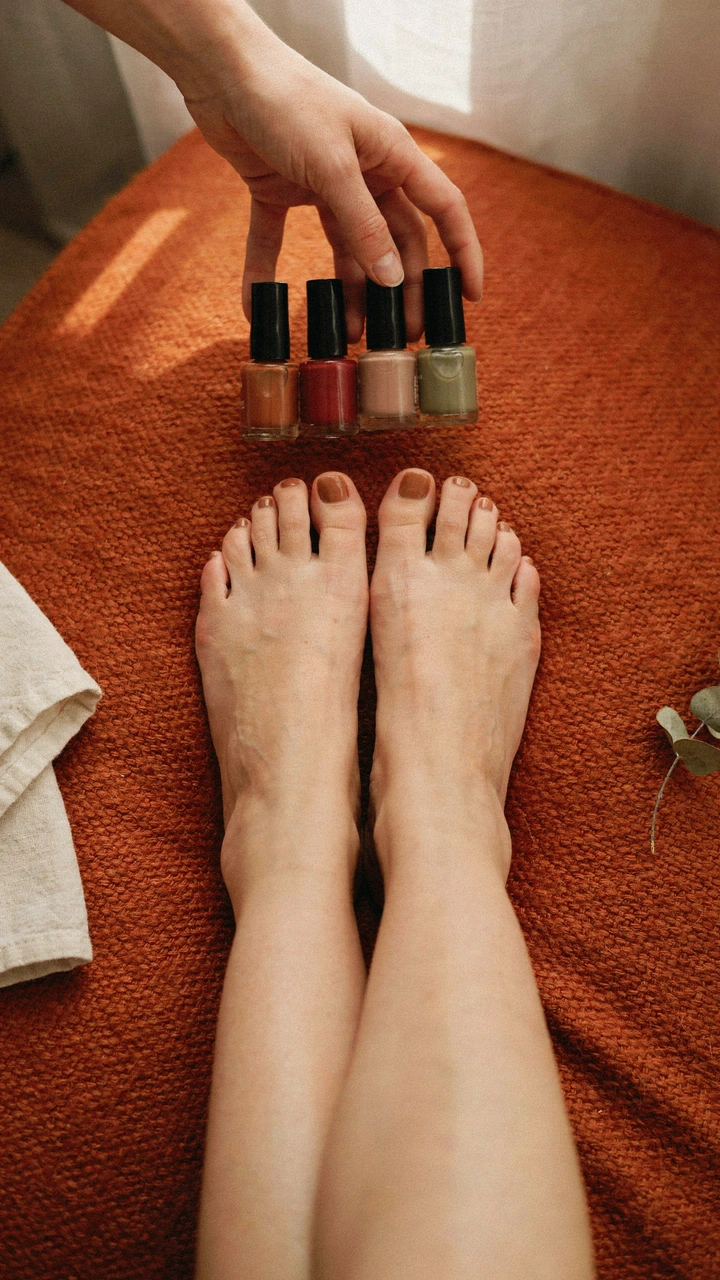
Now comes the fun part. Fall polish is all about warm, deep, earthy shades that feel cozy next to sweaters and boots. Here are the color families I come back to every year, with a note on who each one suits.
Brown Toe Nails
Brown toe nails have become a fall favorite, and for good reason. A chocolate or espresso shade looks polished and grown-up without being loud. Warm skin tones look great in caramel and milk chocolate, while cool tones do well with a darker, cooler espresso.
Burgundy Toe Nails
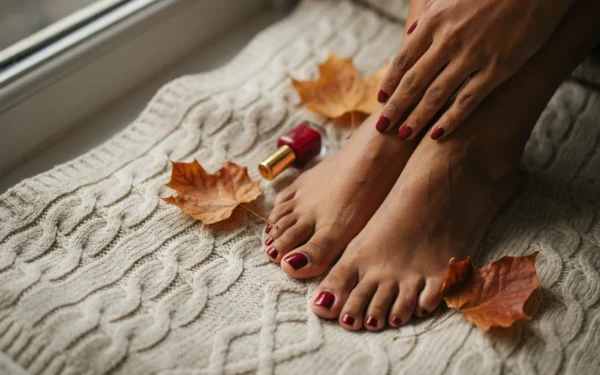
If you only try one fall shade, try burgundy. Burgundy toe nails flatter almost everyone, look classy in sandals or with bare feet at home, and hide small flaws well. Cool undertones should go for a wine shade with a purple lean, and warm undertones should look for one with a brick-red lean.
Rust, Copper, and Burnt Orange
These shades look like fall leaves. They’re gorgeous on warm and deep skin tones, especially in a shimmer finish that catches the light. If orange feels like too much, start with a muted rust that’s closer to brown.
Olive and Forest Green
Green is the shade that surprised me most. A deep olive looks earthy and calm, and forest green feels like a pine walk in October. Both work well on neutral and warm undertones.
Neutral Pedicure Colors
Neutral pedicure colors like taupe, mushroom, greige, and soft mocha are perfect if you want something quiet. They go with every outfit and grow out without showing much. Pick a nude that’s a shade or two darker than your skin so it doesn’t wash your feet out.
Plum, Navy, and Mauve
Plum and navy are great for cool undertones and look almost black from a distance, which feels chic. Mauve and dusty rose are softer options for anyone who loves pink. If that’s you, my post on pink fall nail ideas has plenty of shades that work just as well on toes.
To narrow it down to one bottle, follow these steps:
- Pick one color family from your short list in Step 1.
- Choose how deep you want to go: light for a soft look, medium for everyday, dark for drama.
- Choose a finish. Creme is smooth and classic, shimmer adds a soft glow, and metallic looks bold and festive.
- Pick two backup shades from a different family, so you have something to compare in Step 4.
A quick note on finish: shimmer and metallic polishes hide brush strokes and small bumps better than creme. If you’re still getting the hang of painting your toes, a shimmer is more forgiving.
The Finished Look: You have one main shade and two backups sitting on your towel. Each one fits your undertone, and you know which finish you’re going for.
Key takeaway: Burgundy, brown, and soft neutrals are the safest places to start. Once you’ve found one that works, branch out to green, rust, or plum.
Step 3: Match Your Fall Pedicure Colors to Your Shoes and Plans
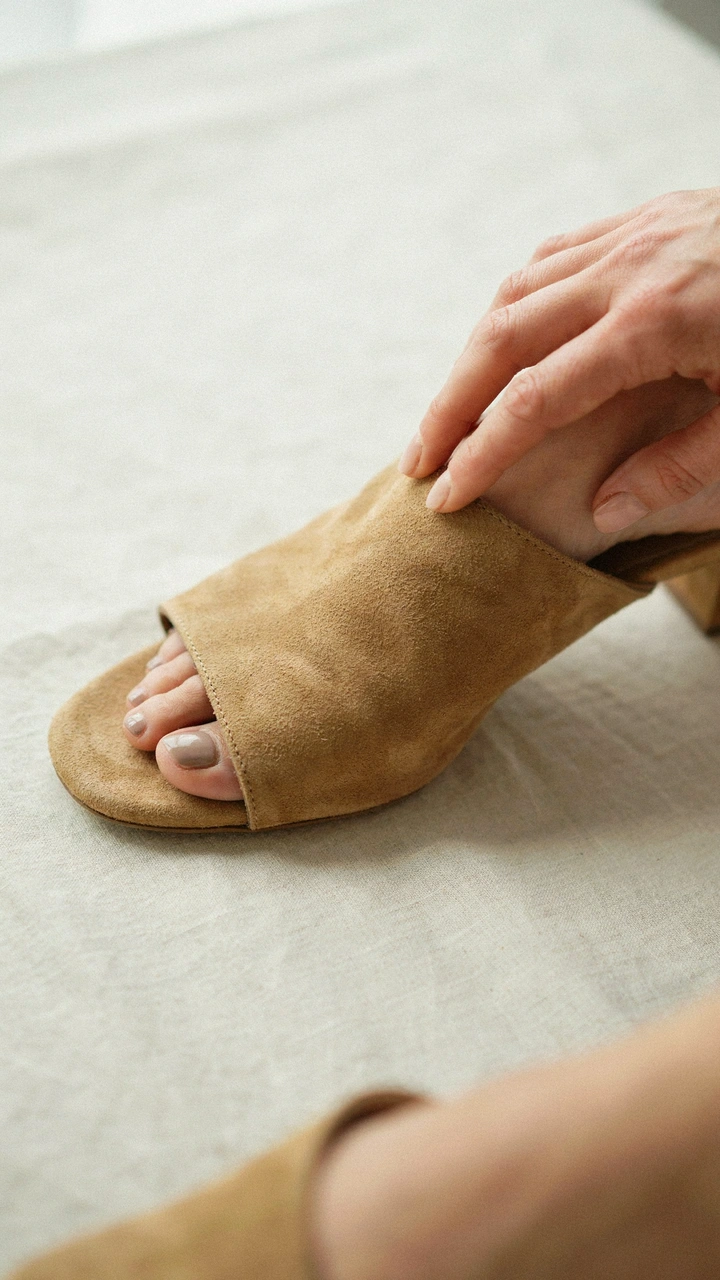
A pedicure in fall is different from one in summer. You’ll spend more time in closed shoes, but there are still warm days, weddings, and nights at home with bare feet. Thinking about where your toes will actually be seen helps you pick fall pedicure colors you’ll be happy with all month.
Early fall is a mix. You might still wear sandals in September, then switch to ankle boots by mid-October. If you’re changing your wardrobe slowly, my guide on moving from summer to fall outfits pairs nicely with this step.
Here’s a simple way to match your color to your plans:
| Where your toes will be seen | Shades that work well | Why |
|---|---|---|
| Sandals on warm September days | Rust, copper, mauve, warm nude | These feel like a bridge between summer and fall |
| Open-toe heels for a wedding or party | Burgundy, deep red, gold shimmer | Rich and dressy, they photograph well |
| Office with peep-toe flats | Taupe, mocha, soft brown | Neat and quiet, they go with work clothes |
| Boots most days, bare feet at home | Forest green, navy, plum, espresso | A fun shade just for you, since chips stay hidden |
| Thanksgiving or family dinners | Oxblood, brick red, copper | Warm and festive without being too bright |
Now think about your shoe colors. Brown and cognac boots look lovely with rust, copper, and caramel toes. Black shoes go well with burgundy, plum, and deep red. Tan and cream shoes pair nicely with neutrals and mauve.
You can also tie your toes to your outfits. If you wear a lot of camel, cream, and denim, warm browns and rusts feel natural. If your closet leans toward black, gray, and jewel tones, try burgundy or navy. My post on how to style a fall outfit with basics shows the kind of palette that works with almost any fall shade.
Follow these steps to make your choice:
- Write down your plans for the next three to four weeks, since that’s about how long a pedicure lasts.
- Note which shoes you’ll wear most often.
- Check your three shades against the table above and cross off any that clash with your main shoes.
- If you have a big event, choose for that event first. You can always switch after.
Your toes don’t have to match your fingernails, either. A neutral manicure with burgundy toes looks put together. A matching set looks classic, so pick whichever makes you happy.
The Finished Look: You’ve crossed off any shade that fights with your shoes or your plans. You’re down to one or two colors you can picture with your real outfits.
Key takeaway: Choose for the shoes you’ll actually wear. Dressy events call for rich reds and burgundy, while everyday closed-toe weeks are a great time to try a bolder shade.
Step 4: Test Toe Nail Colors Before You Commit
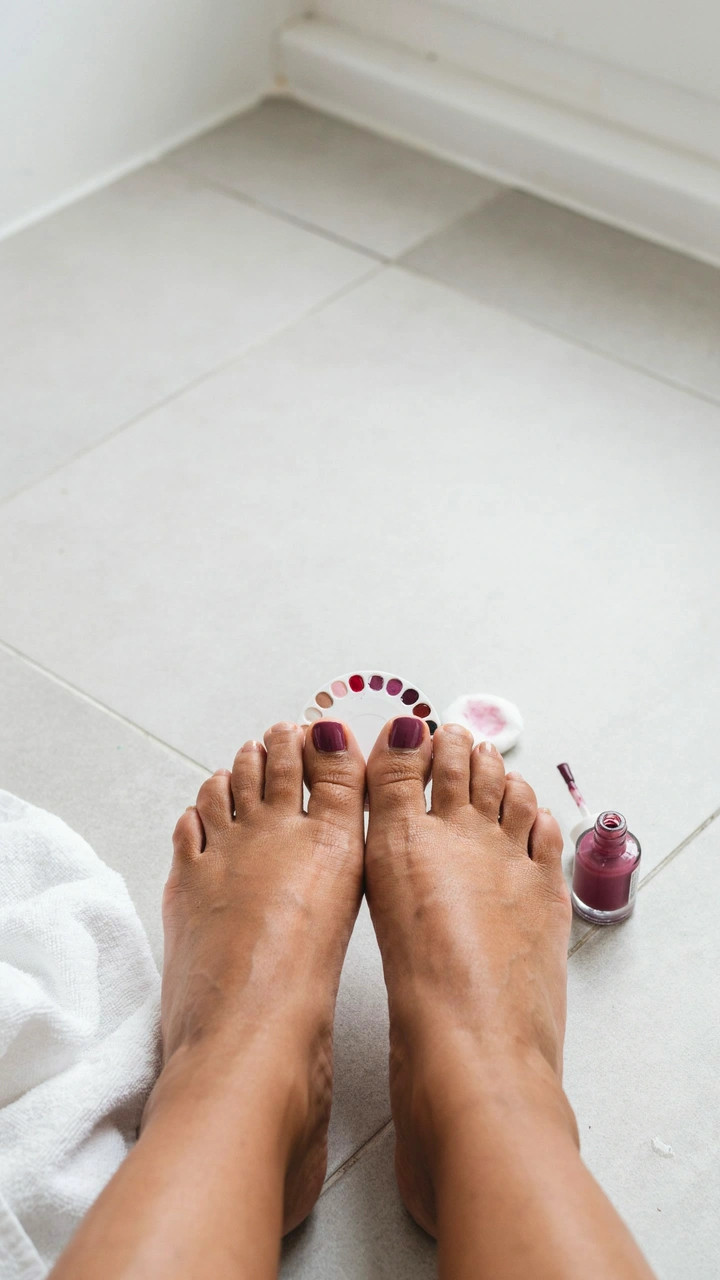
I learned this one the hard way. I once painted all ten toes in a copper that looked beautiful in the bottle, then took it off an hour later because it made my feet look orange. Testing takes ten minutes and saves you from starting over.
Polish almost never looks the same on your nail as it does in the bottle. The bottle shows the color in a thick layer, while two thin coats on your nail can look lighter or more sheer. Your own skin around the nail changes how the color reads, too.
Here’s how to test toe nail colors the easy way:
- Take off the old polish from both big toes with remover and a cotton pad.
- Paint one coat of base coat on each big toe and let it dry for 2 minutes.
- Paint your top choice on your right big toe and your first backup on your left big toe. Use two thin coats on each, with 2 minutes between coats.
- Paint a stripe of your second backup on a piece of clear tape, let it dry for 5 minutes, then stick it over a smaller toe.
- Look at your feet in daylight by a window.
- Look again in your normal indoor light at night.
- Slip on the shoes you’ll wear most and look down. That’s the view you’ll see every day.
If you have a big collection, a swatch sheet helps for the future. Paint a small stripe of each shade on a piece of white paper, write the name beside it, and keep it with your polish. Next season, you can hold the sheet near your feet and see what works without opening a single bottle.
Pay attention to how the color makes your skin look, not just the color itself. A good shade makes your feet look smooth and even. A shade that’s wrong for you can make your skin look red, gray, or tired.
Ask yourself a few honest questions while you look:
- Do I smile when I look down, or do I feel unsure?
- Does it look good in both daylight and lamp light?
- Can I picture it with most of my shoes?
- Would I be happy looking at it for three weeks?
If you’re torn between two, go with the one you keep glancing at. That’s usually your answer. Once you’ve decided, take the test polish off all your toes so you’re starting with clean nails in the next step.
The Finished Look: You’ve seen your shades on your real nails in two kinds of light and with your shoes on. You’ve picked one winner, and all your toes are bare and clean again.
Key takeaway: Always test on your big toe first. Ten minutes of testing beats an hour of painting a color you end up taking off.
Step 5: Prep and Paint Your Toes
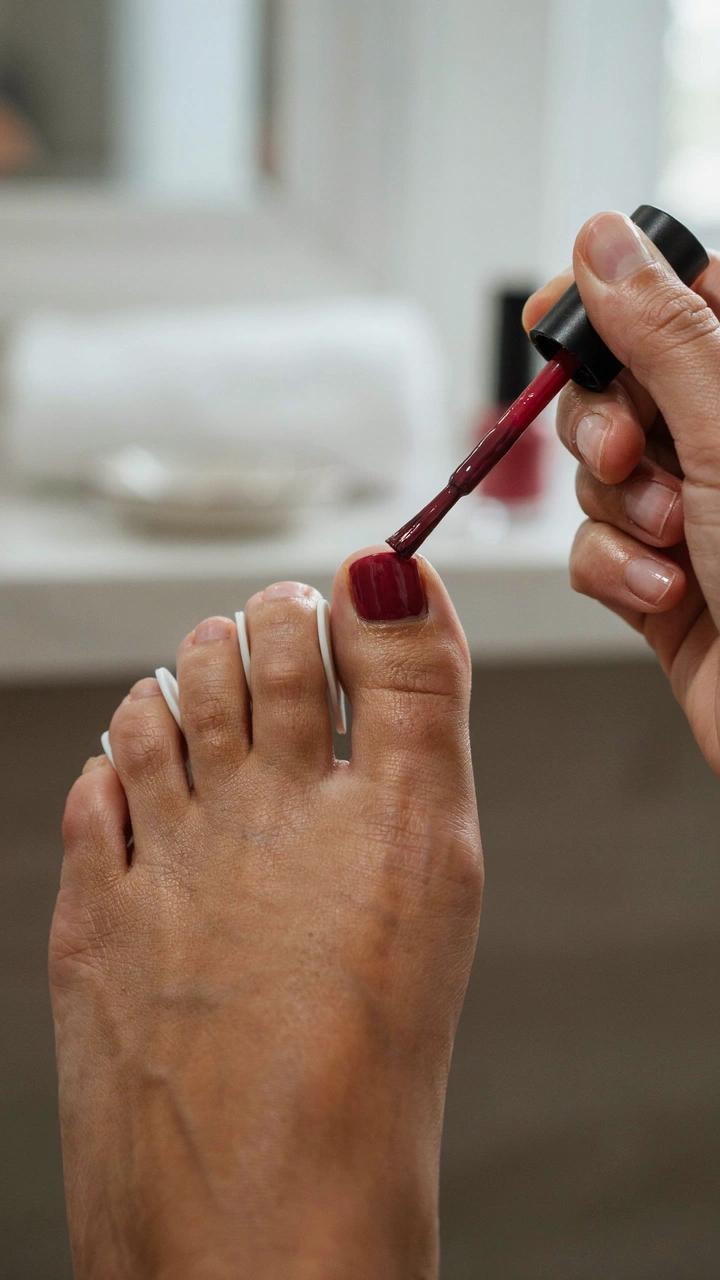
Good prep is what makes a home pedicure look like it came from a salon. Polish sticks better to clean, smooth, oil-free nails. Take your time with the first half of this step, and the painting part gets much easier.
Follow these steps in order:
- Remove any leftover polish with remover and a cotton pad. Press the pad on each nail for 10 seconds before wiping, so dark polish lifts off in one swipe instead of smearing.
- Trim your toenails straight across with clippers. Cutting straight across, rather than rounding the corners, helps prevent ingrown toenails, as the Mayo Clinic explains.
- File the edges smooth, moving the file in one direction instead of sawing back and forth.
- Soak your feet in warm water for 10 minutes to soften the skin and cuticles.
- Use a pumice stone or foot scrub on your heels and the sides of your feet for 2 to 3 minutes, then rinse.
- Dry your feet well with the towel, including between your toes.
- Gently push your cuticles back with the orange stick. Don’t cut them, since they protect the nail.
- Wipe each nail with a little remover on a cotton pad to take off any oil or lotion.
- Put your toe separators in.
- Paint one thin layer of base coat on each nail. Let it dry for 2 minutes.
- Paint your first coat of color. Start with a dot of polish near the cuticle, push it close to the edge, then use three strokes: one down the middle and one down each side.
- Wait 2 to 3 minutes, then paint a second thin coat the same way.
- Dip a small flat brush or cotton swab in remover and clean any polish off the skin around each nail.
- Paint a layer of top coat, running the brush lightly along the tip of each nail to seal the edge.
- Sit with your feet up for at least 15 minutes, then wait another 30 before putting on socks.
Thin coats are the secret here. A thick coat looks faster but stays soft underneath for hours and dents easily. Two thin coats dry quicker and look smoother.
Leave out the step of pushing back your cuticles if they’re already neat. The Mayo Clinic’s nail care tips also warn against picking at cuticles, so be gentle and stop if anything feels sore.
Dark fall shades show every mistake around the edges, so cleanup matters more now than it does with summer pastels. A flat brush dipped in remover gives a sharp, clean line. Do this before the top coat so you’re not smearing it.
Your little toes are tricky. Use less polish on the brush, and if the nail is very small, one stroke down the middle is enough. Nobody is looking that closely, I promise.
The Finished Look: Each nail is shiny and smooth, with no streaks or bald spots. The color stops just short of your skin with a clean edge, and the polish feels dry when you lightly touch it after 15 minutes.
Key takeaway: Clean, oil-free nails, thin coats, and a careful cleanup are what make a home pedicure look professional.
Step 6: Make Your Pedicure Last Through Fall
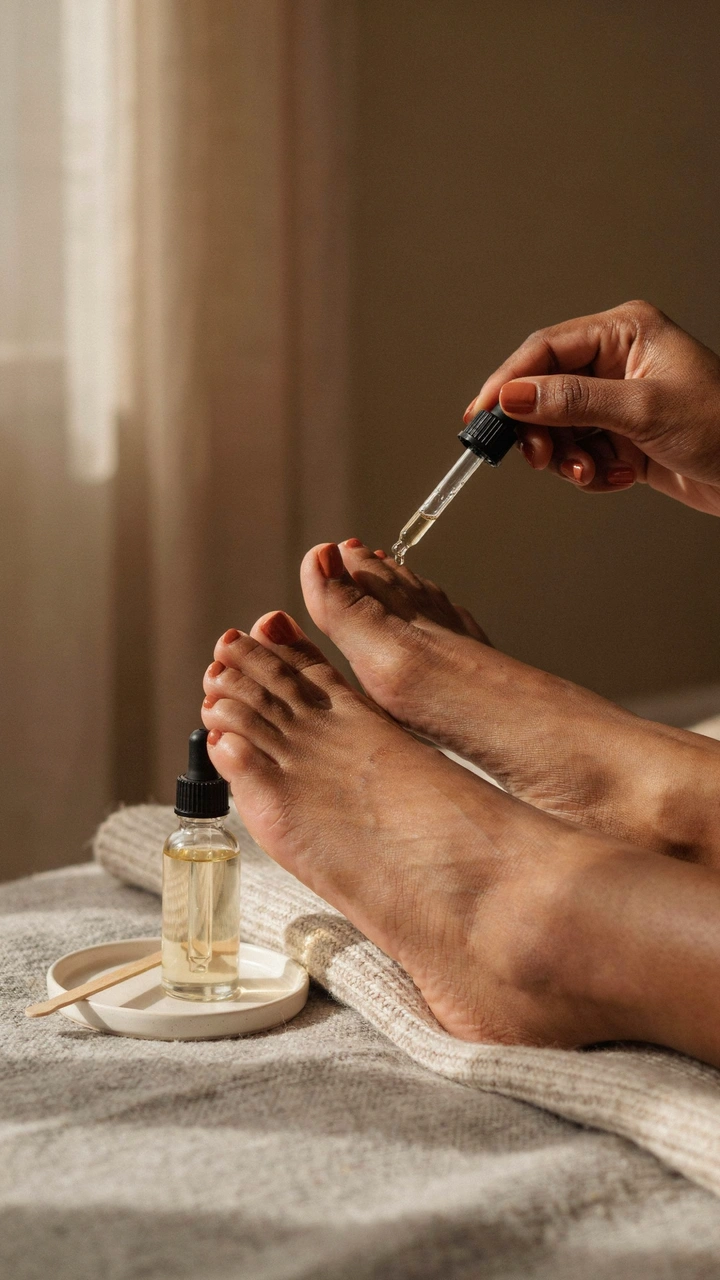
The good news is that toes hold polish much longer than fingers. You don’t use your toes to type, wash dishes, or open cans, so a careful pedicure can easily last three to four weeks. A few small habits stretch that even further.
Follow these steps after painting:
- Skip tight shoes, hot baths, and long showers for the rest of the evening. Polish can feel dry in 15 minutes but takes several hours to fully harden.
- Wear soft cotton socks to bed the first night instead of going under heavy blankets with bare feet.
- Add a fresh layer of top coat every 3 to 4 days. This keeps the shine and seals any tiny chips.
- Rub cuticle oil around each nail every few nights. Hydrated nails are less likely to peel, which takes the polish with them.
- Use foot cream on your heels, but wipe any cream off your nails so it doesn’t dull the top coat.
- Fix small chips right away. Dab a little color only on the chip, let it dry for 2 minutes, then add top coat over the whole nail.
- Choose shoes with enough room in the toe. Boots that press on your toes all day wear polish down at the tips.
- After three to four weeks, remove the polish and let your nails go bare for a few days before your next color.
Fall weather is drier, and that dryness can make nails brittle. Keeping up with the oil and cream makes a real difference. I keep a small bottle of cuticle oil on my nightstand so I actually remember to use it.
When it’s time for a new shade, think about the season ahead. Late fall is a lovely time to move from rust and copper toward deeper burgundy, plum, and espresso, which carry right into the holidays.
The Finished Look: Two or three weeks in, your polish is still glossy, the tips aren’t worn down, and your cuticles look soft instead of dry. You’re happy every time you take your boots off.
How long does a pedicure last in fall?
With a base coat, two thin coats, and a top coat, most pedicures last three to four weeks. Adding top coat every few days can stretch it closer to a month.
Do dark fall shades stain your nails?
They can, especially reds, browns, and plums. A base coat under every pedicure is the best way to stop stains before they start.
Can you wear bright colors in fall?
Of course. Try a bright shade in a deeper version, like a brick red instead of cherry or a copper instead of orange, so it still feels like the season.
Key Takeaways
- Check your undertone on your feet in daylight before you shop.
- Start with burgundy, brown, or a soft neutral, then branch out.
- Pick shades that work with the shoes you’ll wear most.
- Test on your big toe before painting all ten.
- Use a base coat, thin coats, and top coat every time.
- Refresh your top coat every 3 to 4 days to keep the shine.
Finding my way to that first burgundy pedicure changed how I think about fall. It’s such a small thing, but painting my toes in a warm, deep shade feels like the start of the season to me.
I hope these steps make choosing your next color feel easy instead of overwhelming. Trust what looks good on you, and don’t be afraid to try the shade you keep reaching for.
Grab a bottle, put your feet up, and give it a try this week. Then come back and tell me in the comments which fall color you picked, because I’d love to hear it.