This post may contain affiliate links, which means I may receive a small commission should you decide to click that link and make a purchase. For more information please refer to the Terms & Conditions.
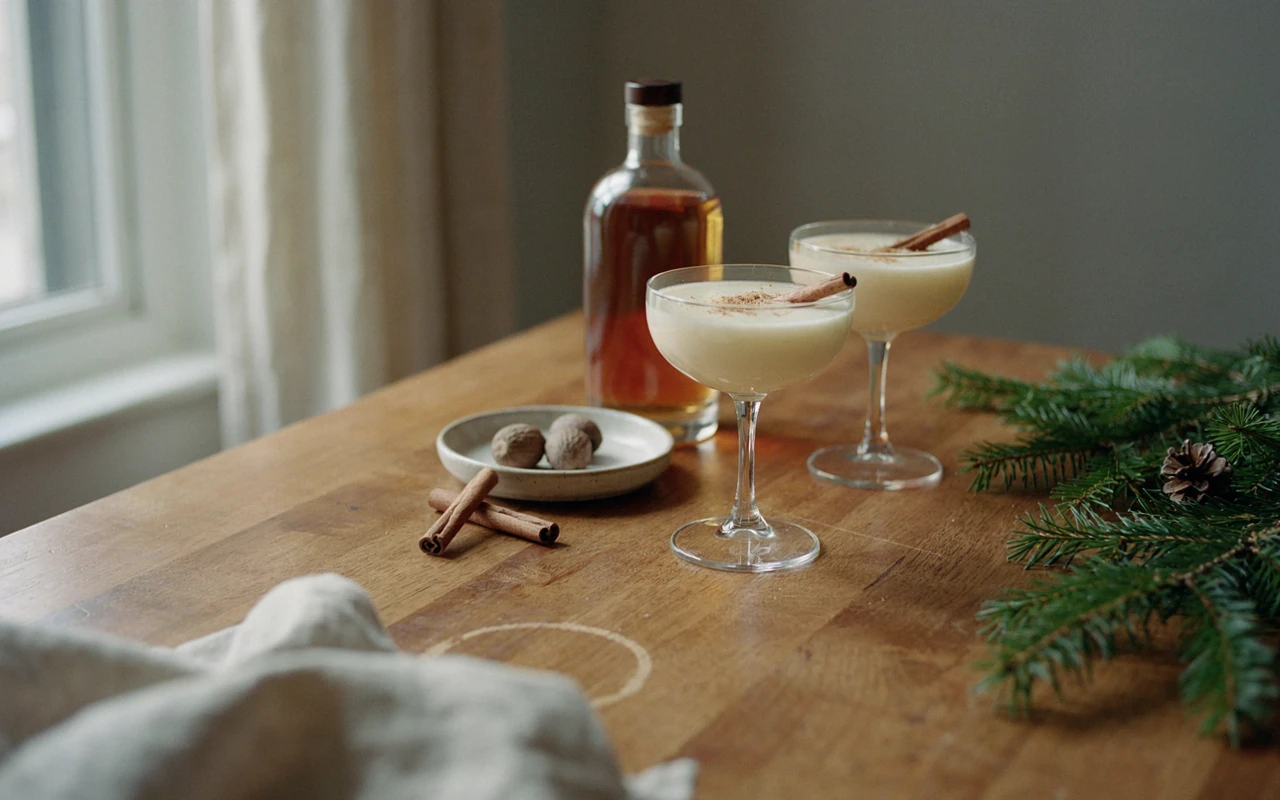
The first time I tasted a real Christmas Eggnog Cocktail, it was nothing like the thick, sugary stuff from the carton I’d been drinking for years. My aunt made it from scratch every December, and the night she showed me how to make a classic Christmas eggnog cocktail at home, I realized I’d been missing out on one of the best parts of the holidays.
Her version was creamy without being heavy. It tasted like vanilla, fresh nutmeg, and a warm splash of bourbon, and it went down far too easily.
After that night, I stopped buying eggnog altogether. Making it myself turned a once-a-year treat into a little ritual I look forward to, and my friends now ask for it before they even take off their coats.
Below, you’ll get a simple, safe way to make a rich, classic eggnog cocktail in your own kitchen, with no raw eggs and no fancy bar skills needed.
What You Need to Make a Christmas Eggnog Cocktail
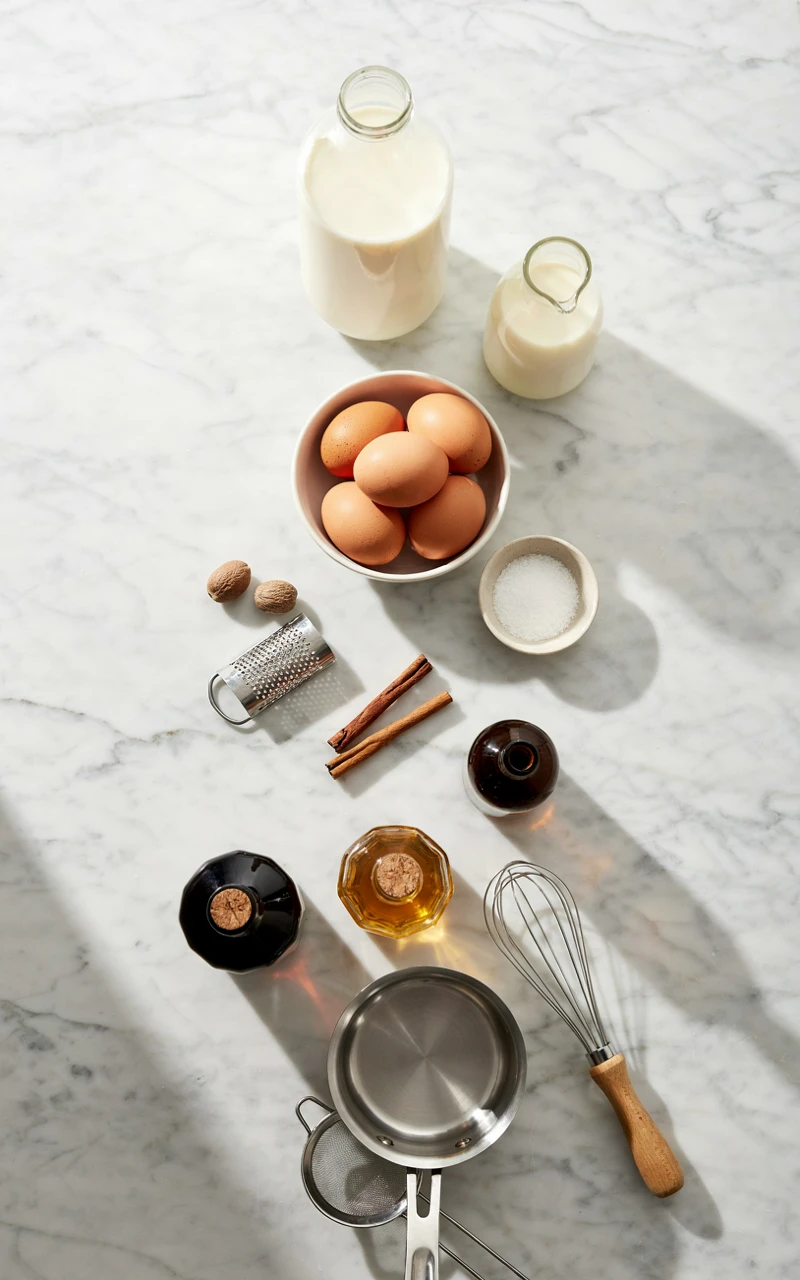
Before you start, it helps to know that this recipe works in three stages. You cook a gentle custard, you chill and season it, and then you spike and shake each drink right before serving.
That setup is what makes this an easy eggnog recipe for parties. Almost all the work happens the day before, so you’re not stuck at the stove while your guests arrive.
Ingredients for the Eggnog Base
This batch makes about 4 cups (950 ml) of eggnog, which is enough for six to eight cocktails. Use the freshest eggs you can find, since the yolks carry most of the flavor.
- 6 large egg yolks
- 1/2 cup (100 g) granulated sugar
- 2 cups (480 ml) whole milk
- 1 cup (240 ml) heavy cream
- 1/2 tsp (1 g) freshly grated nutmeg, plus extra for topping
- 1/4 tsp (0.5 g) ground cinnamon
- 1 pinch (about 0.5 g) fine salt
- 1 tsp (5 ml) pure vanilla extract
Ingredients for Spiking and Serving
You’ll add the alcohol one drink at a time, which lets everyone choose their own strength. These amounts cover a full batch of about six cocktails.
- 3/4 cup (180 ml) bourbon
- 1/4 cup (60 ml) dark rum
- 1 cup (about 130 g) ice cubes for shaking
- 1 whole nutmeg for grating on top
- 6 cinnamon sticks for garnish (optional)
If you only want one spirit, use 1 cup (240 ml) of bourbon or 1 cup (240 ml) of brandy instead. Each drink gets about 1 1/2 oz (45 ml) of alcohol, which is a standard single pour.
Tools You’ll Need
You don’t need anything special here. Most of these are already in your kitchen drawers.
- Medium heavy-bottomed saucepan (about 2 qt or 2 L)
- Large mixing bowl
- Whisk
- Silicone spatula or wooden spoon
- Instant-read thermometer
- Fine-mesh strainer
- Glass jar or pitcher with a lid, about 1 1/2 qt (1.4 L)
- Cocktail shaker, or a jar with a tight lid
- Jigger or measuring spoons
- Microplane or small grater for the nutmeg
- Small glasses, such as coupes, rocks glasses, or little punch cups
The thermometer is the one tool I’d really push you to get. It takes all the guessing out of the cooking stage, and it’s the easiest way to know your eggs are safe.
Choosing the Right Ingredients
Whole milk and heavy cream give you that silky, coat-your-tongue texture. Skim milk will make the eggnog thin and a little watery, so save it for your morning coffee.
Whole nutmeg is worth buying. Pre-ground nutmeg loses its smell fast, while a fresh grating gives you that warm, sweet scent that makes people say “oh, that’s eggnog” before they even take a sip.
For the bourbon, pick something you’d happily drink on its own, but don’t reach for your most expensive bottle. A mid-priced bourbon with notes of caramel and vanilla works best. Dark rum adds a soft molasses flavor that rounds everything out.
Servings and Timing at a Glance
| Stage | Time | What Happens |
|---|---|---|
| Prep | 10 minutes | Separate eggs, measure ingredients |
| Cook | 10 to 12 minutes | Make the custard base on the stove |
| Chill | 4 hours to overnight | Cool and thicken in the fridge |
| Mix and serve | 2 minutes per drink | Shake with alcohol and ice |
| Total active time | About 25 minutes | Serves 6 to 8 |
Plan to make the base the day before your party if you can. The flavors settle overnight, and the eggnog gets noticeably thicker and smoother.
Key Takeaways Before You Start
- Cooked, not raw: this version heats the yolks, so it’s safer for a crowd.
- Make ahead: the base needs at least 4 hours in the fridge.
- Spike to order: add the alcohol per drink, so you can also pour a few without it.
- Fresh nutmeg matters: it’s the flavor people remember.
Save your egg whites in a covered container in the fridge. They keep for up to 4 days and are great for meringues or a batch of macarons, which pair nicely with the treats in my list of Christmas dessert ideas.
Stage 1: Cook the Custard Base for Traditional Christmas Eggnog
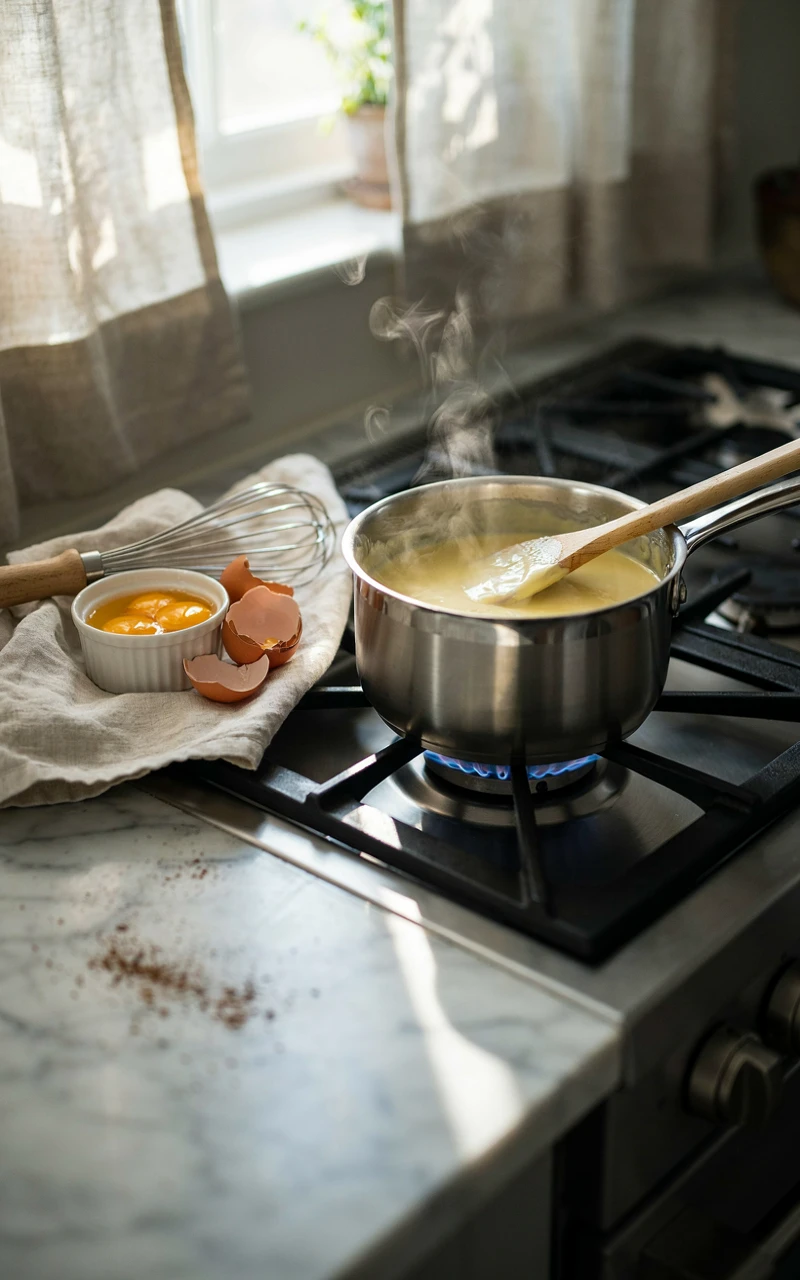
This is the part that scares people, but it’s really just a simple stovetop custard. Traditional Christmas eggnog was often made with raw eggs, and plenty of families still do it that way.
I cook mine because I serve it to a lot of people, and I like knowing it’s safe for everyone. FoodSafety.gov lists 160°F (71°C) as the safe minimum internal temperature for egg dishes, and that’s exactly the temperature you’ll aim for here.
Step-by-Step Instructions for the Custard
- Separate 6 large eggs, putting the yolks in a large mixing bowl and the whites in a covered container for later.
- Add 1/2 cup (100 g) of sugar to the yolks.
- Whisk the yolks and sugar for about 2 minutes, until the mixture turns pale yellow and slightly thick.
- Pour 2 cups (480 ml) of whole milk and 1 cup (240 ml) of heavy cream into the saucepan.
- Stir in 1/2 tsp of grated nutmeg, 1/4 tsp of cinnamon, and a pinch of salt.
- Heat the milk mixture over medium heat for about 4 to 5 minutes, until small bubbles form around the edges and steam rises. Don’t let it boil.
- Take the pan off the heat.
- Slowly pour about 1/2 cup (120 ml) of the hot milk into the yolks while whisking the whole time.
- Pour in another 1/2 cup (120 ml) of hot milk the same way, still whisking.
- Pour the warmed yolk mixture back into the saucepan with the rest of the milk.
- Set the pan over medium-low heat.
- Stir slowly and constantly with a spatula, scraping the bottom and corners, for 4 to 6 minutes.
- Check the temperature with your thermometer and stop when it reads 160°F (71°C). Don’t go past 170°F (77°C).
- Pour the custard through a fine-mesh strainer into a clean bowl or pitcher right away.
- Stir in 1 tsp (5 ml) of vanilla extract.
Why You Warm the Yolks Slowly
Pouring hot milk into eggs a little at a time is called tempering. It warms the yolks gently so they don’t scramble when they hit the hot pan.
If you dump the yolks straight into hot milk, you’ll get sweet scrambled eggs. Not a fun way to start the holidays.
It helps to have the bowl sitting on a damp kitchen towel. That keeps it from sliding around while you pour with one hand and whisk with the other.
How to Tell the Custard Is Done Without Guessing
Your thermometer is the most reliable check. Still, there are a few signs you can watch for as you stir.
- The custard thickens slightly and looks more like melted ice cream than milk.
- The foam on top mostly disappears.
- It coats the back of a spoon, and when you run your finger through it, the line stays clean.
- Steam rises steadily, but there are no big bubbles breaking the surface.
If you ever see bubbles rolling up from the bottom, pull the pan off the heat and keep stirring. Boiling is what causes those little cooked-egg bits.
Common Mistakes in the Cooking Stage
Most eggnog problems happen right here, and they’re all easy to avoid once you know about them. These are the ones I’ve made myself.
- Turning the heat up to save time: high heat cooks the eggs on the bottom before the rest warms up. Keep it at medium-low.
- Walking away: even one minute without stirring can leave a cooked layer on the bottom of the pan.
- Skipping the strainer: even a perfect batch has a few tiny bits of cooked egg, and straining catches them.
- Using a thin pan: a heavy-bottomed saucepan spreads the heat evenly, so nothing scorches.
- Adding vanilla too early: heat dulls the flavor, so stir it in after cooking.
If your custard does curdle a little, don’t toss it. Blend it for 20 to 30 seconds with a stick blender, then strain it, and it’ll usually come back smooth.
The Finished Look: your strained custard should be smooth, pale gold, and about as thick as heavy cream. It should coat the back of a spoon, smell strongly of vanilla and nutmeg, and have no lumps or grainy bits.
Key Takeaways for Stage 1
- Whisk the yolks and sugar until pale before adding any milk.
- Add the hot milk slowly to warm the yolks gently.
- Cook on medium-low and stop at 160°F (71°C).
- Strain right away, then add the vanilla.
Stage 2: Chill and Season the Eggnog
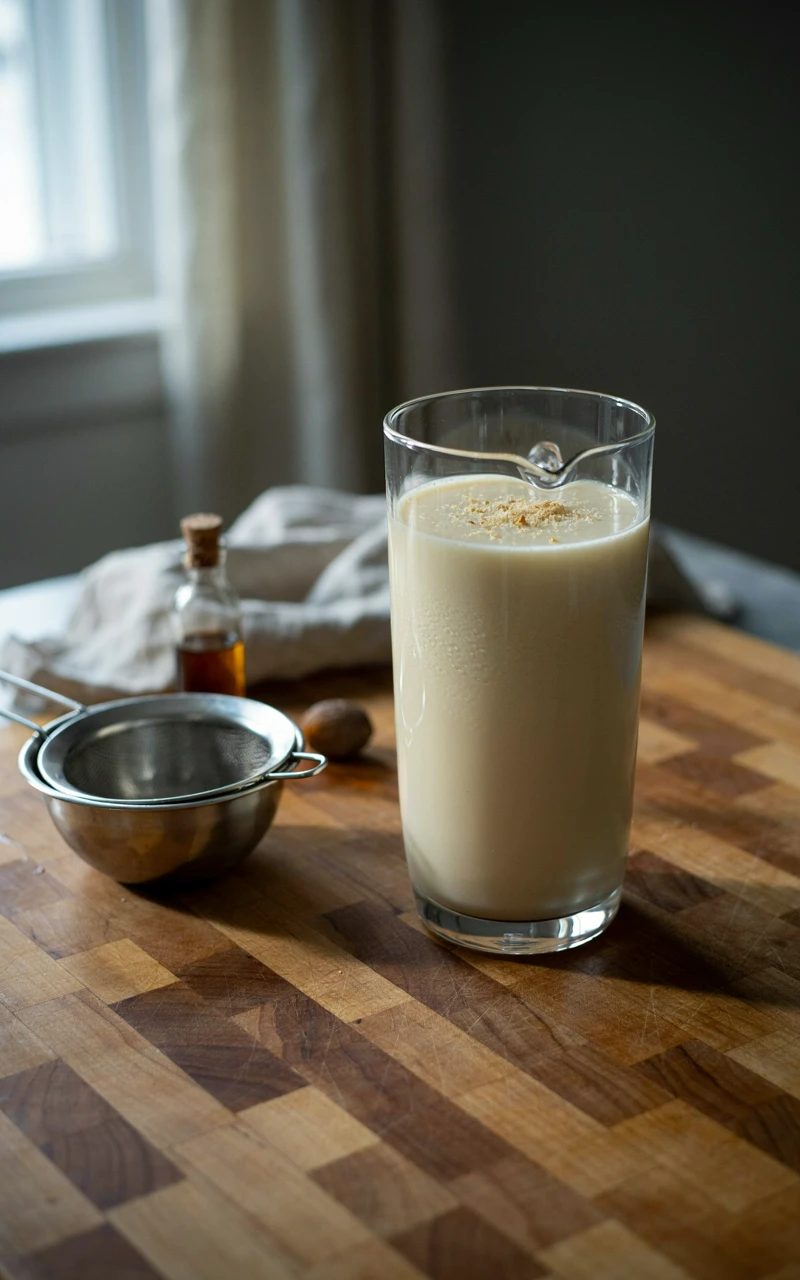
Now comes the easy part. Chilling is where your eggnog goes from warm custard to a thick, cold, sippable drink.
Don’t rush this stage. A few hours in the fridge makes a bigger difference to the texture than almost anything else you’ll do.
Step-by-Step Instructions for Chilling
- Fill a large bowl halfway with ice and about 2 cups (480 ml) of cold water.
- Set the bowl of strained custard into the ice water.
- Stir the custard every few minutes for about 15 minutes, until it feels cool to the touch.
- Pour the cooled custard into a glass jar or pitcher.
- Press a piece of plastic wrap right onto the surface of the eggnog to stop a skin from forming.
- Put the lid on the jar.
- Refrigerate for at least 4 hours, or overnight for the best flavor and thickness.
- Take the eggnog out and give it a good stir or shake.
- Taste it and adjust the seasoning, using the guide below.
Why the Ice Bath Helps
Warm custard sitting on the counter for a long time isn’t great for food safety. An ice bath brings the temperature down fast, so it can go straight into the fridge.
It also keeps the custard from cooking further in its own heat. That means a smoother final drink with no rubbery bits.
If you’re short on ice, you can split the custard between two shallow containers instead. More surface area means it cools down much quicker.
How to Season Your Eggnog After Chilling
Cold dulls flavor, so your eggnog will taste a little milder after a night in the fridge. That’s why I always taste and adjust at this point rather than before chilling.
Start with a small spoonful and think about what’s missing. Then add a tiny bit at a time and taste again.
| If It Tastes… | Add This | How Much to Start With |
|---|---|---|
| Flat or bland | Freshly grated nutmeg | 1/8 tsp (0.25 g) |
| Not sweet enough | Maple syrup or sugar | 1 tbsp (15 ml or 12 g) |
| Too sweet | Cold whole milk | 1/4 cup (60 ml) |
| Too thick | Cold whole milk | 2 tbsp (30 ml) at a time |
| Missing warmth | Ground cinnamon | 1/8 tsp (0.25 g) |
| Missing depth | Vanilla extract | 1/2 tsp (2.5 ml) |
Remember that the alcohol will add its own warmth and a little sharpness later. Your base should taste slightly sweeter than you’d want on its own, because the bourbon will balance it out.
Making It Even Creamier
If you love really rich, creamy Christmas drinks, you can fold in whipped egg whites or whipped cream right before serving. I usually go with whipped cream, since it’s simple and doesn’t raise any raw egg worries.
Whip 1/2 cup (120 ml) of cold heavy cream until soft peaks form, which takes about 2 minutes with a hand mixer. Gently fold it into the chilled eggnog with a spatula, and you’ll get a lighter, almost frothy texture.
Only do this right before serving. Whipped cream starts to lose its air after a few hours in the fridge.
Storage Tips for the Base
Plain eggnog base without alcohol keeps in a sealed jar in the fridge for up to 3 days. Keep it on a shelf toward the back, where it’s coldest, instead of in the fridge door.
The texture may separate a little as it sits. That’s normal, and a quick stir or shake brings it right back together.
I don’t recommend freezing it. The cream can turn grainy when it thaws, and you’ll lose that smooth, velvety feel you worked for.
The Finished Look: after chilling, your eggnog should be cold, thick enough to slowly coat the inside of a glass, and smooth when you stir it. It should taste sweet, warmly spiced, and rich, with nutmeg and vanilla clearly coming through.
Key Takeaways for Stage 2
- Cool the custard quickly in an ice bath before it goes in the fridge.
- Press plastic wrap onto the surface to stop a skin from forming.
- Chill for at least 4 hours, and overnight if you can.
- Taste and season after chilling, not before.
Stage 3: Spike, Shake, and Serve the Cocktail
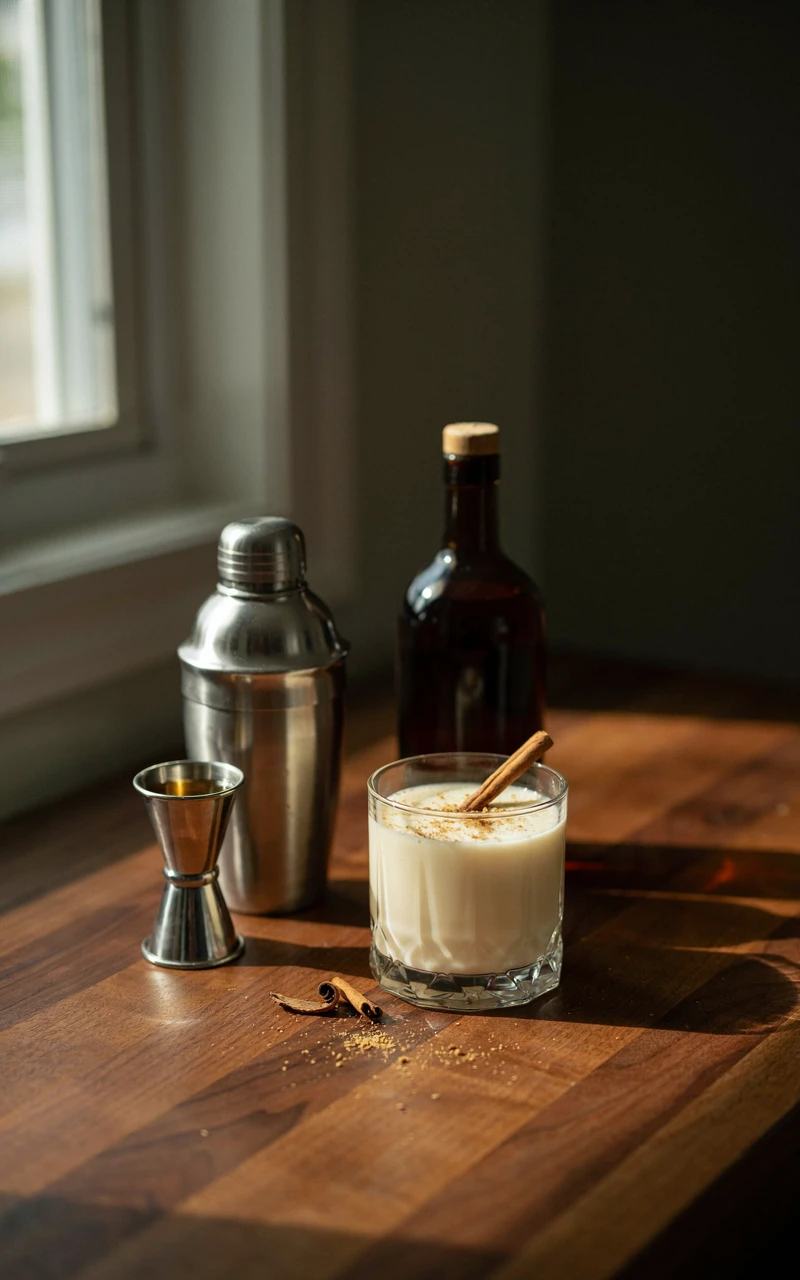
This is the fun part, and it only takes a couple of minutes per drink. Shaking each cocktail with ice makes it frothy, cold, and just a little lighter than eggnog poured straight from the jar.
Spiking drinks one at a time also means you can pour a few without alcohol for kids, drivers, or anyone skipping it this year. That’s a big reason I love this homemade eggnog cocktail for family gatherings.
Step-by-Step Instructions for One Cocktail
- Put your glass in the freezer for 10 minutes so it’s nice and cold.
- Fill a cocktail shaker about halfway with ice.
- Pour in 4 oz (120 ml) of chilled eggnog.
- Add 1 oz (30 ml) of bourbon.
- Add 1/2 oz (15 ml) of dark rum.
- Close the shaker tightly.
- Shake hard for 15 seconds, until the outside of the shaker feels very cold.
- Strain the drink into your chilled glass.
- Grate a little fresh nutmeg over the top.
- Add a cinnamon stick if you like, and serve right away.
If you don’t have a shaker, a clean jar with a tight lid works perfectly. Just hold the lid down with your hand while you shake.
Choosing Your Spirit
Every family seems to have its own opinion on what goes in eggnog. The good news is that this alcoholic eggnog recipe works with almost any dark spirit, so you can match it to what you already have.
| Spirit | Amount per Drink | What It Tastes Like |
|---|---|---|
| Bourbon | 1 1/2 oz (45 ml) | Caramel, vanilla, a little oak |
| Dark rum | 1 1/2 oz (45 ml) | Molasses, brown sugar, soft spice |
| Brandy or cognac | 1 1/2 oz (45 ml) | Fruity, smooth, classic |
| Spiced rum | 1 1/2 oz (45 ml) | Extra cinnamon and clove |
| Bourbon and rum mix | 1 oz (30 ml) + 1/2 oz (15 ml) | My favorite: warm and well rounded |
Making a Big Batch for a Party
Shaking drinks one by one is lovely for a small group, but it gets tiring fast at a bigger party. For a crowd, you can stir the alcohol into the whole jar instead.
Mix the full 4 cups (950 ml) of eggnog base with 3/4 cup (180 ml) of bourbon and 1/4 cup (60 ml) of dark rum. Keep the pitcher in the fridge, give it a stir before each pour, and serve it in small glasses with a grating of nutmeg on top.
If you want a few kid-friendly glasses too, pour them out first, before you add any alcohol. I set those out with a little label so nobody grabs the wrong one.
Variations to Try
Once you’ve made the classic version, it’s easy to play around. These are a few that have become favorites at my house.
- Coffee eggnog: add 1/2 oz (15 ml) of coffee liqueur to each drink for a dessert-style cocktail.
- Warm eggnog: gently heat 4 oz (120 ml) of the base to about 140°F (60°C), then stir in the spirit. Don’t let it boil.
- Chai spice: add a pinch of ground cardamom and ground ginger to the base during seasoning.
- Dairy-free: swap the milk and cream for full-fat oat milk and canned coconut cream, using the same amounts.
- Alcohol-free: skip the spirits and add 1/4 tsp (1.25 ml) of rum extract to the base for that same flavor.
If you love seasonal drinks like these, my list of cozy fall drinks has more ideas to carry you through the colder months.
Storing Spiked Eggnog
Eggnog with alcohol mixed in keeps in a sealed jar in the fridge for up to 5 days. The alcohol helps it last a bit longer than the plain base.
Some people age spiked eggnog for weeks, but that’s a different style with much more alcohol in it. For this recipe, stick to the 5-day window and you’ll have the best flavor.
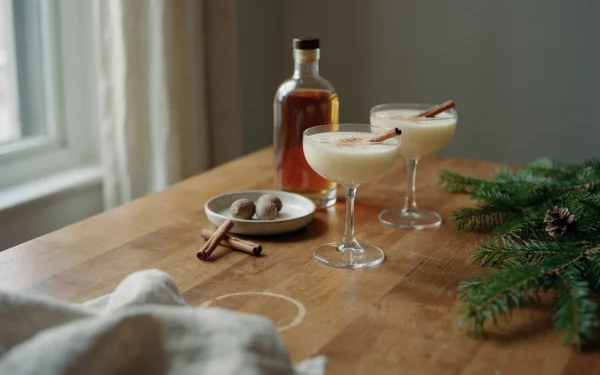
The Finished Look: your finished cocktail should be ice cold, pale cream in color, and topped with a thin layer of fine foam from shaking. The nutmeg should sit on the foam in little brown flecks, and the first sip should taste creamy and sweet, followed by a gentle warmth from the bourbon.
What to Serve With Your Holiday Eggnog
Holiday eggnog is rich, so it pairs best with simple sweets and salty snacks. Gingerbread cookies, shortbread, spiced nuts, and a cheese board all work well.
It also makes a lovely after-dinner drink once the big meal is done. If you’re already planning your holiday menus, my roundup of Thanksgiving recipes is a good place to start, and you can save this cocktail for the Christmas table.
How long does homemade eggnog last?
The plain base keeps for up to 3 days in the fridge. Once you mix in the alcohol, it keeps for up to 5 days in a sealed jar.
Can I make this without a thermometer?
Yes, but it’s harder to be sure. Cook until the custard coats the back of a spoon and a line drawn with your finger stays clean, and never let it boil.
Why is my eggnog thin?
It most likely needs more time in the fridge, or it wasn’t cooked quite long enough. Chill it overnight, and next time cook it all the way to 160°F (71°C).
Can I use store-bought eggnog?
You can, and the shaking method still works. It’ll be sweeter and less rich than homemade, so try cutting the spirit slightly and add extra fresh nutmeg.
What’s the best glass to use?
A small coupe or rocks glass that holds about 6 oz (180 ml) is perfect. Eggnog is rich, so smaller pours feel just right.
Key Takeaways for Stage 3
- Use 4 oz (120 ml) of eggnog and 1 1/2 oz (45 ml) of spirit per drink.
- Shake hard with ice for 15 seconds for a frothy top.
- Grate fresh nutmeg right over each glass.
- For a crowd, stir the alcohol into the whole pitcher instead.
Final Thoughts
I’ve made this eggnog every December for years now, and it still feels a little bit special each time I pull that jar out of the fridge. It’s simple food, really, just eggs, milk, sugar, and spice, but it tastes like the holidays to me.
My best advice is to give yourself the extra day. Cook the custard, let it rest overnight, and you’ll be amazed at how smooth and rich it turns out.
You don’t need to be a bartender to pull this off. If you can stir a pot and shake a jar, you can make a cocktail your friends will be asking about next year.
Give it a try this season, and let me know in the comments how yours turned out and which spirit you picked. I’d love to hear about your own holiday traditions too, and you can always reach me through my contact page.