This post may contain affiliate links, which means I may receive a small commission should you decide to click that link and make a purchase. For more information please refer to the Terms & Conditions.
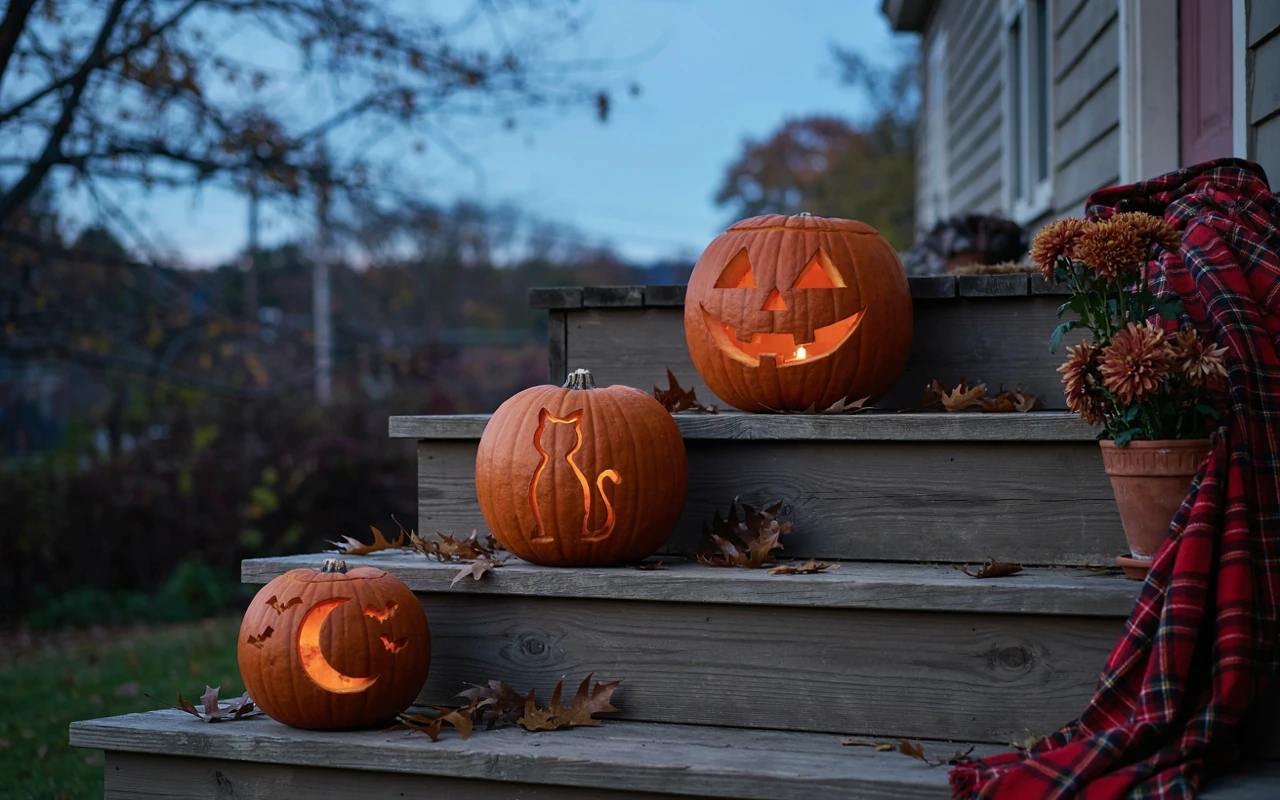
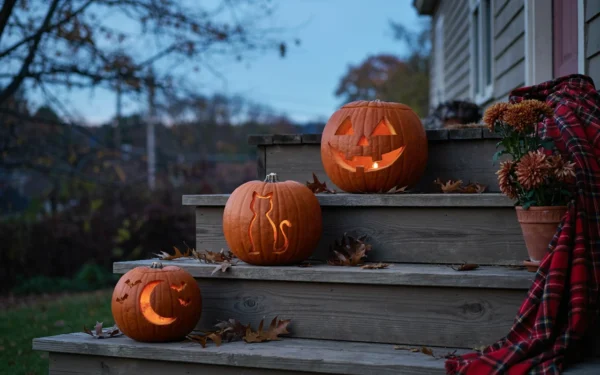
Pumpkin Carving Designs can turn an ordinary pumpkin into a fun and creative Halloween decoration.
From classic spooky faces to detailed patterns, there are plenty of ways to make your pumpkins stand out without needing special artistic skills.
If you’re new to pumpkin carving, getting started can feel a little tricky.
Uneven cuts, messy shapes, and pumpkins that don’t last until Halloween can quickly take the fun out of the process.
The good news is that a few simple tools, an easy pattern, and the right technique can make pumpkin carving much easier.
You don’t need expensive supplies or complicated designs to create something you can proudly display on your porch or doorstep.
In this guide, you’ll discover the tools you need and five simple steps to create cool pumpkin carving designs at home, even if you’re a complete beginner.
What You Need: Tools and Materials
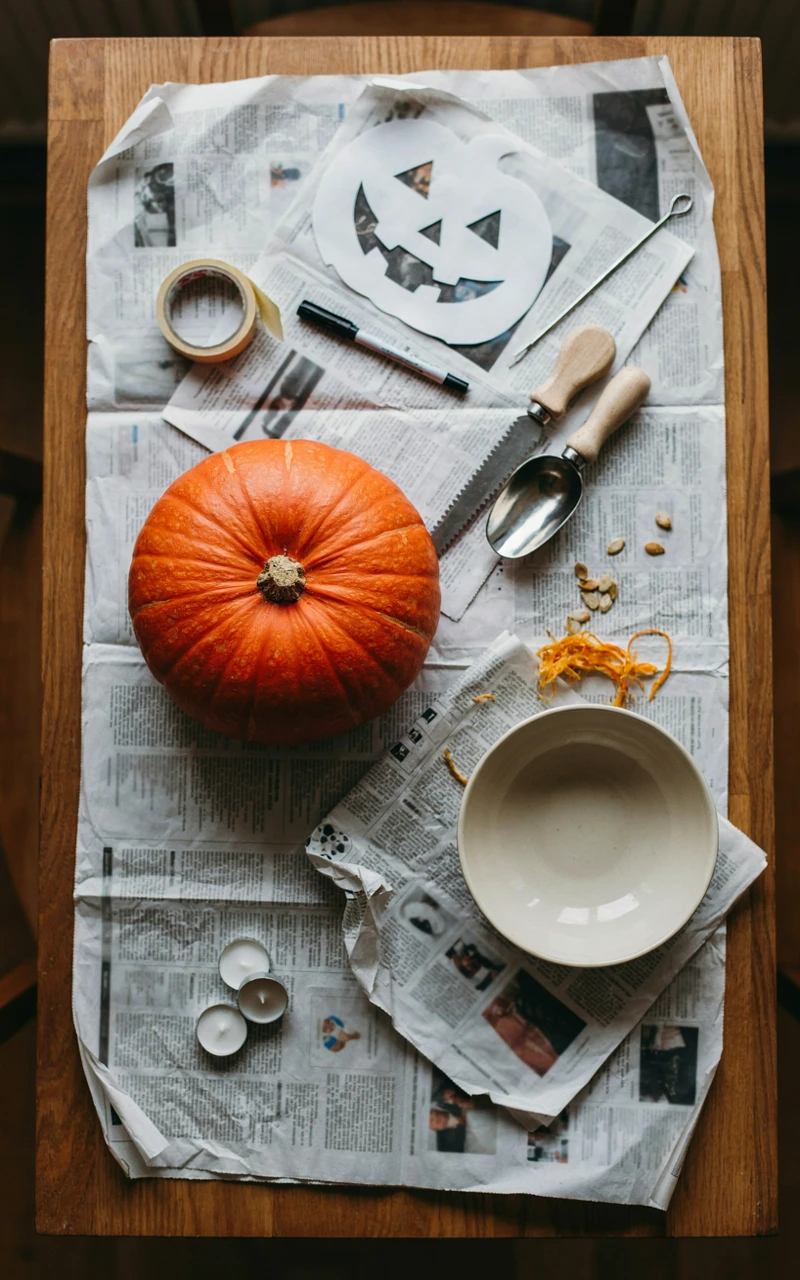
You don’t need to spend much to carve a great pumpkin. Most of what you need is already in your kitchen drawers, and the rest comes in a carving kit that costs about the same as a fancy coffee.
The one thing I’d ask you to skip is the big kitchen knife. It’s too thick to turn around curves, it gets stuck in the pumpkin wall, and it can slip in a scary way when you push hard.
Here’s what I set out on the table before I start:
- A pumpkin about 10 to 12 inches (25 to 30 cm) tall, with a smooth side for your design.
- A small serrated carving saw from a pumpkin carving kit. These thin little saws are the secret to clean curves.
- A large metal spoon or ice cream scoop for clearing out the seeds and stringy pulp.
- A poking tool or a pushpin for moving your pattern onto the pumpkin.
- A printed pattern on regular printer paper, or a washable marker if you’d rather draw freehand.
- Clear tape to hold the pattern in place.
- Flour or cornstarch, about 1 tablespoon (8 g), to make the poked dots easy to see.
- Newspaper, an old tablecloth, or a trash bag to cover your table.
- A bowl for the seeds and a second one for the pulp.
- A vegetable peeler or a linoleum cutter if you want to try shaded designs later.
- Petroleum jelly to help the cut edges stay fresh longer.
- A battery tea light or LED puck light for the glow.
- Paper towels, because things will get slimy.
If you don’t have a kit yet, this table shows what each tool does and what you can use instead in a pinch.
| Tool | What It’s For | Easy Swap |
|---|---|---|
| Carving saw | Cutting out the design | A small serrated paring knife (go slowly) |
| Scraper scoop | Thinning the pumpkin wall | Ice cream scoop with a sharp edge |
| Poking tool | Moving the pattern onto the pumpkin | Pushpin, thumbtack, or a wooden skewer |
| Linoleum cutter | Shading and etching | Vegetable peeler for wide shading |
| Drill with a 1/2 inch (13 mm) bit | Clean polka dot holes | An apple corer |
I also like to get myself set up before the mess starts. I put on an old sweatshirt, roll up my sleeves, and make a warm mug of something from my list of cozy fall drinks so I’m not tempted to stop halfway through.
If kids are joining you, give them their own job. Little hands are great at scooping pulp and drawing designs with a marker, while an adult handles the saw.
Key takeaways:
- A small serrated saw beats a kitchen knife every time.
- A pushpin and a printed pattern make detailed designs possible for beginners.
- Cover your table and keep paper towels close before you start.
Stage 1: Choose Your Pumpkin Carving Design
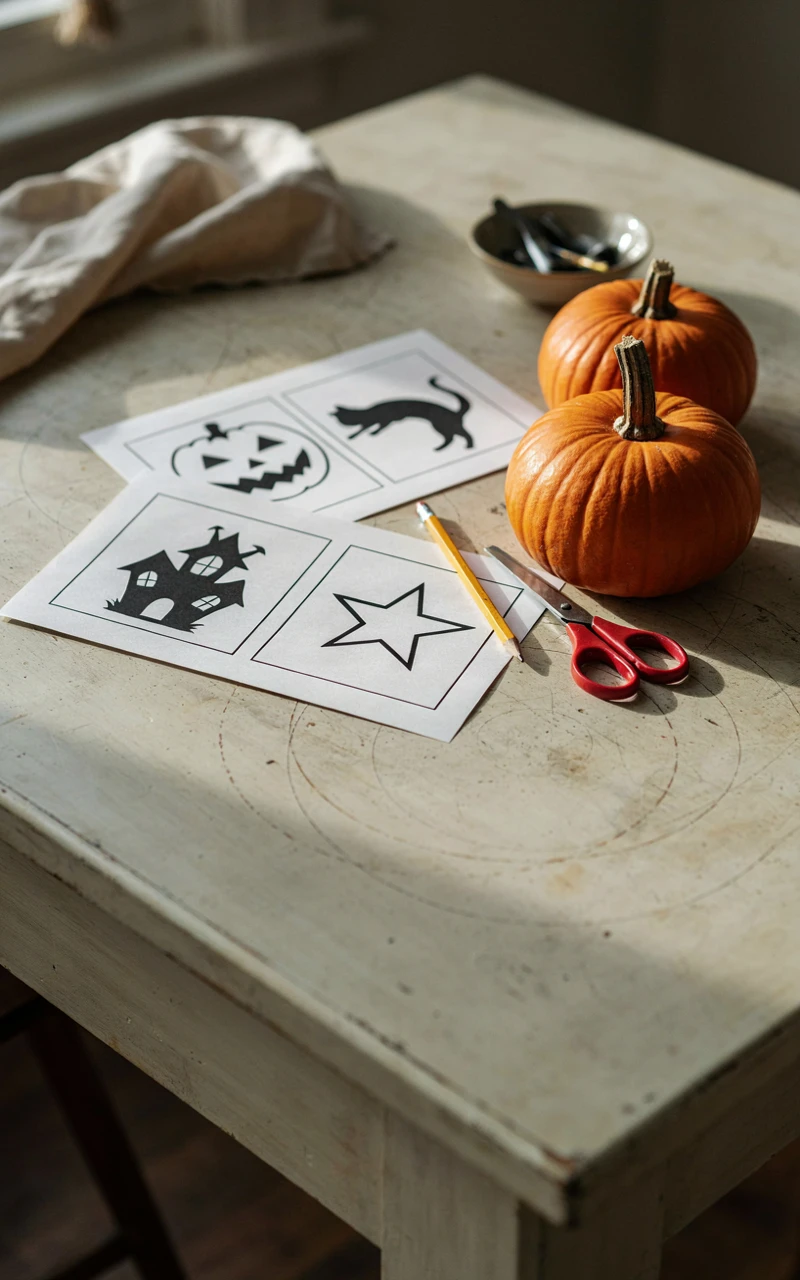
This is the fun part, and it’s where most carving problems start or get avoided. The trick is to choose your pumpkin and your design together, because a design that looks great on paper can fall apart on the wrong pumpkin.
Pick a Good Pumpkin
Look for a pumpkin that feels heavy for its size and has no soft spots, bruises, or mold. Press gently around the bottom with your thumb, since that’s where rot usually starts.
A sturdy green stem is a good sign the pumpkin is fresh. A flat bottom matters too, because a wobbly pumpkin is hard to carve and easy to knock over on the porch.
Turn the pumpkin slowly and find its best side. You want the smoothest, flattest face you can get, with no deep ridges running through the middle of where your design will go.
Match the Design to Your Skill Level
When you’re scrolling through cool pumpkin carving ideas, it’s easy to fall for something with tiny details and fine lines. Those are lovely, but they’re a lot to take on for a first pumpkin.
Here’s a quick guide to how long different Halloween pumpkin designs usually take and how tricky they are:
| Design | Skill Level | Carving Time |
|---|---|---|
| Classic face with triangle eyes | Easy | 20 to 30 minutes |
| Polka dots made with a drill | Easy | 15 to 20 minutes |
| Moon and stars | Easy | 30 to 45 minutes |
| Black cat or bat silhouette | Medium | 45 to 60 minutes |
| Words like “BOO” or your house number | Medium | 45 to 75 minutes |
| Shaded or etched portrait | Advanced | 1.5 to 3 hours |
If you’re new to this, start with easy pumpkin patterns like stars, a moon, or a goofy face. You’ll learn how the saw moves through the pumpkin, and your second one will be much more confident.
Find a Pattern That Will Actually Work
Many carving kits come with a booklet of pumpkin carving patterns, and you can find free pumpkin carving templates online by searching for the shape you want. Print a few and hold each one up against your pumpkin to see which fits best.
Before you commit, check the pattern for islands. An island is any piece that floats with nothing connecting it to the rest of the pumpkin, like the middle of the letter O. If you cut all the way around it, it just falls out.
- Look at your pumpkin and decide if it’s tall and narrow or short and wide.
- Choose a design with the same general shape.
- Resize the pattern on your printer so it fits with about 1 inch (2.5 cm) of space on every side.
- Check for floating pieces and add small bridges to connect them.
- Shade in every part you’ll cut out with a pencil so you don’t get confused later.
For unique pumpkin designs, you can mix and match. A cat silhouette sitting under a crescent moon, or your initial surrounded by drilled dots, looks special without being hard to carve.
The Finished Look: You have a firm pumpkin with a smooth front side, and a printed pattern that fits that side with room to spare. Every cut-out area is shaded in, and nothing in the design is left floating.
Stage 2: Cut the Lid and Clean Out the Pumpkin
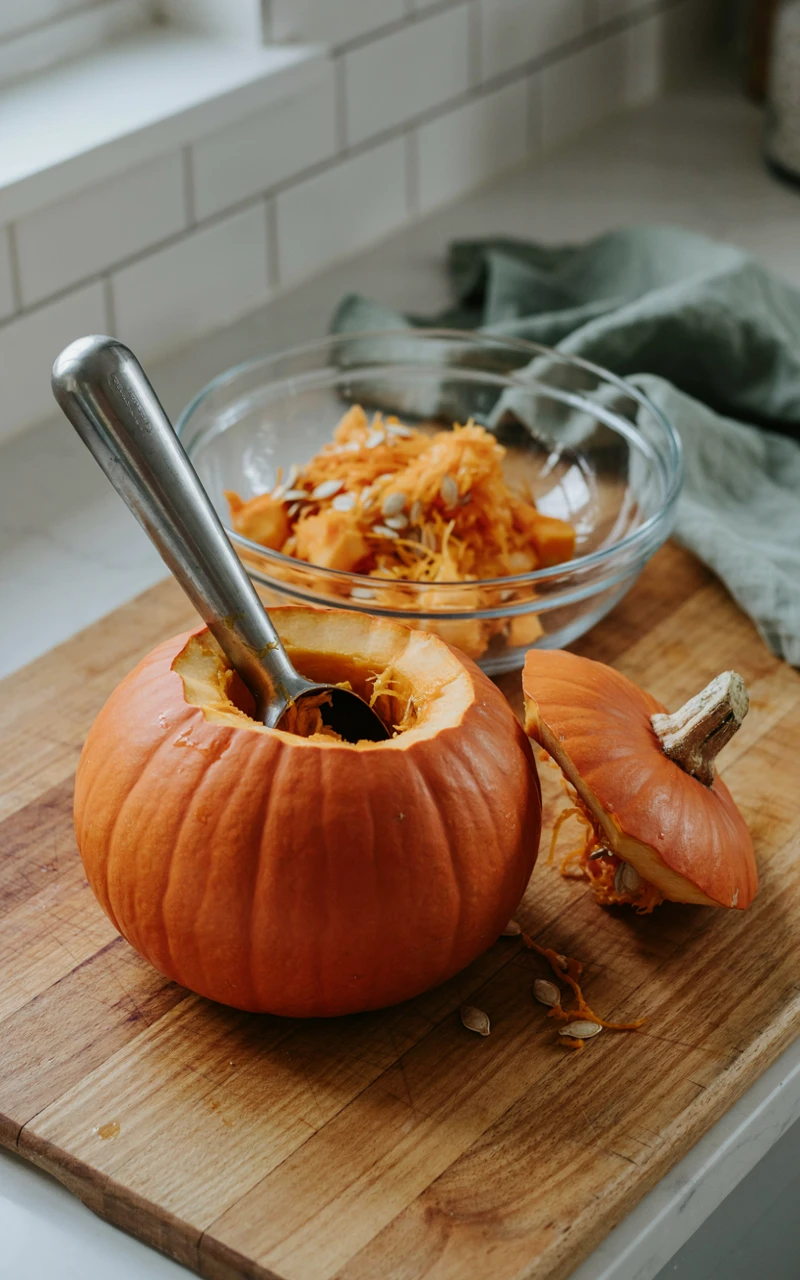
Cleaning out the pumpkin is the messiest stage, but it’s also the one that decides how long your pumpkin lasts. A well-cleaned pumpkin with a thinner front wall is easier to carve and glows much brighter.
Top Lid or Bottom Hole?
Most of us grew up cutting a lid around the stem, and that works just fine. But I’ve switched to cutting a hole in the bottom for most of my pumpkins, and here’s why.
With a bottom hole, you can set the pumpkin right over your light, so there’s no reaching down inside to turn it on. The top also stays whole, so it won’t cave in as the pumpkin softens.
The one downside is that a pumpkin with a cut bottom is harder to move around. If you’ll be shifting it from table to porch a lot, a top lid is easier.
How to Cut and Clean
- Cover your table with newspaper or an old tablecloth.
- Draw a circle about 5 to 6 inches (13 to 15 cm) across around the stem, or on the bottom.
- Add a small notch to one side of the circle so you’ll know how the lid lines up later.
- Hold your saw at a 45-degree angle, pointing toward the center of the pumpkin.
- Saw along your line with short, gentle up-and-down strokes.
- Lift off the lid and scrape the stringy pulp off its underside.
- Scoop out the seeds and pulp, putting seeds in one bowl and pulp in the other.
- Scrape the inside of the front wall, where your design will go, until it’s about 1 inch (2.5 cm) thick.
- Wipe the inside dry with a paper towel.
That angled cut in step 4 is important. It gives the lid a little ledge to rest on so it doesn’t drop straight down into the pumpkin.
To check the wall thickness, push a pushpin straight into the front from the outside. If the pin goes in all the way before it hits the hollow inside, keep scraping.
Don’t scrape the whole pumpkin thin, though. The sides and back can stay thicker, which helps the pumpkin hold its shape longer.
Save Those Seeds
Rinse the seeds in a colander, pick off the stringy bits, and pat them dry. Toss them with 1 tablespoon (15 ml) of oil and a good pinch of salt, then roast at 325°F (165°C) for 20 to 25 minutes until they’re golden and crunchy.
They make a great carving-night snack, and they fit right in with my other healthy snack ideas for the rest of the week.
The Finished Look: Your lid or bottom piece sits snugly back in place without falling in. The inside is clear of seeds and stringy pulp, and the front wall is about 1 inch (2.5 cm) thick, with the sides left a little thicker.
Stage 3: Transfer Your Pattern Onto the Pumpkin
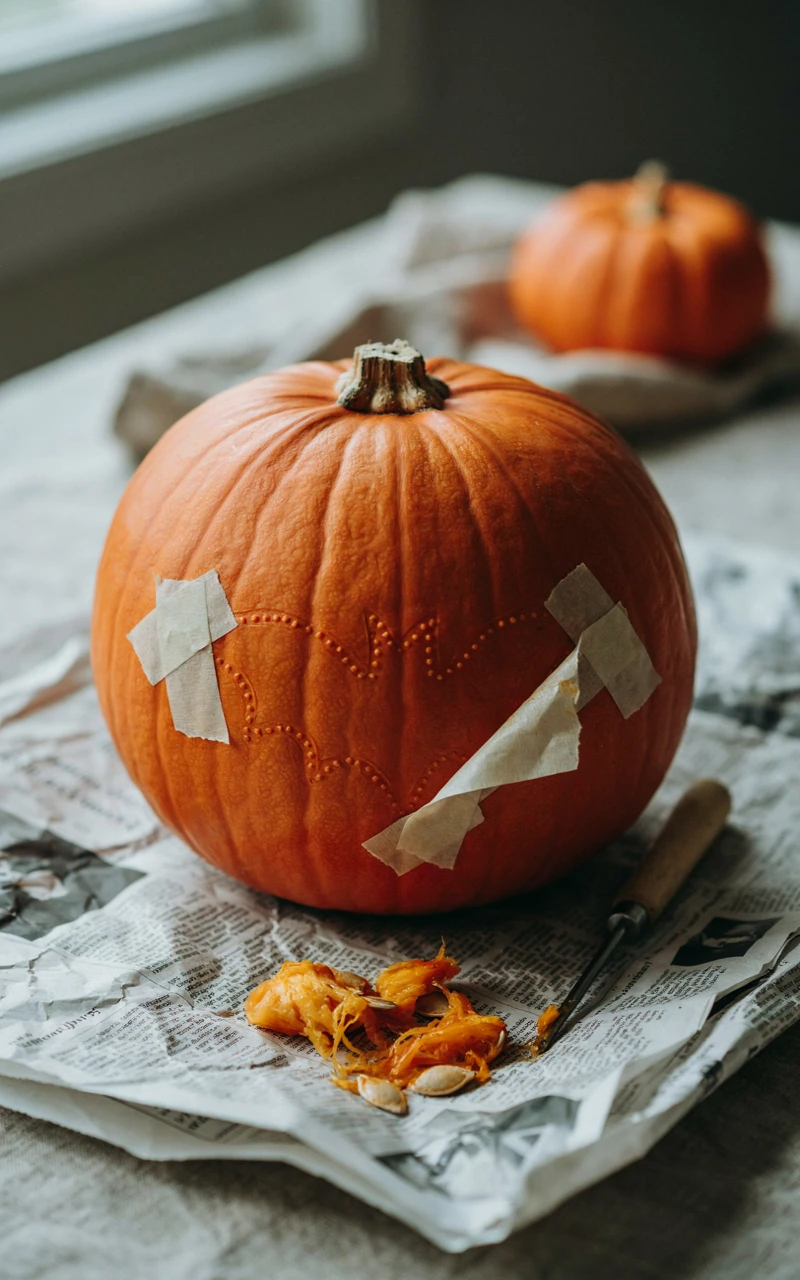
This stage is the reason my second pumpkin looked so much better than my first. Once you can get a clean outline onto the pumpkin, you can carve almost any design you like.
Choose Your Transfer Method
There are three easy ways to get a design onto your pumpkin. The right one depends on how detailed your pattern is and who’s doing the carving.
| Method | Best For | How It Works |
|---|---|---|
| Freehand marker | Simple faces and kids | Draw straight onto the pumpkin with a washable or dry-erase marker |
| Poke-through pattern | Most printed designs | Tape paper on and poke holes along every line |
| Sticky stencils | Letters and simple shapes | Press a reusable stencil on and trace around it |
For freehand drawing, I like dry-erase markers because they wipe off with a damp paper towel. That means kids can draw and redraw until they’re happy, with no ink stains left behind.
Store-bought pumpkin carving stencils work well for letters, since getting the spacing even by hand is tricky. Line them up using the pumpkin’s ridges as a guide so the word doesn’t slant.
How to Use the Poke-Through Method
This is the method I use most often. It takes about 10 to 15 minutes and works with any printed pattern.
- Trim the paper so there’s about 1 inch (2.5 cm) of margin around the design.
- Cut small slits, about 1 inch (2.5 cm) long, around the edges of the paper.
- Press the paper against the smooth front of your pumpkin so the slits overlap and the paper lies flat on the curve.
- Tape the paper down firmly on all sides.
- Poke holes along every line of the design, about 1/8 inch (3 mm) apart.
- Peel off the paper slowly, keeping it nearby to check later.
- Rub a little flour or cornstarch over the holes to make the dots stand out.
- Connect the dots with a washable marker if you want a solid line to follow.
The slits in step 2 make a big difference. A flat sheet of paper wants to wrinkle on a round pumpkin, and those wrinkles can stretch or squash your design.
Keep your holes close together, especially around tight curves. If the dots are too far apart, you’ll end up guessing where the line goes, and that’s how ears turn into blobs.
A Few Tips for Tricky Patterns
If your design has shaded areas that you’ll peel rather than cut through, mark them differently. I draw a light X in those spots so I don’t accidentally saw all the way through.
Hang onto your paper pattern after you peel it off. Lay it on the table next to you while you carve, so you can glance at which parts get cut out and which stay.
The Finished Look: Your full design shows up clearly on the front of the pumpkin as a line of close dots or a marker outline. You can see every curve, the parts to cut out are easy to tell apart, and the paper pattern is sitting next to you for reference.
Stage 4: Carve Your Design
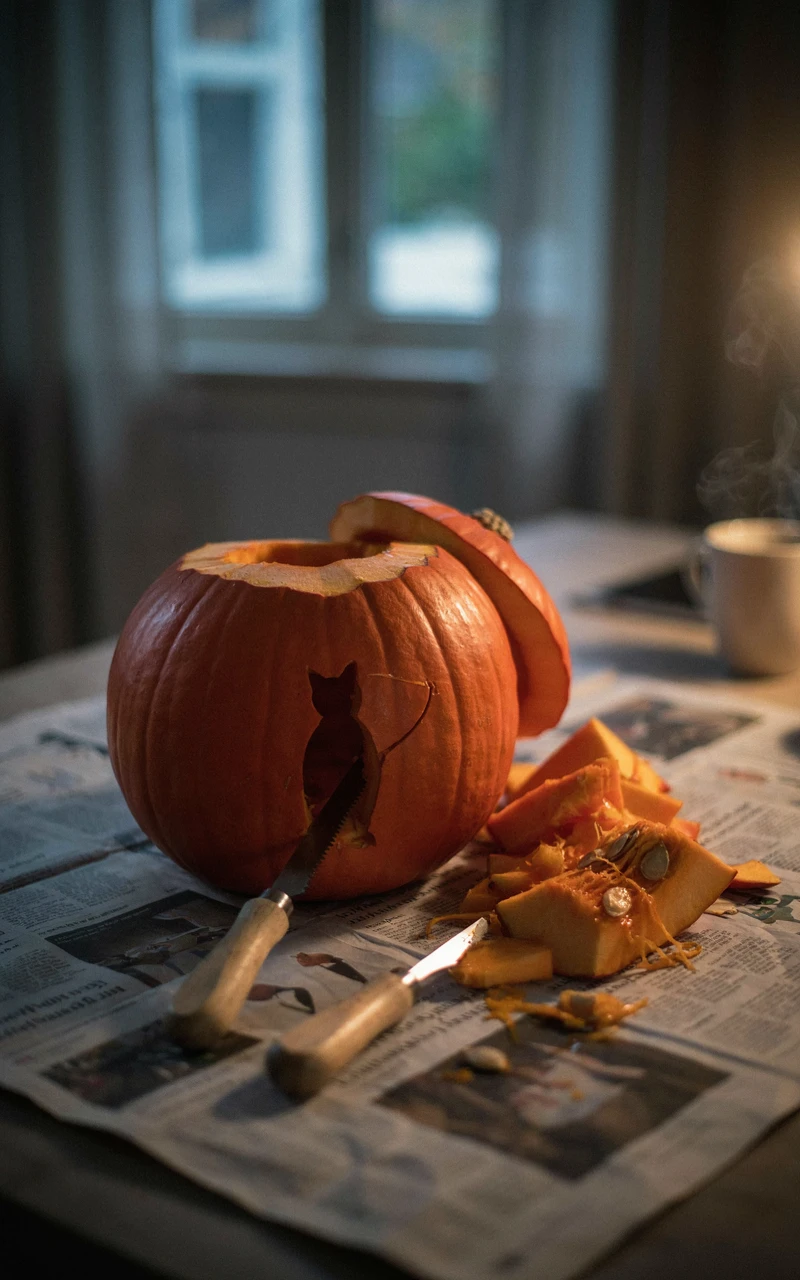
Now for the moment you’ve been waiting for. Take a breath, slow down, and remember that a pumpkin is pretty forgiving when you go at it gently.
How to Hold and Move the Saw
Hold the carving saw like a pencil, not like a knife. Keep the blade straight up and down, at a right angle to the pumpkin, so your cut goes straight through the wall.
Use short, gentle up-and-down strokes, letting the little teeth do the work. If you push hard, the saw can bend or snap, and the pumpkin can crack along the edge of your design.
When you reach a sharp corner, don’t twist the blade. Pull it out, turn it to face the new direction, and push it back in.
The Order You Cut In Matters
The biggest mistake I see is cutting the big pieces first. Once those are gone, the pumpkin wall gets weaker, and the small details around them are much more likely to break.
- Start with the smallest details in the center of the design.
- Move outward toward the edges, piece by piece.
- Cut the largest pieces last.
- Gently push each cut piece out from the inside with your finger, rather than pulling it from the front.
- Clean up any rough edges with the saw or a small paring knife.
- Wipe the face of the pumpkin with a damp paper towel to remove flour and marker.
If a piece won’t pop out, don’t force it. Run the saw around the outline one more time, since there’s usually a spot that didn’t cut all the way through.
Try Shading for a Creative Pumpkin Carving
Once you’re comfortable with cutouts, shading opens up a whole new look. Instead of cutting all the way through, you peel off just the orange skin so the lighter flesh underneath glows softly.
Use a vegetable peeler for wide areas or a linoleum cutter for fine lines, and remove about 1/8 inch (3 mm) of skin. Scrape a little deeper in some spots for a brighter glow, and leave others shallow for a dim one.
Shading is how those amazing portrait pumpkins get their depth. It’s also a nice way to add detail around a cutout, like fur on a cat or craters on a moon.
Fixing Mistakes
Snapped off a piece you meant to keep? Push a toothpick halfway into the broken piece, then press the other end into the pumpkin where it belongs.
For bigger slips, change the design a little. A broken tooth becomes a gap-toothed grin, and a too-big eye can turn into a wink.
Give yourself time here. A simple face takes about 20 to 30 minutes, while detailed designs can take an hour or two, so this is a good point to refill that warm drink.
The Finished Look: Every cut-out area is open and clean, with smooth edges and no hanging scraps. The pieces you meant to keep are still attached, any shaded areas are evenly scraped, and the front of the pumpkin is wiped clean.
Stage 5: Light, Display, and Keep Your Pumpkin Fresh
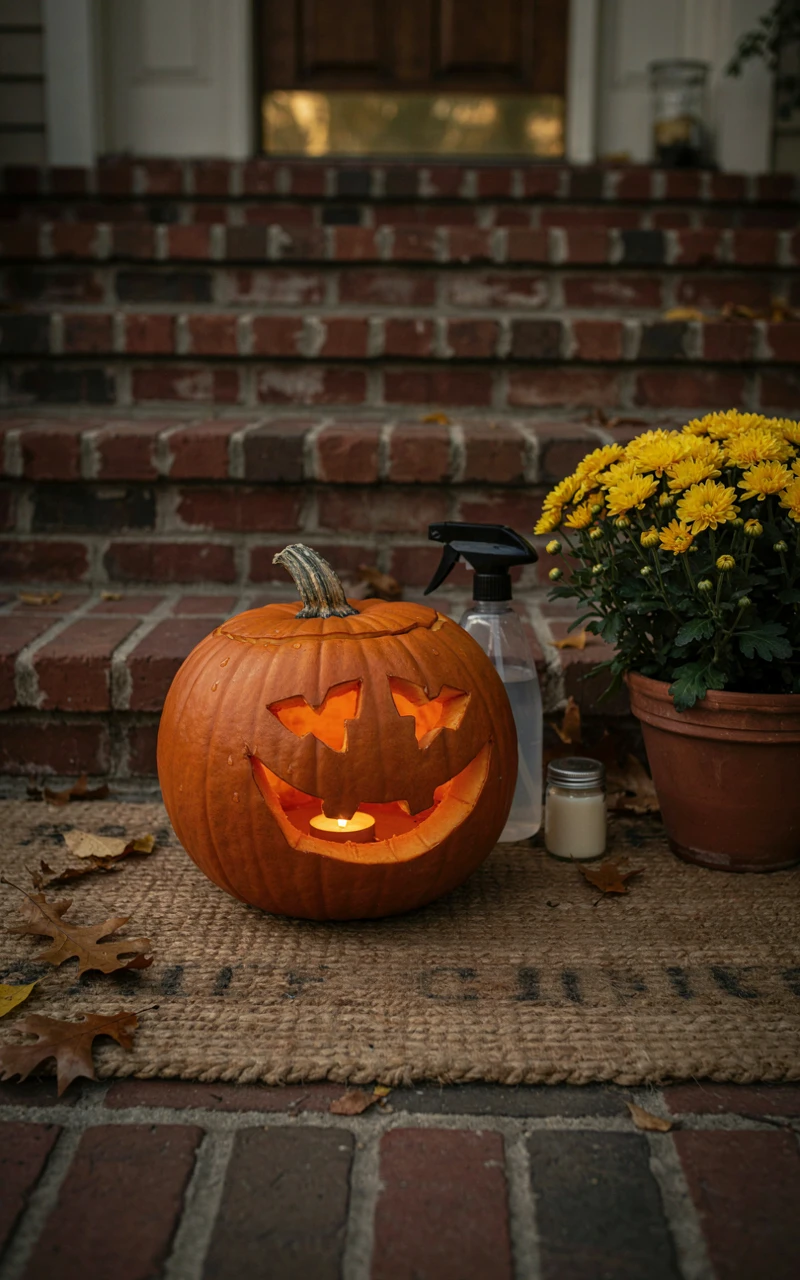
Lighting a carved pumpkin is a very old idea. Long before pumpkins, people in Ireland and Scotland carved faces into turnips and set lights inside them, and the custom crossed the ocean to become the jack-o’-lantern we know today.
Choose Your Light
I use battery LED lights for almost every pumpkin now. They don’t heat up the inside, which helps the pumpkin last longer, and they’re much safer around kids, pets, and costumes that drag on the ground.
A single tea light works for a small pumpkin with a simple face. For a bigger pumpkin or a detailed design, a brighter LED puck light or two tea lights shows off every line.
If you love the flicker of a real candle, use a short tea light in a glass holder, and never leave it burning when no one is home. Keep it away from dry leaves, curtains, and anything that can catch fire.
Display It Well
Set your pumpkin on a flat, steady surface out of strong afternoon sun. Heat speeds up rot, so a shaded porch step usually works better than a sunny windowsill.
Group pumpkins of different heights for a fuller look. I like one detailed design in the middle, flanked by two simple polka-dot pumpkins and a few uncarved ones.
Keep It Fresh Longer
- Rub a thin layer of petroleum jelly on every cut edge.
- Mist the inside and the cut areas with water once a day.
- Move the pumpkin somewhere cool and shaded during warm days.
- Bring it indoors on nights below freezing.
- Soak a droopy pumpkin face down in a sink of cold water for 1 to 8 hours to perk it back up.
- Pat it dry before you put it back out.
Here’s a rough idea of how long pumpkins last once they’re on display:
| Pumpkin | Warm Weather | Cool Weather |
|---|---|---|
| Carved through | 3 to 5 days | 7 to 10 days |
| Shaded only | 5 to 7 days | 10 to 14 days |
| Uncarved | 4 to 8 weeks | 2 to 3 months |
How far ahead of Halloween should you carve?
Carve two to three days before Halloween if you live somewhere warm. In cooler weather, you can carve up to a week ahead.
Why is my pumpkin getting moldy?
Mold usually means leftover pulp, warm weather, or both. Scrape out any soft spots with a spoon, wipe the inside dry, and move the pumpkin somewhere cooler.
Can I compost my pumpkin afterward?
Yes, as long as you remove the candle wax, toothpicks, and any petroleum jelly. Break it into chunks so it breaks down faster.
The Finished Look: Your pumpkin glows evenly from inside, every line of the design shows clearly, and it sits steady in a cool, shaded spot. The cut edges stay firm and moist instead of shriveling within a day.
Looking back, the thing that changed everything for me wasn’t talent. It was a thin little saw, a printed pattern, and the patience to cut small pieces before big ones.
Your first pumpkin might not match the ones on your Pinterest board, and that’s okay. Mine didn’t either, and every one since has been a little better than the last.
So grab a pumpkin this weekend, pick a design that makes you smile, and give it a go. Then come back and tell me in the comments what you carved, because I’d love to hear about it.