This post may contain affiliate links, which means I may receive a small commission should you decide to click that link and make a purchase. For more information please refer to the Terms & Conditions.
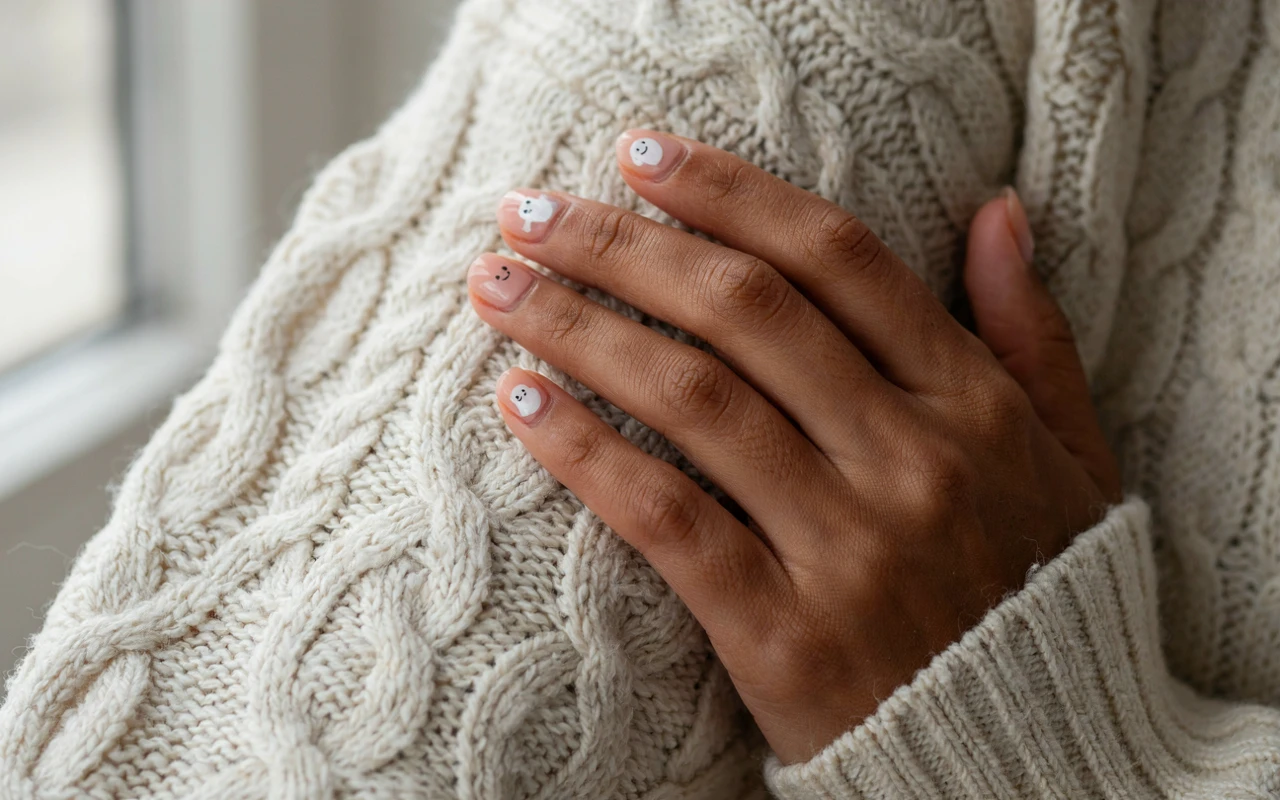
I always look forward to October, but I have never been a fan of the gory, overly scary side of the holiday. When it comes to my style, I prefer a look that feels festive without crossing into horror movie territory. That is why I am always on the hunt for cute Halloween nails that celebrate the fun parts of the season.
If you want a manicure that fits right in at a pumpkin patch or a fall party without looking like a costume piece, I have gathered 11 easy ideas that are not too spooky to try this year.
1. Tiny Friendly Ghosts on a Nude Base
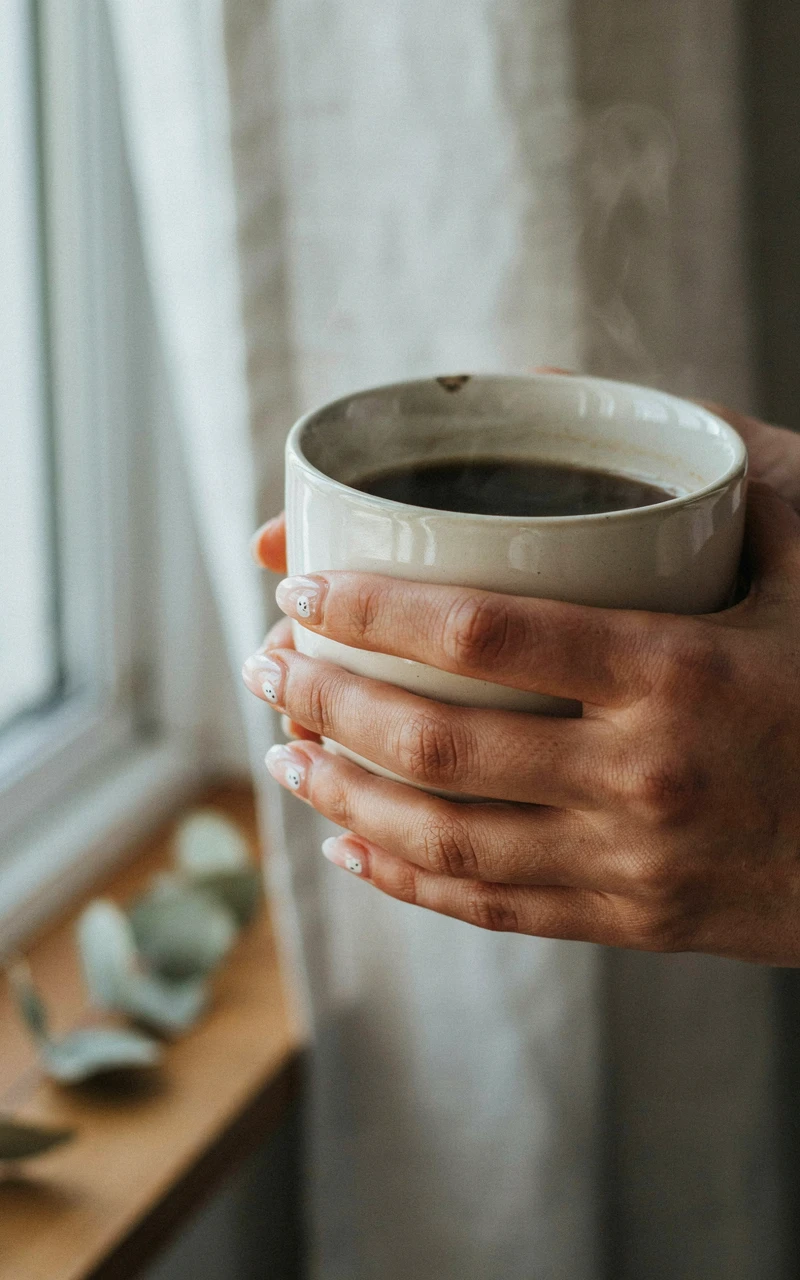
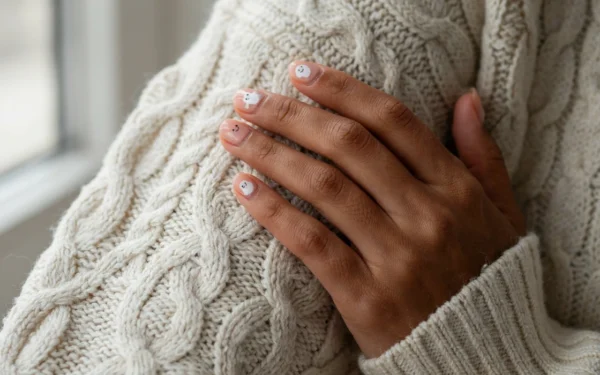
A sheer nude polish makes the perfect blank canvas for almost any design. When you add tiny, smiling white ghosts, you get a look that is playful and incredibly easy to wear. The neutral background keeps the overall manicure looking clean and polished, while the little ghosts add just enough personality.
To get this look at home, start with two coats of your favorite sheer nude or pale pink polish. Let that dry completely before you move on to the ghosts. You can use the brush from a bottle of opaque white polish to create the main body of the ghost. Just dab a small oval shape near the tip or the base of your nail.
Once the white polish dries, grab a fine detail brush or a toothpick. Dip it into black polish to add two tiny dots for the eyes and one for a little open mouth. Finish with a glossy top coat to smooth everything out. If you want to explore more neutral options for the season, checking out some short fall nail ideas can give you great inspiration for base colors.
2. Subtle Orange and Black French Tips
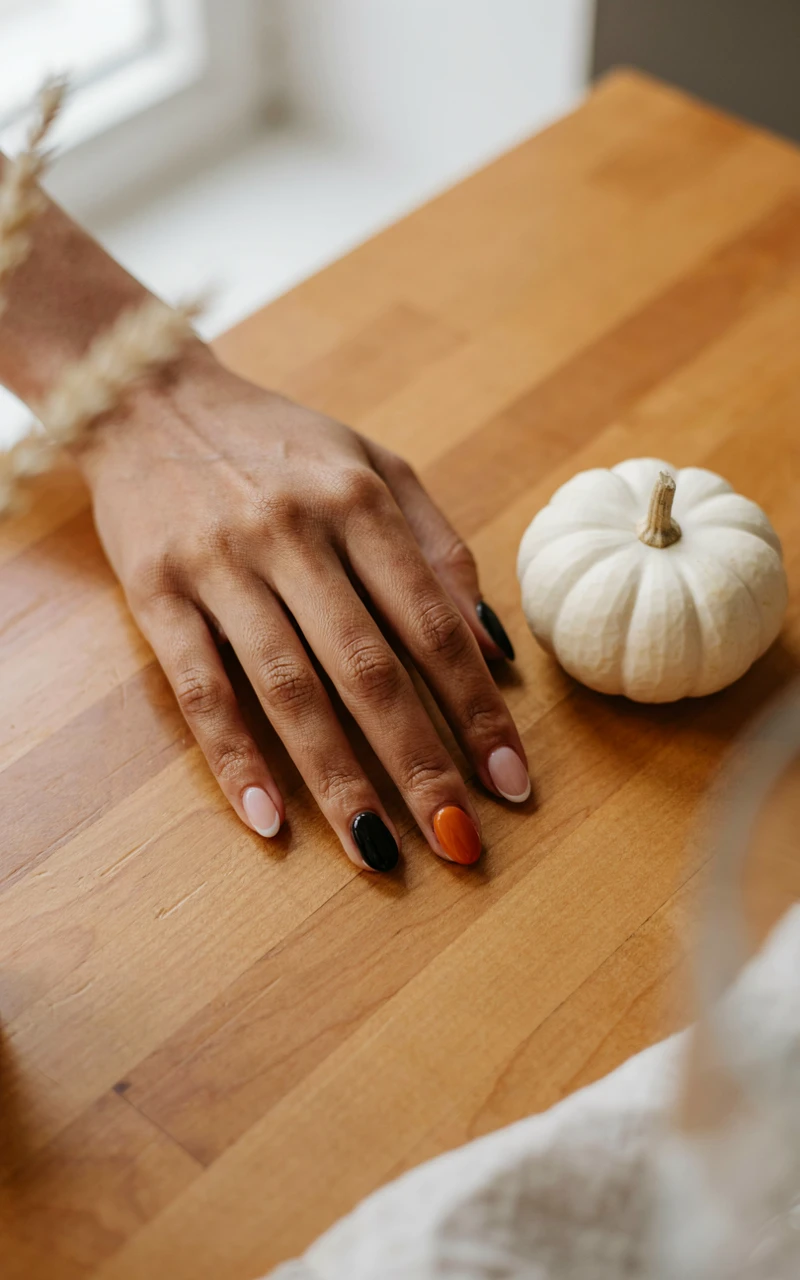
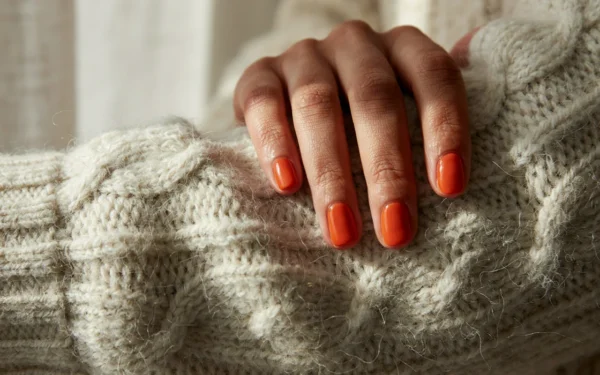
The classic French manicure never really goes out of style, but swapping the traditional white tips for orange and black gives it a festive update. This design is perfect if you want to show off some holiday spirit without committing to full nail art. It looks incredibly chic and keeps your hands looking neat.
Creating a crisp French tip takes a little patience, but it is entirely doable. If you have a steady hand, a thin liner brush will give you the most control. Just paint a thin, curved line along the free edge of your nail. If freehand painting feels too tricky, you can use French tip guide stickers or a piece of regular tape.
I love this look on a short, squoval nail shape because it feels modern and practical for everyday life. It pairs beautifully with cozy sweaters and your favorite fall outfits for women. A shiny top coat will seal the tips and keep them from chipping too quickly.
3. Minimalist Spiderwebs on Accent Nails
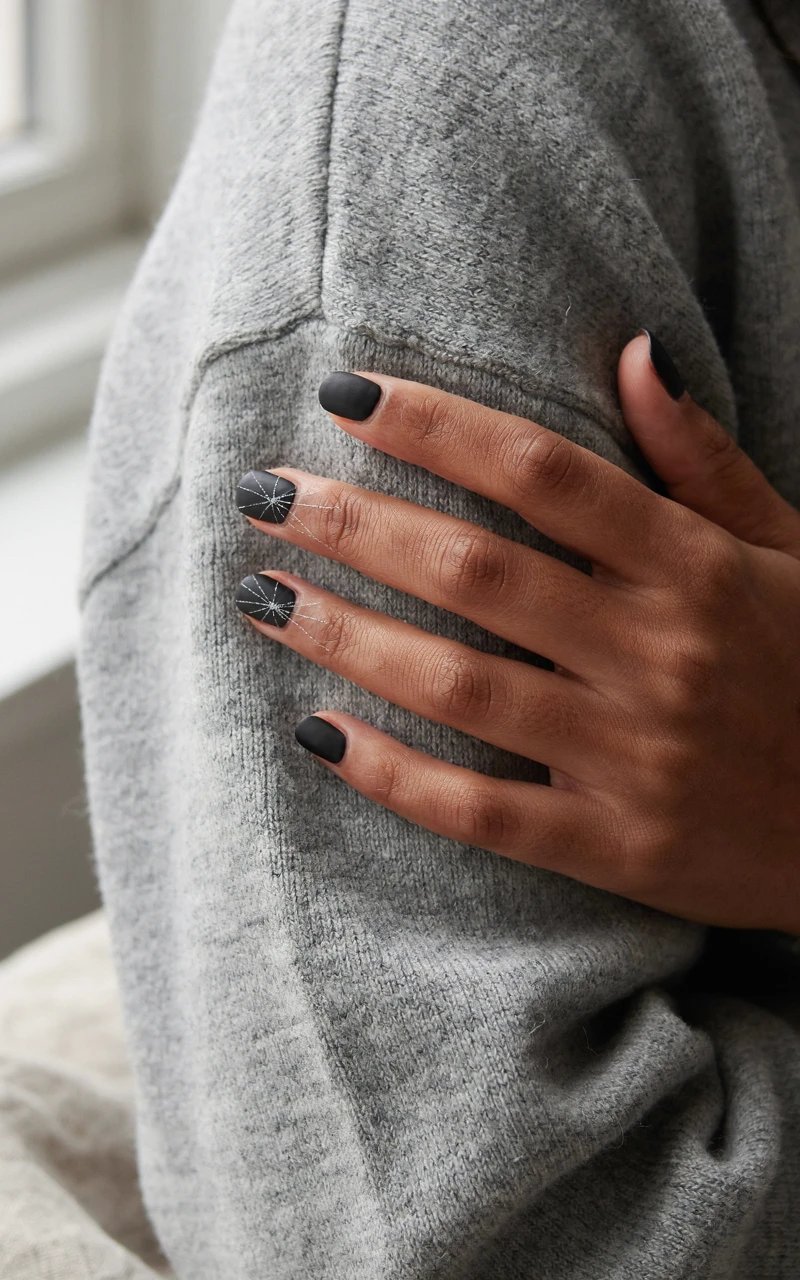
You do not need to cover every single finger in a pattern to make an impact. Sometimes, a single accent nail does the job perfectly. Minimalist spiderwebs drawn over a solid color create a striking contrast without looking busy. Drawing the web on just your ring finger or thumb keeps the rest of your manicure simple and sophisticated.
For the base color, a deep plum, midnight blue, or even a soft gray works beautifully. Once your base is dry, use a very fine nail art brush dipped in white or silver polish. Start by drawing a few straight lines radiating outward from one corner of your nail, then connect those straight lines with gentle, curved swoops.
The trick to making spiderwebs look delicate rather than clunky is using very little polish on your brush. Wipe most of it off on the neck of the bottle before you touch the brush to your nail. According to the American Academy of Dermatology, keeping your cuticles moisturized helps your overall manicure look its best, so finish up with a drop of cuticle oil. This design gives you great Halloween nail art that feels grown-up and refined.
4. Sweet Little Pumpkins on a Matte Brown Background
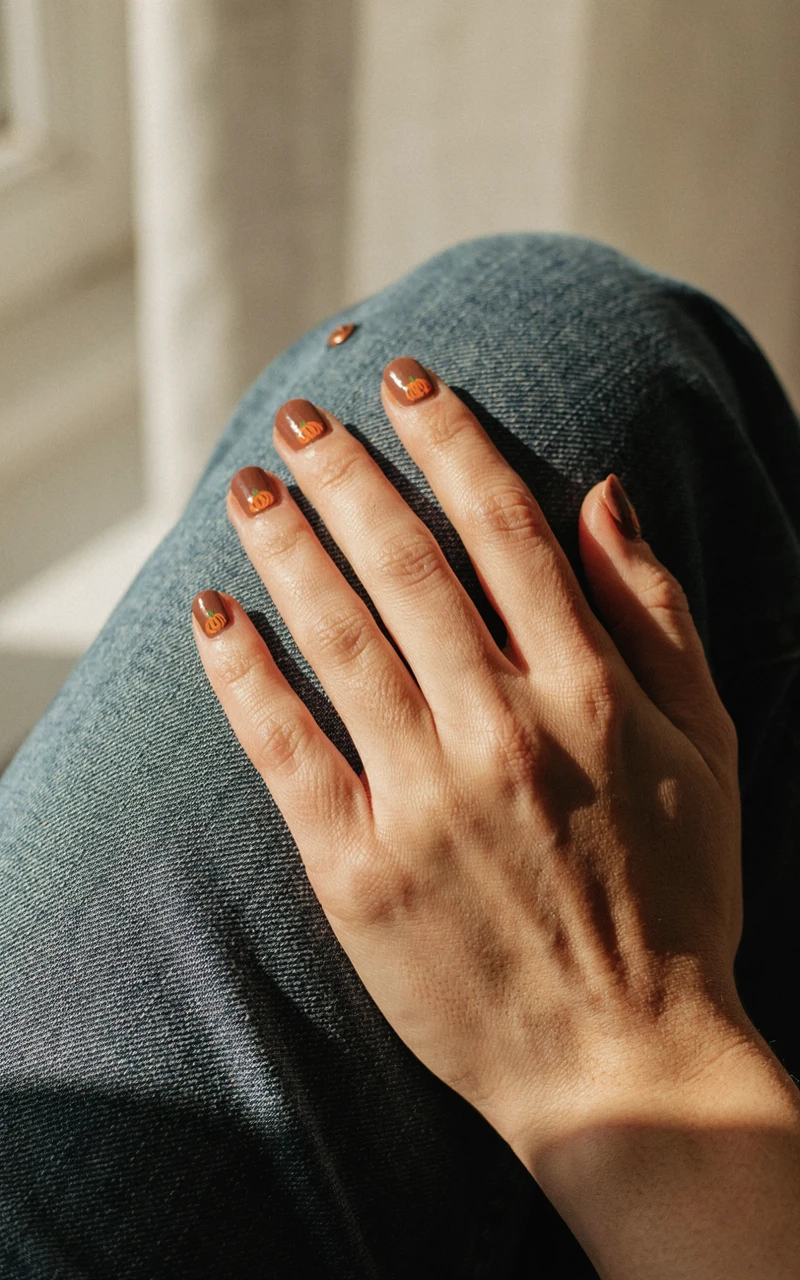
Bright orange can sometimes feel a bit loud, especially if you prefer earthy, muted tones. A rich, chocolate brown base paired with tiny orange pumpkins offers a softer approach to fall nails. The brown background feels warm and grounding, while the pumpkins add a sweet, seasonal touch. Adding a matte top coat over the brown polish makes the whole design look cozy, almost like a soft suede jacket.
To paint the pumpkins, you do not need to be an artist. A dotting tool or the round end of a bobby pin works perfectly. Place two small dots of orange polish right next to each other so they overlap slightly in the middle. This creates the classic, slightly squashed pumpkin shape.
Use a toothpick dipped in green or brown polish to add a tiny stem on top. You can put one pumpkin right in the center of each nail, or scatter a few smaller ones around. If you love warm, inviting colors, this pairs perfectly with cozy fall nail ideas that focus on comfort and rich autumn shades.
5. Sparkly Black Cat Silhouettes
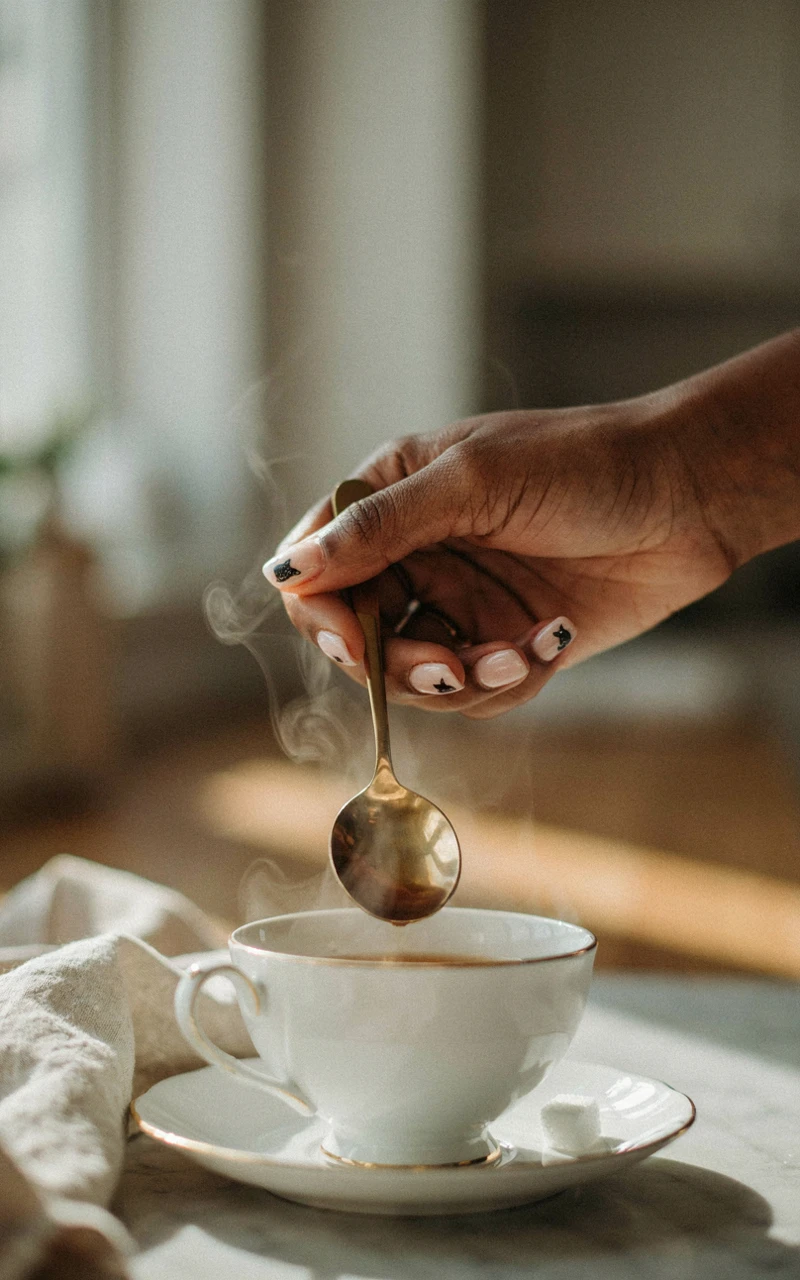
Black cats are a classic symbol of the season, and turning them into a sparkly manicure is a lot of fun. Instead of a flat black polish, using a black polish packed with fine silver or holographic glitter makes the design pop. The sparkle catches the light and keeps the dark color from feeling too heavy or flat.
You can paint the cat silhouette on a light silver or pale lavender background so the dark shape stands out clearly. The easiest way to draw a cat is to start with a half-circle at the tip of your nail for the head. Then, use a fine brush to pull up two small triangles for the ears.
If you do not want to paint the shape yourself, nail decals or stamping plates are incredibly helpful. They give you a perfect shape in seconds without any frustration. Just press the decal onto a dry base color and seal it with a thick layer of top coat. This gives you fantastic seasonal nails that are playful, slightly glamorous, and very easy to achieve.
6. Candy Corn Ombre Polish
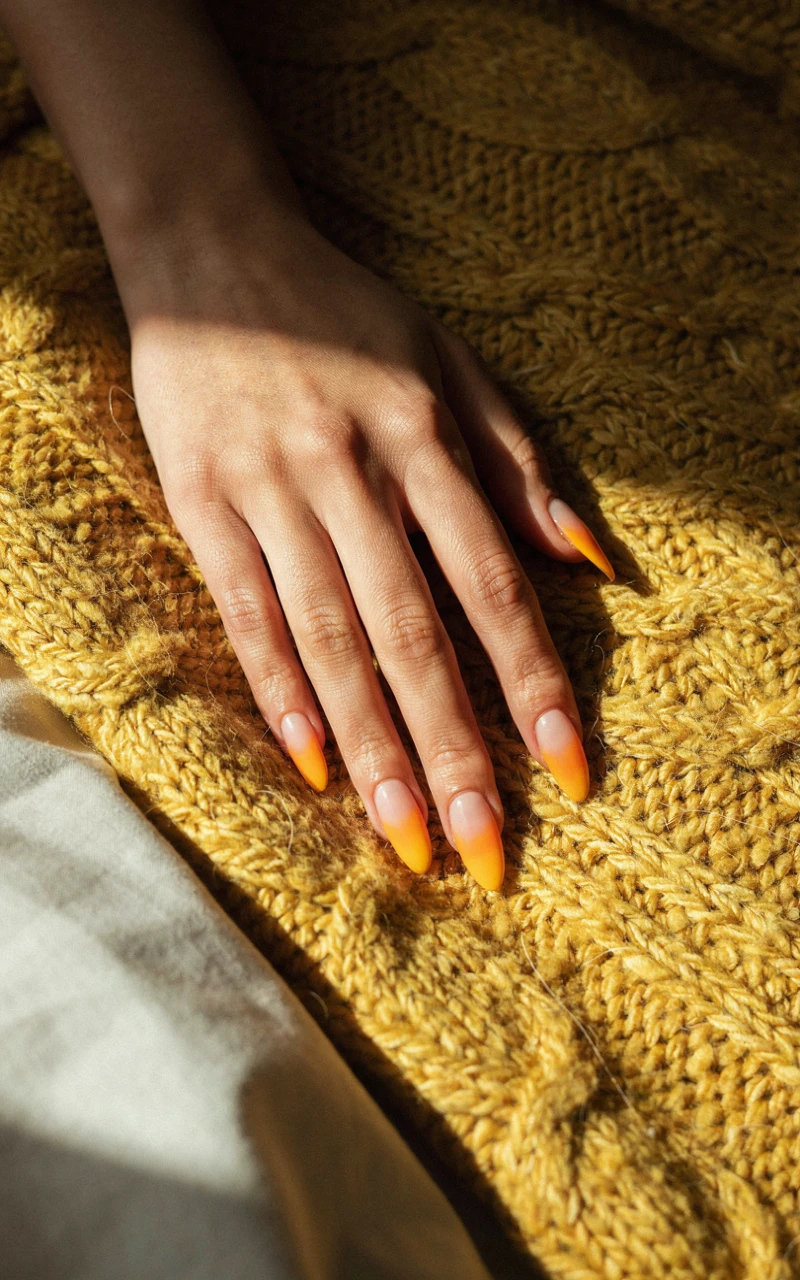
Even if you do not like eating candy corn, you have to admit the colors look great together. The bright bands of yellow, orange, and white are instantly recognizable. Turning those colors into an ombre gradient creates a soft, blended look that is much more forgiving than painting hard stripes.
To get the ombre effect, you will need a small makeup sponge. Paint a stripe of white, a stripe of orange, and a stripe of yellow directly onto the sponge, making sure the edges touch. Then, press the sponge lightly onto your nail. You might need to dab it a few times to blend the colors, and you will definitely need to do two or three layers to build up the opacity.
This technique can get a little messy around the edges of your fingers. Brushing a liquid latex barrier around your cuticles before you start sponging makes cleanup a breeze. Once you peel off the latex, you are left with a perfect gradient. Finish with a thick, glossy top coat to smooth out the texture from the sponge and blend the colors even further.
7. Gold Foil Stars and Moons
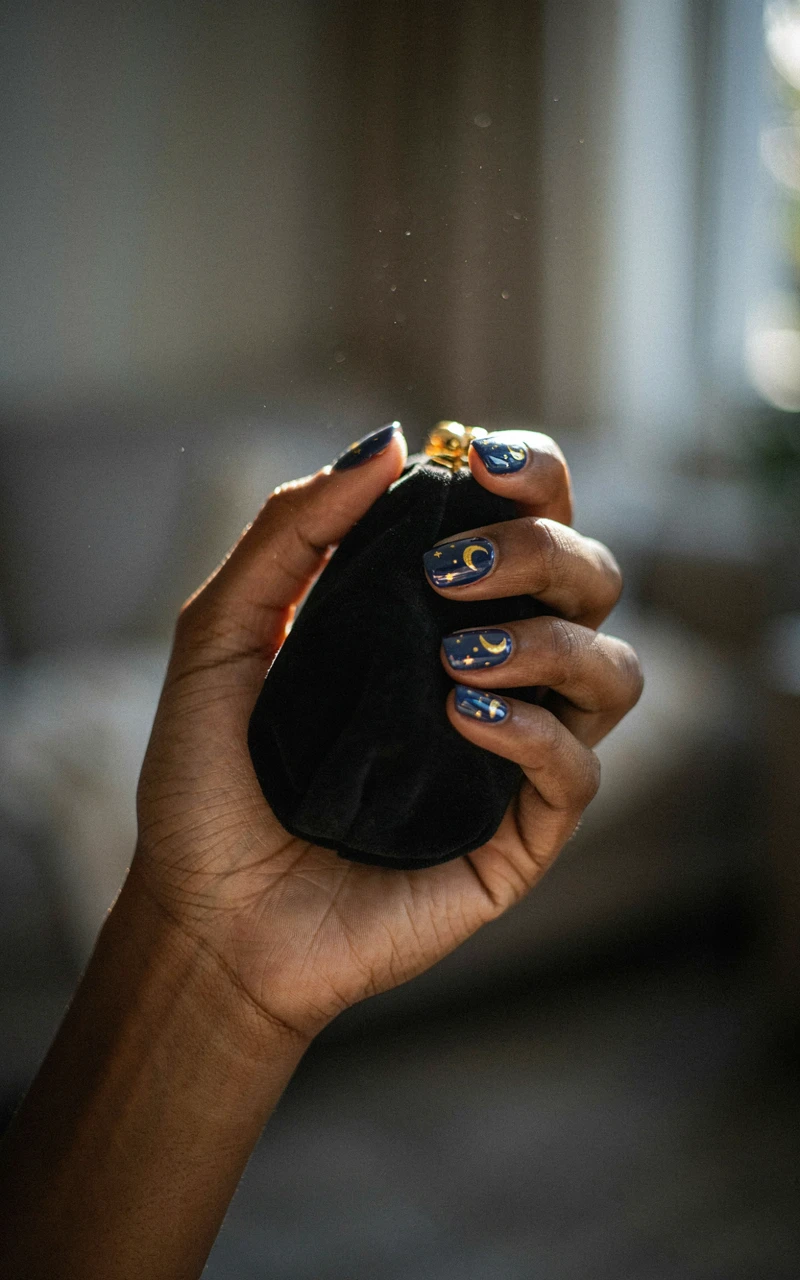
A celestial theme is a fantastic way to nod to the magical side of October without drawing a single bat or ghost. Gold foil stars and crescent moons pressed over a dark, moody base color look incredibly striking. A deep navy blue, forest green, or even a rich burgundy makes the gold foil shine brightly.
Working with nail foil requires a light touch, but the results are worth it. You can buy little pots of gold leaf flakes or sheets of nail foil at most beauty supply stores. Paint your nails with your chosen dark base and let it dry until it is tacky, not completely wet. Use a pair of tweezers to gently place small pieces of the gold foil onto your nail.
You can arrange the foil to look like a crescent moon, or just scatter tiny flakes to look like a starry night sky. Once you have the foil where you want it, press it down flat with a soft silicone tool or your finger. You must seal this design with a high-quality top coat to keep the foil from peeling off when you wash your hands.
8. Pastel Pink and Orange Halloween Mix
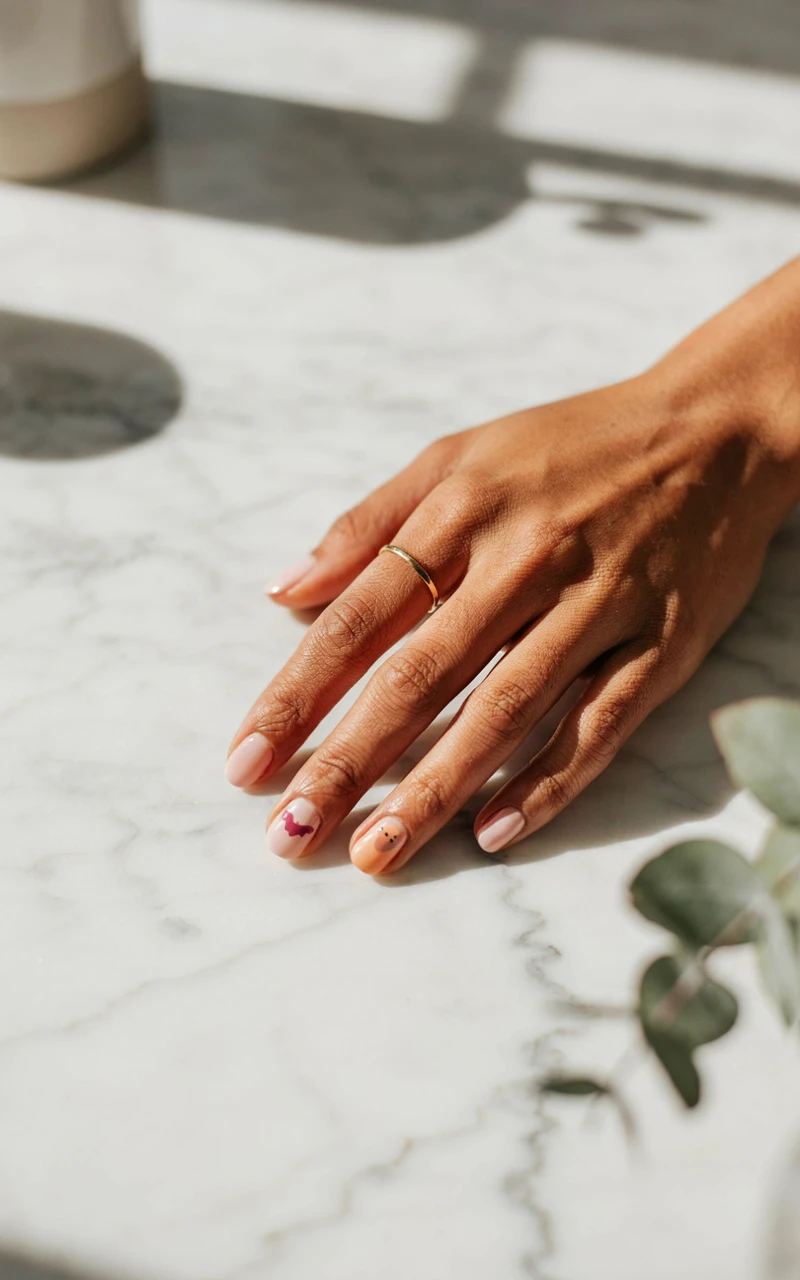
Who says October has to be all about dark colors? Mixing pastel pink with a soft, muted orange creates a surprisingly fresh and cheerful manicure. This unexpected color combination takes traditional seasonal motifs and makes them feel light and playful. It is the perfect choice if your personal style leans toward bright, feminine colors all year round.
You can mix and match different designs on each finger to keep things interesting. Try painting a pink and orange checkerboard on your thumb, a solid pink nail with a tiny orange star on your index finger, and a soft orange French tip on your middle finger. The cohesive color palette ties all the different patterns together so it looks planned rather than messy.
When using pastel polishes, getting a smooth, opaque finish is key. Pastels can sometimes streak, so applying three very thin coats is usually better than two thick ones. Let each layer dry completely before adding the next. This bright, cheerful approach proves you do not have to stick to the traditional color wheel to have fun with your manicure this time of year.
9. Small Bats on a Milky White Base
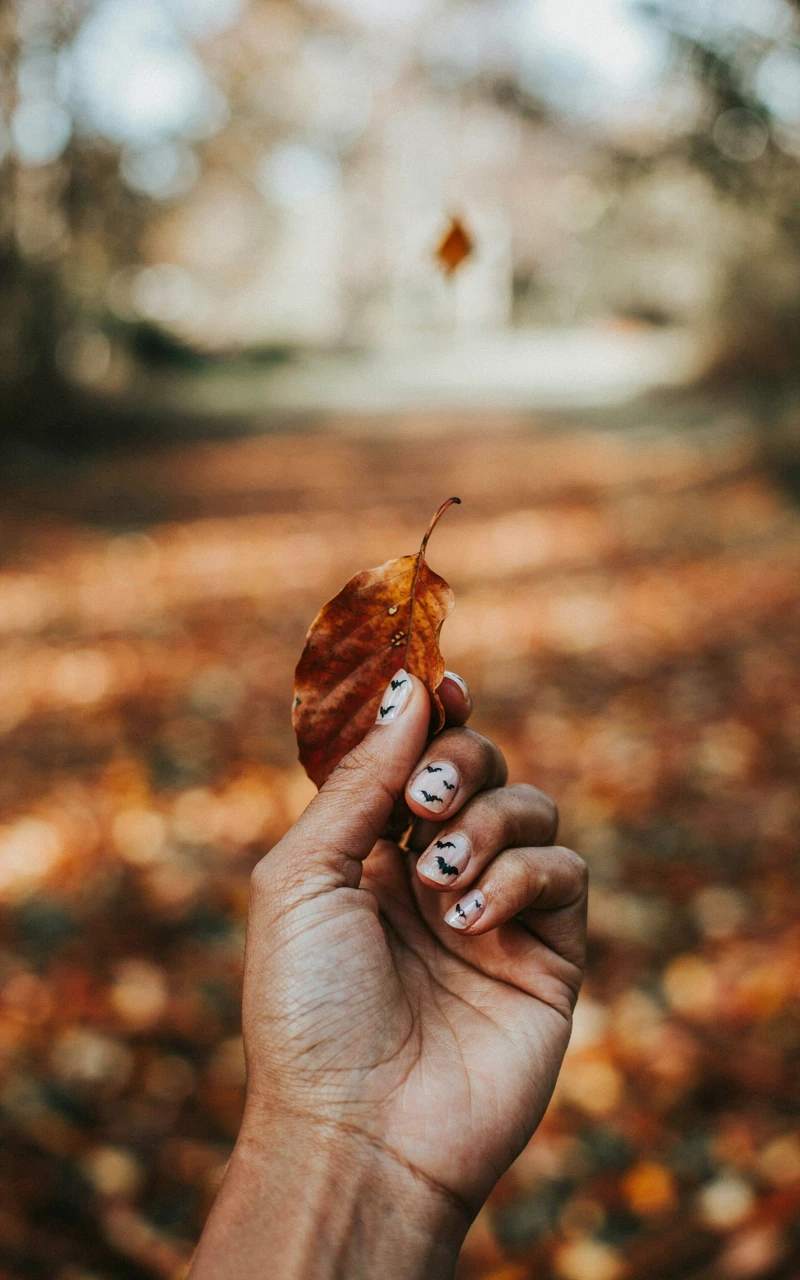
A milky white polish is softer than a stark, bright white, giving your nails a slightly translucent, jelly-like finish. It looks clean and modern, making it a great background for high-contrast nail art. Painting small, simple black bats over this milky base creates a look that is both graphic and delicate.
To draw a simple bat, start by making a small black dot for the body. Then, use a fine liner brush to draw two curved lines extending outward for the top of the wings. Connect the ends of those lines back to the body with a scalloped edge. It takes a little practice, so trying it on a piece of paper first can help you get the shape right.
If freehand painting bats feels too tedious, this is another great time to use nail stickers. You can place one bat near the cuticle of your ring finger and another flying near the tip of your middle finger. The scattered placement makes it look like they are flying across your hand, giving you a great piece of nail inspiration that looks good on any length.
10. Checkered Black and Orange Pattern
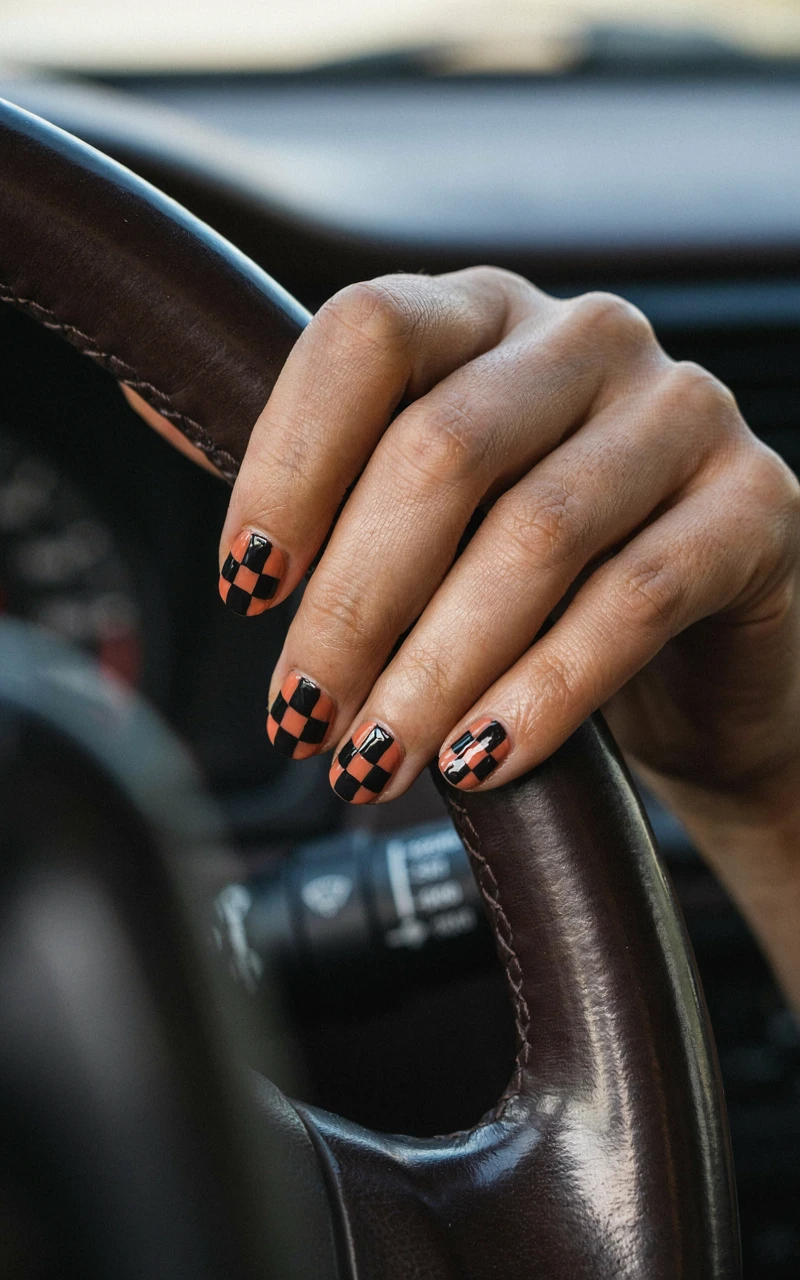
The checkerboard pattern has been everywhere in fashion and home design lately, and it translates perfectly to nails. Using black and orange squares gives this trendy, retro pattern a festive twist. It is bold, graphic, and a little bit edgy, but still very playful.
Painting a checkerboard by hand requires a steady hand and a good striping brush. Start by painting your nail with two coats of orange polish. Once that is completely dry, use black polish to paint a cross down the center and across the middle of your nail, dividing it into four quadrants. Then, fill in the top left and bottom right squares with black.
If you have longer nails, you can divide the space into a grid of nine or sixteen smaller squares. To keep the lines crisp, clean up any mistakes with a small, flat brush dipped in acetone before the polish sets. This pattern looks fantastic with a glossy finish, and it adds a fun, graphic punch to your seasonal nails.
11. Matte Burgundy with Hidden Skulls
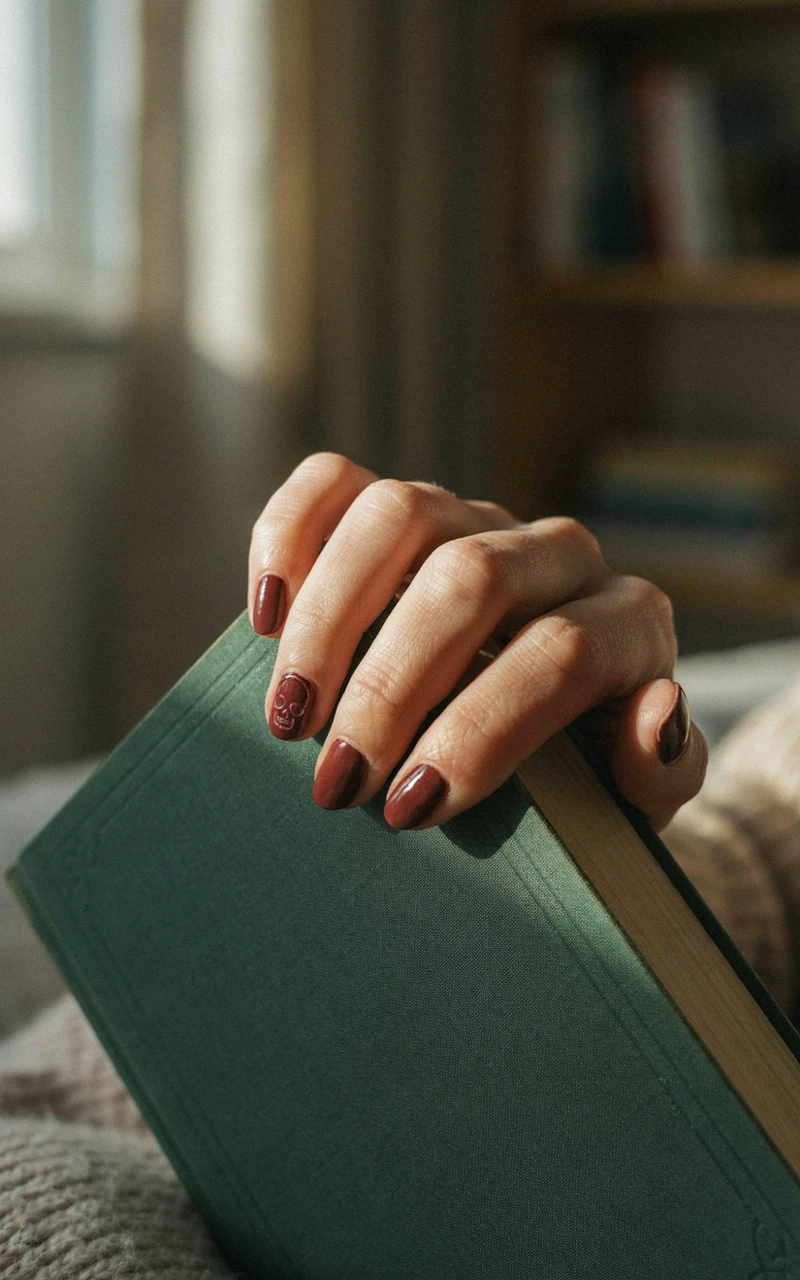
Burgundy is a staple color for autumn. It is rich, elegant, and looks good on every skin tone. Taking that classic shade and adding a matte top coat instantly makes it feel more modern. To give it a festive touch, you can paint tiny, subtle skull outlines using a slightly darker shade, like a deep plum or soft black.
This hidden design is perfect if you want something fun that does not immediately jump out at people. The dark-on-dark color scheme means you only see the skulls when the light hits them just right. To paint a basic skull, use a dotting tool to make a small circle for the head, then add a tiny rectangle at the bottom for the jaw.
The contrast between the matte burgundy background and the glossy polish used for the skulls adds a great textural element to your manicure. It is a moody, sophisticated take on the holiday that feels incredibly chic. It is the perfect way to wrap up the season with a look that is stylish, clever, and just a little bit mischievous.
Finding the right balance between festive and wearable does not have to be difficult. Whether you go for tiny ghosts on a sheer base or a moody matte burgundy, you can easily celebrate the season without feeling like you are wearing a costume on your hands.
I love how a simple swap of colors or a small painted detail can completely change the feel of a manicure. Pick the design that catches your eye, grab your favorite polishes, and have fun painting. I would love to hear which of these ideas you are going to try first, so leave a comment and let me know!