This post may contain affiliate links, which means I may receive a small commission should you decide to click that link and make a purchase. For more information please refer to the Terms & Conditions.
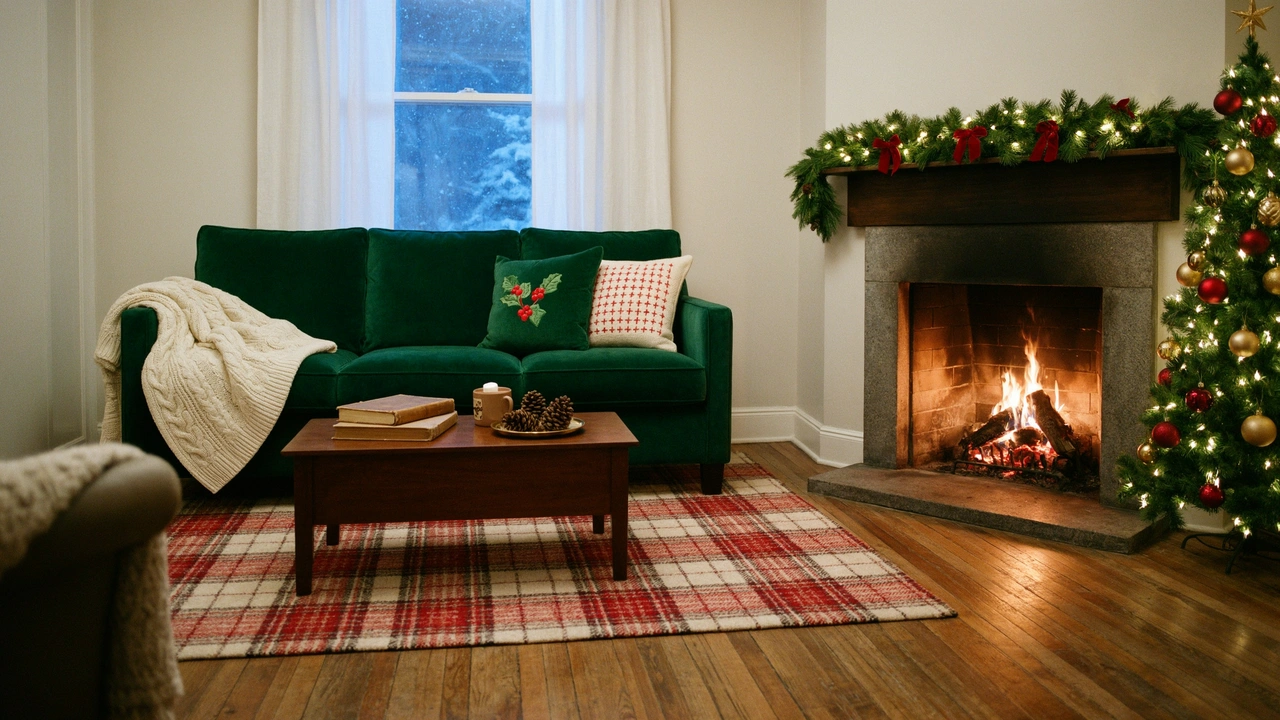
Christmas home preparation can pile up fast once December starts.
I love the idea of being able to make your home ready for Christmas without the stress, one calm step at a time.
You don’t need a big budget or a free week to get there.
A few short work sessions, the things you already own, and a simple plan go a long way.
Some fresh greenery, a couple of thrift store finds, or a small handmade touch can do the rest.
Below, you’ll find six simple steps to get your home ready for Christmas, from making a plan to keeping things calm once the season is in full swing.
These steps will help you create a festive, welcoming home that still feels easy to live in.
What You’ll Need Before You Start
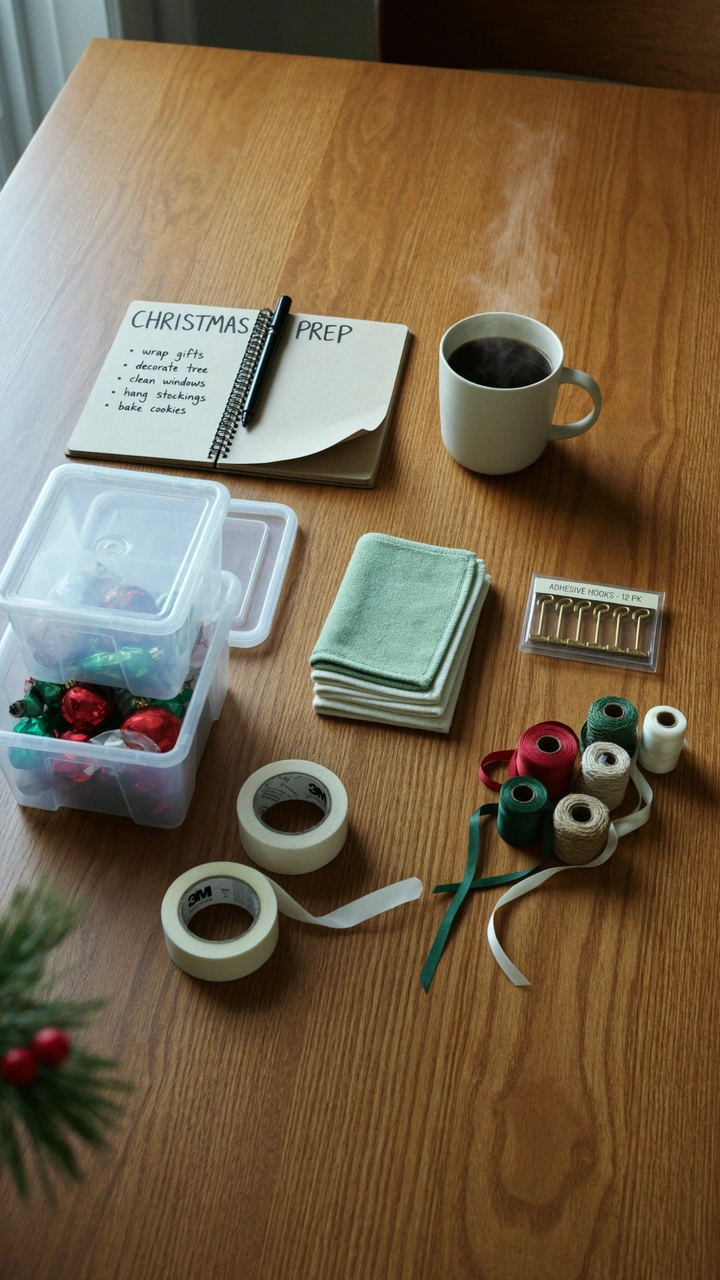
Before you pull out a single box of decorations, gather a few basics. Having everything in one place means you won’t stop halfway through a task to hunt for tape or trash bags. Most of these things are probably already in your home.
Pick one laundry basket or bin and call it your “Christmas kit.” Everything below goes in it, so you can carry it from room to room.
Planning Supplies
- A notebook or the notes app on your phone
- A printed December calendar or a wall calendar
- A pen, a highlighter, and a pad of sticky notes
- A simple budget number you’ve decided on ahead of time
Sorting and Cleaning Supplies
- Three large boxes or bins labeled Keep, Donate, and Toss
- A roll of 13-gallon (50 L) trash bags
- 4 to 6 microfiber cloths
- An all-purpose cleaner and a glass cleaner
- A vacuum with a hose attachment for corners and baseboards
- A sturdy step stool for high shelves and the top of the fridge
- A kitchen timer, or the timer on your phone
Decorating Supplies
- Your existing decorations, plus one empty storage box for broken or unwanted pieces
- Spare light bulbs and a pack of AA and AAA batteries
- Indoor-rated extension cords and a power strip with an on/off switch
- Removable adhesive hooks for garland, stockings, and wreaths
- Scissors, twine or ribbon, and a measuring tape
- Masking tape and a marker for labeling boxes
Hosting Supplies
- One clean set of sheets and two towels per overnight guest
- Extra toilet paper, hand soap, and paper towels
- A few reusable food storage containers for leftovers
You don’t have to buy everything on this list. Check what you have first, then write down only the gaps. A short shopping list keeps your Christmas preparation from turning into an extra errand every other day.
Try to give yourself about four weeks before your first guest or your main celebration. That’s enough time to spread the work into small chunks of 30 to 60 minutes. If you have less time, that’s okay too, because the steps still work in a shorter window.
The Finished Look: You have one bin or basket holding your planning, cleaning, and decorating supplies. You know what you still need to buy, and that list fits on a single sticky note.
Step 1: Start With Simple Holiday Planning

A little holiday planning up front saves you from that last-minute panic later. You’re not writing a big master plan here. You’re just getting everything out of your head and onto paper so you can see it.
Set aside 30 minutes with a cup of coffee or tea, your notebook, and your calendar. Then follow these steps in order.
- Mark your fixed dates. Write down every date you can’t move: parties, school concerts, travel days, guests arriving, and the day you want your home fully ready.
- Do a quick brain dump. Spend 10 minutes writing every task you can think of, big or small. Cleaning the oven, buying tape, washing the guest sheets, and hanging the wreath all go on the same list.
- Cross off what doesn’t matter. Look at the list and remove anything you’re only doing because you feel you “should.” If nobody will miss it, let it go.
- Sort tasks into weeks. Give each remaining task a week. Sorting and cleaning come first, decorating next, and food and guest prep come last.
- Pick one decorating day. Block out a half day, about 3 to 4 hours, for putting up the tree and main decorations. Treat it like any other appointment.
- Set your budget. Write one number for decorations and one for food and hosting. Keep it next to your list so you see it every time you shop.
- Share the work. Put names next to tasks. Kids can sort ornaments, and a partner or roommate can handle the outdoor lights.
Here’s a simple four-week timeline you can copy or adjust to your own dates.
| When | Focus | Time per week |
|---|---|---|
| 4 weeks before | Plan, declutter, and donate | 2 to 3 hours |
| 3 weeks before | Clean the main rooms | 2 to 3 hours |
| 2 weeks before | Decorate, one room at a time | 3 to 4 hours |
| 1 week before | Guest prep, menu, and food shopping | 2 to 3 hours |
| Christmas week | Daily 10-minute resets and enjoying it | About 1 hour |
If you only have two weeks, double up the first two rows in week one and the last two in week two. The order stays the same either way.
Keep your list somewhere you’ll actually see it, like the fridge door or your phone’s home screen. Crossing things off feels great, and it shows you how far you’ve come on busy days.
Key takeaways for this step:
- Write everything down, then cut what doesn’t matter.
- Give each task a week, not a specific hour.
- Book your decorating day like an appointment.
The Finished Look: You have one short list of tasks, each with a week and a name next to it. Your key dates are on the calendar, your budget is written down, and your decorating day is blocked out.
Step 2: Declutter and Do a Little Home Organization
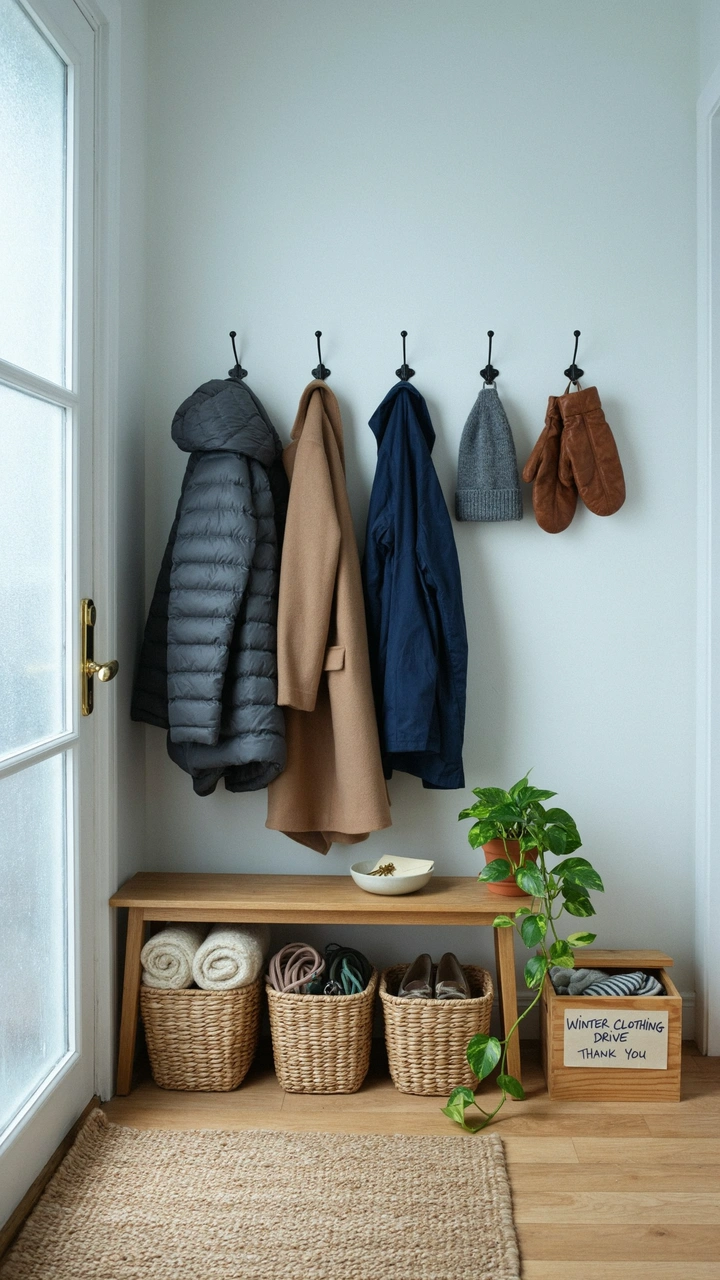
Decorations look so much better when they aren’t fighting with piles of mail, shoes, and random things on every surface. A little home organization before December also makes room for gifts, guests, and extra food. You don’t need to sort your whole home, only the rooms people will use and see.
Work in short bursts. Set a timer for 20 minutes per area, and stop when it rings. Short sessions keep you from burning out by the second room.
- Start at the front door. Clear shoes, bags, and coats you won’t wear this winter. Leave one empty hook or a few hangers for guests’ coats.
- Clear the living room surfaces. Take everything off the coffee table, side tables, and mantel. Put back only what you use daily, which leaves room for decorations later.
- Tackle the kitchen counters. Move small appliances you rarely use into a cabinet. Clear counters give you room to bake, serve, and set out snacks.
- Empty out the fridge and pantry. Toss anything expired and group what’s left. You’ll need that shelf room for holiday food.
- Make room in one closet. Clear one shelf or corner for wrapped gifts, guest bedding, or extra chairs.
- Sort your decoration boxes. Open each box, test every string of lights, and set aside broken ornaments or anything you no longer like.
- Drop off donations right away. Put the Donate box in your car the same day. A box that sits by the door tends to stay there until February.
When you sort your Christmas decor, be honest about what you actually put out each year. If a piece has stayed in the box three years in a row, it can probably go. Fewer, well-loved decorations usually look better than a little bit of everything.
Test lights by plugging in each strand for a minute or two before it goes anywhere near the tree. Swap dead bulbs now, or toss a strand that won’t light. It’s much easier on the floor than halfway up a ladder.
Quick Home Organization Tips
- Use a basket by the door for gloves, hats, and scarves so they don’t end up on chairs.
- Keep a small “drop zone” tray for keys, mail, and receipts.
- Store empty decoration boxes in the same closet so they’re easy to find after the holidays.
- Label each box by room, like “Living Room” or “Kitchen,” to make decorating day faster.
If you have kids, ask them to pick a few toys to donate before new gifts arrive. Keep it light and let them choose, so it feels like their idea instead of a chore.
The Finished Look: Your entryway has room for guests’ coats, your counters and tables are mostly clear, and your fridge has at least one empty shelf. Your decorations are sorted, tested, and labeled by room, and your donations are out of the house.
Step 3: Clean the Rooms That Matter Most

You don’t need to deep clean every corner of your home before Christmas. Focus on the rooms where you and your guests will spend the most time. That usually means the entryway, living room, kitchen, dining area, and guest bathroom.
Always clean from top to bottom. Dust falls as you work, so the floors go last. Follow this order in each room.
- Dust high spots first. Use the step stool to wipe the tops of shelves, door frames, ceiling fan blades, and light fixtures with a dry microfiber cloth.
- Wipe surfaces. Spray all-purpose cleaner on a cloth, not directly on wood, and wipe tables, counters, and the mantel.
- Clean glass and mirrors. Do windows, mirrors, and glass doors. Twinkle lights reflect better on clean glass.
- Freshen fabrics. Wash throw blankets and pillow covers, or vacuum the couch cushions with the hose attachment.
- Do the floors. Vacuum, including along baseboards and under the couch, then mop hard floors.
Here’s where to put your energy, and roughly how long each room takes.
| Room | Main tasks | Time |
|---|---|---|
| Entryway | Wipe the front door, shake out the rug, sweep the porch | 20 minutes |
| Living room | Dust, wash blankets, vacuum couch and floors | 60 minutes |
| Kitchen | Wipe the fridge inside and out, clean the oven and stovetop, mop | 60 to 90 minutes |
| Dining area | Wipe the table and chairs, wash the tablecloth | 30 minutes |
| Guest bathroom | Scrub the toilet, sink, and shower, and stock supplies | 30 to 45 minutes |
Clean the oven early in the month if you plan to cook a big meal. A dirty oven can smoke at 220°C (425°F), and that’s the last thing you want with guests on the way. Most self-cleaning cycles take 2 to 4 hours, so run one on a day you’re home.
Don’t forget the small things guests actually notice. That includes light switches, door handles, the bathroom faucet, and the hand towel. A quick wipe of each takes five minutes and makes a big difference.
If cleaning feels like too much, split it up. Do one room per evening during week three, and you’re finished by the weekend.
The Finished Look: Your main rooms are dusted, wiped, and vacuumed, and your blankets smell fresh. The oven is clean, the guest bathroom shines, and you can look around without spotting a sticky counter or a dusty shelf.
Step 4: Holiday Decorating, One Room at a Time

This is the fun part, and doing it room by room keeps it that way. When you open every box at once, your home ends up covered in tissue paper and half-finished ideas. One room at a time lets you finish something and enjoy it before moving on.
On your decorating day, bring out only the boxes labeled for the room you’re working on. Here’s an easy order to follow.
- Put up the tree first. It’s the biggest piece, and everything else in the living room works around it. Place it at least 3 feet (about 1 m) from fireplaces, heaters, and candles.
- Add lights before ornaments. A good starting point is about 100 mini lights per foot (30 cm) of tree height. A 6-foot (1.8 m) tree looks full with around 600 lights.
- Hang ornaments from biggest to smallest. Place large ornaments deep inside the branches first, then fill gaps with smaller ones near the tips.
- Decorate the entryway. Hang a wreath on the door and add a small touch inside, like a garland on a mirror or a bowl of pinecones.
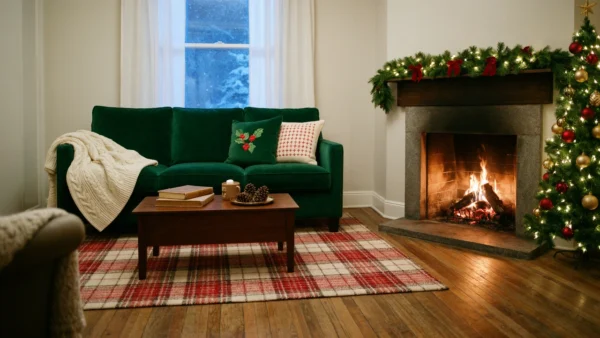
- Finish the rest of the living room. Hang stockings, add garland to the mantel, and switch in red or plaid pillow covers.
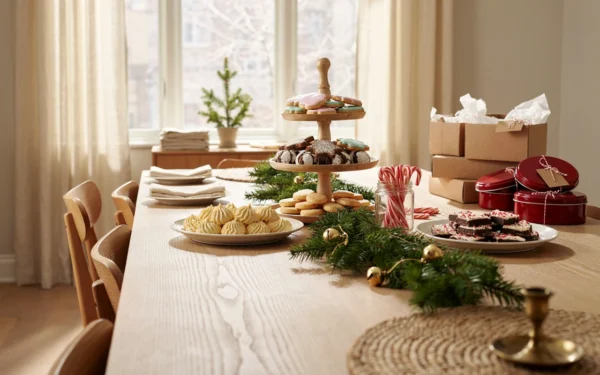
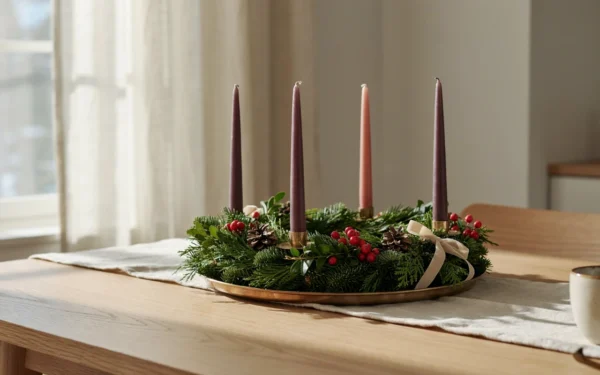
- Set the dining table. Keep the centerpiece low, under about 12 inches (30 cm), so people can see each other across the table.
- Add small touches to the kitchen and bedrooms. A tea towel, a jar of cinnamon sticks, or a small wreath on a cabinet door is plenty.
- Pack away empty boxes. Stack them in the closet you cleared earlier before you call it done.
If you have a real tree, cut about 1 inch (2.5 cm) off the bottom of the trunk before you put it in the stand. Fill the stand with water right away and check it every day. A fresh tree can drink a lot in the first week, so don’t let the water drop below the trunk.
Plug lights into a power strip with a switch, so you can turn everything off with one click at bedtime. Never run cords under rugs, where they can get worn and hot without you noticing.
Your holiday decorating doesn’t have to look like a catalog. Mix family ornaments with a few new pieces, and bring in things from outside like evergreen clippings, holly, or a vase of bare branches. If you want fresh ideas, these unique Christmas decorations are a good place to start.
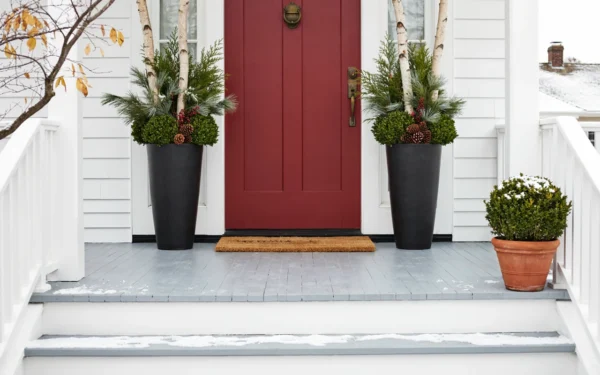
Don’t forget the front of your home either. A pot of evergreens and berries by the door says “welcome” before anyone rings the bell. You can find simple ideas in these winter porch planters.
Key takeaways for this step:
- Decorate one room at a time and finish it before moving on.
- Tree first, lights before ornaments, empty boxes away last.
- Keep the tree away from heat and water a real tree daily.
The Finished Look: Your tree is lit and decorated, the door has a wreath, and each room has a few festive touches without crowded surfaces. All the empty boxes are put away, and the lights turn off with one switch.
Step 5: Get Ready for Guests and Hosting
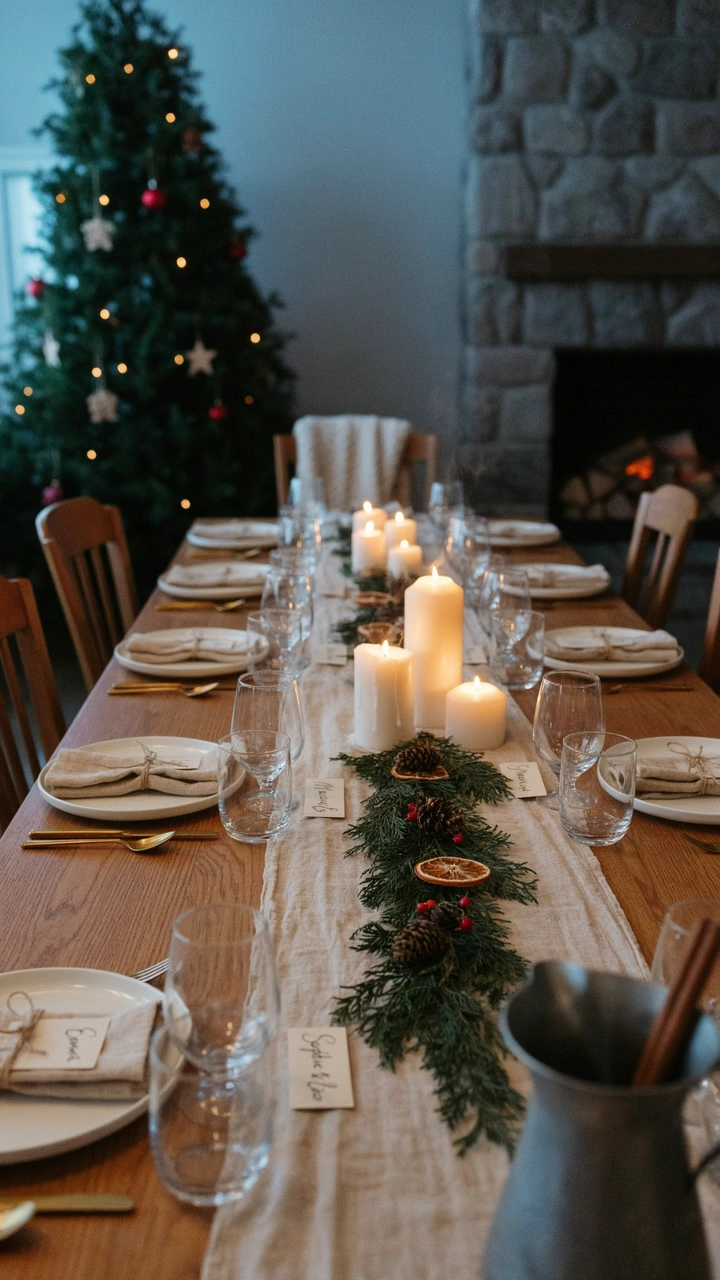
Whether you’re hosting one dinner or having family stay for a week, a little prep makes guests feel welcome. It also means you get to sit down and talk instead of running around looking for a towel. Start this step about a week before anyone arrives.
- Make the guest bed. Wash and put on fresh sheets, and leave an extra blanket folded at the foot of the bed.
- Clear a drawer or a few hangers. Guests love having somewhere to put their things besides a suitcase on the floor.
- Put together a small guest basket. Add a bottle of water, a phone charger, a spare toothbrush, and the Wi-Fi password on a card.
- Stock the bathroom. Put out two towels per guest, extra toilet paper, and a full bottle of hand soap.
- Plan your menu. Write down every meal guests will be there for, then pick dishes you can make ahead.
- Shop in two trips. Buy pantry items and frozen food about 7 to 10 days ahead, and fresh produce, dairy, and bread 1 to 2 days ahead.
- Prep food ahead. Freeze cookie dough, soups, and casseroles 1 to 2 weeks early, and thaw them in the fridge the day before.
- Check your seating. Count chairs against your guest list, and borrow folding chairs if you need to.
Make-ahead meals are a big help when your home is full. A casserole can feed a crowd, sit in the fridge overnight, and bake at 180°C (350°F) while you visit. These easy casserole recipes work well for busy holiday mornings and evenings.
Plan for leftovers too. Cooked food shouldn’t sit out at room temperature for more than 2 hours, and most leftovers keep in the fridge for 3 to 4 days. The cold food storage chart from FoodSafety.gov is handy to check when you’re not sure how long something will last.
A Simple Hosting Checklist
- Enough plates, glasses, and silverware for everyone, plus a few extra
- A pitcher of water and a drink station so guests can help themselves
- A cleared spot for coats and shoes by the door
- A trash can and recycling bin with fresh bags in the kitchen
- A small bowl of snacks out before the main meal
- A playlist ready to go
Don’t be shy about accepting help. When someone asks, “What can I bring?” give them a real answer, like a salad, a dessert, or a bag of ice. People like being part of the day, and it takes something off your list.
The Finished Look: The guest bed is made, the bathroom is stocked, and your menu is written down with make-ahead dishes in the freezer. You have enough seats, plates, and storage containers, and you know who’s bringing what.
Step 6: Keep Your Christmas Home Calm Through the Season
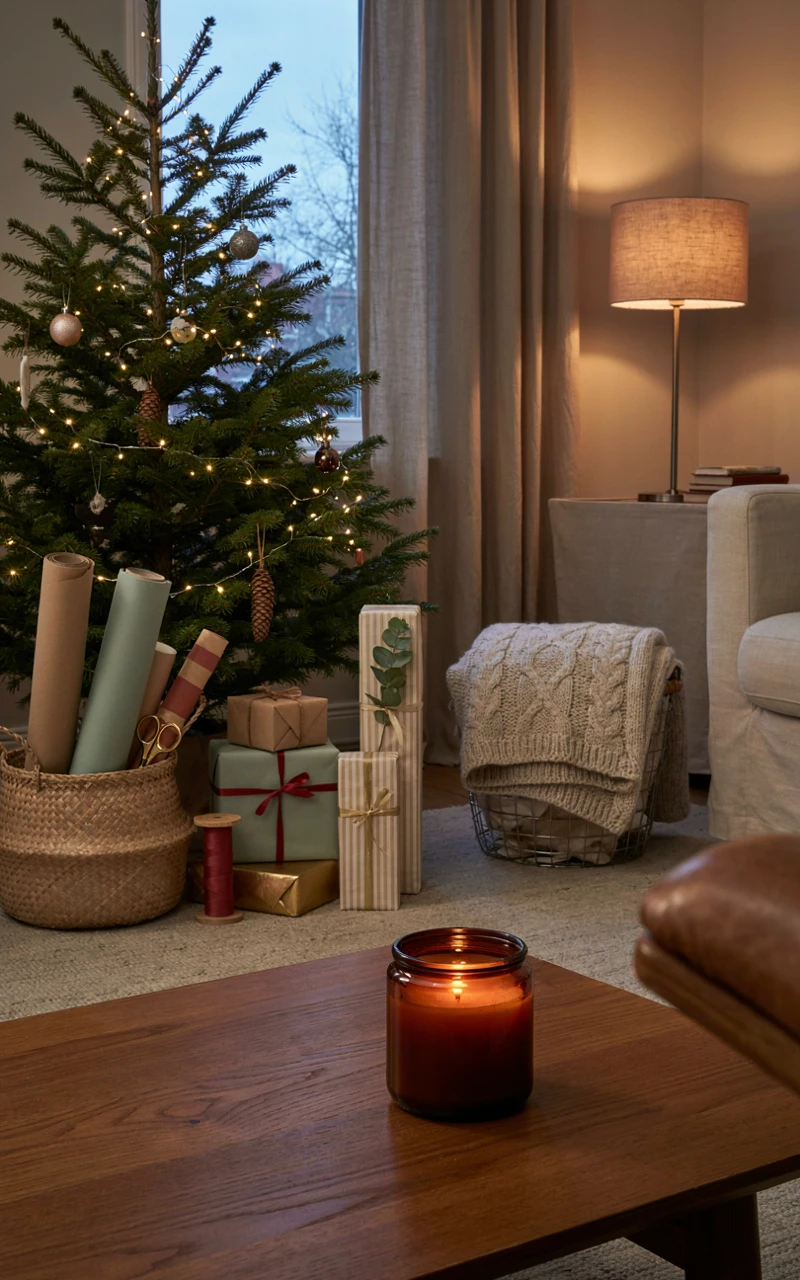
Getting ready is one thing, but keeping your Christmas home feeling calm for the whole season is another. Gifts arrive, cookies get baked, and wrapping paper ends up everywhere. A few small daily habits keep things from piling up again.
The easiest habit is a 10-minute reset each evening. Set a timer, put on a song or two, and follow these steps.
- Clear the main surfaces. Put cups in the dishwasher and move anything that doesn’t belong on the coffee table or counters.
- Return things to their spot. Shoes go by the door, blankets get folded, and toys go back to their basket.
- Check the tree. Top up the water if it’s real, and straighten any ornaments that fell.
- Run the dishwasher. Start it before bed so you wake up to clean dishes.
- Turn off the lights. Switch off the tree and other lights at the power strip before you go to sleep.
Once a week, add a slightly bigger reset. Vacuum the main rooms, take out the recycling, and wipe the kitchen counters and stovetop. That takes about 30 minutes and keeps your home guest-ready all month.
Set Up a Wrapping Station
Pick one spot for gift wrapping, like a corner of the dining table or a folding table in a spare room. Keep paper, tape, scissors, tags, and ribbon there in one box. When you’re finished, close the box and slide it under the table.
Protect Your Time
A calm home is also about a calm calendar. It’s okay to say no to an extra party or to keep one evening a week with no plans at all. Use that night for a movie, hot chocolate, and the tree lights. If you want more ideas for slow evenings, these tips for a cozy Christmas home are a nice place to look.
Plan the Pack-Up Now
Before the holidays end, decide on a pack-up day, usually the first weekend in January. Wrap fragile ornaments in tissue paper, wind lights around a piece of cardboard, and label each box by room again. Future you will be so glad you did.
How early should I start getting my home ready for Christmas?
About four weeks before your main celebration is a comfortable window. It gives you time to plan, declutter, clean, and decorate in short sessions without rushing.
What if I only have one weekend?
Spend Saturday morning on a quick declutter and clean of the living room and kitchen, then decorate in the afternoon. Use Sunday for guest prep and food shopping, and skip anything that isn’t on your must-do list.
How do I keep my home from feeling cluttered once it’s decorated?
Clear surfaces before you decorate, and swap out everyday items instead of adding on top of them. Leave some open spots on shelves and tables so the decorations you do have stand out.
Final Thoughts
I hope these steps show you that getting ready for Christmas doesn’t have to mean late nights and a long to-do list. A simple plan, a little sorting, and one room at a time can carry you through the whole season.
Your home doesn’t need to be perfect to feel festive. It just needs to feel like yours, with a few lights, a clean place to sit, and people you love around the table.
You’ve got this, and you can start with just 30 minutes and a notebook today. Which step are you starting with this year? Share it in the comments below.