This post may contain affiliate links, which means I may receive a small commission should you decide to click that link and make a purchase. For more information please refer to the Terms & Conditions.
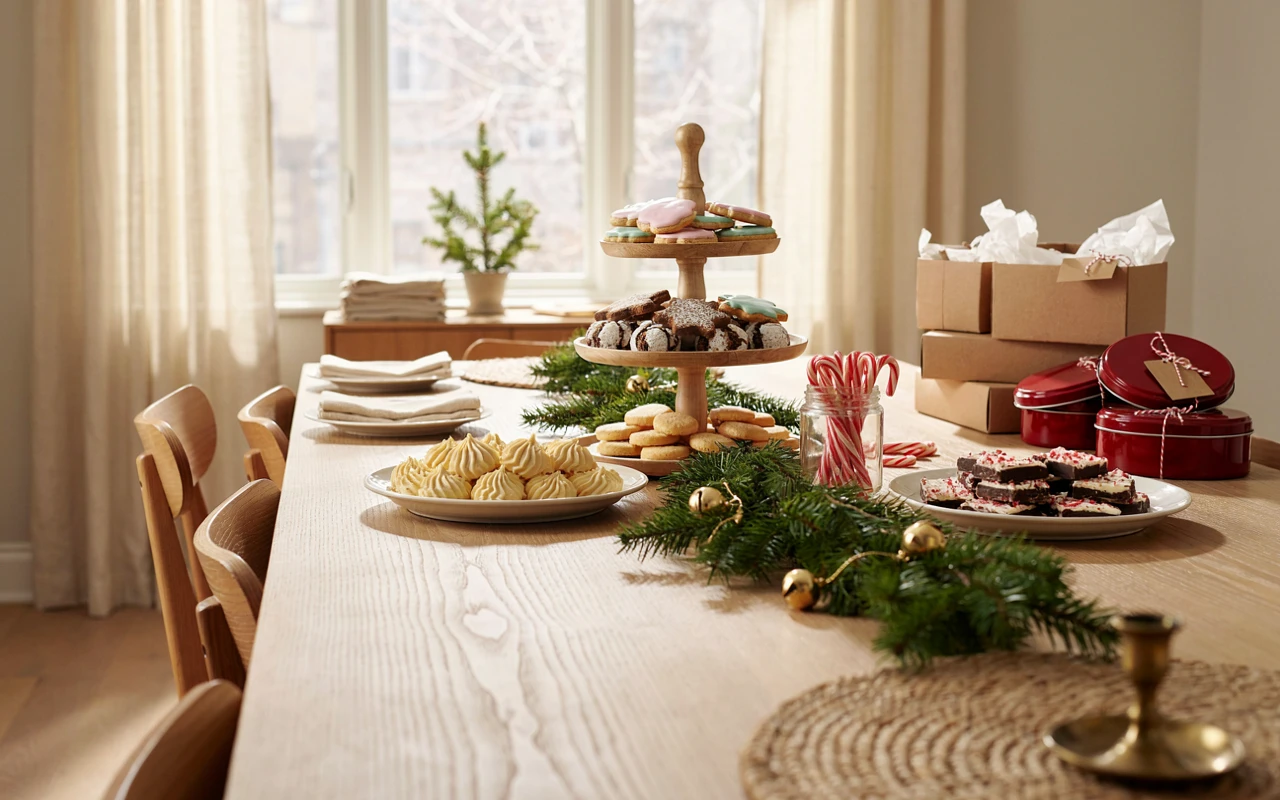
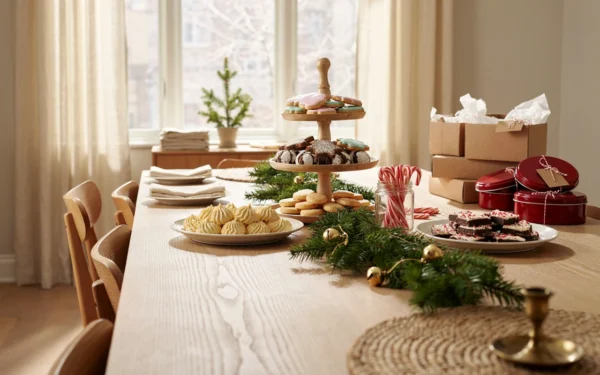
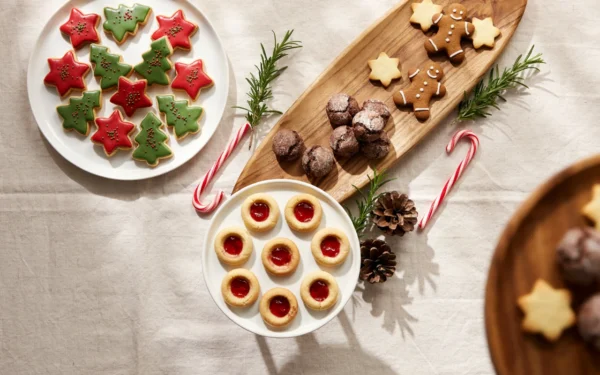
Hosting a Christmas cookie exchange party everyone will enjoy is a lot easier than it looks.
I love the idea of a party where every guest bakes one kind of cookie and goes home with a box full of different ones.
You don’t need a huge house, a fancy kitchen, or a lot of money to pull this off.
Most of what you need is already in your cupboards, like plates, a tablecloth, and a few glass jars.
Add some greenery, a string of lights, and a couple of simple games, and the party mostly runs itself.
Below, you’ll find a simple six-step plan for hosting your own cookie swap, from picking the date to sending guests home with full boxes.
These steps will help you throw a cozy, relaxed party that feels fun for you as the host, not just for your guests.
What You’ll Need to Host a Christmas Cookie Exchange Party

Before you send a single invite, it helps to know what you’re working with. A cookie exchange looks simple from the outside, but a few small supplies make the whole night run smoothly.
The good news is that you probably own most of this already. Walk through your kitchen and closets with this list in hand, and only buy what’s truly missing.
For Planning and Invites
- A guest list of 8 to 12 people
- Paper or digital invitations
- A simple sign-up sheet so nobody bakes the same cookie
- A notebook or phone note to track RSVPs and allergies
For the Cookie Table
- A 6-foot (1.8 m) folding table or your dining table
- A tablecloth or a length of plain fabric
- Cake stands, platters, cutting boards, and large plates
- Tongs or small serving spatulas, one per platter
- Small cards, about 3 x 5 inches (7.5 x 12.5 cm), for labeling each cookie
- A pen or marker for the labels
For Packing Cookies to Go
- One empty box, tin, or large container per guest
- Parchment paper or wax paper for lining boxes and separating layers
- Small zip-top bags for soft or sticky cookies
- Ribbon or twine and a few gift tags
For the Party Itself
- Drinks like hot cocoa, coffee, tea, or cold milk
- A few savory snacks so guests aren’t eating only sugar
- Napkins, small plates, and cups
- Paper ballots and a bowl or jar for contest voting
- One or two small prizes
A quick note on to-go boxes: you can ask guests to bring their own, but I think it’s a sweet touch to have them ready. Plain white bakery boxes, about 8 x 8 inches (20 x 20 cm), are cheap when you buy a pack. You can also use clean cookie tins from the thrift store.
If you’re short on platters, borrow from a friend or flip a baking sheet upside down and cover it with a clean tea towel. Nobody will notice, and it looks charming on a table full of treats.
The Finished Look: You have one box or bin by the door that holds your labels, pens, ballots, parchment, ribbon, and serving tongs. Platters and to-go boxes are stacked and counted, and you know how many guests you can comfortably fit.
Key takeaways:
- Shop your own home first and only buy what’s missing.
- Have one serving tool and one label card ready for every cookie.
- Plan for one to-go box per guest, plus one or two spares.
Step 1: Set the Date, Guest List, and Swap Rules

This first step decides how the whole party will feel. A clear date, the right number of guests, and a few simple rules keep things fair and easy for everyone.
Try to pick a date in the first two weeks of December. Calendars fill up fast after that, and guests will be glad to have cookies on hand for the rest of the month.
- Choose two possible dates, ideally a weekend afternoon or a weeknight evening.
- Check with two or three close friends to see which date works best.
- Decide on a party length of 2 to 3 hours.
- Write a guest list of 8 to 12 people.
- Decide how many cookies each guest should bring, using the table below.
- Write down your swap rules in three or four short lines.
How Many Cookies Each Guest Should Bake
A simple rule works well: each guest brings 6 cookies for every person coming, plus 12 extra for tasting at the party. That way, everyone leaves with a nice mix, and there’s still plenty to snack on.
| Number of Guests | Cookies to Take Home (6 per guest) | Extra for Tasting | Total Each Guest Bakes |
|---|---|---|---|
| 6 | 36 | 12 | 48 (4 dozen) |
| 8 | 48 | 12 | 60 (5 dozen) |
| 10 | 60 | 12 | 72 (6 dozen) |
| 12 | 72 | 12 | 84 (7 dozen) |
If 7 dozen sounds like a lot to ask, you can drop it to 4 cookies per guest. Just make sure everyone follows the same number so the swap stays fair.
Simple Swap Rules That Keep Things Fair
Rules don’t need to feel strict. They just help guests know what to expect, so nobody shows up with a half batch or the same sugar cookie as three other people.
- One kind of cookie per guest. Everyone claims their cookie on the sign-up sheet first.
- Homemade is best. If someone is truly too busy, they can bring a bakery cookie or a no-bake treat.
- Bring a recipe card. Guests can write their recipe on a card or text it to you to share later.
- Label common allergens. Nuts, dairy, eggs, and wheat should be noted on the cookie’s card.
I think the sign-up sheet is the most helpful rule of all. A shared online document or a group text works fine, as long as everyone can see what’s already been claimed.
The Finished Look: You have a confirmed date and time on your calendar, a written list of 8 to 12 names, a set number of cookies per guest, and three or four swap rules written in plain words, ready to paste into your invite.
Key takeaways:
- Aim for early December and a party of 2 to 3 hours.
- Keep the group between 8 and 12 people.
- Use a sign-up sheet so every cookie is different.
Step 2: Send Christmas Cookie Exchange Party Invitations

Your invitation does a lot of the work for you. When it answers every question up front, you’ll spend far less time replying to texts in the weeks before the party.
Send invites 3 to 4 weeks ahead. December weekends book up quickly, and guests need time to plan their baking.
- Choose your format: a printed card, an email, a free online invite, or a group text.
- Write the date, start time, end time, and your address.
- Add the number of cookies each guest should bring.
- Paste in your swap rules and a link to the sign-up sheet.
- Ask guests to share any food allergies when they reply.
- Set an RSVP date about 10 days before the party.
- Send the invites, then add a reminder to your calendar for the RSVP date.
What to Write on the Invite
Keep the wording short and friendly. Here’s a simple sample you can borrow and change to fit your party:
You’re invited to a cookie swap! Bake 5 dozen of your favorite Christmas cookies, bring them to my place on Saturday, December 7, from 2 to 5 p.m., and go home with a box full of everyone else’s. Please claim your cookie on the sign-up sheet so we don’t double up, and let me know about any allergies. RSVP by November 27.
That one paragraph covers the date, the time, the number of cookies, the sign-up, and the RSVP. Guests won’t have to guess about anything.
Ask About Allergies Early
Food allergies are common, so it’s worth asking before anyone starts baking. The FDA lists nine major food allergens: milk, eggs, fish, shellfish, tree nuts, peanuts, wheat, soybeans, and sesame.
If a guest has a serious nut allergy, you might ask everyone to skip nuts entirely. If it’s milder, a clear label on each cookie card is usually enough.
Christmas Cookie Exchange Ideas for Your Invite Theme
A light theme gives guests something fun to work with, and it makes the invite feel more personal. Here are a few Christmas cookie exchange ideas you can mention:
- Family favorites: each guest brings a cookie their family makes every year.
- Around the world: guests bake a cookie from another country, like Italian pizzelles or Mexican wedding cookies.
- Ugly sweater: guests wear their silliest sweater while they swap.
- Cozy pajama swap: everyone comes in comfy pajamas for an evening party.
The Finished Look: Every guest has an invite with the date, time, address, cookie count, swap rules, sign-up link, and RSVP date. Your calendar has a reminder set, and the first few names are already showing up on the sign-up sheet.
Key takeaways:
- Send invites 3 to 4 weeks ahead with an RSVP date 10 days out.
- Put every detail in the invite so guests don’t need to ask.
- Ask about allergies before anyone starts baking.
Step 3: Decorate Your Home with Easy Christmas Cookie Party Ideas

You don’t need to redecorate the whole house for a cookie swap. Focus on the front door, the cookie table, and the spot where people will gather and chat.
The cookies are the main event, so the decorations should support them, not compete with them. Simple, warm touches work best here.
If your Christmas decorations are already up, you’re mostly done. If not, our guide to creating a cozy Christmas home walks through easy ways to warm up a room before guests arrive.
- Start at the front door with a wreath or a pair of potted evergreens so guests know they’re in the right place.
- Clear the cookie table and the nearby counters of everyday clutter like mail, keys, and chargers.
- Lay down a tablecloth in a plain color, like white, cream, or red.
- Add a strip of greenery down the middle or along the back edge of the table.
- Tuck a string of warm white lights into the greenery and plug it in to test it.
- Set out a few candles or small lamps where people will sit and chat.
- Put on a Christmas playlist at a low volume.
Start at the Front Door
The front porch is the first thing guests see, and it sets a happy tone right away. A wreath, a lantern, or a pair of planters filled with pine and red berries all work well.
If you want a few simple ideas, these winter porch planters are easy to put together in an afternoon.
Christmas Cookie Party Ideas for the Table
The cookie table should feel like a little bakery window. Here are some Christmas cookie party ideas that don’t take much time or money:
- Fill clear glass jars with candy canes, peppermints, or cinnamon sticks.
- Scatter a few pinecones and fresh rosemary sprigs between platters.
- Hang a small banner that says “Cookie Swap” above the table.
- Stand old rolling pins, cookie cutters, or wooden spoons in a crock as a little display.
- Use a chalkboard sign to list the cookies and who made them.
For more ways to dress up a table or mantel, you can browse these Christmas decoration ideas and pick the ones that fit your home.
Keep the Rest of the Room Simple
Clear a spot for coats, whether it’s a bed, a coat rack, or a few hooks by the door. Set out extra chairs so people can sit while they snack.
I love the idea of a small drink corner away from the cookie table. A pot of cocoa, a jar of marshmallows, and some mugs keep guests from crowding the cookies.
The Finished Look: The front door has a wreath or planters, the cookie table is covered and trimmed with greenery and lights, the coat spot is cleared, and soft music is playing. The room feels warm and festive, but there’s still plenty of open table for the cookies.
Key takeaways:
- Decorate three places: the front door, the cookie table, and the chatting area.
- Keep decorations simple so the cookies stand out.
- Set up a separate drink corner to spread guests out.
Step 4: Set Up the Cookie Display and Swap Table
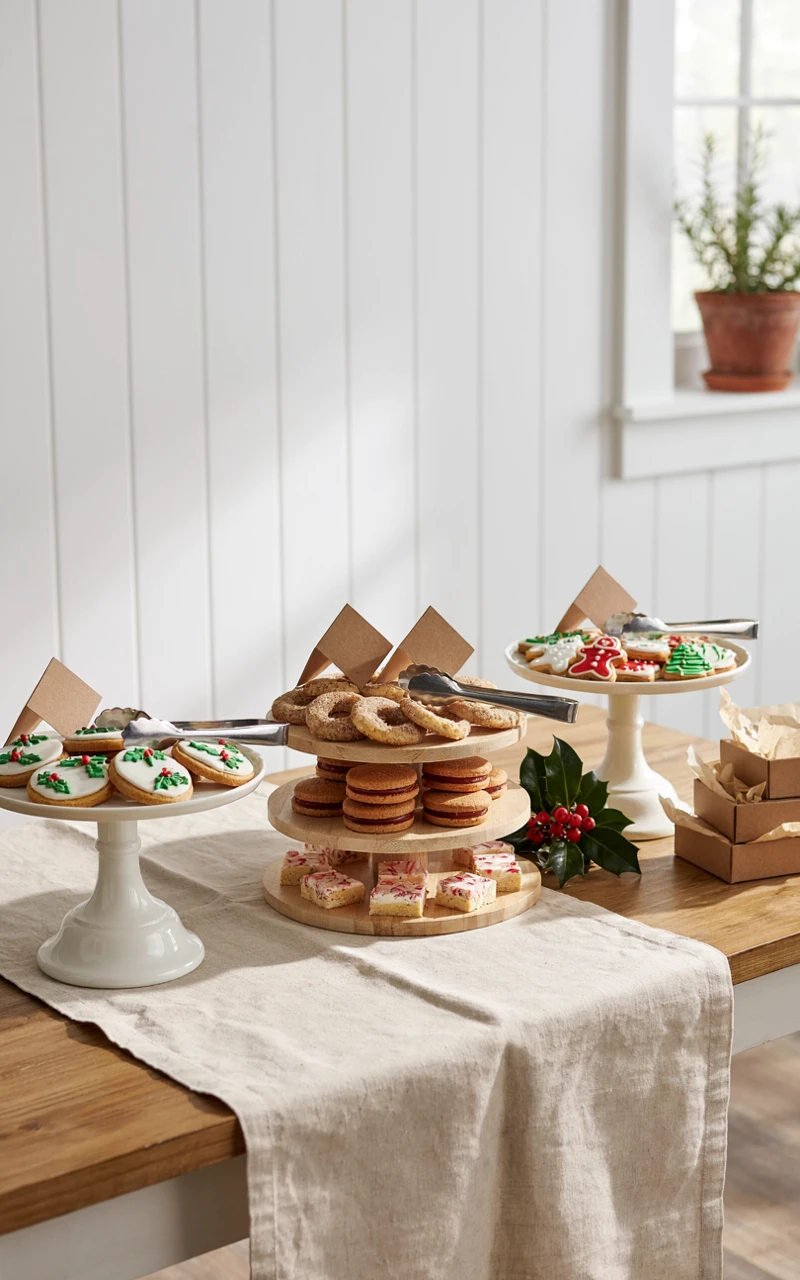
This is the heart of the party. A well-planned table makes it easy for guests to see every cookie, read the labels, and fill their boxes without bumping elbows.
Set up the table the night before or the morning of the party. Doing it early means you’re not rushing when the doorbell rings.
- Place your table where guests can walk around at least three sides of it.
- Count your platters and make sure you have one for every guest’s cookies.
- Arrange cake stands toward the back and flat platters toward the front so every cookie is easy to see.
- Place one pair of tongs or a small spatula next to each platter.
- Set a blank label card in front of each platter.
- Stack empty to-go boxes and parchment at one end of the table.
- Set a small tasting plate near the to-go boxes for the extra dozen cookies each guest brings.
Christmas Cookie Exchange Party Ideas for the Display
Height makes a big difference. When you put a few cookies up high on cake stands and others down low on flat boards, the table looks full and inviting.
Here are a few Christmas cookie exchange party ideas for showing off the cookies:
- Stack sturdy cookies like shortbread in neat towers.
- Line up thin cookies like gingersnaps in rows on a long board.
- Use a tiered stand for small treats like thumbprints and truffles.
- Lay a piece of parchment on wooden boards so buttery cookies don’t leave grease spots.
Label Every Cookie
Each label card should say the cookie’s name, who baked it, and any common allergens. Ask guests to fill out their own card when they arrive.
For example, a card might read: Chewy Ginger Molasses Cookies by Tasha. Contains wheat, eggs, and dairy. It’s short, clear, and helpful.
Keep Soft and Frosted Cookies Safe
Most baked cookies are fine at room temperature for the whole party. Cookies with cream cheese frosting or whipped toppings are different, since they can spoil if left out too long.
Food safety experts suggest not leaving perishable foods out for more than 2 hours, as explained in the four steps to food safety from FoodSafety.gov. Keep those cookies in the fridge until swap time, then pack them into small bags so guests can chill them at home.
The Finished Look: Every platter has a spot, a serving tool, and a blank label card. Taller stands are in the back, flat boards are in the front, the to-go boxes and parchment are stacked at one end, and there’s room for guests to walk around the table without crowding.
Key takeaways:
- Set up the table the night before or the morning of.
- Mix tall stands and flat boards so every cookie is visible.
- Label each cookie with its name, baker, and allergens.
Step 5: Plan Games and Christmas Cookie Contest Ideas
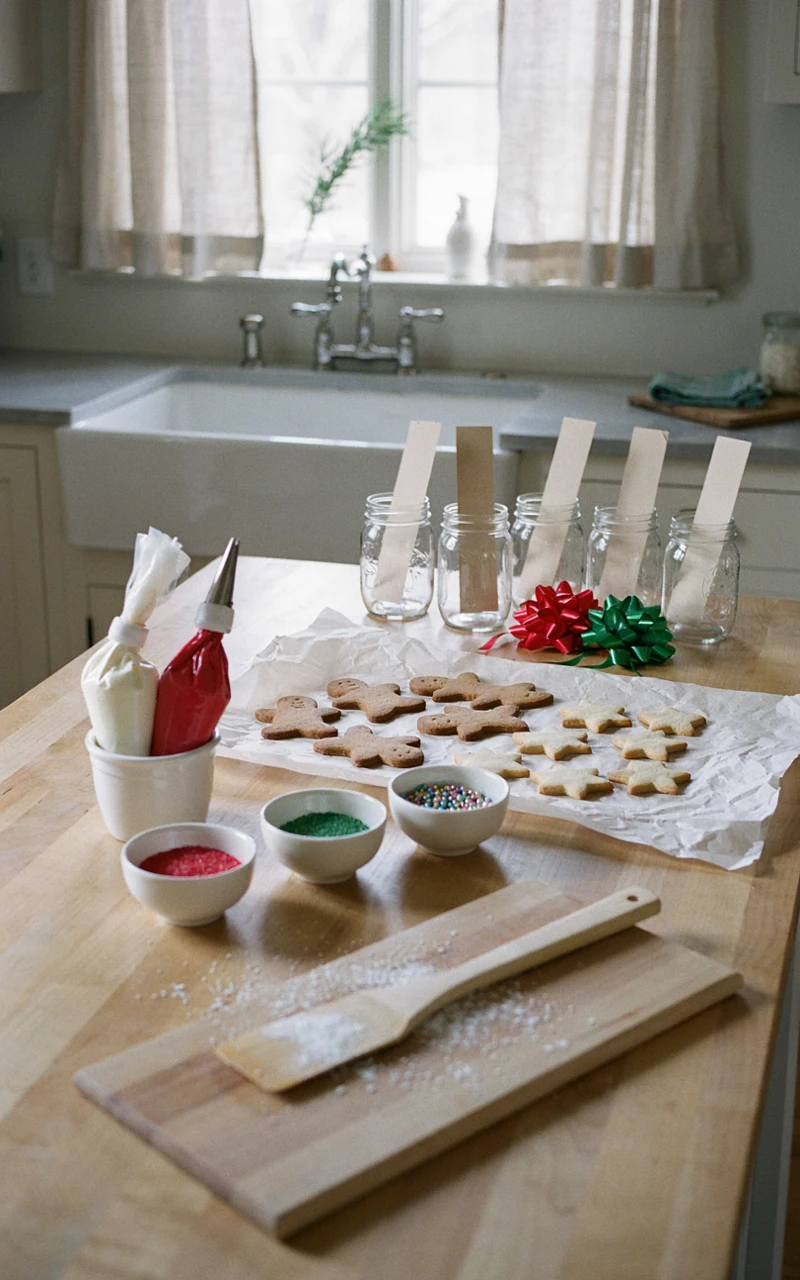
Games give guests something to do while everyone arrives and settles in. A friendly contest also makes people proud of what they baked, and it gives the party a fun moment to look forward to.
You only need one contest and one or two small activities. Too many games can make the party feel rushed.
Christmas Cookie Contest Ideas
Pick three or four categories so more than one guest can win. Here are a few Christmas cookie contest ideas that work for almost any group:
| Category | What Guests Vote On | Fun Prize Idea |
|---|---|---|
| Best Tasting | The cookie people went back for | A wooden spoon tied with ribbon |
| Prettiest Cookie | The best-looking cookie on the table | A set of fancy sprinkles |
| Most Creative | The most surprising flavor or shape | A new set of cookie cutters |
| Best Family Recipe | The cookie with the best story behind it | A blank recipe book |
Prizes don’t have to cost much. A $5 to $10 budget per prize is plenty, and silly prizes often get the biggest laughs.
How to Run the Contest
- Give each cookie a number on its label card when guests arrive.
- Hand every guest a small paper ballot with the categories listed.
- Let guests taste from the tasting plate for about 30 to 45 minutes.
- Ask everyone to write one cookie number next to each category.
- Collect the ballots in a bowl or jar.
- Count the votes while guests keep chatting.
- Announce the winners and hand out the prizes.
Easy Games and Activities
A couple of light activities help guests mingle, especially if not everyone knows each other. Try one or two of these:
- Blind taste test: guests taste three plain sugar cookies and guess which one is store-bought.
- Cookie trivia: ask questions like “Which cookie is America’s favorite?” and let teams shout out answers.
- Decorating station: set out plain sugar cookies, icing bags, and sprinkles so guests can decorate one to take home.
- Recipe story share: each guest tells where their cookie recipe came from in one minute or less.
The decorating station borrows from Christmas cookie baking party ideas, and it’s a big hit with kids if families are invited. Bake about 2 plain sugar cookies per guest ahead of time, and set out a few colors of icing.
The Finished Look: You have ballots printed with three or four categories, a bowl or jar for votes, prizes wrapped and hidden away, and one or two activities ready to go. You know roughly when in the party you’ll hand out ballots and when you’ll announce winners.
Key takeaways:
- Choose three or four contest categories so more guests can win.
- Keep prizes small and fun.
- Add one or two easy activities to help guests mingle.
Step 6: Run the Cookie Swap on Party Day

Party day is where all your planning pays off. With the table set and the rules clear, your main job is to welcome guests and keep things moving.
Here’s a simple timeline for a 3-hour party. Feel free to stretch or shrink each part to fit your group.
| Time | What Happens |
|---|---|
| 1 hour before | Make drinks, set out snacks, turn on lights and music |
| 0:00 to 0:30 | Guests arrive, set out cookies, and fill in label cards |
| 0:30 to 1:15 | Tasting, chatting, and games |
| 1:15 to 1:30 | Contest voting and winner announcements |
| 1:30 to 2:00 | The cookie swap |
| 2:00 to 3:00 | Drinks, leftovers, and goodbyes |
How to Run the Swap
- Greet each guest at the door and take their coat.
- Show them where to set their cookies and hand them a label card.
- Have them place the extra dozen on the tasting plate.
- When it’s swap time, give each guest an empty to-go box lined with parchment.
- Have guests line up and walk around the table in one direction.
- Ask each guest to take 6 cookies from every platter, using the tongs.
- Place a sheet of parchment between layers as boxes fill up.
- Close each box and tie it with ribbon or twine.
- Send recipe cards home or text everyone the recipes that night.
Christmas Cookie Swap Ideas for a Smooth Finish
Walking around the table in one direction keeps things calm and fair. Nobody grabs too many, and nobody gets left with only the broken pieces.
A few more Christmas cookie swap ideas can make the ending feel special:
- Pack fragile cookies like meringues or lace cookies in small bags on top so they don’t get crushed.
- Add a printed gift tag to each box that says “From the Cookie Swap” with the date.
- Send any leftovers home with guests or drop them off with a neighbor.
- Take a group photo with everyone holding their boxes.
What If a Guest Forgets Their Cookies?
It happens. Let them swap anyway, and maybe ask them to bring a dessert to your next get-together. A cookie swap is about fun, not keeping score.
How Long Will the Cookies Keep?
Most crisp and chewy cookies stay fresh for about 5 to 7 days in a sealed container at room temperature. Many can be frozen for up to 3 months, so guests can save some for Christmas morning.
The Finished Look: Every guest leaves with a closed, ribbon-tied box holding 6 of each cookie, plus the recipes. The table is mostly empty, the contest winners have their prizes, and you’re relaxing with a cup of cocoa.
Key takeaways:
- Follow a simple timeline so the party doesn’t drag.
- Walk around the table in one direction during the swap.
- Send recipes home so guests can bake their favorites again.
You’re Ready to Host
I hope these steps make planning your own cookie swap feel simple and fun.
From the guest list and invites to the table, the contest, and the swap itself, each part is easy on its own. Put them together, and you’ve got a party people will talk about all season.
You don’t need a perfect home or perfect cookies to host a great party. You just need a few friends, some baking, and a little planning.
Are you hosting a cookie swap this year? Share your favorite cookie or your best party tip in the comments. I’d love to hear what you’re baking.