This post may contain affiliate links, which means I may receive a small commission should you decide to click that link and make a purchase. For more information please refer to the Terms & Conditions.
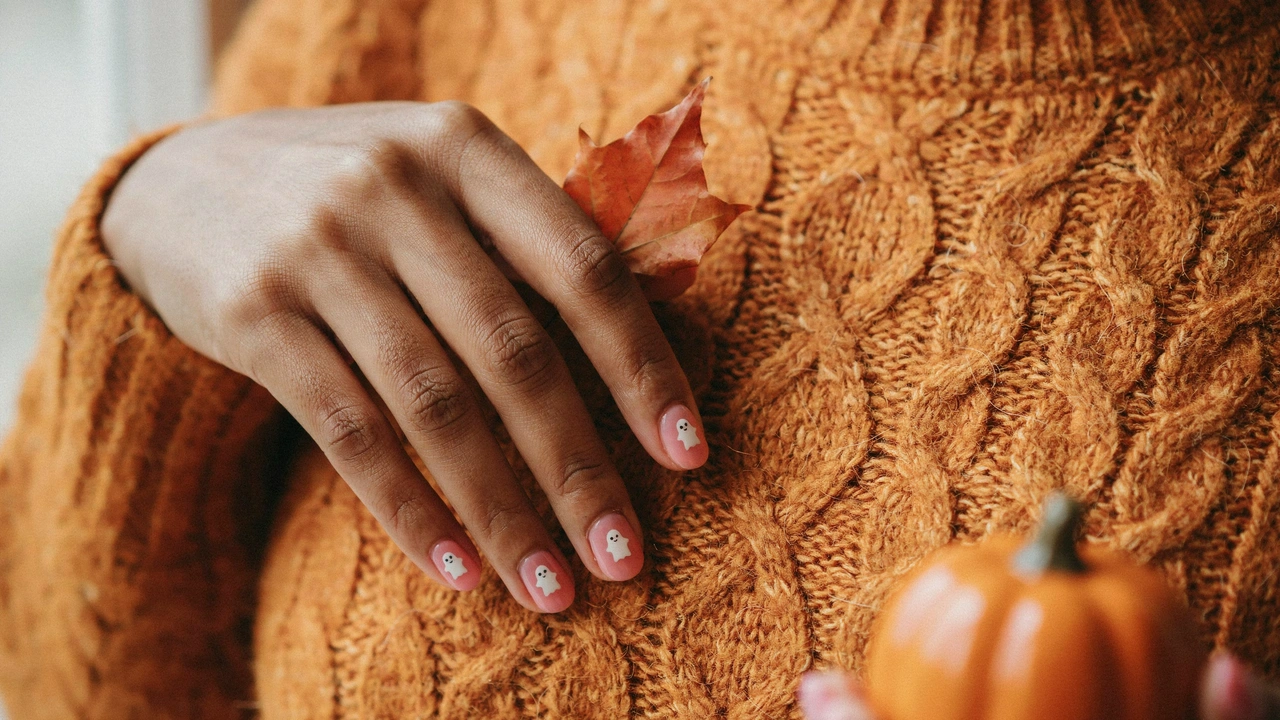
I used to spend hours scrolling through Pinterest every October, admiring all the festive manicures. I would book a salon appointment, pay way too much, and still end up with a design that chipped three days later. Eventually, I decided to figure out how to do it myself.
I bought a few basic tools, practiced on a lazy Sunday afternoon, and realized that painting my own nails is actually incredibly relaxing. If you want to skip the salon this year, I am going to show you how to create Simple Halloween Nail Art at home.
You do not need a perfectly steady hand or a professional kit to get good results. We are going to break down the process into easy stages, from prepping your natural nails to painting cute little ghosts and pumpkins. By the end of this guide, you will have a festive manicure that lasts all week.
Tools and Polishes You Need for DIY Nails
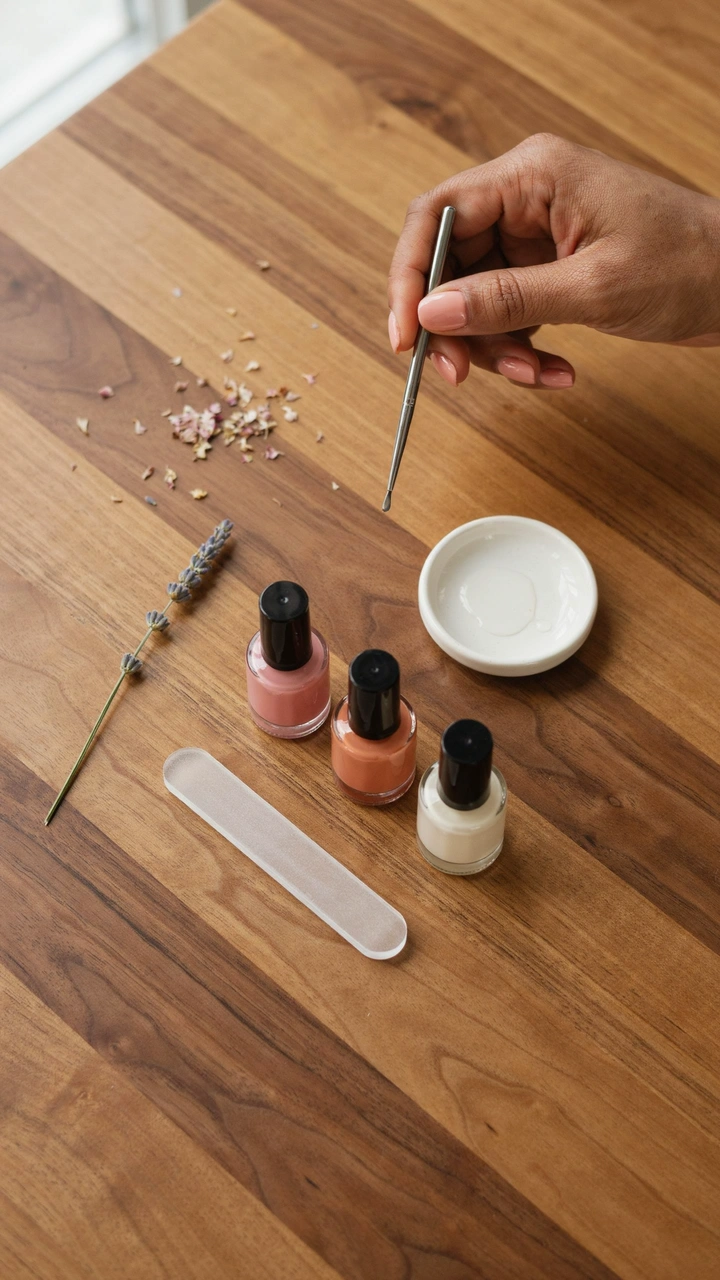
Before you unscrew a single bottle of polish, gather your supplies. Having everything within reach stops you from smudging a wet nail while digging through a drawer. Good DIY Nails start with the right tools, but you do not need to spend a lot of money to build a solid kit.
The most important tool for any beginner is a dotting tool. These look like metal pens with a tiny ball at the end, and they make perfect circles every time. If you do not want to buy a set, you can unfold a bobby pin and use the rounded tip instead. A toothpick also works for making tiny dots or dragging wet polish into sharp lines.
You will also need a thin striping brush for drawing straight lines or tiny details like pumpkin stems. Many craft stores sell miniature paintbrushes that work perfectly for this. If you already have a small makeup eyeliner brush that you no longer use, clean it well and repurpose it for your nail kit.
For the polish itself, you need a sticky base coat and a glossy, quick-drying top coat. These two clear polishes are the secret to making your manicure last. For the colors, keep it basic. A solid black, a crisp white, a warm pumpkin orange, and a neutral nude or sheer pink will cover almost all classic Halloween nail designs.
Finally, keep a small cleanup brush and a bottle of pure acetone nearby. A stiff, angled makeup brush dipped in acetone acts like an eraser for polish mistakes. You can just wipe away any color that floods your cuticles before it dries.
Here is a quick breakdown of what to grab before you start:
| Item | Why You Need It | Household Alternative |
|---|---|---|
| Dotting Tool | Creates perfect circles for eyes and polka dots. | Bobby pin or toothpick |
| Striping Brush | Paints thin lines and tiny details. | Clean liquid eyeliner brush |
| Cleanup Brush | Erases polish off the skin around your nails. | Small angled makeup brush |
| Pure Acetone | Melts away mistakes instantly. | Regular nail polish remover (takes longer) |
Once your tools are laid out on a paper towel, you are ready to begin. Make sure you have good lighting so you can see the tiny details clearly.
Stage 1: Prepping Your Nails for a Flawless Base
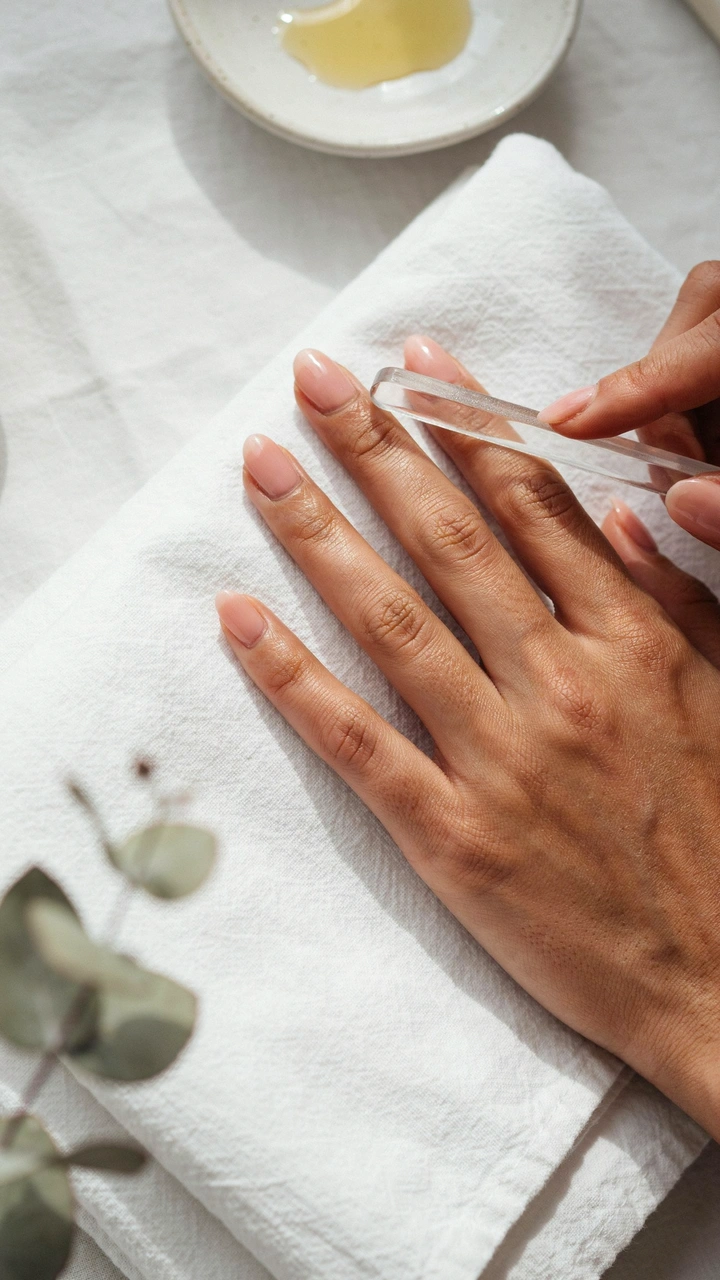
The biggest mistake people make with at-home manicures is skipping the prep work. If you paint over oily, uneven nails, your polish will peel off in sheets by the next day. Taking ten minutes to prep your nails gives the polish a clean, smooth surface to grip.
This stage is all about cleaning up the canvas. You want your nails to be uniform in shape and completely free of natural oils. Here is exactly how to get your nails ready for polish.
- Remove old polish: Soak a cotton ball in acetone and press it against your nail for five seconds before wiping. This melts the old polish so you do not have to scrub. Make sure every trace of color is gone from the edges.
- Clip and file: Trim your nails to your desired length. Use a glass nail file to shape the edges, moving the file in one direction rather than sawing back and forth. Sawing can split the layers of your nail and cause peeling later.
- Push back the cuticles: Apply a drop of cuticle remover or warm water to soften the skin. Gently push the clear, sticky skin back toward your knuckle using a wooden orange stick. The American Academy of Dermatology recommends leaving the actual cuticle intact to prevent infections, so just push the skin back rather than cutting it.
- Buff the surface: Lightly run a soft buffing block over the top of your nails. You only need two or three gentle swipes per nail. This removes peeling ridges and gives the base coat a slightly textured surface to grab onto.
- Cleanse the nail plate: Wash your hands with basic soap and water to remove any filing dust. Once your hands are dry, wipe each nail with a cotton pad soaked in rubbing alcohol. This strips away any leftover soap residue or natural skin oils.
When you finish this stage, your nails should look matte, clean, and completely dry. The skin around them should be pushed back neatly, leaving a smooth, wide nail plate ready for polish.
Stage 2: Painting the Base Colors for Fall Nails
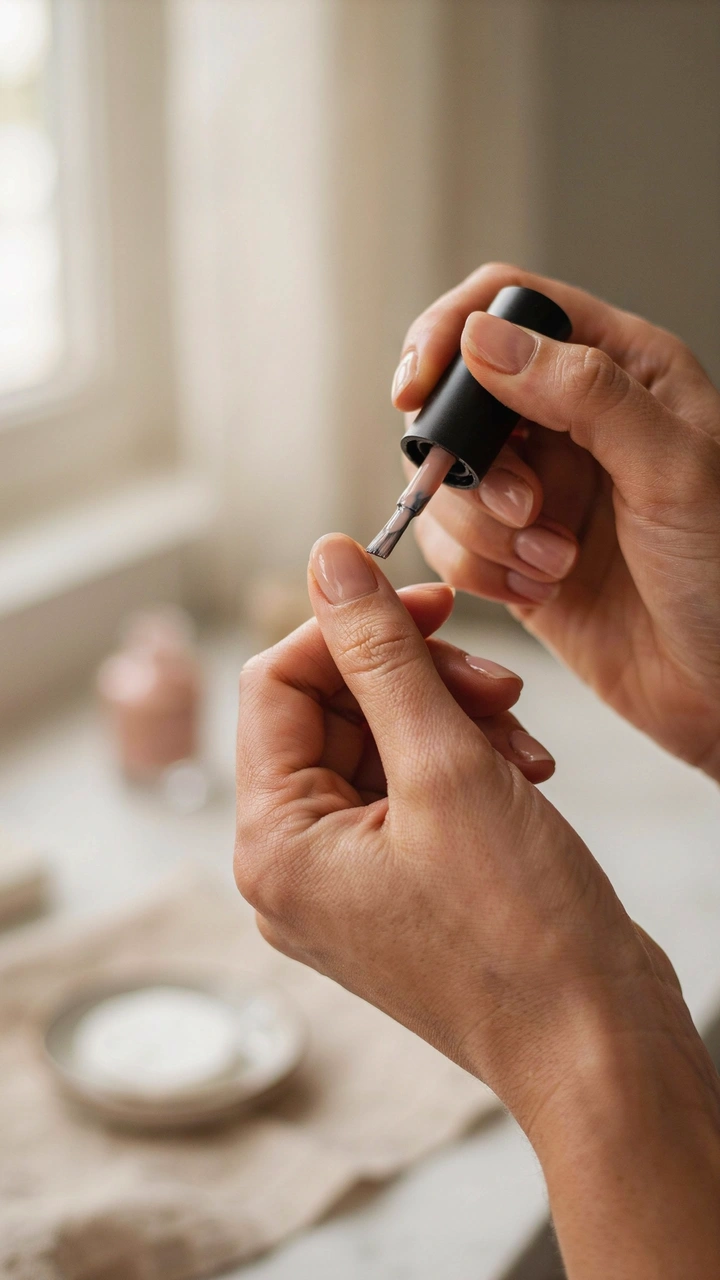
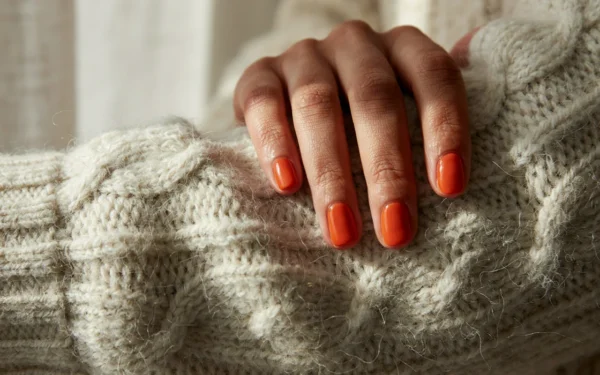
With your nails prepped, it is time to lay down the background colors. The base color sets the mood for your whole design. If you want a bright, bold look, you might choose bright orange. If you prefer subtle Fall Nails, a sheer nude or soft beige works beautifully.
The trick to a smooth base is working in very thin layers. Thick blobs of polish take hours to dry and will bubble up under your top coat. It is always better to paint three thin coats than two thick ones.
Follow these steps to build a solid, opaque background for your nail art.
- Apply the base coat: Wipe one side of the brush against the neck of the bottle so it is not dripping. Paint a thin, even layer of sticky base coat over every nail. Let this dry completely, which usually takes about two minutes.
- Paint the first color layer: Pick your background color. Place the brush just above the cuticle, push it back slightly without touching the skin, and pull it straight down to the tip. Swipe once down the middle, once on the left, and once on the right. This first coat will look streaky, and that is completely normal.
- Wait and apply the second coat: Let the first coat dry for at least three minutes. Apply a second thin coat using the same three-swipe method. This coat should cover the streaks and give you a solid, opaque color. If you are using a very light color like white or pastel orange, you might need a third thin coat.
- Clean the edges: Dip your angled cleanup brush into a small cap of acetone. Carefully trace the brush around the curve of your cuticle to wipe away any polish that got on your skin. Doing this while the polish is still fresh makes it much easier to remove.
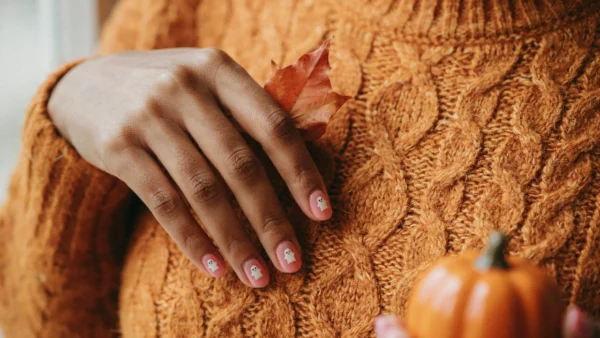
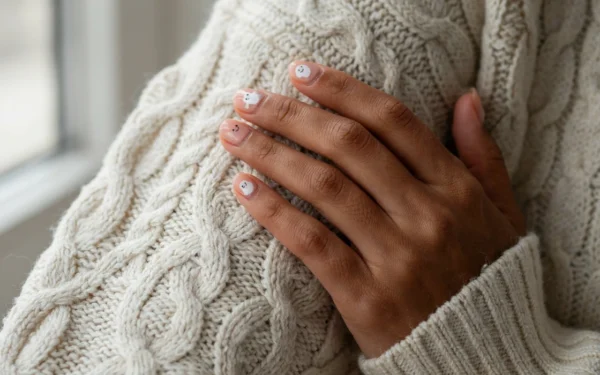
If you are looking for short fall nail ideas, a dark olive green or a burnt terracotta orange makes a gorgeous background for simple designs. For a ghost design, a sheer pink or milky white base looks incredibly clean and modern.
When you finish this stage, your nails should be fully colored and dry to the touch. If you tap two nails together, they should make a soft clicking sound. They might feel slightly tacky, but they should not dent when you press them lightly.
Stage 3: Adding Non-Spooky Halloween Nail Details
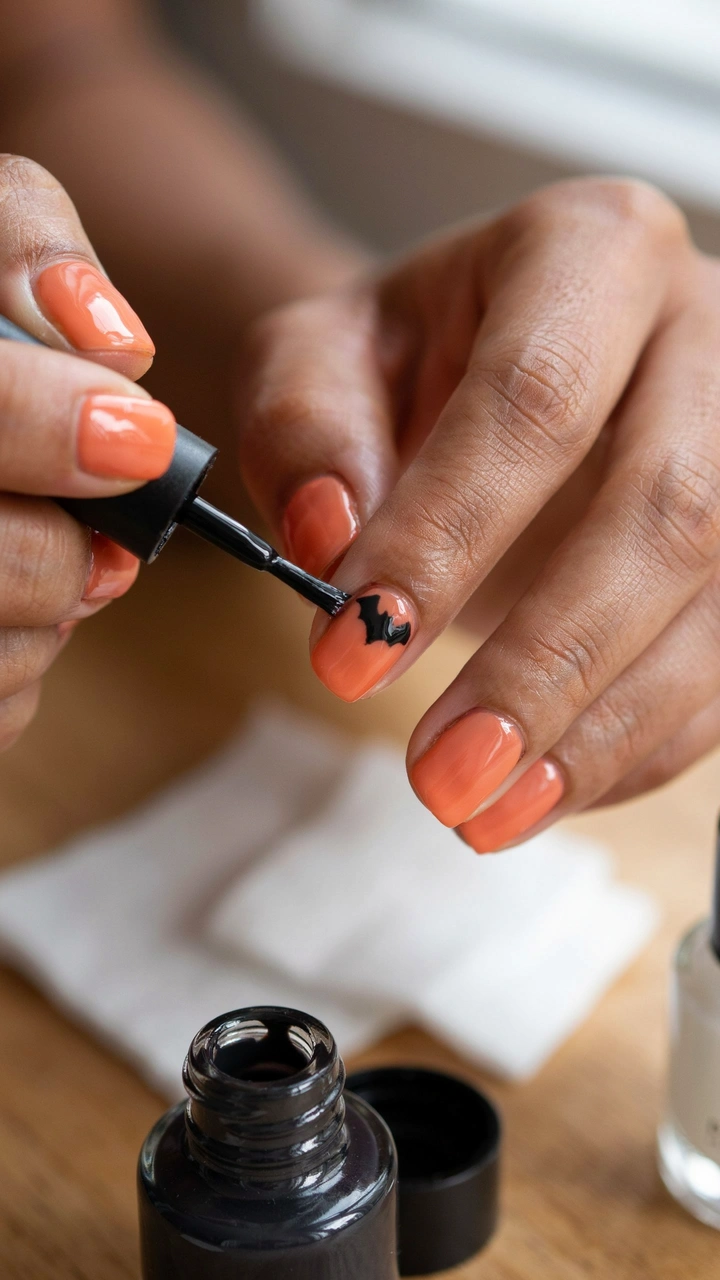
Now comes the fun part. You do not need to draw complicated haunted houses or realistic bats to get a great festive look. Simple shapes and dots are all you need for cute, non-spooky Halloween Nails.
The secret to painting tiny details is never dipping your tool directly into the polish bottle. Instead, you need to create a palette. Tear off a small piece of tin foil or use the back of a plastic lid. Drop a small puddle of polish onto your palette and dip your tools into that puddle.
Here is how to create three very easy designs using your dotting tool and striping brush.
- Make the polish puddle: Drop a generous bead of white polish onto your foil palette. Polish dries quickly in the air, so you will need to add fresh drops every few minutes as the puddle gets thick and stringy.
- Paint a simple ghost: Dip the large end of your dotting tool into the white polish. Press it onto your nail near the cuticle to make a round head. Wipe the tool clean, then use the smaller end to drag the wet white polish down toward the tip of your nail, creating a wavy tail. Let the white polish dry for five minutes.
- Add the ghost eyes: Drop a puddle of black polish onto your foil. Dip a toothpick or the smallest end of your dotting tool into the black. Tap it lightly onto the white ghost head twice to make two tiny eyes.
- Paint a minimalist pumpkin: Clean your palette and drop some orange polish. Use a medium dotting tool to place a large orange dot near the tip of your nail. Wipe the tool, then use a striping brush to draw a tiny brown or green line at the top of the circle for a stem.
- Add polka dots: If drawing shapes feels too difficult, stick to dots. Dip your dotting tool into black and orange polish, and press random dots all over a nude base. This gives you fun, cute halloween nails without any drawing skills required.
When you are painting these details, rest the pinky finger of your painting hand against the palm of your other hand. This anchors your hand and stops your fingers from shaking. If you make a mistake, do not panic. Let the mistake dry, take your cleanup brush dipped in acetone, and gently wipe just that tiny spot away.
When you finish this stage, your design should be finished. You must wait at least ten to fifteen minutes before moving on. The art needs to be totally dry, or the next step will ruin your hard work.
Stage 4: Sealing Your Simple Halloween Nail Art
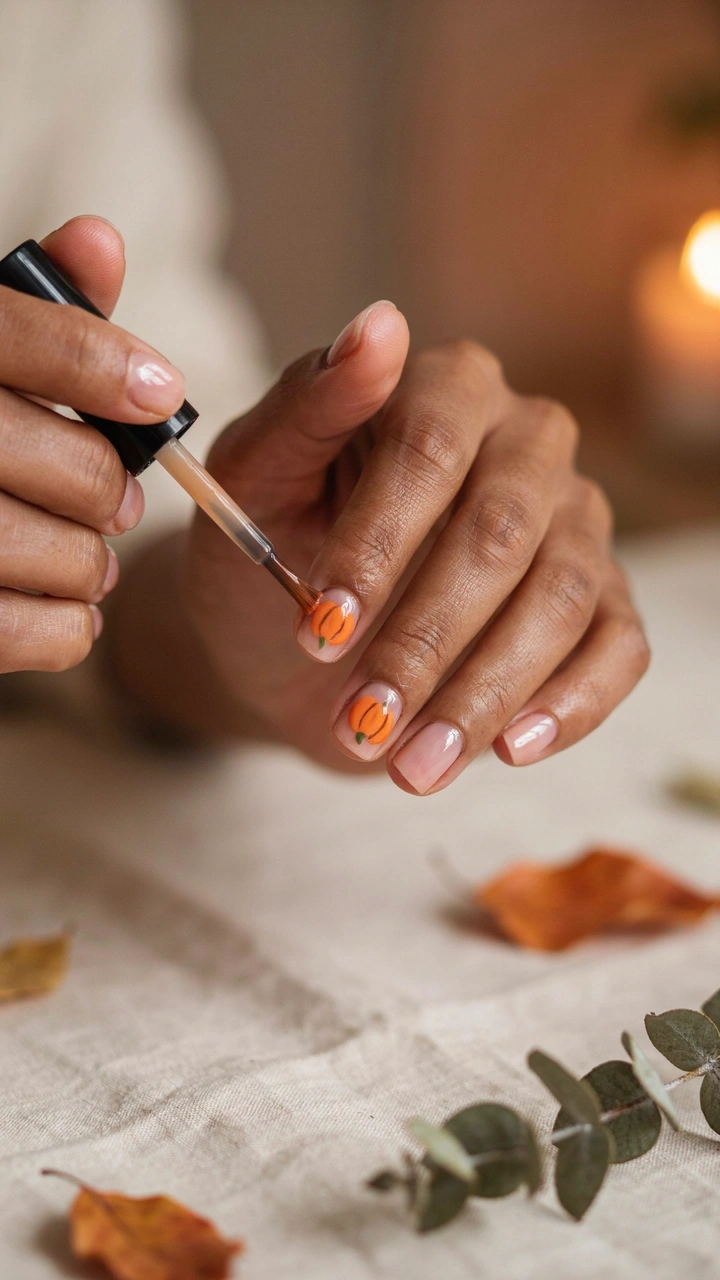
You have spent all this time getting your Nail Art Ideas onto your hands, and now you have to protect them. A good top coat adds a hard, glossy shell that stops chipping and makes the colors look vibrant.
However, applying top coat over nail art is tricky. If you press the brush down hard and drag it across the nail, the bristles will catch the black polish from your ghost eyes and smear it across the white polish. You have to use a specific technique called floating.
Here is how to seal your design safely so it lasts.
- Test for dryness: Lightly tap the thickest part of your nail art with your finger. If it feels wet or squishy, wait another five minutes. The polish must be hard before you seal it.
- Load the brush: Pull the top coat brush out of the bottle and do not wipe it off. You want a large, generous bead of clear polish hanging off the end of the bristles.
- Float the top coat: Place the bead of clear polish at the base of your nail. Gently pull the bead down toward the tip. The bristles of the brush should never actually touch your nail or your art. You are just guiding the bubble of clear polish over the surface.
- Cap the free edge: When you reach the tip of your nail, run the brush horizontally along the very edge. This wraps the clear polish around the tip, sealing the color inside and preventing tip wear when you type or wash dishes.
- Apply cuticle oil: Wait twenty minutes for the top coat to set. Once the nails are hard, brush a generous amount of cuticle oil around the skin of each nail and massage it in. Acetone dries out your skin, and the oil brings the moisture back, making your manicure look fresh and professional.
When you finish this final stage, your nails will be incredibly shiny and smooth to the touch. The cuticle oil will make the skin around your nails look healthy and hydrated.
Learning to do your own nails takes a little bit of patience, but it gets easier every single time you try. You do not need to be an artist to create something fun for the season. Start with a few dots, try a simple ghost, and see how it goes. I would love to hear which design you decided to try first, so let me know how your manicure turns out!