This post may contain affiliate links, which means I may receive a small commission should you decide to click that link and make a purchase. For more information please refer to the Terms & Conditions.
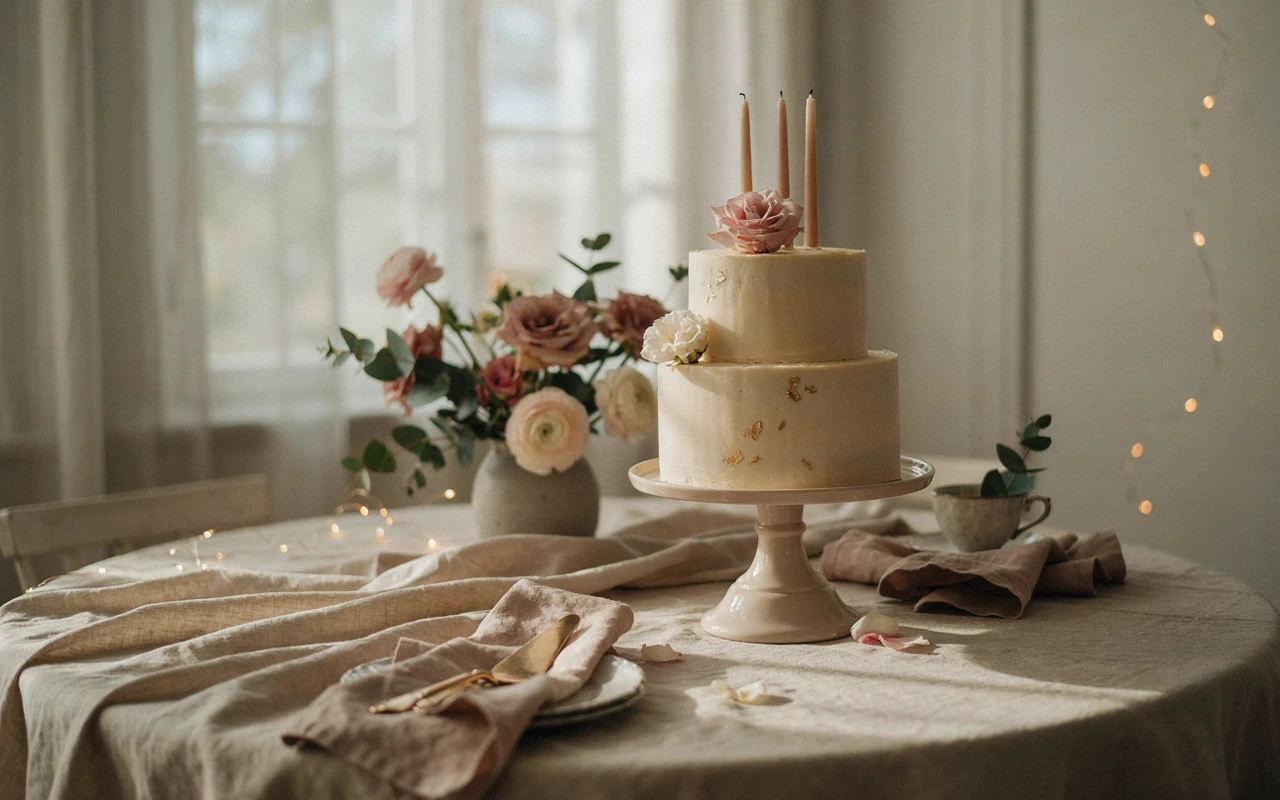
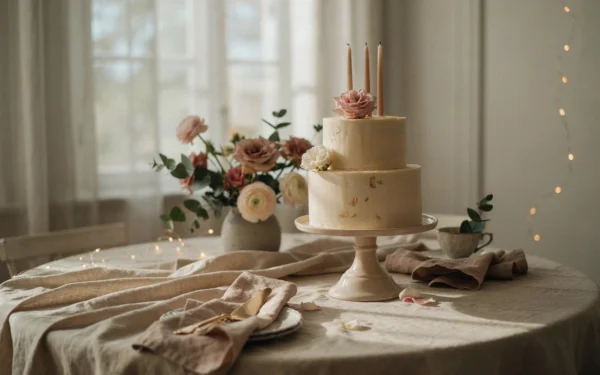
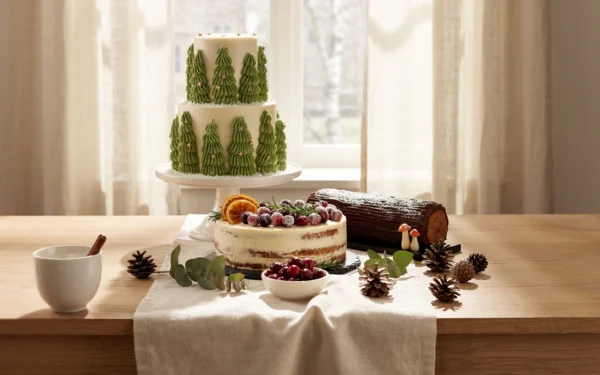
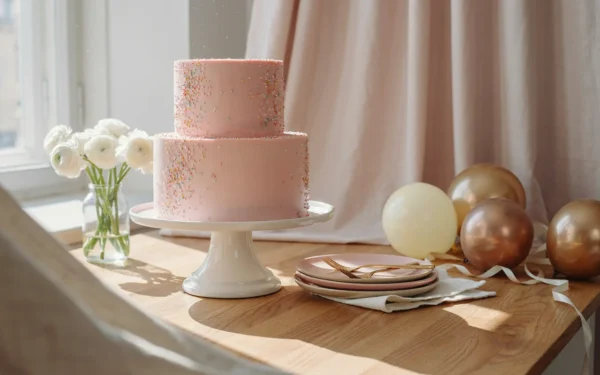
Birthday cake table ideas can turn a simple party setup into a beautiful focal point that everyone will notice.
I love how a few thoughtful decorations can transform an ordinary table into something special without making the setup feel too complicated.
A beautiful cake display starts with a few simple details. Choose a pretty tablecloth and add decorations that match your party theme. A decorated backdrop can also help bring everything together.
You don’t need an elaborate setup to create a picture-perfect party.
Below, you’ll find 11 beautiful birthday cake table ideas to inspire your next celebration, whether you’re planning a child’s birthday, a milestone party, or a small gathering at home.
1. Frame the Space with a Cake Table Backdrop
Why You’ll Love This Recipe
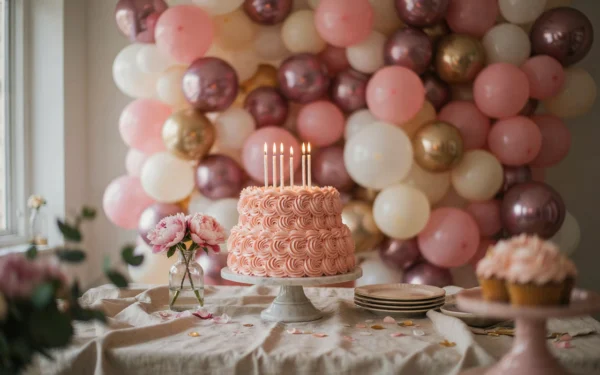
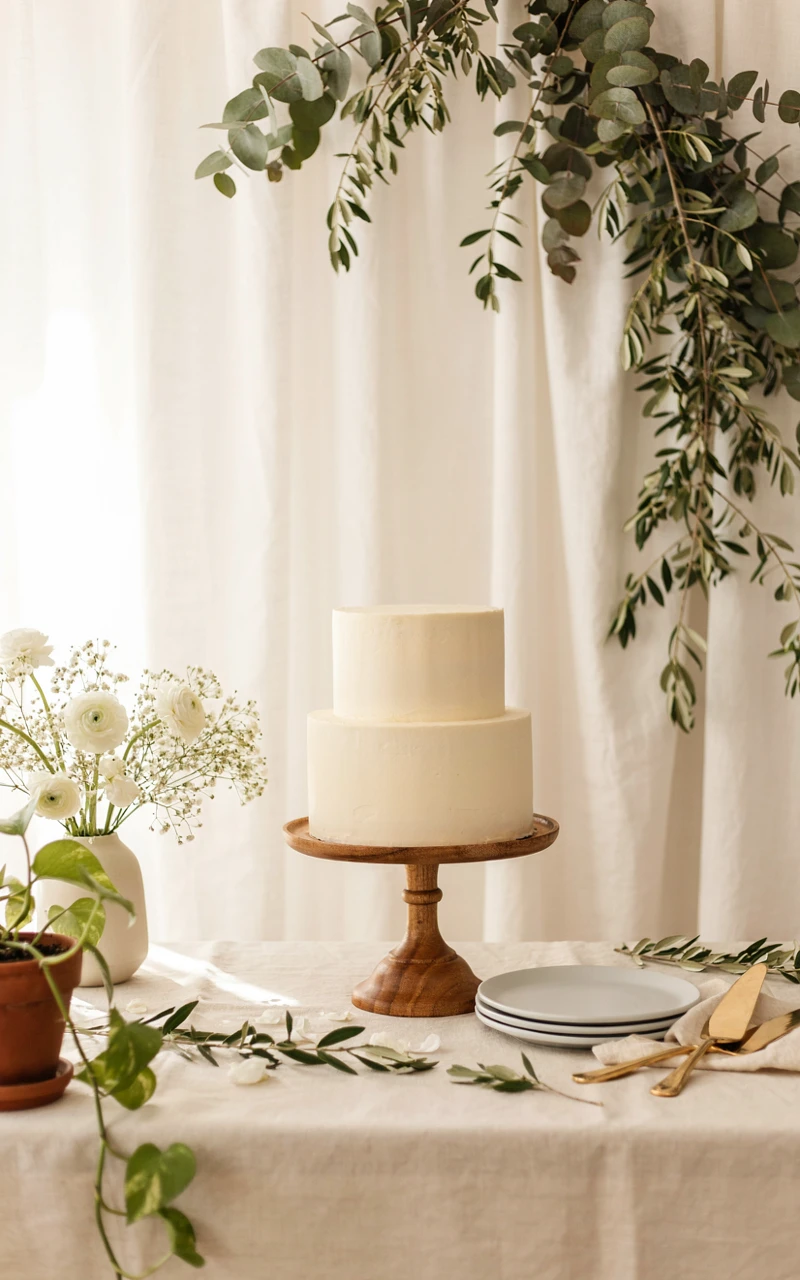
A solid cake table backdrop anchors your entire setup and tells everyone exactly where the party is happening. It hides distracting walls, covers up messy windows, and gives your photos a clean, professional background. You will love how quickly this simple addition pulls the whole room together.
Ingredients
- 1 backdrop stand, 6 feet (1.8 m) wide
- 2 fabric curtain panels, 8 feet (2.4 m) long
- 3 backdrop clips, 2 inches (5 cm) wide
Tools and Preparation
You will need a small step stool to safely reach the top of the stand. Clear all the furniture away from the wall behind your table before you start building. It is much easier to set up the frame when you have plenty of floor space to move around.
Step-by-Step Instructions
- Assemble the frame of your backdrop stand according to the package directions.
- Slide the fabric curtain panels onto the top crossbar before attaching it to the side poles.
- Raise the side poles to your desired height and lock them in place.
- Adjust the fabric so it gathers evenly across the bar, hiding the metal completely.
Common Mistakes to Avoid
Do not place your backdrop too close to the back edge of the table. Leave at least a foot of space so you can easily walk behind the table if something falls. Pushing it flush against the table also makes the fabric look bunched and messy.
Variations, Storage, and Final Thoughts
You can swap the plain fabric for a shiny sequin panel or a custom printed birthday banner. When the party is over, fold the fabric neatly and store the broken-down stand in its original carrying bag. This frame is a foundational piece you will use for every future celebration.
2. Elevate Your Cake with a Tiered Birthday Cake Display
Why You’ll Love This Recipe
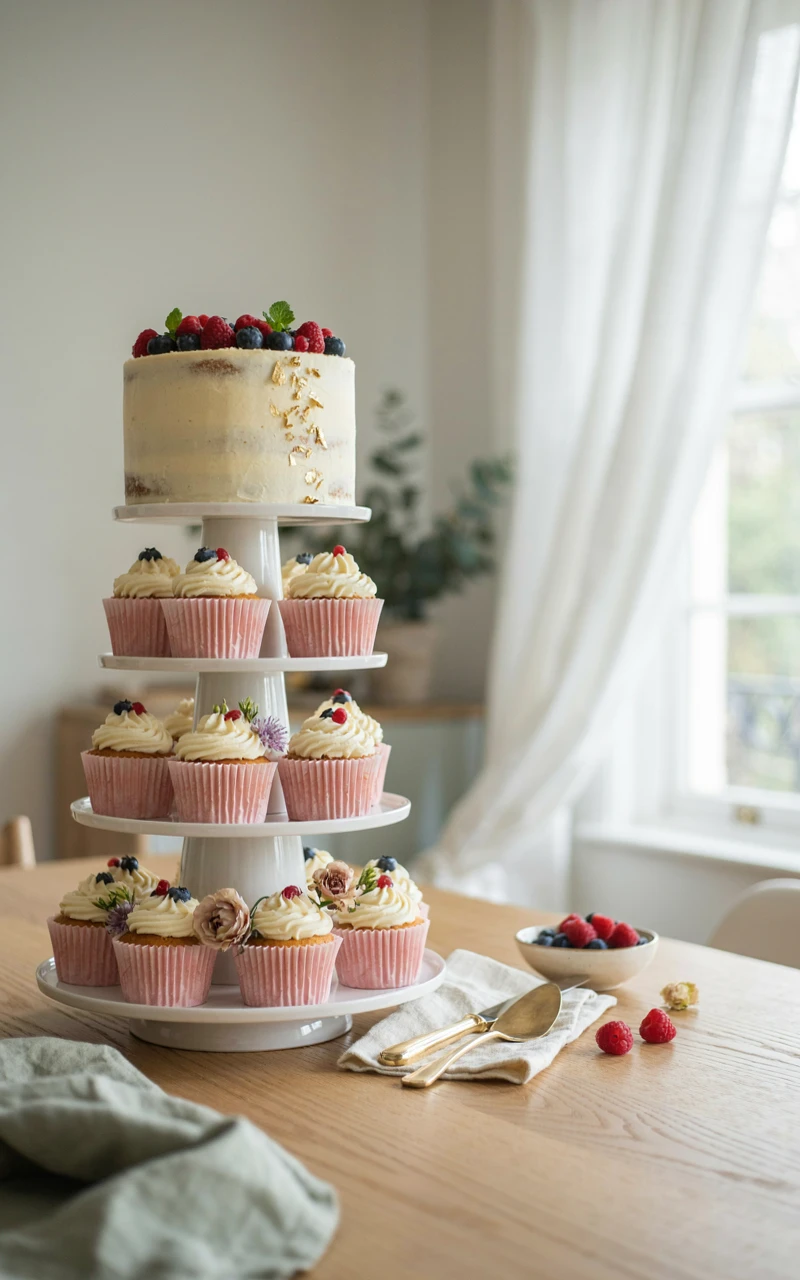
A flat table makes it hard for your guests to see the main attraction from across the room. Building a tiered birthday cake display lifts your beautiful dessert right into the spotlight where it belongs. It also frees up valuable table space underneath for smaller treats and napkins.
Ingredients
- 1 sturdy cake stand, 10 inches (25 cm) wide
- 1 wooden crate, 6 inches (15 cm) tall
- 1 yard (0.9 m) matching fabric
Tools and Preparation
Grab a measuring tape to check the height of your ceiling or your new backdrop. You want to make sure your cake will not sit too high once it is placed on the stand. Wash your cake stand thoroughly the night before so it is ready to go.
Step-by-Step Instructions
- Place your wooden crate in the exact center of the table.
- Drape the yard of fabric over the crate, tucking the edges neatly underneath.
- Set your sturdy cake stand directly on top of the covered crate.
- Press down gently to ensure the stand is stable and does not wobble.
Common Mistakes to Avoid
Avoid using lightweight cardboard shipping boxes as your hidden risers. A heavy tiered cake can easily crush a weak base, ruining your beautiful setup and dropping your dessert on the floor. Always use wood or thick acrylic for support.
Variations, Storage, and Final Thoughts
For a sleek modern look, leave a clear acrylic riser uncovered instead of draping it with fabric. Wipe down your cake stands with warm soapy water before storing them in a padded box on a high shelf. A lifted cake always makes a much better impression on your guests.
3. Mix Heights for Dynamic Birthday Cake Table Decor
Why You’ll Love This Recipe
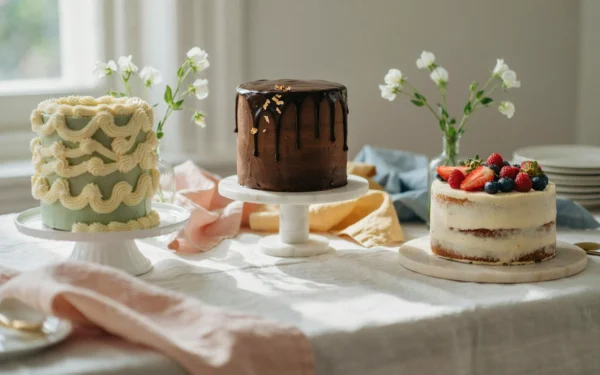
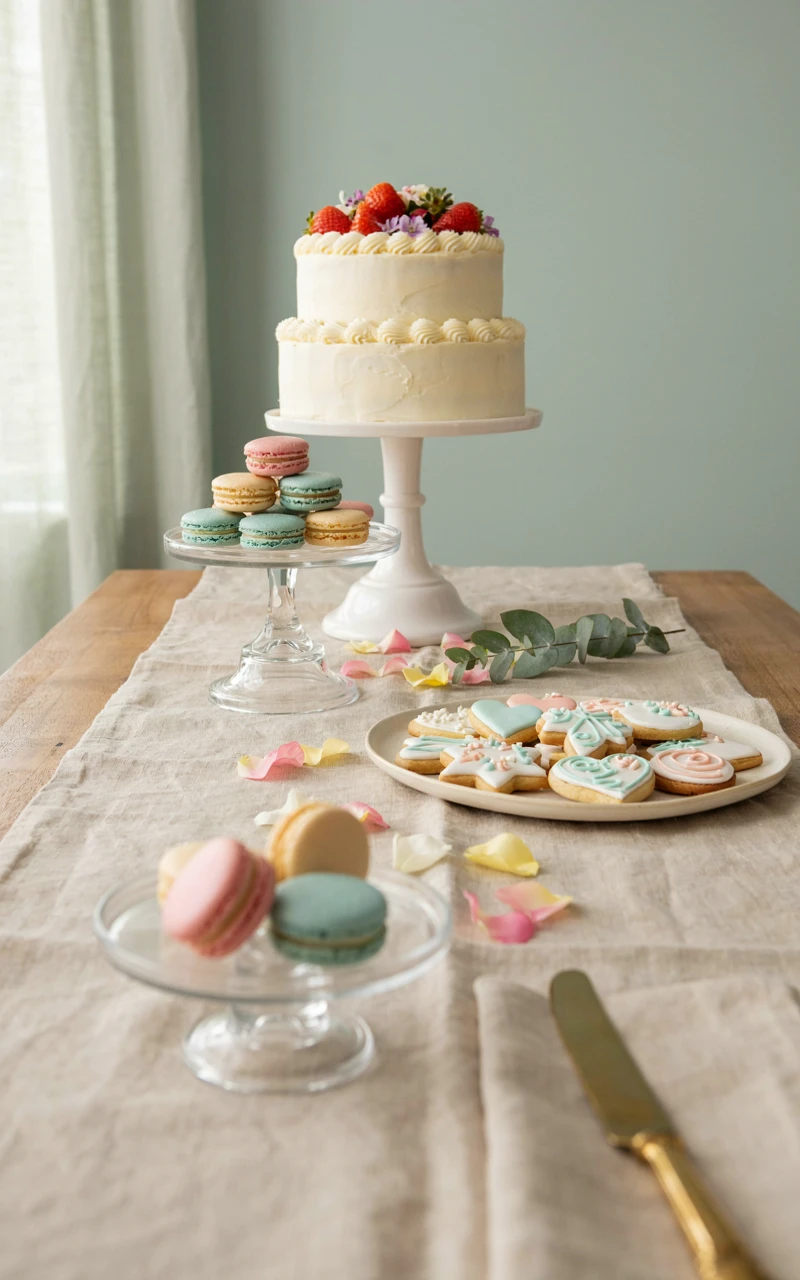
Flat layouts look boring to the eye and make your food blend together. Mixing heights adds movement and interest to your birthday cake table decor. This approach makes even a small amount of food look like a massive, generous feast.
Ingredients
- 3 serving platters, 12 inches (30 cm) wide
- 2 pedestal stands, 4 inches (10 cm) tall
- 2 pedestal stands, 8 inches (20 cm) tall
Tools and Preparation
Gather all your serving pieces before the food is ready. Arrange them empty first to test the balance of your setup. This saves you from moving heavy, food-filled plates around later.
Step-by-Step Instructions
- Place your tallest pedestal stands near the back of the table.
- Set the medium-height stands on the left and right sides, slightly forward.
- Lay your flat serving platters right at the front edge.
- Step back and check that no tall item blocks the view of a shorter one.
Common Mistakes to Avoid
Do not put all your tall items on one side of the table. This makes the whole setup look lopsided and heavy on one end. Always aim for a balanced, symmetrical look.
Variations, Storage, and Final Thoughts
You can use stacked books covered in wrapping paper if you do not own enough pedestal stands. Stack your platters with a sheet of paper towel between each one to prevent scratches in the cupboard. Mixing heights is the easiest trick for a professional look.
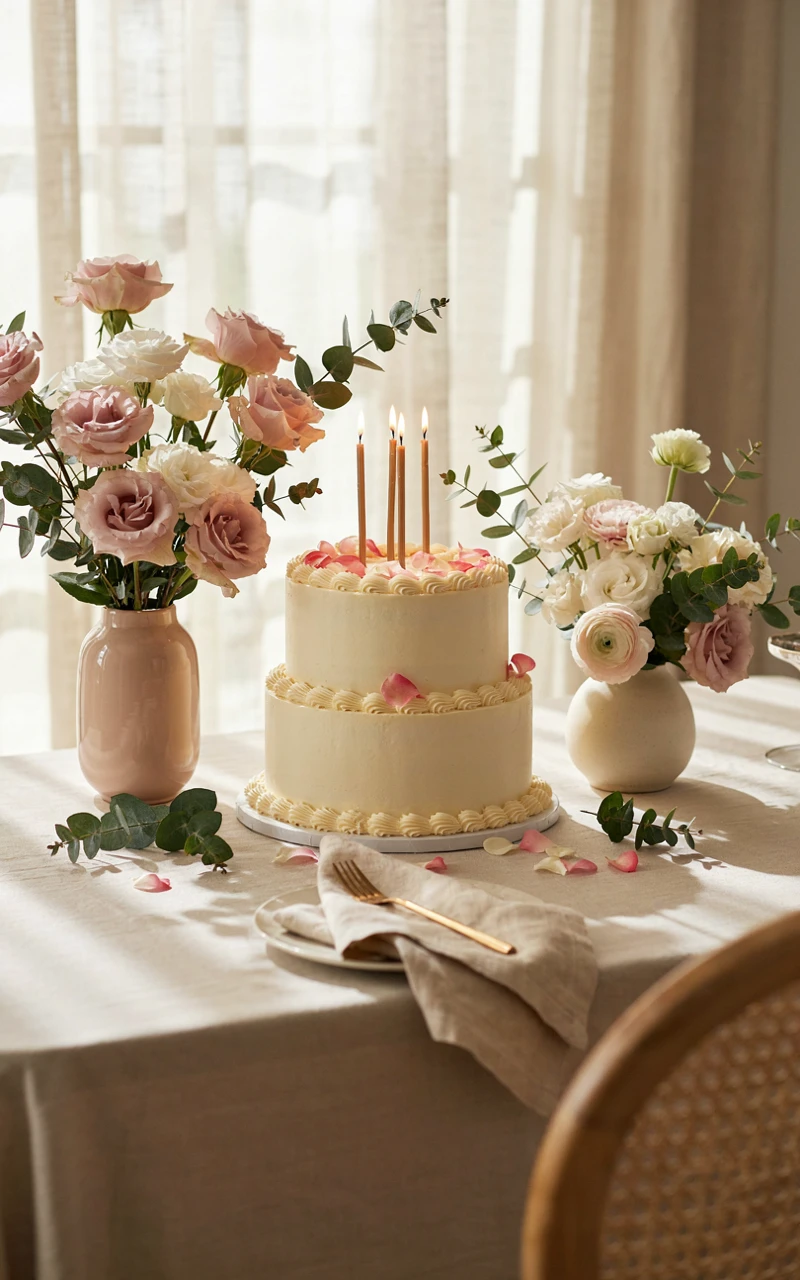
4. Add Fresh Florals as Birthday Centerpiece Ideas
Why You’ll Love This Recipe
Flowers bring life and softness to a table full of hard plates and sugary treats. Using fresh blooms as birthday centerpiece ideas adds a beautiful pop of natural color. They also smell wonderful as your guests walk by to grab a plate.
Ingredients
- 2 bunches (20 stems) fresh flowers, 12 inches (30 cm) long
- 1 bunch (10 stems) greenery, 14 inches (35 cm) long
- 2 glass vases, 6 inches (15 cm) tall
- 2 cups (470 ml) fresh water
Tools and Preparation
You will need sharp floral shears to cut the stems cleanly. Fill your vases with room-temperature water and a packet of flower food before you start arranging.
Step-by-Step Instructions
- Trim the bottom inch off every flower stem at a sharp angle.
- Strip away any leaves that will sit below the water line in your vases.
- Place three to four stems of greenery into each vase to create a base.
- Arrange the fresh flowers inside the greenery, turning the vase to keep it even on all sides.
Common Mistakes to Avoid
Never leave leaves in the water. They will rot quickly and give your beautiful setup a terrible smell. Change the water daily if you set the flowers up a day early.
Variations, Storage, and Final Thoughts
If you are worried about pollen, use high-quality silk flowers instead. Dump the water and rinse the vases well with hot water after the party. Fresh flowers always make a table feel incredibly special.
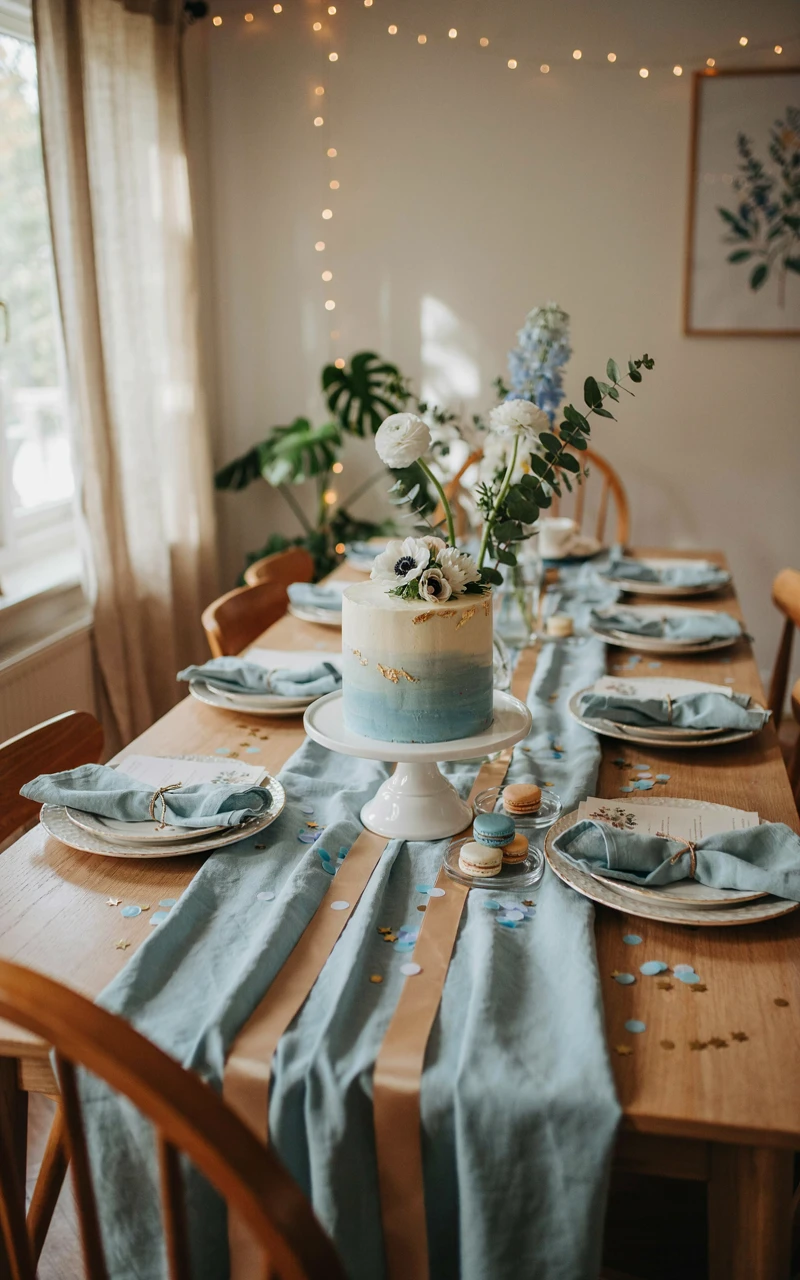
5. Coordinate Colors with Birthday Party Table Decorations
Why You’ll Love This Recipe
A random mix of colors can look messy and confusing. Planning a tight color palette for your birthday party table decorations pulls everything together. It makes your photos look incredibly cohesive and well thought out.
Ingredients
- 1 tablecloth, 90 inches (228 cm) long
- 20 colored napkins, 6 inches (15 cm) square
- 1 bag (50 g) metallic table confetti
Tools and Preparation
Use a color wheel or look at paint swatches to pick your palette. I often check the Pantone matching system to see which shades naturally look good together before I buy anything.
Step-by-Step Instructions
- Lay down your main color first using the large tablecloth.
- Add your first accent color by placing the colored napkins in a neat stack.
- Bring in the second accent color using your flowers or serving plates.
- Sprinkle the metallic table confetti lightly across the empty spaces for a bit of shine.
Common Mistakes to Avoid
Do not use more than three main colors. Too many shades will create visual clutter and ruin the clean look you want. Stick to your chosen palette strictly.
Variations, Storage, and Final Thoughts
You can stick to a single color look by using different shades of just one color from light to dark. Keep a small box of your leftover colored napkins and confetti for future crafts. A planned palette is the secret to a great birthday cake scene.
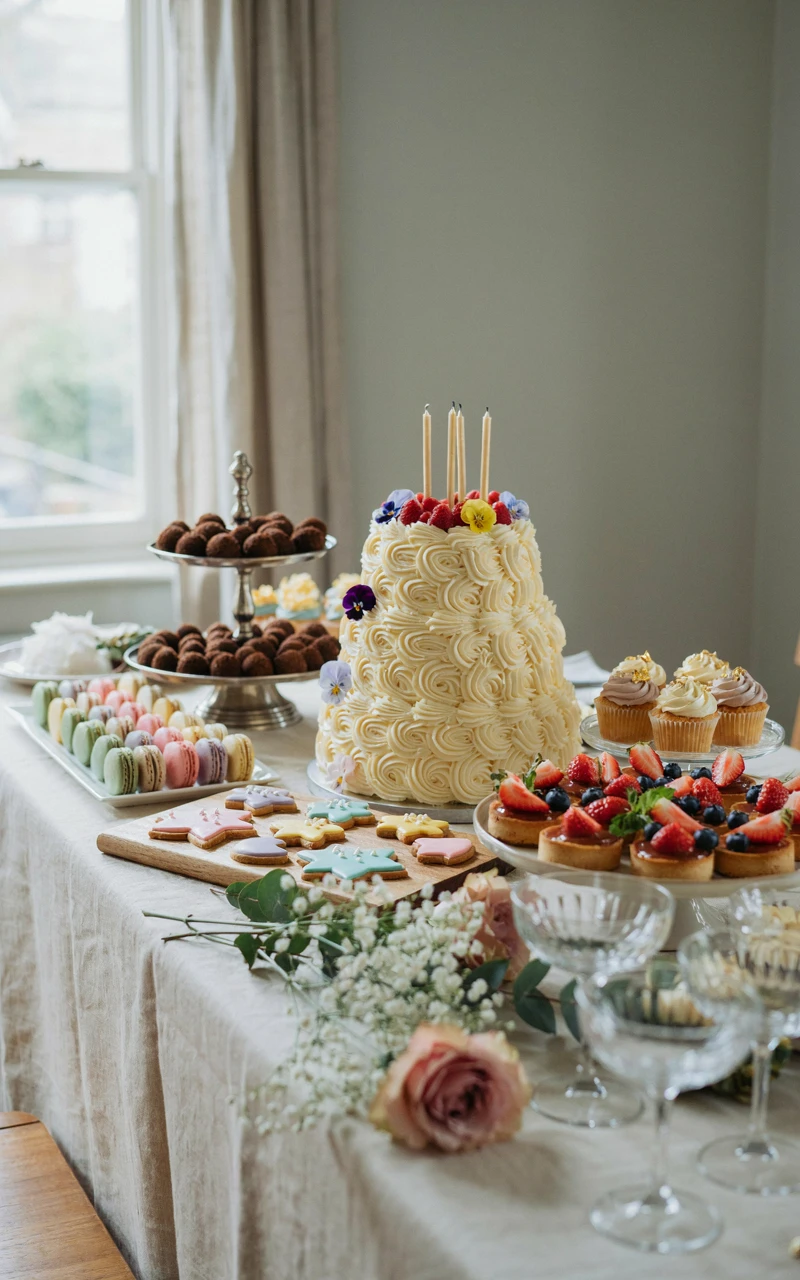
6. Include Mini Treats for Birthday Dessert Table Ideas
Why You’ll Love This Recipe
Not everyone wants a massive slice of cake right away. Adding bite-sized options to your birthday dessert table ideas gives guests more choices. It also fills in the empty gaps between your larger serving pieces perfectly.
Ingredients
- 24 mini cupcakes, 2 inches (5 cm) wide
- 12 cake pops, 6 inches (15 cm) tall
- 2 cups (400 g) color-coordinated candy
- 3 glass jars, 4 inches (10 cm) tall
Tools and Preparation
You will need small tongs or scoops for the candy jars. Make sure your mini treats are fully cooled and frosted before placing them on the table so they do not melt.
Step-by-Step Instructions
- Fill your small glass jars with the candy and place them near the front corners of the table.
- Arrange the mini cupcakes on a tiered stand to save space.
- Stand the cake pops upright in a block of foam hidden inside a nice box.
- Set the serving tongs right next to the candy jars so guests can help themselves.
Common Mistakes to Avoid
Do not leave chocolate treats in direct sunlight. They will melt quickly and create a sticky mess on your beautiful tablecloth.
Variations, Storage, and Final Thoughts
Swap the candy for fresh fruit cups if you want a lighter option. Store leftover cupcakes in an airtight container at room temperature for up to two days. Mini treats always disappear the fastest at any party.
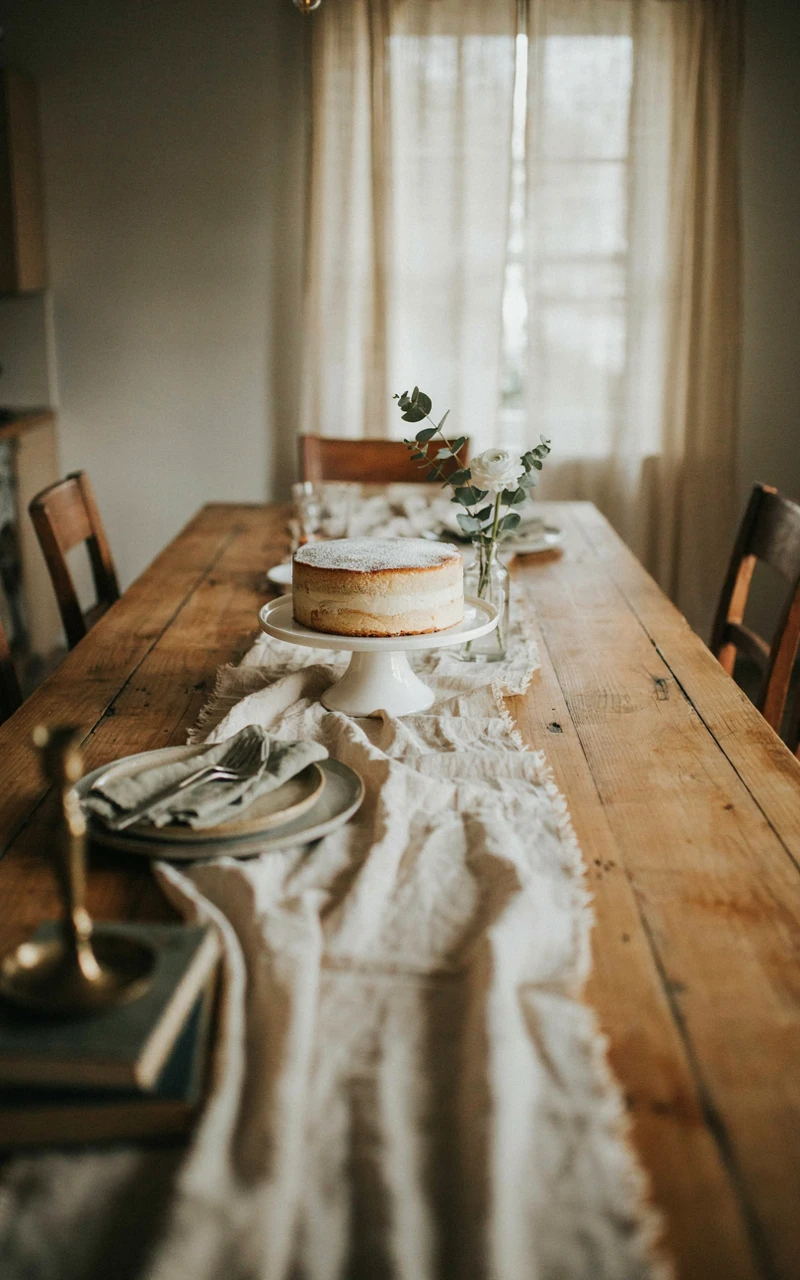
7. Soften the Edges with a Draped Fabric Runner
Why You’ll Love This Recipe
Bare table edges can look harsh and boxy in photographs. A draped fabric runner softens the lines of your furniture and adds a lovely flowing texture. It makes the whole setup feel much more elegant and relaxed.
Ingredients
- 1 piece sheer fabric, 10 feet (3 m) long
- 1 piece sheer fabric, 3 feet (0.9 m) wide
- 4 safety pins, 1 inch (2.5 cm) long
Tools and Preparation
Iron or steam your fabric the night before you set up. Wrinkles will show up clearly under party lighting and ruin the smooth look.
Step-by-Step Instructions
- Find the exact center of your long piece of sheer fabric.
- Place the center of the fabric in the middle of your table.
- Let the ends pool naturally on the floor on both sides of the table.
- Pinch the fabric slightly in the middle and secure it underneath with safety pins to create a gathered look.
Common Mistakes to Avoid
Do not pull the fabric tight across the top of the table. The beauty of this look comes from the loose, relaxed folds and the pooling at the bottom.
Variations, Storage, and Final Thoughts
Cheesecloth dyed in your party colors works perfectly for a rustic look. Wash the fabric on a gentle cycle and fold it flat for next time. A draped runner hides a boring table instantly.
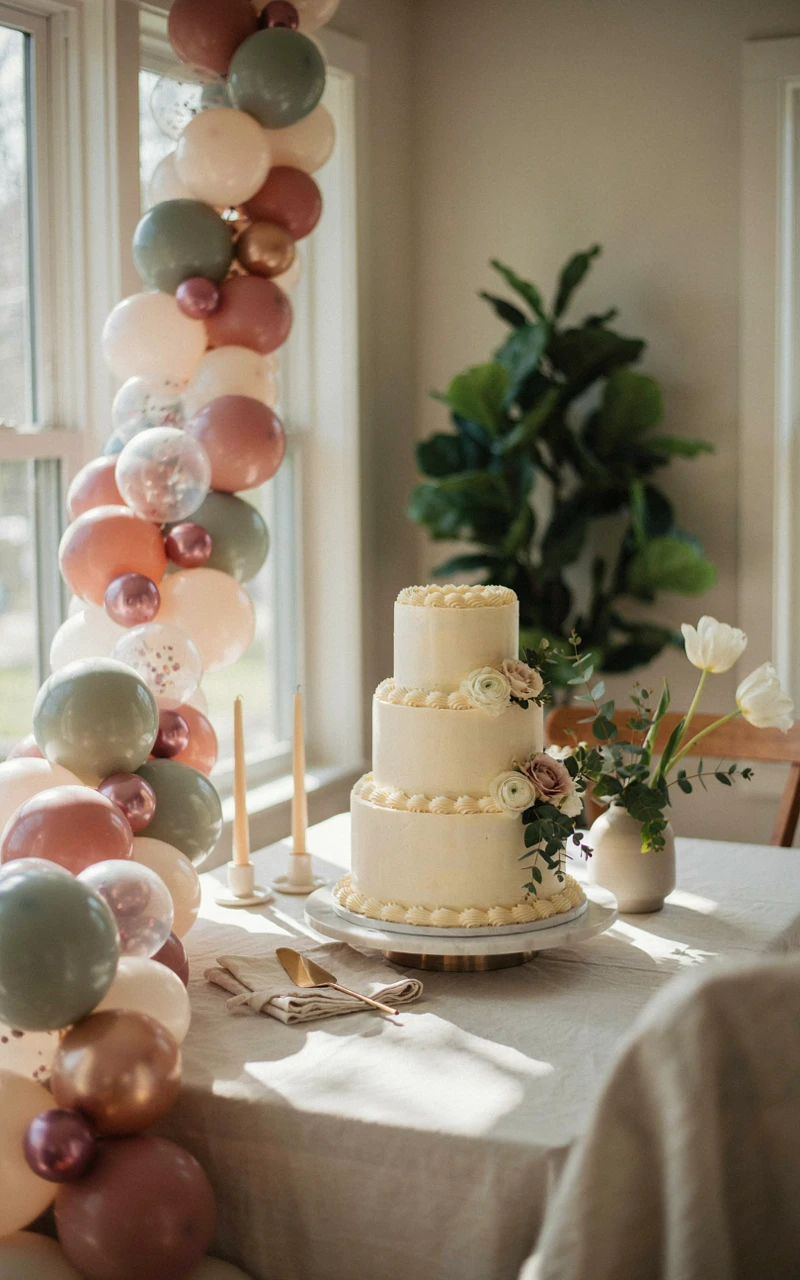
8. Draw the Eye with a Balloon Garland
Why You’ll Love This Recipe
Nothing says it is a party quite like balloons. A sweeping balloon garland frames your table beautifully and draws everyone’s attention exactly where you want it. It provides massive impact for very little money.
Ingredients
- 50 latex balloons, 11 inches (28 cm) wide
- 30 latex balloons, 5 inches (12 cm) wide
- 1 roll balloon strip, 16 feet (4.8 m) long
- 1 pack (100 pieces) glue dots
Tools and Preparation
Save your breath and use an electric balloon pump. Inflate all your balloons and tie them off before you start assembling the garland.
Step-by-Step Instructions
- Push the knotted end of your larger balloons into the holes of the decorating strip.
- Alternate colors and leave a few holes empty if it gets too crowded.
- Hang the main strip over your table using removable wall hooks.
- Use the glue dots to stick the smaller balloons into the gaps, creating a full, bubbly shape.
Common Mistakes to Avoid
Do not overfill the balloons until they look like pears. Keep them round for a much more professional finish, and avoid leaving them in hot rooms where they might pop.
Variations, Storage, and Final Thoughts
You can tuck fake flowers or paper leaves between the balloons for extra texture. Pop the balloons and throw them away when you are done, but save the plastic strip for your next event. This is a classic trick for aesthetic birthday cake ideas.
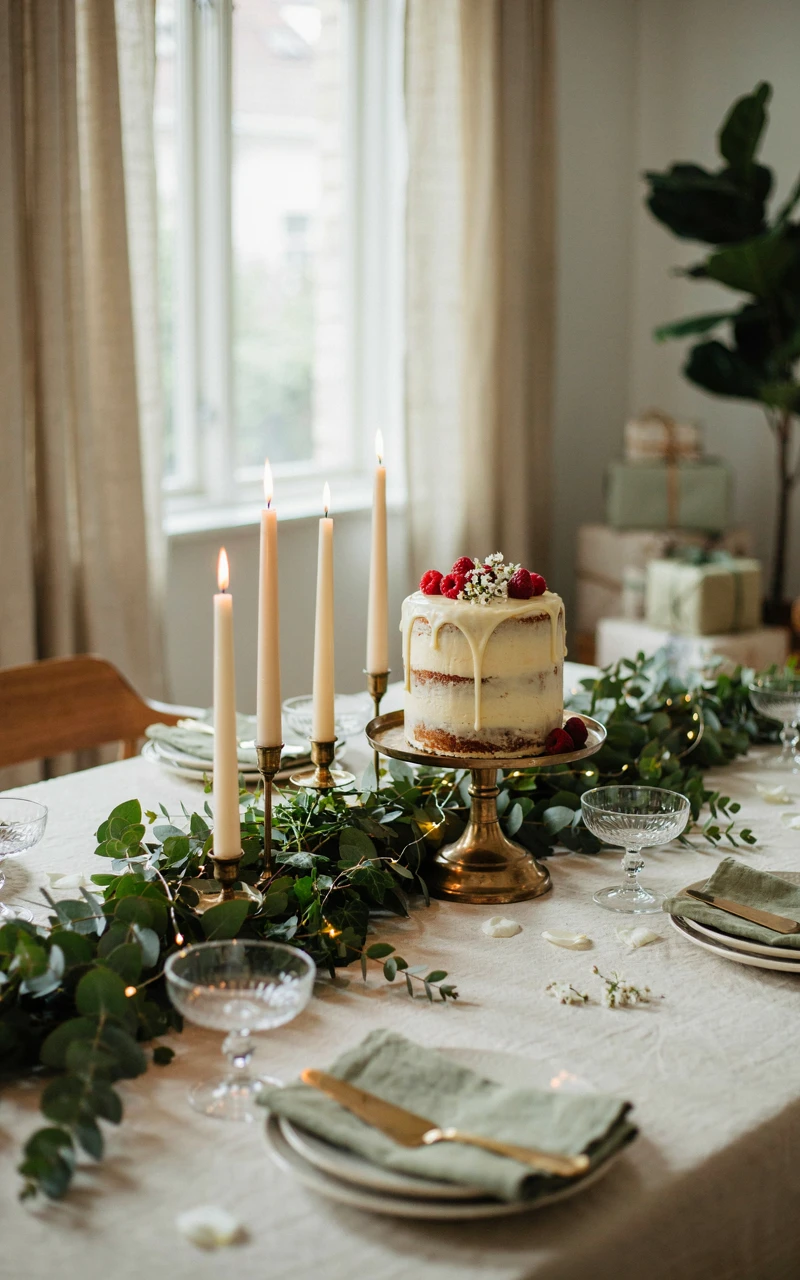
9. Add Warmth with String Lights and Candles
Why You’ll Love This Recipe
Overhead room lighting is often too harsh for a nice party atmosphere. Adding string lights and candles brings a soft, warm glow to your setup. It makes the dessert station look magical as the sun goes down.
Ingredients
- 2 strands fairy lights, 10 feet (3 m) long
- 6 LED pillar candles, 4 inches (10 cm) tall
- 6 AA batteries, standard size (50 g)
Tools and Preparation
Test all your lights and install fresh batteries before placing them on the table. You do not want to be digging around under the fabric trying to change a battery during the party.
Step-by-Step Instructions
- Weave the first strand of fairy lights gently through your fabric runner.
- Tuck the second strand of lights around the base of your cake stand.
- Group the LED pillar candles in clusters of three on either end of the table.
- Turn everything on just before the guests arrive to save battery life.
Common Mistakes to Avoid
Do not use real open flames near fabric runners or paper decorations. The Consumer Product Safety Commission always recommends flameless options for crowded tables.
Variations, Storage, and Final Thoughts
Swap the fairy lights for larger globe bulbs if you are setting up outside. Remove the batteries before packing the lights away in a dry box. Good lighting changes the entire mood of the room.
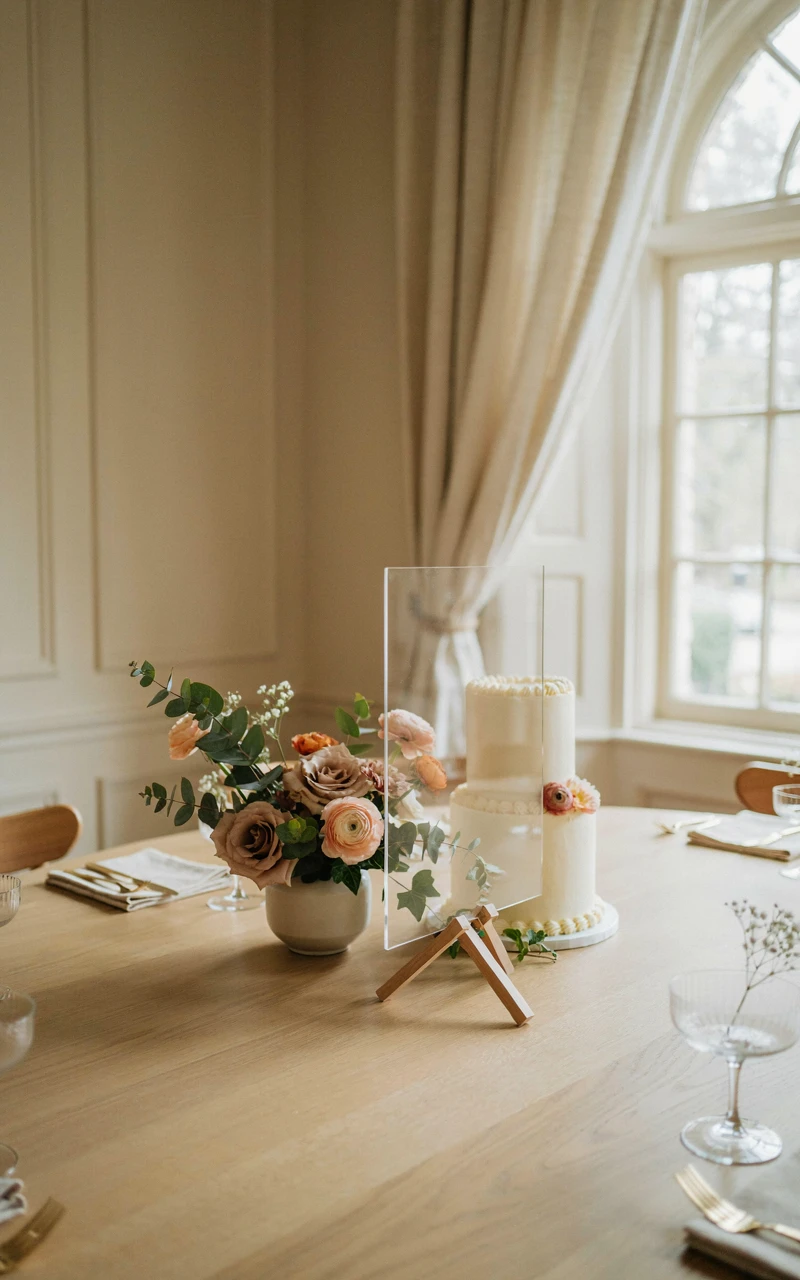
10. Personalize the Setup with Custom Signage
Why You’ll Love This Recipe
A generic table could belong to anyone. Adding custom signage makes the setup feel incredibly personal and special for the guest of honor. It also helps guests know exactly what flavors they are eating without having to ask.
Ingredients
- 1 welcome sign, 18 x 24 inches (45 x 60 cm)
- 6 cardstock labels, 3 x 2 inches (7 x 5 cm)
- 1 metallic paint pen, fine tip (15 g)
Tools and Preparation
Practice your handwriting on a piece of scrap paper first. Make sure your paint pen is fully primed and flowing smoothly before you touch it to your final cards.
Step-by-Step Instructions
- Write a short, sweet message on the large welcome sign, like the birthday person’s name.
- Prop the welcome sign on a small easel near the back corner of the table.
- Write the flavor of each treat clearly on the small cardstock labels.
- Fold the labels in half so they stand up, and place one in front of every platter.
Common Mistakes to Avoid
Do not use a font or handwriting style that is hard to read. If people cannot read the flavor cards, they will just ignore them.
Variations, Storage, and Final Thoughts
You can print the labels on your home printer if you do not want to write them by hand. Keep the large sign as a bedroom decoration after the party. A little personalization goes a long way.
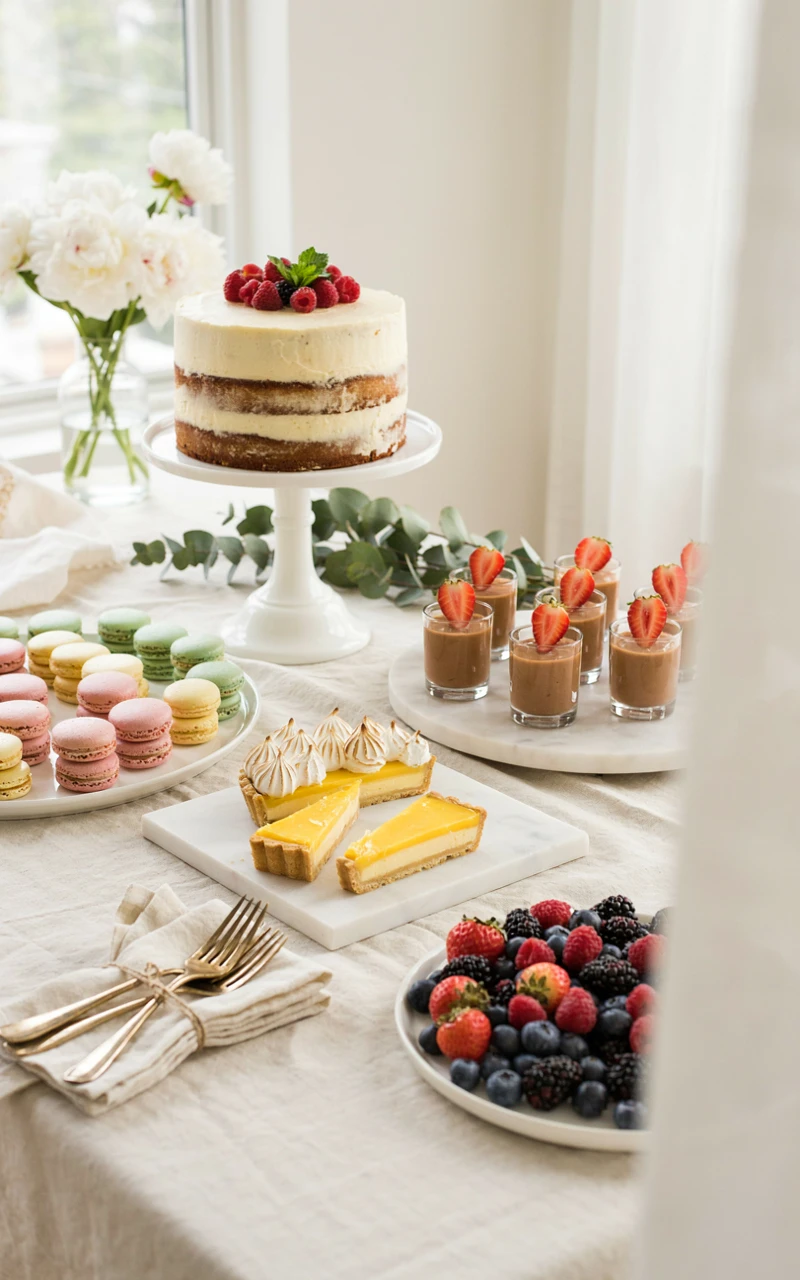
11. Finish the Look with Matching Serving Platters
Why You’ll Love This Recipe
Serving food on everyday dinner plates ruins the magic of a styled table. Finishing the look with matching serving platters makes the whole display feel planned and polished. It is the final step that ties all your hard work together.
Ingredients
- 2 rectangular platters, 14 x 8 inches (35 x 20 cm)
- 2 round trays, 12 inches (30 cm) wide
- 2 serving tongs, 6 inches (15 cm) long
Tools and Preparation
Wash and completely dry all your platters to remove any water spots or dust. Shiny, clean plates make your food look much more appetizing.
Step-by-Step Instructions
- Place the large rectangular platters on the outer edges of the table for bulky items like cookies.
- Set the round trays closer to the center for items like macarons or fruit.
- Lay the matching serving tongs neatly next to or resting on the edge of each platter.
- Adjust the spacing so there is at least a hand’s width of room between each dish.
Common Mistakes to Avoid
Do not mix casual plastic trays with elegant glass or ceramic ones. Keep the material consistent for a clean, uniform look across the whole table.
Variations, Storage, and Final Thoughts
White ceramic platters are the most versatile choice because they match every party theme. Stack them carefully with felt pads in between to prevent chipping in your cabinets. Consistent serving pieces give you those perfect birthday cake scenes you see online.
Putting together a beautiful dessert station used to feel overwhelming to me. Now, I love the process of picking out the right pieces and watching the whole setup come to life. You do not need to be a professional event planner to make your next celebration look amazing. You just need a few simple tricks and a little bit of planning.
I hope these ideas help you build a table that makes you smile every time you walk past it. Which of these setups are you going to try for your next party? Let me know in the comments below, and let’s get decorating!