This post may contain affiliate links, which means I may receive a small commission should you decide to click that link and make a purchase. For more information please refer to the Terms & Conditions.
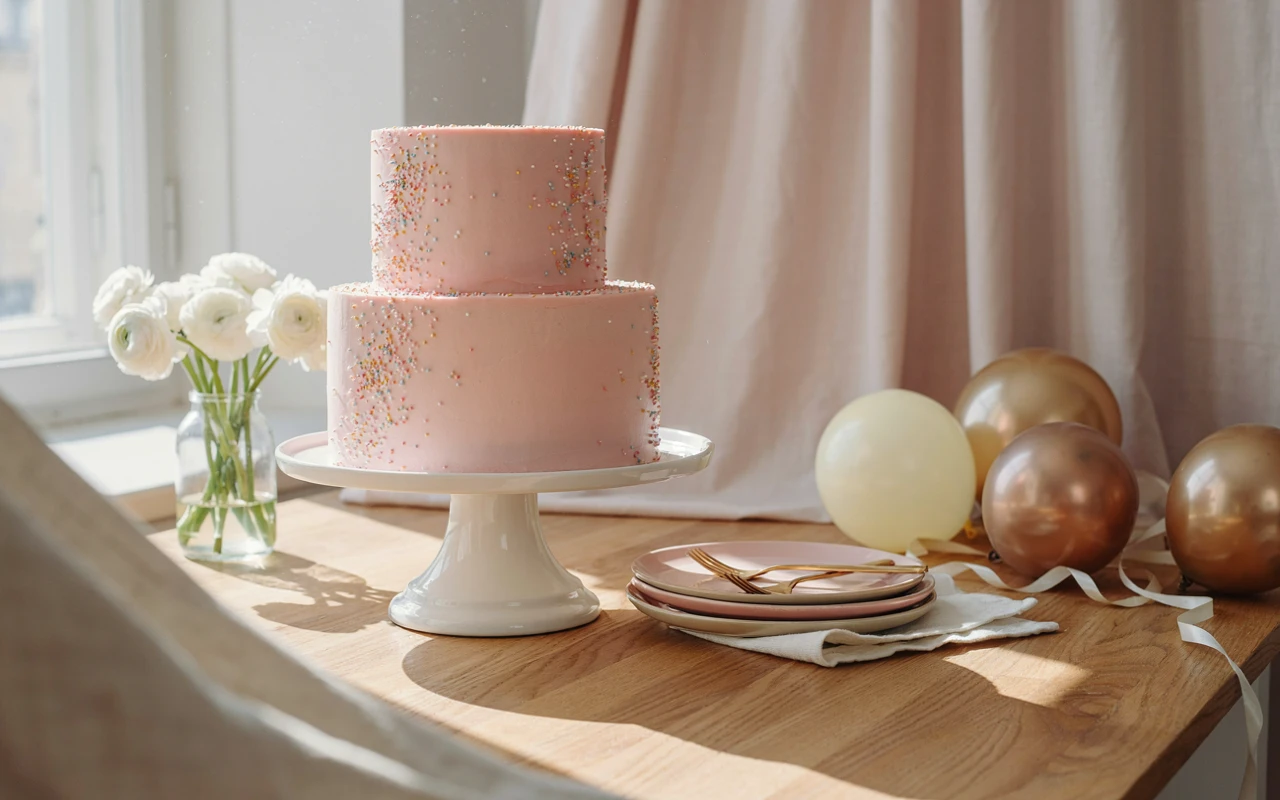
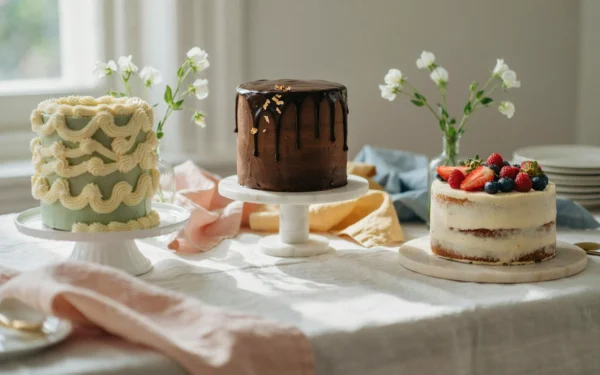
Taking beautiful birthday cake photos doesn’t have to be difficult.
The cake itself may be stunning, but the background, lighting, and decorations can make all the difference in how it looks in photos.
A simple change in where you place the cake or how you light it can turn an ordinary picture into something worth sharing.
You don’t need a fancy camera or a professional studio to get beautiful results.
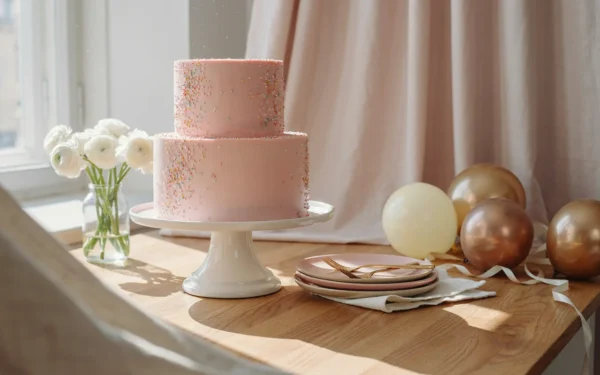
A window, a plain backdrop, and a few decorations you already have at home can help create a lovely birthday cake scene.
The trick is to keep the setup simple so the cake remains the main attraction.
Below, you’ll find easy ways to create a birthday cake scene for stunning photos, using natural light, simple backdrops, and thoughtful decorations that make your cake stand out without overwhelming it.
What You’ll Need for Your Birthday Cake Photo Setup
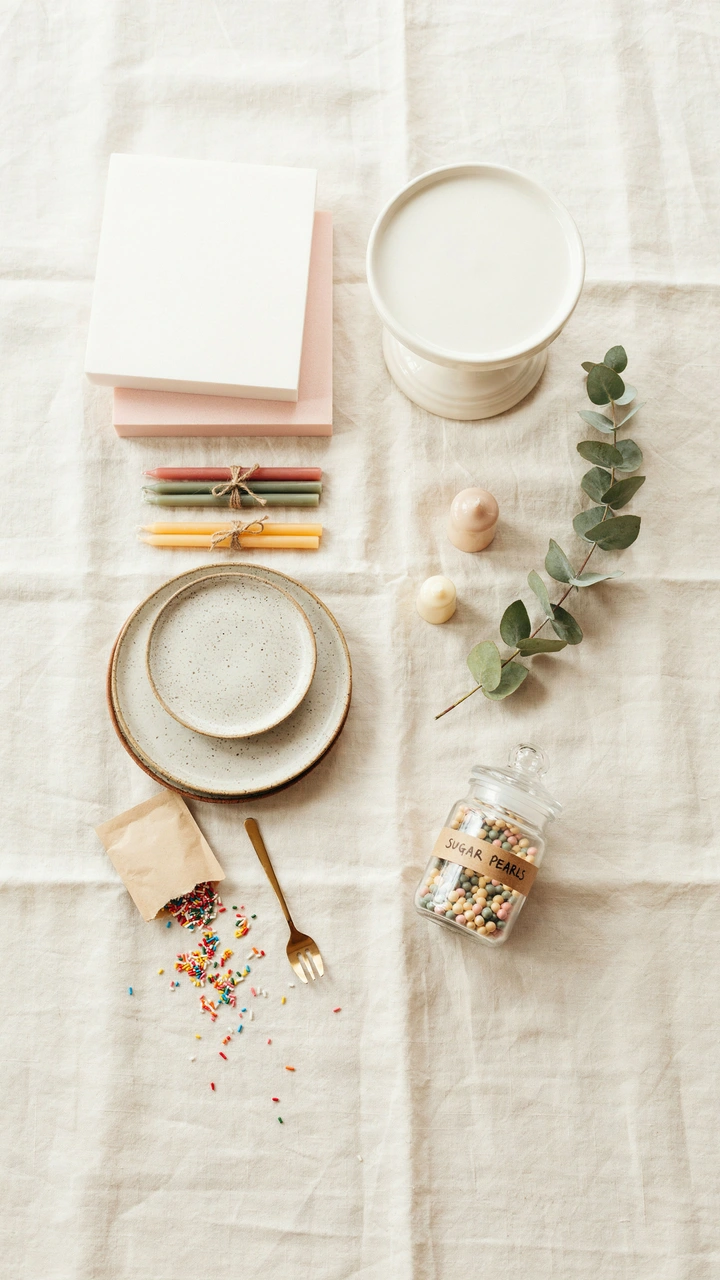
Before you move a single chair, gather everything in one place. Running back and forth for tape or a lighter while the frosting softens is how a fun hour turns stressful.
Most of this list is stuff you can find at home or pick up at a craft store for very little money. Think of it as a kit you’ll reuse for every birthday after this one.
Backdrop and Surface
- 2 foam boards, 20 x 30 in (50 x 75 cm), one white and one in a soft color
- 1 yard (about 1 m) of fabric, wrapping paper, or a thin tablecloth for the background
- 1 small table or card table, about 30 in (75 cm) tall
- 1 cake stand, 8 to 10 in (20 to 25 cm) across
- 1 roll of painter’s tape, which peels off walls without pulling paint
- 4 to 6 binder clips for holding fabric tight
Light Helpers
- 1 extra white foam board or large sheet of white poster board to bounce light back onto the cake
- 1 thin white curtain, a white bedsheet, or 2 sheets of baking parchment to soften strong sun
- 1 small clamp or a heavy book to prop up the white board
Edible Extras
- 1 cup (150 g) fresh berries, such as raspberries or blueberries
- 2 tbsp (25 g) sprinkles in colors that match the cake
- 1/2 cup (100 g) small candies, like gumballs or chocolate buttons
- 4 to 6 cupcakes or cookies for the sides of the table
- 1 small pitcher of lemonade or juice, about 4 cups (1 L)
Decorations and Tableware
- 1 box of birthday candles, plus a long lighter or long matches
- 3 to 5 balloons in two colors, about 12 in (30 cm) each
- 1 short banner or garland, about 6 ft (1.8 m) long
- 2 to 4 dessert plates, forks, and folded napkins
- 1 cake server or knife with a pretty handle
Camera Gear
- Your phone or camera, fully charged
- 1 small tripod, or a stack of books if you don’t have one
- 1 microfiber cloth for wiping the lens
Here’s a quick way to tell what matters most if you’re short on time or money.
| Item | Must Have or Nice to Have | Easy Swap |
|---|---|---|
| White foam board | Must have | A white bedsheet over a chair |
| Cake stand | Must have | An upside-down bowl under a flat plate |
| Tripod | Nice to have | A stack of books on a chair |
| Balloons | Nice to have | Paper streamers or a banner |
| Fresh berries | Nice to have | Sprinkles or candy |
One tip that saved me more than once: wipe your phone lens before you start. A smudged lens makes every photo look foggy, and most people never think to check it.
Key takeaway: Gather everything in one basket before you start, and focus on the white board, the cake stand, and a clean lens first. Everything else is a bonus.
Stage 1: Pick a Spot With Good Natural Light
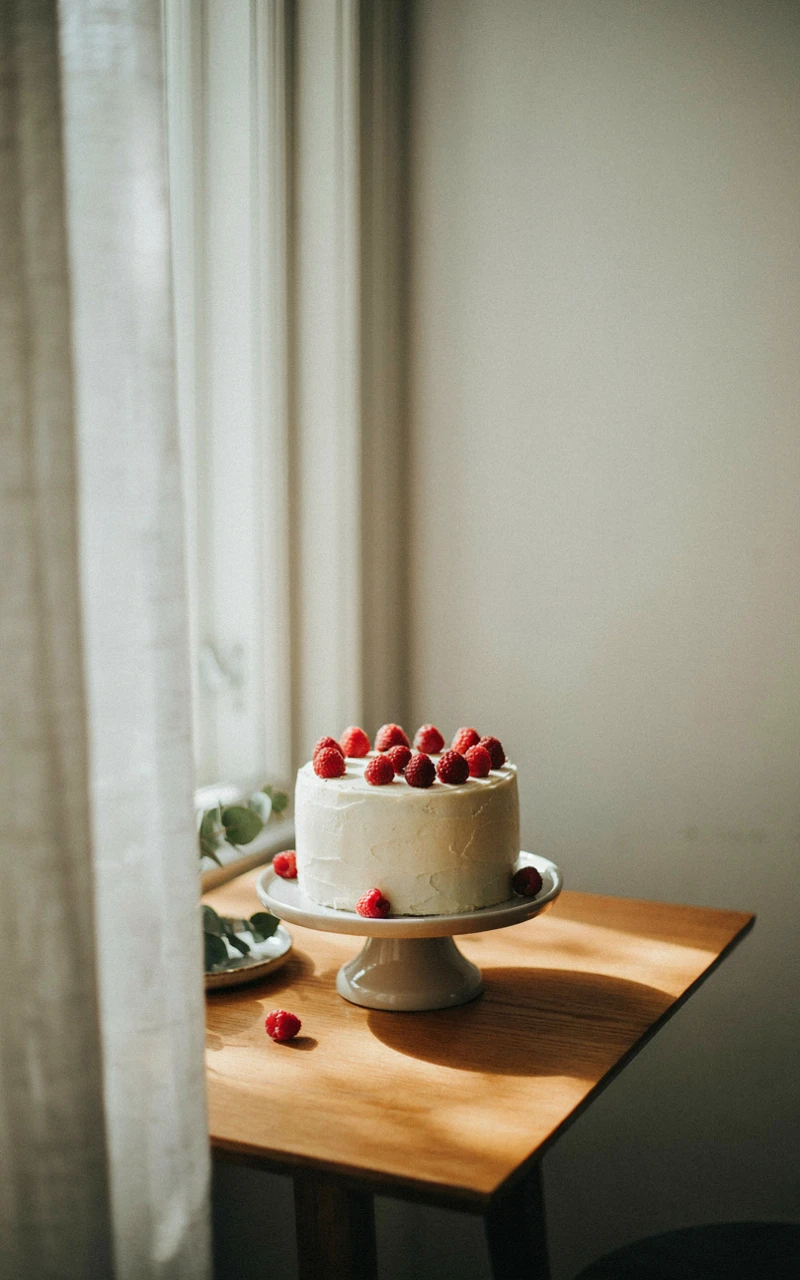
If you only change one thing about your cake photos, change the light. A plain cake by a window will look better than a fancy cake under a ceiling bulb every single time.
Kitchen lights and lamps tend to throw a yellow or orange color onto white frosting. They also come from above, which makes dark shadows on the top and sides of the cake.
Window light is soft, even, and free. The trick is finding the right window at the right time of day.
How to Read the Light in Your Home
Walk around your home with your phone camera open about an hour before you plan to shoot. Look for a window where the light is bright but the sun isn’t shining straight onto the floor in a hard patch.
A window facing north usually gives soft light all day. East windows are lovely in the morning, and west windows get nice in the late afternoon.
If you love that warm, golden look, try shooting in the hour or so before sunset, often called the golden hour. Just know the light fades fast, so have everything set up before it starts.
| Time of Day | What the Light Looks Like | What to Do |
|---|---|---|
| Early morning | Soft and a little cool | Great for white or pastel cakes |
| Midday | Bright and harsh in direct sun | Hang a white sheet or parchment over the window |
| Late afternoon | Warm and golden | Lovely for chocolate or bright cakes |
| Cloudy day | Even and gentle | The easiest light to work with |
Steps to Set Up Your Light
- Turn off every ceiling light and lamp in the room so only window light reaches the cake.
- Place your table about 2 to 3 ft (60 to 90 cm) from the window.
- Turn the table so the window is beside it, not behind it. Side light shows off the frosting and layers.
- If sun shines straight in, tape a white sheet or 2 sheets of parchment over the glass with painter’s tape.
- Stand your white foam board on the side of the table opposite the window, about 1 ft (30 cm) from the cake spot.
- Take a test photo of an empty plate and check for dark shadows. Move the white board closer if one side looks too dark.
This whole stage takes about 10 to 15 minutes. Do it before the cake comes out of the fridge, so the frosting stays firm while you fiddle with tables.
Why not shoot with the window behind the cake? Your phone will try to brighten the window and turn the cake into a dark shape. Side light is much kinder.
The Finished Look: Your test photo of the empty plate looks bright and clean, with soft shadows on one side and no yellow tint. If the plate looks gray or one side is very dark, nudge the table closer to the window or bring the white board in a little.
Key takeaway: Turn off the house lights, use a window beside the table, and bounce light back with a white board.
Stage 2: Build a Simple Birthday Cake Backdrop
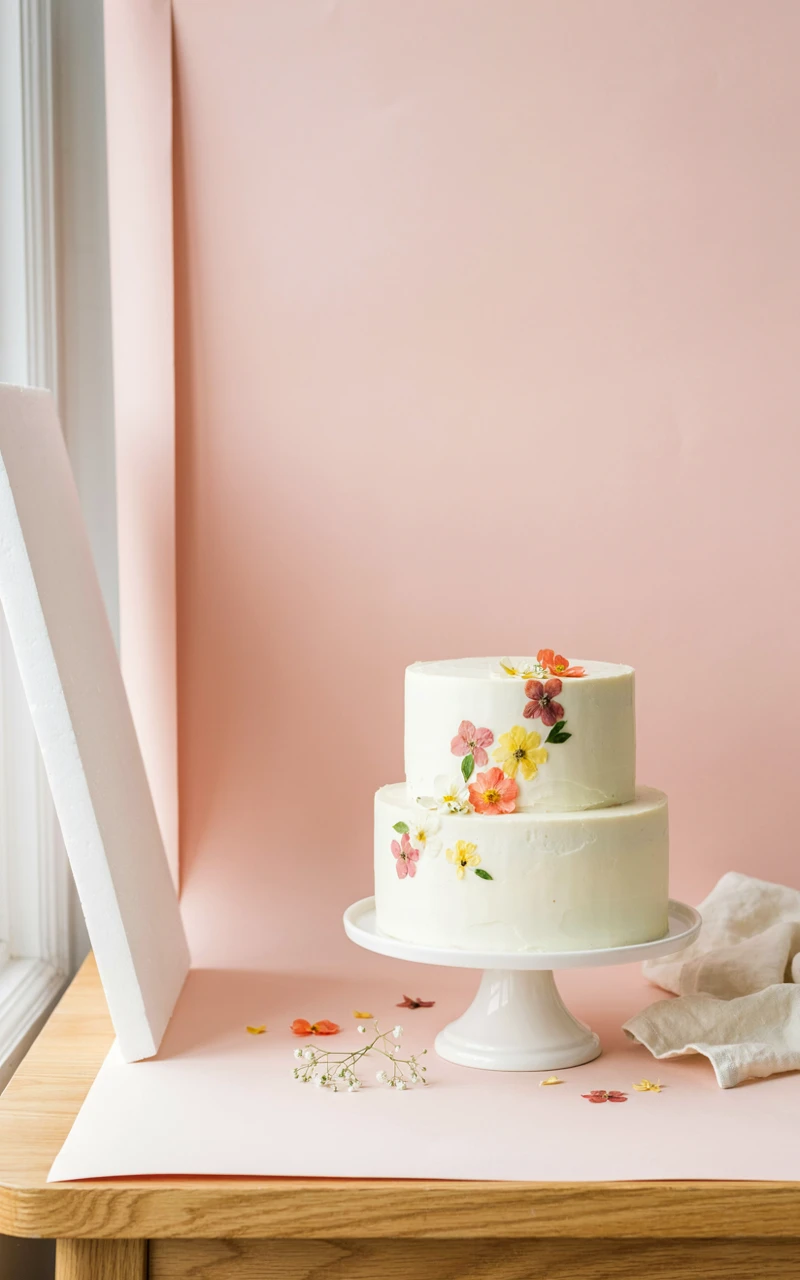
A birthday cake backdrop is just whatever sits behind the cake in your photo. When it’s plain and calm, the cake stands out right away.
The first time I tried this, I shot the cake in front of my fridge, with magnets, kids’ drawings, and a calendar all fighting for attention. Nobody noticed the cake.
A simple backdrop fixes that in minutes. It also hides whatever is behind your table, from a messy counter to a pile of laundry.
Backdrop Ideas That Work
- A colored foam board: Cheap, light, and easy to stand up behind the table.
- Fabric or a tablecloth: Clip it to a curtain rod, bookshelf, or the back of a chair.
- Wrapping paper: Plain or softly patterned paper taped to the wall is fast and fun.
- A painted wall: If you already have a wall in a soft color, use it.
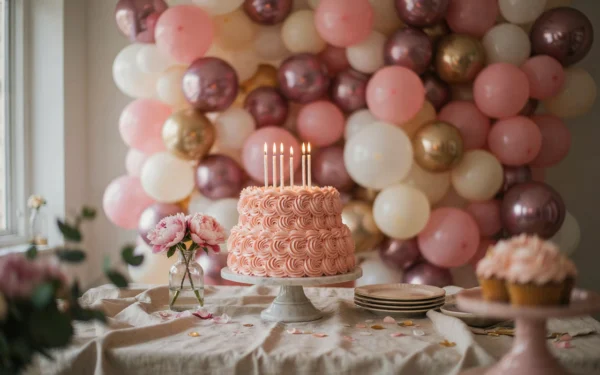
- A balloon wall: Pretty for parties, but keep it to two or three colors so it doesn’t overpower the cake.
Choosing a Color
Pick a backdrop color that goes with the cake, not one that competes with it. A white cake with pink flowers looks sweet against soft pink or pale green, while a bright rainbow cake looks best against white or cream.
If you like bold color, you can match the backdrop, tablecloth, and plates in one shade. I tried this after writing about color drenching, and a pale blue setup with a blue-frosted cake turned out to be one of my favorite photos ever.
Here’s a quick guide for matching:
| Cake Style | Backdrop Color |
|---|---|
| White or cream frosting | Blush pink, sage green, or soft blue |
| Chocolate cake | Cream, warm beige, or dusty pink |
| Rainbow or bright sprinkles | Plain white |
| Pastel drip cake | The palest shade of the drip color |
Steps to Build Your Backdrop
- Push your table against a wall or place a chair right behind it.
- Stand your colored foam board upright behind the table, leaning it on the wall or chair.
- If you’re using fabric, clip the top edge to a rod or shelf with binder clips.
- Pull the fabric tight and smooth it with your hands, then clip or tape the sides so it doesn’t sag.
- Run the bottom of the board or fabric down to the tabletop so there’s no gap showing the wall.
- Step back about 4 ft (1.2 m) and take a test photo from the height you plan to shoot.
- Check the edges of the photo. If you can see the wall or furniture, move the board or bring the camera a little closer.
Plan on about 15 minutes for this stage. Fabric can wrinkle, so a quick pass with a steamer or a warm iron beforehand is worth it.
The Finished Look: In your test photo, the area behind the table is one smooth color from edge to edge, with no wall, outlets, or clutter peeking in. Wrinkles should be small enough that you only notice them if you zoom in.
Key takeaway: Keep the backdrop plain, smooth, and in a color that flatters the cake. The cake should be the brightest, most interesting thing in the photo.
Stage 3: Birthday Table Styling That Frames the Cake
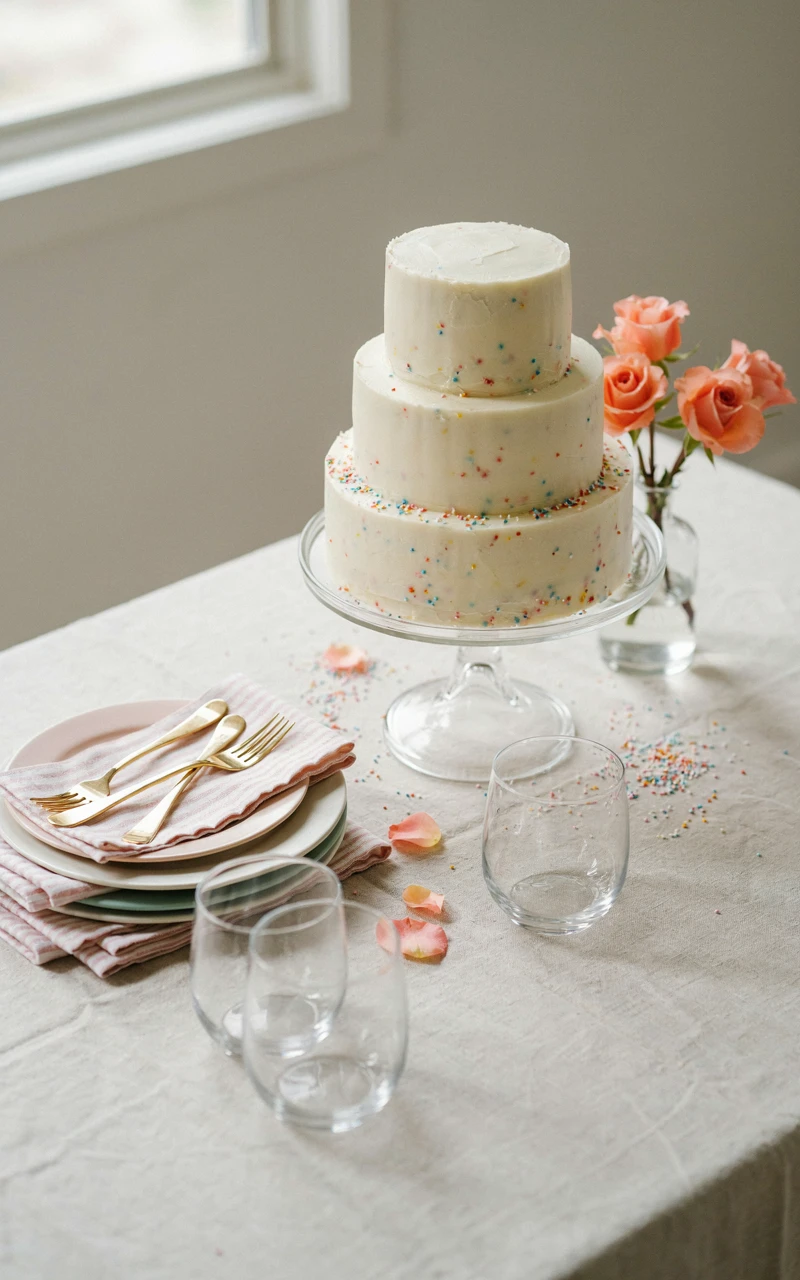
Good birthday table styling works like a picture frame. Everything on the table should lead your eye back to the cake.
The easiest way to do that is with height. When the cake sits higher than everything around it, it becomes the star without you doing much else.
Start With the Tablecloth
A plain tablecloth or a sheet of linen gives the table a clean base. Light colors bounce light back up onto the cake, while darker colors make a bright cake pop.
Let the cloth hang a few inches over the front edge. It looks softer than a sharp table corner in photos.
Build Layers Around the Cake
Think of the table in three levels. The cake sits on the highest level, smaller treats sit on a middle level, and plates and napkins rest flat on the table.
- High: The cake on its stand, about 3 to 5 in (8 to 13 cm) above the table.
- Middle: Cupcakes on a small tray, a jar of candy, or a pitcher of lemonade.
- Low: Stacked plates, forks, folded napkins, and a few scattered berries or sprinkles.
If you’re feeding guests too, a few small bowls of treats on the sides look lovely in photos. I often pull from my delicious snack recipes for bite-size things that look good next to the cake and get eaten fast once the photos are done.
Steps to Style the Table
- Smooth the tablecloth so it lies flat, tugging out any folds along the front edge.
- Place the empty cake stand in the center of the table, or slightly to one side if you want room for a candle-blowing photo later.
- Put the cupcake tray or candy jar on one side of the stand, about 6 in (15 cm) away.
- Put the pitcher or a small vase of flowers on the other side, a little farther back.
- Stack 2 to 4 plates in front, slightly off center, with forks and a folded napkin on top.
- Scatter about 1/4 cup (35 g) berries and a pinch of sprinkles near the plates, not touching the stand.
- Take the cake out of the fridge and set it on the stand last, so the frosting stays cool and neat.
- Take a test photo and move any item that blocks the bottom edge of the cake.
This stage takes about 20 minutes. Odd numbers of items, like three cupcakes or five berries in a little pile, tend to look more natural than even pairs.
A small note on cake temperature: buttercream gets soft and shiny after about 30 to 45 minutes in a warm room. Shoot your main photos within that window, and slip the cake back in the fridge if you need a break.
The Finished Look: The cake sits clearly higher than everything else, with treats and plates around it at lower heights. Nothing touches the cake stand, and when you squint at your test photo, your eye lands on the cake first.
Key takeaway: Raise the cake, keep the helpers lower, and leave a little gap around the stand.
Stage 4: Add Birthday Party Decorations Without Crowding the Cake
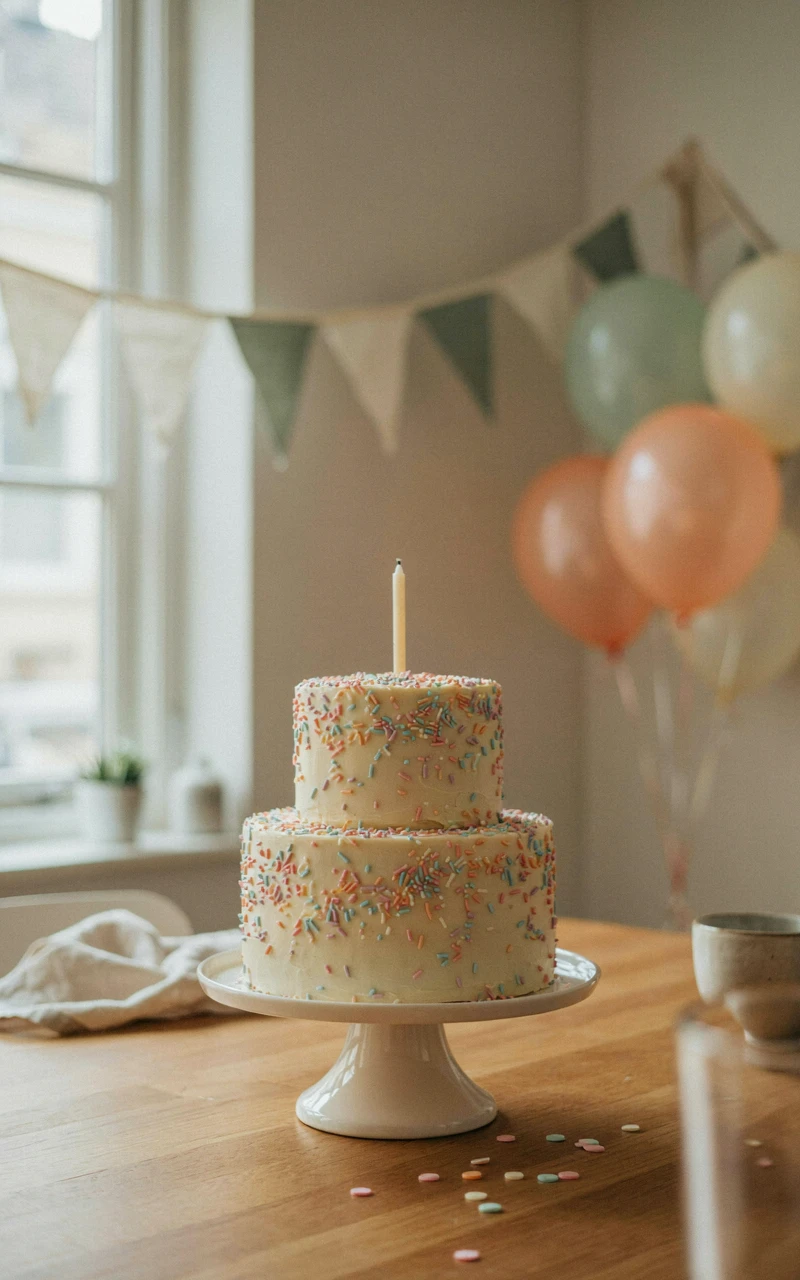
This is the stage where most cake photos go wrong, and I say that as someone who once taped eight balloons, two banners, and a pile of confetti around one small cake. It looked like a party store exploded.
Birthday party decorations should add a happy feeling, not hide the cake. A few well-placed pieces do more than a pile of everything you bought.
The Clear Zone Rule
Keep a clear circle about 6 in (15 cm) wide around the cake stand. Nothing tall goes inside that circle, and nothing should overlap the cake in your photo.
Decorations belong at the edges of the photo and in the backdrop. They should frame the cake like curtains on a stage.
Decorations That Photograph Well
- Balloons: Group 3 to 5 in one corner instead of spreading them everywhere.
- A banner or garland: Hang it high on the backdrop so it reads above the cake, not across it.
- Candles: Thin, tall candles look neater than chunky ones. Number candles are fun for milestone birthdays.
- A cake topper: One simple topper is plenty. It should be no taller than about half the height of the cake.
- Confetti: A small sprinkle near the plates adds fun. Too much looks messy up close.
- Fresh flowers: A few stems in a short jar add color without blocking anything.
Indoor or Outdoor?
If the party is outside, the same rules apply. Set the table in open shade, like under a tree or a patio umbrella, so the cake isn’t in direct sun.
Hot sun melts frosting fast and makes harsh shadows, so shoot quickly and bring the cake out last. If you need ideas for a shady, pretty corner, my post on cozy backyard ideas has a few setups that work well for outdoor birthdays.
Steps to Add Decorations
- Tie 3 to 5 balloons together and tape the bunch to one back corner of the backdrop, about 2 ft (60 cm) above the table.
- Hang the banner across the top of the backdrop with painter’s tape, letting it dip slightly in the middle.
- Check that the lowest point of the banner sits at least 6 in (15 cm) above the top of the cake in your camera view.
- Place the topper in the center of the cake, pushing the sticks straight down so it doesn’t lean.
- Press candles into the cake in a neat row or a small circle, about 1 in (2.5 cm) apart.
- Sprinkle about 1 tbsp (10 g) of confetti near the front plates, keeping it away from the cake stand.
- Take a test photo and remove one decoration. Compare the two photos and keep whichever looks calmer.
Allow about 15 minutes here. That last step sounds odd, but taking one thing away almost always makes the photo better.
The Finished Look: The decorations sit around the edges and up in the backdrop, while the cake has a clear circle around it. Balloons and banners add color without crossing in front of the cake, and the photo feels like a party but still points straight to the cake.
Key takeaway: Group decorations at the edges and up high, keep a clear circle around the cake, and when in doubt, take one thing away.
Stage 5: Birthday Cake Photography Angles and Shots
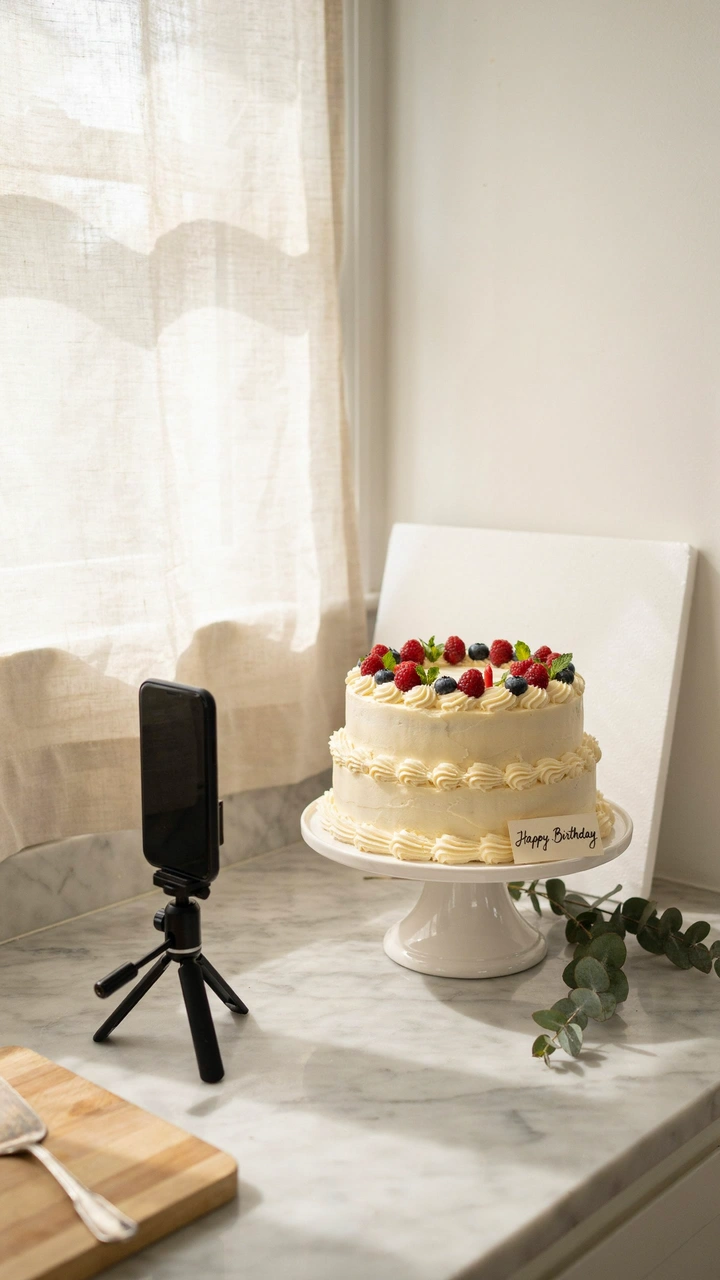
Now the fun part. You’ve done the hard work, and birthday cake photography is really about trying a few angles and keeping the ones you love.
Every cake has a best side. Slowly turn the cake stand and look at it through your camera before you commit to a spot.
The Four Angles to Try
| Angle | Where to Hold the Camera | Best For |
|---|---|---|
| Straight on | Level with the middle of the cake | Tall cakes, layers, drips |
| Three-quarter (45 degrees) | A little above the cake, angled down | Showing the top and side together |
| Overhead | Directly above the table, pointing down | Flat designs, writing, the whole table |
| Close-up | About 8 to 12 in (20 to 30 cm) from the cake | Sprinkles, flowers, piping details |
Most people find the 45-degree angle the most natural, because it’s how we see a cake when we walk up to the table. Straight on is great for showing off tall layers.
Framing the Shot
You don’t always have to put the cake dead center. Turn on the grid in your phone’s camera settings and try placing the cake where two lines cross, a trick known as the rule of thirds.
That extra room on one side is perfect for balloons, a pitcher, or the birthday person leaning in. Fill the frame, though. If your cake looks tiny in the photo, step closer instead of zooming.
Steps to Take Your Photos
- Set your phone on a tripod or stack of books at the height of the middle of the cake.
- Turn on the camera grid and tap the screen on the cake to focus.
- Slide your finger down on the screen to darken the photo slightly if the frosting looks too bright and loses detail.
- Take 5 to 10 straight-on photos, turning the cake a little between shots.
- Raise the camera to the three-quarter angle and take another 5 to 10 photos.
- Stand on a sturdy step stool and take a few overhead shots of the whole table.
- Move in close and take detail shots of the topper, sprinkles, and any piping.
- Light the candles last and take photos for about 30 seconds, then blow them out so wax doesn’t drip.
- Cut one slice, set it on a plate in front of the cake, and take a final photo showing the inside.
Give yourself 15 to 20 minutes for all of this. The candle shot looks prettiest when the room is a little dimmer, so draw the curtain partway right before you light them, and always keep the lighter and the flame well away from balloons and paper banners.
Photos With the Birthday Person
Once your cake photos are done, invite the birthday person in. Have them sit behind the cake, facing the window, so the light falls softly on their face.
Ask them to lean in to blow out the candles, laugh with a friend, or hold up a slice. Real moments look much warmer than stiff poses.
Why do my cake photos look yellow?
Usually a ceiling light or lamp is still on and mixing with the window light. Turn off every indoor light and shoot again, or adjust the warmth slider in your phone’s editing tool.
Should I use flash?
Skip it. Flash makes frosting look shiny and flat, and it creates harsh shadows behind the cake.
How do I fix a dark side on the cake?
Move your white foam board closer to the dark side, about 6 to 12 in (15 to 30 cm) away. You’ll see the shadow lift right on your screen.
The Finished Look: You have a set of photos from at least three angles, plus a few close-ups and a candle shot. The cake is sharp and bright, the colors look true to life, and at least one or two photos make you smile when you scroll past them.
Key takeaway: Try straight-on, 45-degree, overhead, and close-up shots, keep the camera steady, and save the candles for last.
When I think back to those flat kitchen-light photos, I wish someone had told me how small these changes really are. A window, a plain board, a raised cake stand, and a little restraint with the balloons made more difference than any new camera ever could.
I hope this gives you the push to try it at the next birthday in your home. Your first setup might take an hour, but the second one will feel easy.
You already have everything you need to take photos your family will keep for years. Try it out, and tell me in the comments which angle turned out to be your favorite.