This post may contain affiliate links, which means I may receive a small commission should you decide to click that link and make a purchase. For more information please refer to the Terms & Conditions.
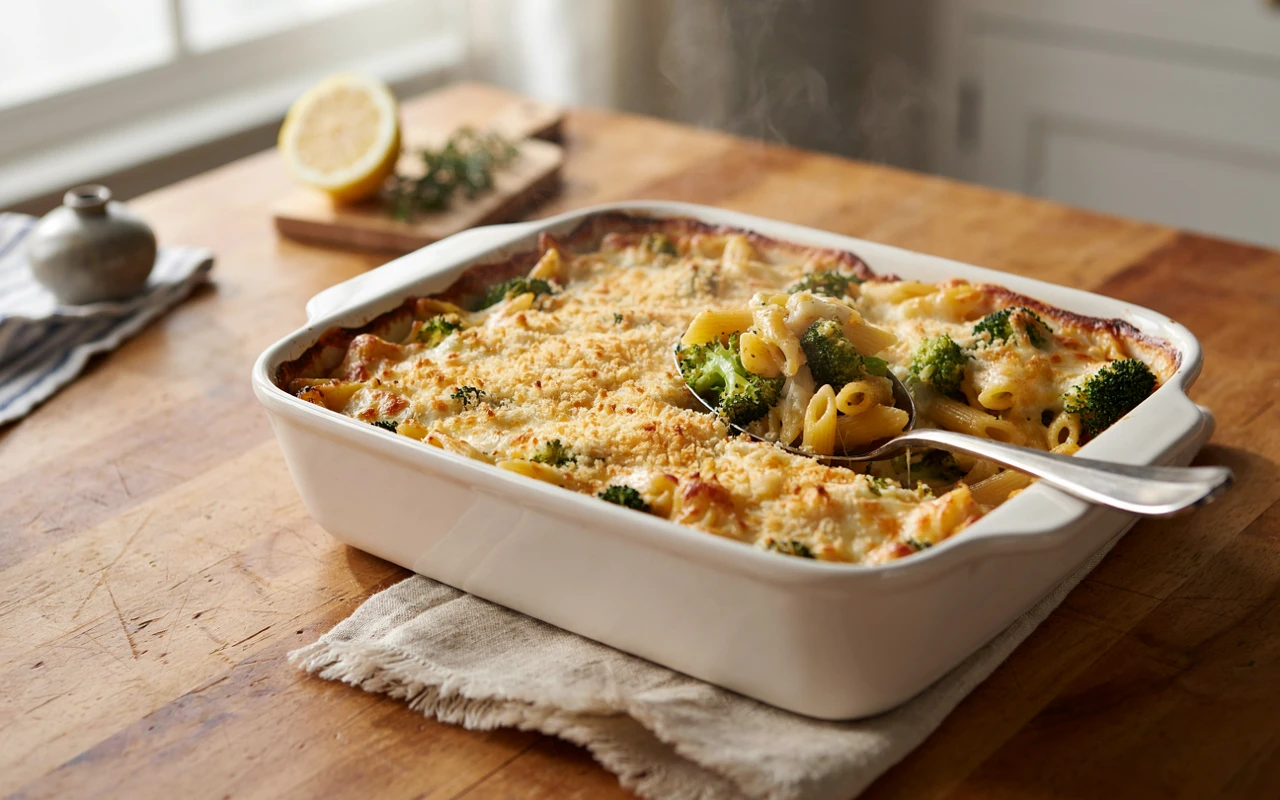
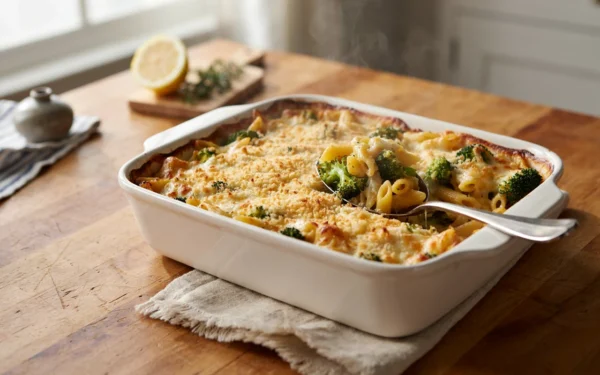
I keep a worn notebook in my kitchen drawer filled with Easy Casserole Dinners that have become family favorites over the years. One recipe I return to often is my grandmother’s cheesy chicken and broccoli casserole. It’s simple, filling, and even my pickiest eater asks for seconds.
Before discovering this recipe, dinner often felt like a daily struggle. Someone wanted pasta, someone hated anything green, and I was left making different meals after a long day. My grandmother showed me that one comforting casserole could make weeknight dinners so much easier.
In this guide, you’ll learn how to make an easy chicken, broccoli, and pasta casserole your whole family can enjoy, along with simple storage tips, freezer instructions, and easy ways to change up the ingredients.
What You Need: Ingredients and Tools
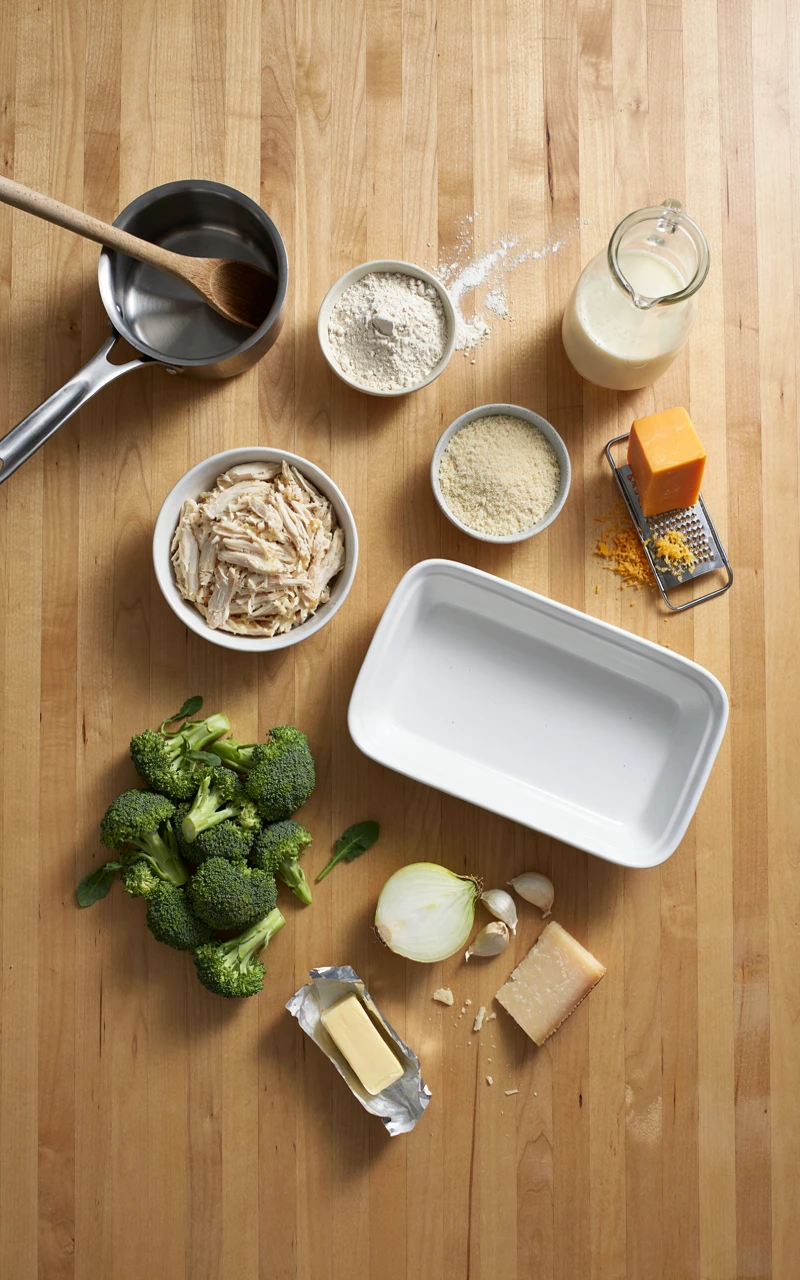
Before you start, gather everything in one spot on the counter. This sounds small, but it’s the habit that makes a casserole feel easy instead of chaotic.
This recipe makes one 9 x 13 inch (23 x 33 cm) casserole. It feeds a family of four with leftovers, or six to eight people for one meal.
Ingredients for the Casserole
- 12 oz (340 g) short pasta, such as penne, rotini, or shells
- 3 cups (420 g) cooked chicken, shredded or chopped
- 4 cups (300 g) fresh broccoli florets, cut into bite-size pieces
- 1 tsp (6 g) salt for the pasta water
Ingredients for the Cheese Sauce
- 4 tbsp (55 g) unsalted butter
- 1/4 cup (30 g) all-purpose flour
- 3 cups (720 ml) whole milk
- 1 cup (240 ml) chicken broth
- 2 cups (225 g) shredded sharp cheddar cheese
- 1/2 cup (50 g) grated Parmesan cheese
- 1 tsp (5 ml) Dijon mustard
- 1 tsp (3 g) garlic powder
- 1 tsp (6 g) salt
- 1/2 tsp (1 g) black pepper
Ingredients for the Crunchy Topping
- 1 cup (60 g) panko breadcrumbs
- 2 tbsp (30 g) butter, melted
- 1/4 cup (25 g) grated Parmesan cheese
A quick note on the chicken: a store-bought rotisserie chicken is my favorite shortcut. One average bird gives you about 3 to 4 cups of meat, which is exactly what you need.
Shred your own cheese if you can. Bagged shredded cheese has a coating that keeps it from clumping, and it can make your sauce a little grainy.
Tools You’ll Use
- 9 x 13 inch (23 x 33 cm) baking dish
- Large pot for boiling pasta
- Medium saucepan for the cheese sauce
- Whisk
- Colander
- Large mixing bowl
- Box grater
- Measuring cups and spoons
- Wooden spoon or silicone spatula
- Aluminum foil
- Instant-read thermometer (helpful, not required)
Servings and Timing at a Glance
| Detail | Amount |
|---|---|
| Prep time | 25 minutes |
| Cook time | 35 minutes |
| Resting time | 10 minutes |
| Total time | 70 minutes |
| Servings | 6 to 8 |
| Oven temperature | 375°F (190°C) |
If you love having a few go-to recipes on hand, you might also like my list of delicious snack recipes for the times when dinner is still in the oven and everyone is hungry.
Key takeaways: Gather everything first, use a rotisserie chicken to save time, and shred your own cheese for the smoothest sauce.
Stage 1: Prep Your Ingredients and Heat the Oven
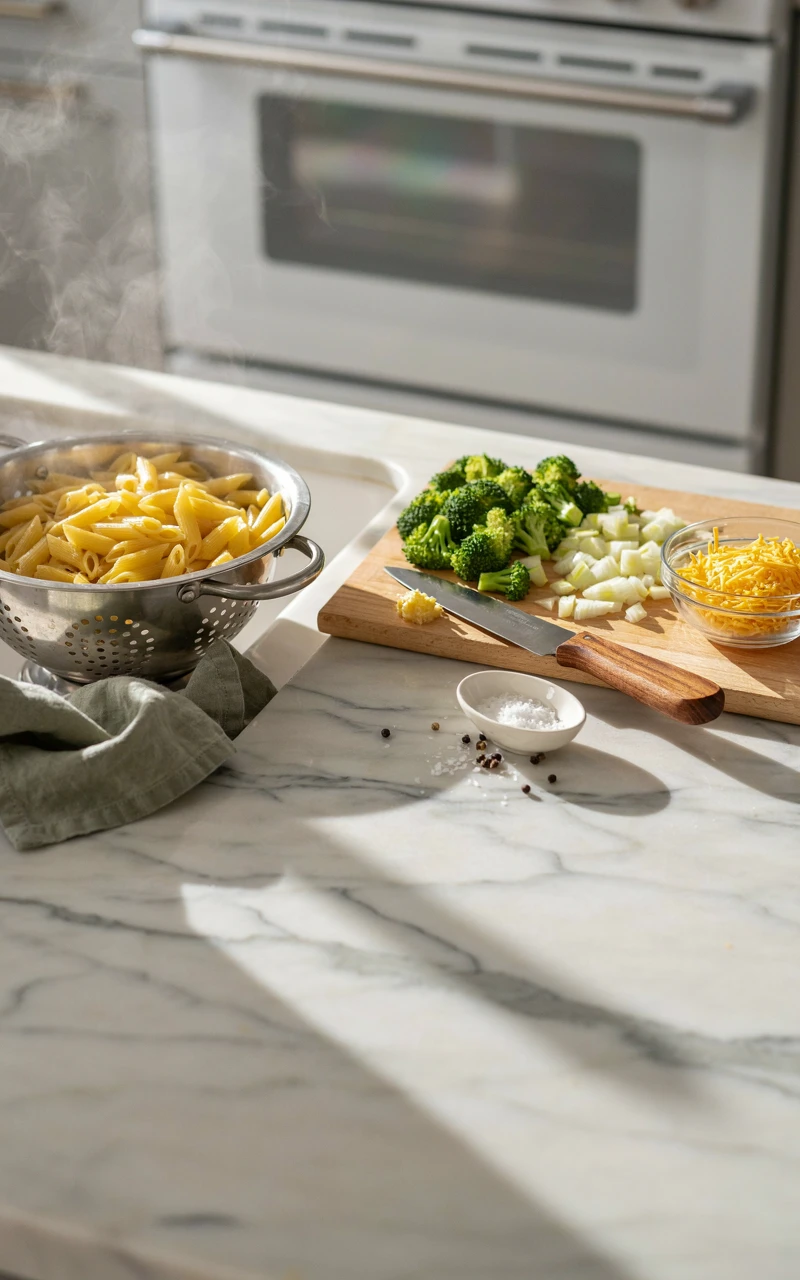
This stage is all about getting ahead. When your pasta, broccoli, and chicken are ready before the sauce starts, the rest of the recipe moves fast.
Think of it like setting the table before guests arrive. You’re clearing the way so nothing burns while you search for the garlic powder.
Steps for Stage 1
- Heat your oven to 375°F (190°C) and set a rack in the middle.
- Lightly grease your 9 x 13 inch (23 x 33 cm) baking dish with butter or cooking spray.
- Fill a large pot with about 4 quarts (4 L) of water, add 1 tsp (6 g) salt, and bring it to a boil over high heat.
- While the water heats, shred or chop the chicken into bite-size pieces and set it in your large mixing bowl.
- Cut the broccoli into small florets, about 1 inch (2.5 cm) across, so they cook evenly.
- Shred the cheddar and grate the Parmesan, then keep them in separate piles.
- Add the pasta to the boiling water and cook it for 2 minutes less than the package says.
- Add the broccoli to the same pot for the last 2 minutes of pasta cooking time.
- Drain the pasta and broccoli together in the colander and rinse briefly with cool water to stop the cooking.
- Add the drained pasta and broccoli to the bowl with the chicken.
Why You Undercook the Pasta
This is the step most people skip, and it’s the one that matters most. Your pasta keeps cooking in the oven as it soaks up the cheese sauce.
If you cook it fully now, it turns soft and mushy by the time the casserole is done. Pulling it out early gives you pasta that still has a little bite after baking.
Why the Broccoli Goes in the Pasta Pot
Cooking the broccoli right in the pasta water saves you a pan and about 10 minutes. It also softens the broccoli just enough so it isn’t crunchy and raw in the finished dish.
Two minutes is plenty. The broccoli should turn bright green and still feel slightly firm when you poke it with a fork.
A Few Prep Shortcuts That Help
- Buy pre-cut broccoli florets when the week is packed.
- Shred the whole rotisserie chicken the night you buy it and keep it in the fridge.
- Shred a big block of cheese on Sunday and store it in a zip-top bag for the week.
- Use frozen broccoli if that’s what you have; add it straight to the pot without thawing.
These little habits are what make simple family dinners feel simple. Most of the work happens in small pockets of time you already have.
The Finished Look: Your oven is hot, your dish is greased, and your bowl holds chicken, pasta that’s still a little firm in the center, and bright green broccoli. The cheese is shredded and waiting, and the pot is drained and out of your way.
Key takeaways: Undercook the pasta by 2 minutes, cook the broccoli in the same pot, and have everything ready before you start the sauce.
Stage 2: Make a Simple Cheese Sauce
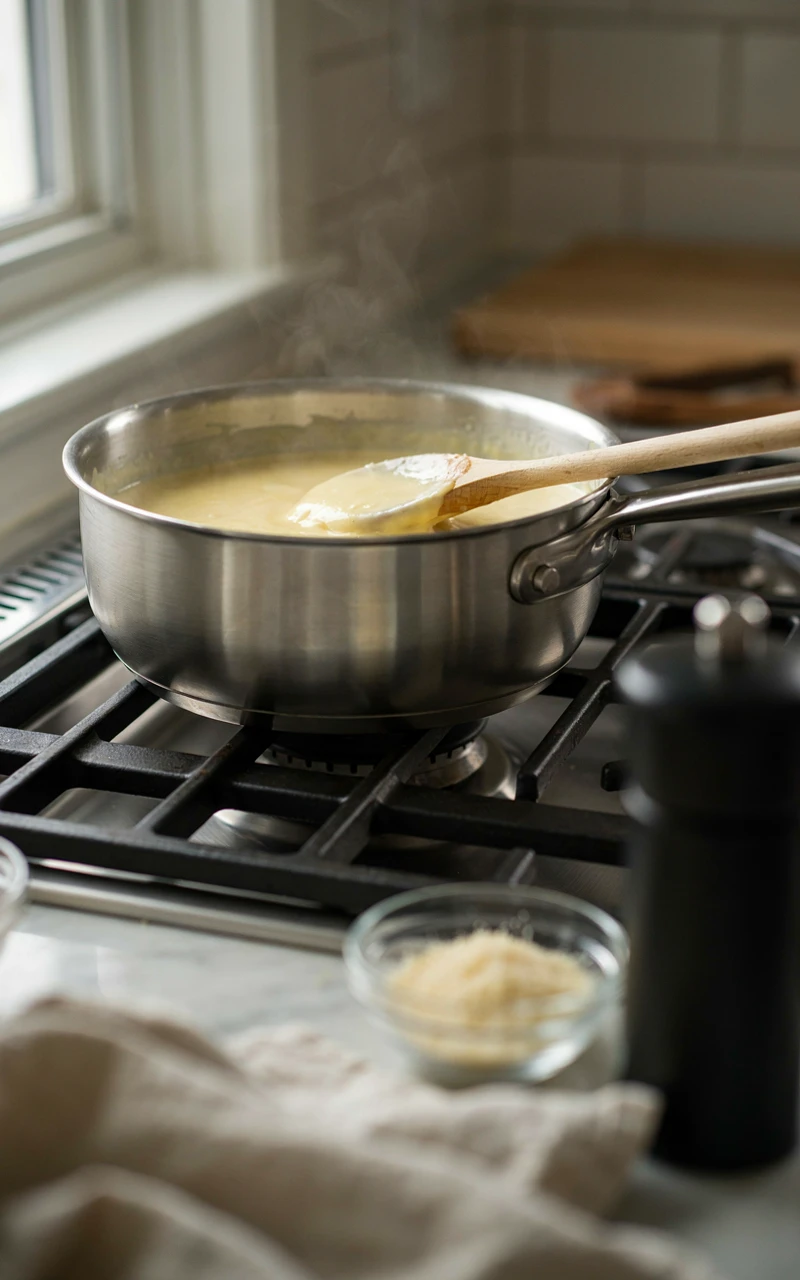
The cheese sauce is the heart of this casserole. It holds everything together and turns plain chicken and pasta into something your family asks for again.
If you’ve never made a cheese sauce from scratch, don’t worry. It’s just butter, flour, milk, and cheese, stirred in the right order.
Steps for Stage 2
- Melt 4 tbsp (55 g) butter in a medium saucepan over medium heat.
- Sprinkle in 1/4 cup (30 g) flour and whisk constantly for 1 to 2 minutes until it smells slightly toasty.
- Slowly pour in 3 cups (720 ml) milk, about 1 cup (240 ml) at a time, whisking after each pour until smooth.
- Whisk in 1 cup (240 ml) chicken broth.
- Keep whisking and cook for 5 to 7 minutes, until the sauce bubbles gently and thickens.
- Turn the heat down to low.
- Stir in the Dijon mustard, garlic powder, salt, and pepper.
- Add the cheddar a handful at a time, stirring until each handful melts before adding more.
- Stir in 1/2 cup (50 g) Parmesan until smooth.
- Taste the sauce and add a pinch more salt if it needs it.
How to Tell the Sauce Is Thick Enough
Dip a spoon into the sauce and run your finger across the back. If the line stays clean and the sauce doesn’t run back over it, it’s ready for the cheese.
The sauce will look a little thin compared to what you might expect. That’s on purpose, because the pasta will drink some of it up in the oven.
Common Mistakes With Cheese Sauce
| Mistake | What Happens | How to Fix It |
|---|---|---|
| Adding milk all at once | Lumps form | Pour slowly and whisk the whole time |
| Adding cheese over high heat | Sauce turns grainy or oily | Lower the heat before the cheese goes in |
| Using bagged shredded cheese | Sauce feels gritty | Shred cheese from a block |
| Making the sauce too thick | Casserole comes out dry | Whisk in a splash of milk to loosen it |
If you do end up with a few lumps, don’t panic. Whisk hard for 30 seconds, and most of them will smooth right out.
Why the Mustard Matters
One teaspoon of Dijon won’t make your casserole taste like mustard. It just makes the cheese taste more like cheese, the same way a pinch of salt wakes up a cookie.
If your kids are wary, don’t tell them it’s in there. I never have, and nobody has noticed in years.
The Finished Look: Your sauce is smooth, creamy, and pale gold, with no lumps or streaks of melted cheese. It coats the back of a spoon and pours slowly, like a thick soup rather than a paste.
Key takeaways: Add milk slowly, lower the heat before the cheese goes in, and stop when the sauce coats a spoon.
Stage 3: Assemble the Casserole
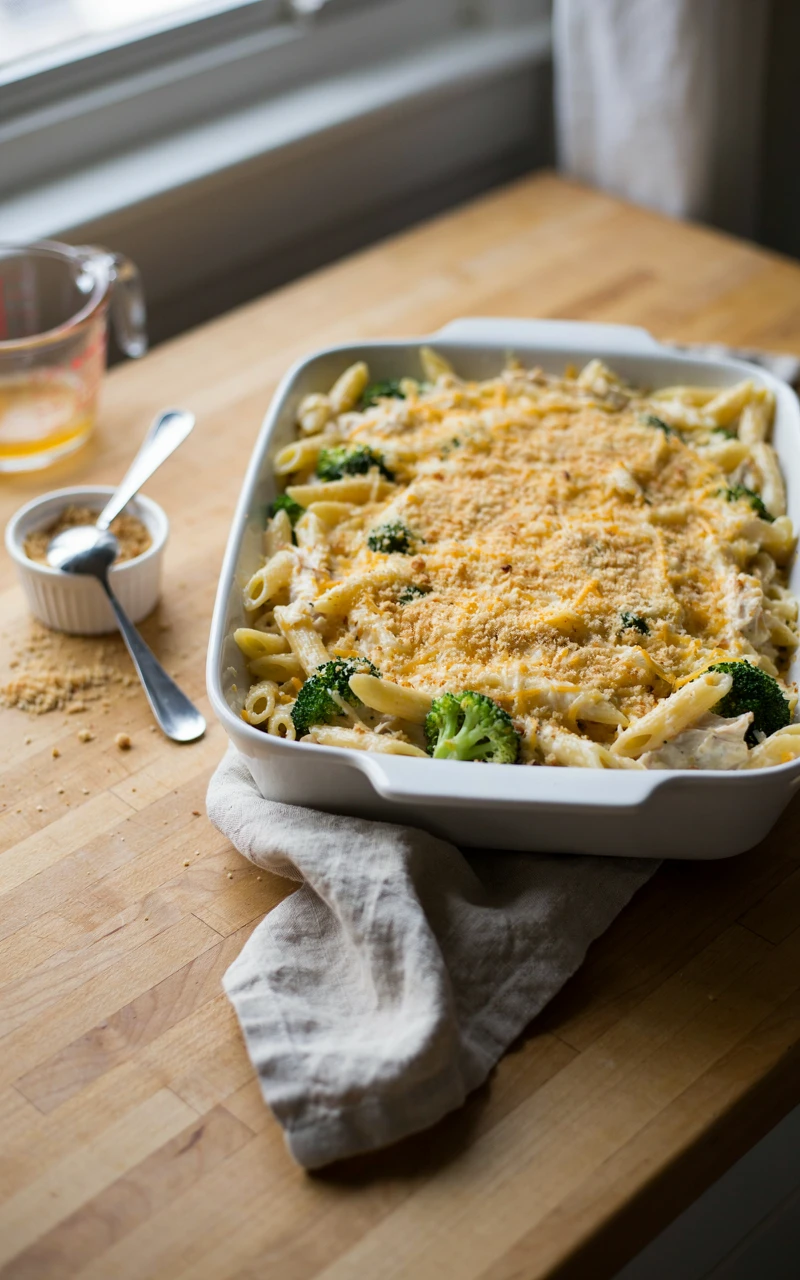
This is the easiest part, and honestly the most satisfying. Everything you prepped comes together in one bowl and one dish.
It’s also the stage where you can make the recipe your own. Once you know the basic method, you can swap almost anything in or out.
Steps for Stage 3
- Pour the warm cheese sauce over the chicken, pasta, and broccoli in your large bowl.
- Gently fold everything together with a spatula until every piece is coated.
- Spread the mixture evenly into your greased baking dish, pressing it lightly into the corners.
- In a small bowl, stir together 1 cup (60 g) panko, 2 tbsp (30 g) melted butter, and 1/4 cup (25 g) Parmesan.
- Sprinkle the panko mixture evenly over the top of the casserole.
Folding, Not Stirring
Use a slow folding motion instead of fast stirring. Scoop from the bottom of the bowl and turn it over the top.
This keeps the broccoli in nice pieces and stops the chicken from breaking down into shreds. Your casserole will look much better on the plate.
Easy Variations to Try
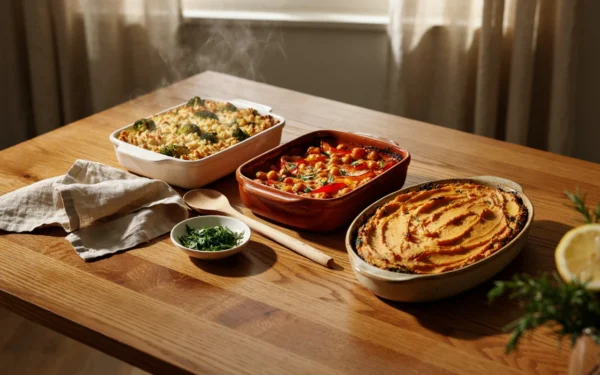
This is where one recipe turns into a whole list of easy casserole recipes for dinner. Keep the cheese sauce and the method, and change the fillings.
- Ham and pea: Swap the chicken for 3 cups (420 g) diced ham and the broccoli for 2 cups (280 g) frozen peas.
- Taco style: Use 1 lb (450 g) browned ground beef, Monterey Jack instead of cheddar, 1 tbsp (8 g) taco seasoning in the sauce, and crushed tortilla chips on top.
- Tuna noodle: Use egg noodles, two 5 oz (140 g) cans of drained tuna, and peas.
- Vegetarian: Skip the chicken and use 2 cups (300 g) cauliflower plus 1 cup (150 g) sweet corn, with vegetable broth in the sauce.
- Buffalo chicken: Stir 1/4 cup (60 ml) buffalo sauce into the cheese sauce and top with a little crumbled blue cheese.
Having a handful of dinner casserole recipes that all use the same steps means you aren’t learning something new every night. Your hands already know what to do.
Make-Ahead Option
You can stop right here and save the rest for later. Cover the assembled casserole tightly with foil and keep it in the fridge for up to 24 hours.
Wait to add the panko topping until just before baking, or it will go soggy. When you’re ready, add the topping and bake as usual, adding about 10 extra minutes because the dish starts cold.
The Finished Look: Your baking dish is filled evenly to the edges, with no bare spots or big piles in the middle. A golden-flecked layer of buttery panko covers the whole top, and you can see a little sauce peeking up around the sides.
Key takeaways: Fold gently, spread evenly, and add the topping just before baking if you’re making it ahead.
Stage 4: Bake, Rest, and Serve
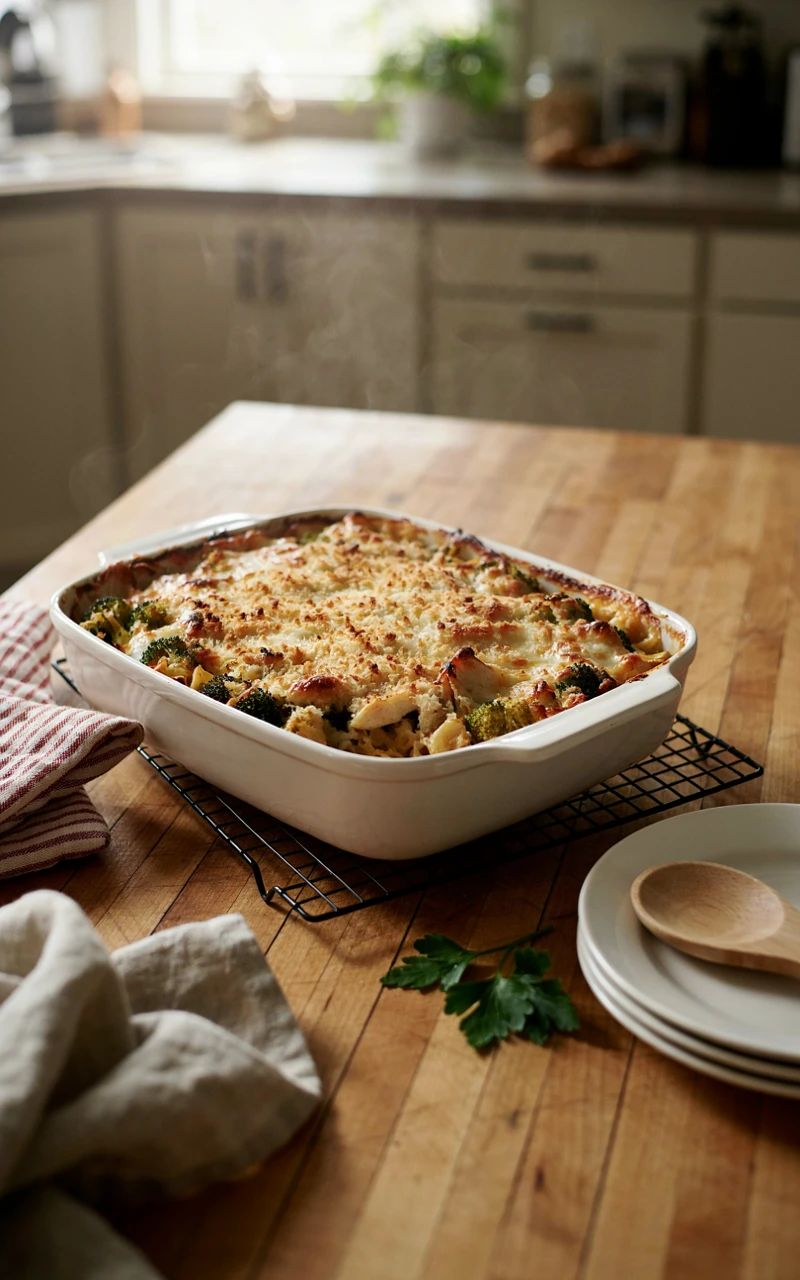
Your kitchen is about to smell amazing. This stage takes the least effort from you, but a couple of small details make a big difference.
The biggest one is patience. That 10-minute rest at the end is what separates a neat, scoopable casserole from a runny one.
Steps for Stage 4
- Place the baking dish on the middle rack of your 375°F (190°C) oven.
- Bake uncovered for 25 to 30 minutes.
- Check for bubbling sauce around the edges and a golden brown top.
- If the top browns too quickly, lay a loose sheet of foil over it for the remaining time.
- Check the center with an instant-read thermometer; it should read 165°F (74°C).
- Take the dish out of the oven and set it on a trivet or cooling rack.
- Let it rest for 10 minutes before cutting.
- Scoop out portions with a large serving spoon or spatula.
Why the Temperature Check Helps
Because the chicken is already cooked, you’re really just heating everything through. Still, the center of a deep casserole can stay cool longer than you’d think.
The FoodSafety.gov chart of safe minimum internal temperatures lists 165°F (74°C) for casseroles and leftovers. A quick check gives you peace of mind, especially when you’re feeding little ones.
Why the Rest Matters
Right out of the oven, the sauce is very hot and loose. If you cut in right away, it runs to the bottom of the dish and leaves your pasta dry on top.
During those 10 minutes, the sauce settles and thickens. Use the time to set the table, slice some bread, or toss a quick salad.
What to Serve With It
A casserole is a full meal on its own, but a simple side makes it feel complete. Here are the ones that show up most often at my table:
- A green salad with a lemony dressing to cut through the richness
- Warm garlic bread or dinner rolls
- Sliced cucumbers and cherry tomatoes with a pinch of salt
- Roasted carrots, which can bake on the rack below the casserole
- Applesauce or fresh fruit for younger kids
Easy baked dinners like this one are great because the oven does the work. You get your hands free for 30 minutes to help with homework or just sit down for a minute.
The Finished Look: The top is deep golden brown and crunchy, and the sauce is bubbling gently around the edges. After resting, a spoonful holds its shape on the plate, with creamy sauce clinging to the pasta instead of pooling underneath.
Key takeaways: Bake at 375°F (190°C) for 25 to 30 minutes, check for 165°F (74°C) in the center, and always rest for 10 minutes.
Stage 5: Store, Freeze, and Reheat for Quick Casserole Meals
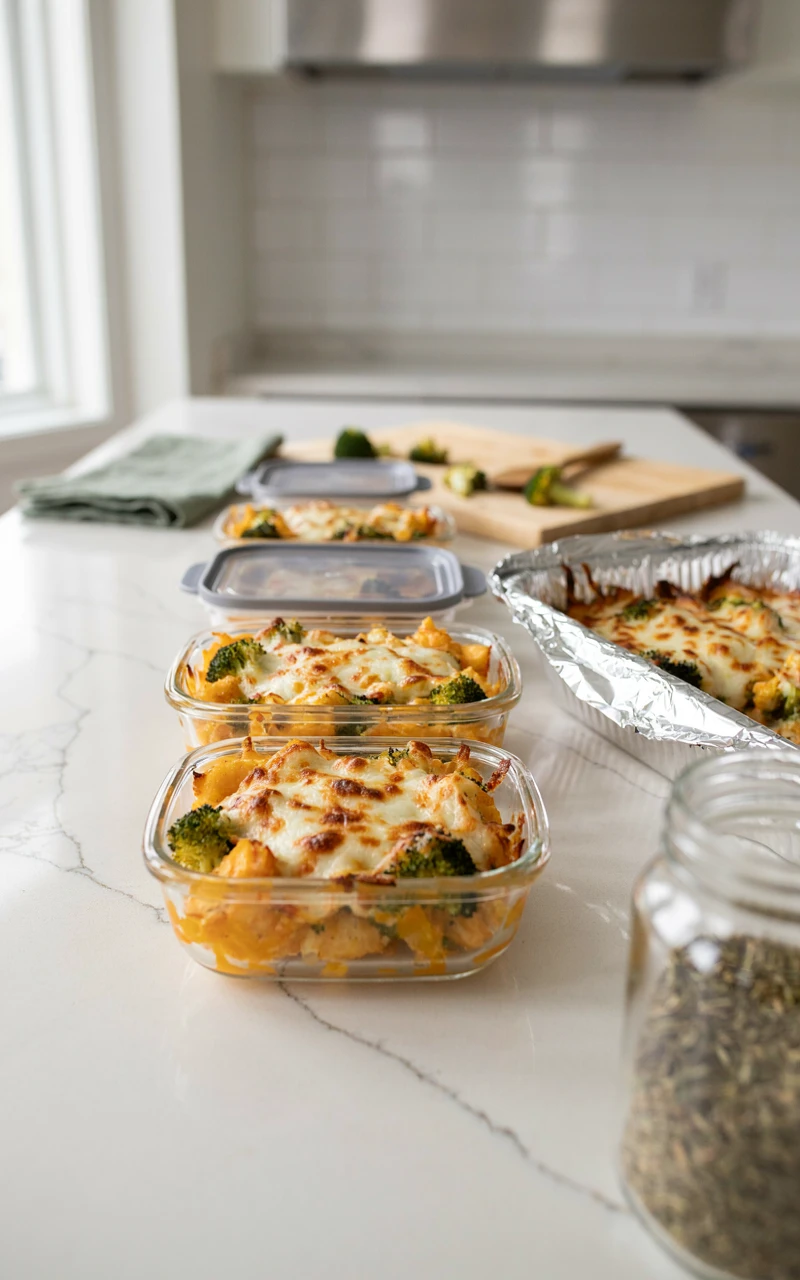
This is where casseroles really pay you back. One night of cooking can cover a second dinner, a few lunches, or a backup meal in the freezer for a rough week.
I often make two at once, bake one, and freeze the other. On nights when nothing goes to plan, pulling a casserole out of the freezer feels like a gift from my past self.
Steps for Storing Leftovers
- Let the casserole cool at room temperature for no more than 2 hours.
- Cover the baking dish tightly with foil or plastic wrap, or move portions into airtight containers.
- Label the container with the date.
- Store in the fridge for up to 3 to 4 days.
That 3 to 4 day window comes from the USDA’s guide on leftovers and food safety. If you won’t finish it in that time, freeze it instead.
Steps for Freezing
- Assemble the casserole in a freezer-safe dish, but don’t add the panko topping.
- Let it cool completely if any parts are warm.
- Wrap the dish in plastic wrap, then a layer of foil, pressing out as much air as you can.
- Label it with the name, the date, and the baking directions.
- Freeze for up to 3 months.
Steps for Reheating
- Thaw a frozen casserole in the fridge overnight, about 24 hours.
- Heat your oven to 350°F (175°C).
- Add the panko topping if it wasn’t added before freezing.
- Cover with foil and bake for 30 minutes.
- Remove the foil and bake 15 to 20 minutes more, until bubbling and 165°F (74°C) in the center.
- For a single portion, microwave on medium for 2 to 3 minutes, stirring halfway, with a splash of milk to keep it creamy.
Storage at a Glance
| Method | How Long | Best Tip |
|---|---|---|
| Fridge (baked) | 3 to 4 days | Add a splash of milk when reheating |
| Fridge (unbaked) | Up to 24 hours | Add topping just before baking |
| Freezer (unbaked) | Up to 3 months | Double wrap to prevent freezer burn |
| Freezer (baked portions) | Up to 2 months | Freeze in single servings for lunches |
Can I bake it straight from frozen?
Yes, but it takes longer. Bake covered at 350°F (175°C) for about 60 minutes, then uncovered for 20 to 30 minutes until the center reaches 165°F (74°C).
Can I use rice instead of pasta?
You can. Use 3 cups (555 g) of cooked rice in place of the pasta, and bake as written.
What’s the best dish for freezing?
Disposable foil pans work well because you don’t tie up your good baking dish for weeks. They’re also perfect for bringing a meal to a new parent or a sick friend.
Why is my reheated casserole dry?
The pasta keeps soaking up sauce as it sits. Stir in 2 to 3 tbsp (30 to 45 ml) of milk before reheating and keep it covered for most of the time.
The Finished Look: Your leftovers are sealed, labeled, and stacked neatly in the fridge or freezer. When reheated, the casserole is hot all the way through, creamy instead of dry, and the top is crisp again.
Key takeaways: Refrigerate within 2 hours, freeze unbaked without the topping, and add a splash of milk when reheating.
When I think back to those chaotic weeknights, I’m amazed that one creamy casserole made such a difference. It gave me a plan, a little breathing room, and a dinner everyone actually ate.
Once you’ve made this one a couple of times, you’ll find yourself swapping fillings without even checking the recipe. That’s when it stops feeling like a recipe and starts feeling like yours.
You don’t need fancy skills to feed your family well. You just need one good dish and the confidence to start, and you already have both.
I’d love to hear which version your family loves most, so tell me in the comments or send me a note. And if you’re curious about the person behind this kitchen notebook, you can read more about me here.