This post may contain affiliate links, which means I may receive a small commission should you decide to click that link and make a purchase. For more information please refer to the Terms & Conditions.
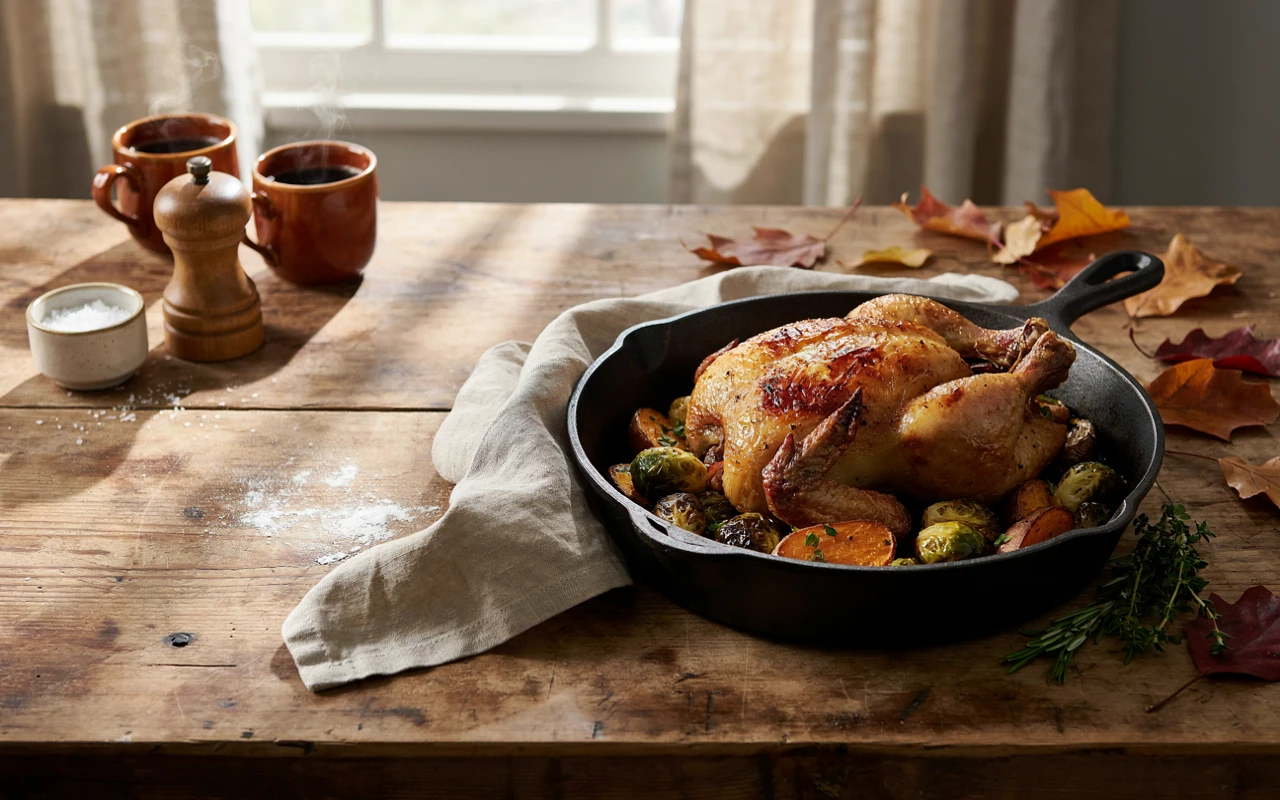
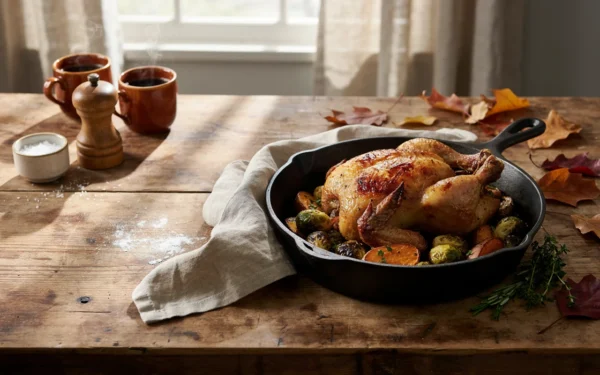
As soon as the weather starts cooling down, I find myself wanting something warm and comforting for dinner. I enjoy summer salads, but by fall I am ready for heartier meals that feel a little more cozy. The problem is finding time to make them on a busy weeknight, which is why I keep coming back to these healthy fall dinner ideas.
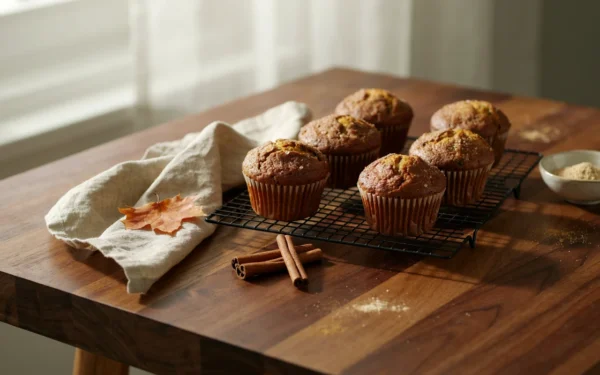
I usually spend my weekends baking things like easy pumpkin muffins, which leaves me wanting dinners that are fast, nourishing, and simple to clean up. You do not need complicated techniques or a sink full of dishes to put a great meal on the table. If you want to feed your household well without losing your whole evening to the kitchen, I am sharing 7 healthy fall dinner ideas for busy weeknights.
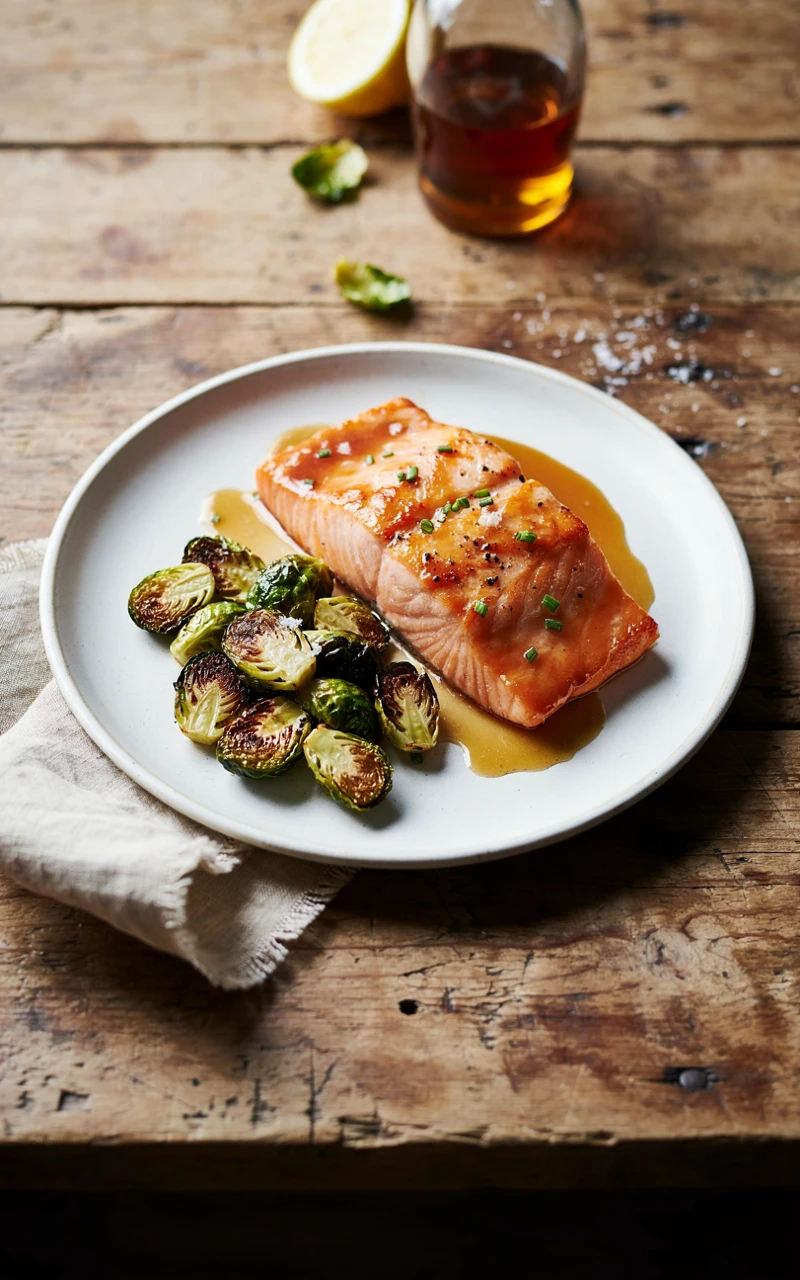
1. Maple Mustard Glazed Salmon with Roasted Brussels Sprouts
Why You’ll Love This Recipe
This meal feels like something you would order at a nice restaurant, but it comes together on a single baking sheet. The sharp bite of the Dijon mustard perfectly balances the sweetness of the maple syrup. It creates a sticky, flavorful glaze that keeps the salmon incredibly moist while it bakes.
Brussels sprouts are at their absolute best in the fall. When you roast them at a high temperature, their outer leaves get crispy and brown while the insides stay tender. Because the fish and the vegetables cook on the same pan, you get a complete, protein-packed dinner with barely any cleanup.
Ingredients
- 4 (6 oz / 170 g) salmon fillets
- 1 lb (450 g) Brussels sprouts, trimmed and halved
- 2 tbsp (30 ml) olive oil
- 2 tbsp (30 ml) maple syrup
- 1 tbsp (15 g) Dijon mustard
- 1 clove garlic, minced
- 1/2 tsp (3 g) salt
- 1/4 tsp (1 g) black pepper
Tools and Preparation
You will need a large rimmed baking sheet, parchment paper, a cutting board, a chef’s knife, and a small mixing bowl. Preheat your oven to 400°F (200°C) before you start prepping.
Line your baking sheet with parchment paper to stop the maple glaze from sticking to the pan. Wash the Brussels sprouts, cut off the tough stem ends, and slice them straight down the middle.
Step-by-Step Instructions
- Place the halved Brussels sprouts on the lined baking sheet. Drizzle them with the olive oil, sprinkle with half of the salt and pepper, and toss them until they are well coated.
- Spread the sprouts out into a single layer, pushing them to the edges of the pan to leave room in the center for the fish. Roast in the oven for 10 minutes.
- While the sprouts cook, whisk the maple syrup, Dijon mustard, minced garlic, and the remaining salt and pepper in your small bowl.
- Remove the baking sheet from the oven. Place the salmon fillets in the empty center of the pan, skin-side down.
- Brush the maple mustard mixture generously over the top of each salmon fillet.
- Return the pan to the oven and bake for another 12 to 15 minutes. The salmon is done when it flakes easily with a fork and the sprouts are deeply browned.
Common Mistakes to Avoid
The biggest mistake is not drying the salmon before adding the glaze. If the fish is wet, the maple mustard mixture will slide right off into the pan. Pat the fillets completely dry with a paper towel before you brush them.
Another common issue is overcrowding the Brussels sprouts. If they are piled on top of each other, they will steam instead of roasting. Give them plenty of room so those outer leaves can crisp up.
Variations, Storage, and Final Thoughts
If you do not like Brussels sprouts, you can easily swap them out for broccoli florets or diced sweet potatoes. Just keep in mind that sweet potatoes will need an extra 10 minutes in the oven before you add the salmon.
Store any leftovers in an airtight container in the fridge for up to two days. When you reheat it, use the stovetop or oven rather than the microwave so the fish does not dry out.
This is one of my favorite meals to make when I have guests over on a weeknight. It looks impressive, tastes incredible, and leaves me free to actually talk to my friends instead of cooking.
2. One-Pan Autumn Chicken and Sweet Potato Bake
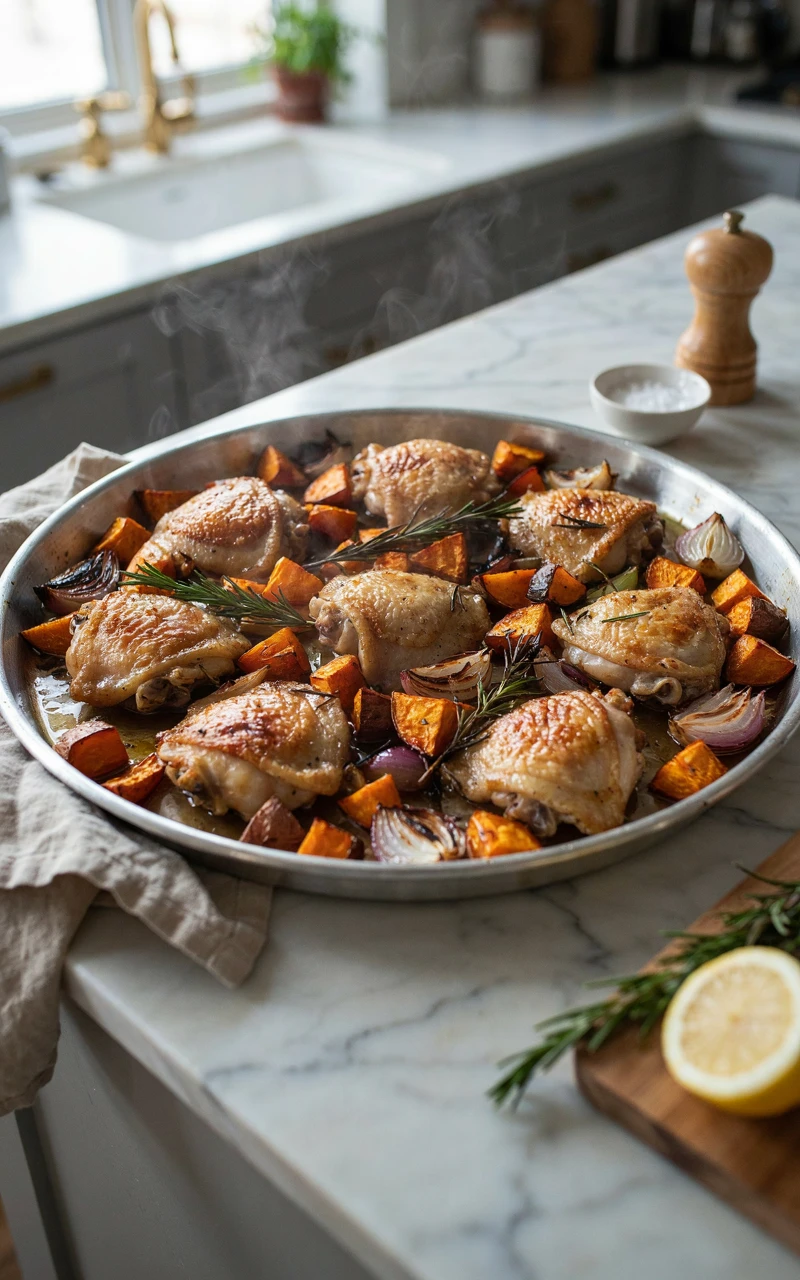
Why You’ll Love This Recipe
When I need reliable fall dinner ideas for families, this one-pan bake is always at the top of my list. The chicken stays juicy, the sweet potatoes get beautifully caramelized, and the red onions turn sweet and soft in the oven.
Everything gets tossed in olive oil and dried rosemary, which makes your kitchen smell wonderful while it cooks. It requires about ten minutes of chopping, and then the oven does the rest of the work for you.
Ingredients
- 1.5 lbs (680 g) boneless, skinless chicken breasts, cut into chunks
- 2 medium sweet potatoes, peeled and diced
- 1 large red onion, chopped into thick wedges
- 3 tbsp (45 ml) olive oil
- 1 tbsp (5 g) dried rosemary
- 1 tsp (3 g) garlic powder
- 1 tsp (6 g) salt
- 1/2 tsp (2 g) black pepper
Tools and Preparation
Grab a large baking sheet, a cutting board, a sharp knife, and a large mixing bowl. Preheat your oven to 425°F (220°C).
To prep, peel the sweet potatoes and cut them into even, bite-sized cubes. Cut the chicken into pieces that are roughly the same size as the potatoes so everything finishes cooking at the same time.
Step-by-Step Instructions
- Place the diced chicken, sweet potatoes, and red onion wedges into your large mixing bowl.
- Pour the olive oil over the ingredients, then sprinkle in the rosemary, garlic powder, salt, and black pepper.
- Toss everything together with a large spoon or your hands until the chicken and vegetables are evenly coated in the oil and spices.
- Pour the mixture onto your baking sheet and spread it out into a single, even layer.
- Bake for 25 to 30 minutes, tossing halfway through. The meal is done when the sweet potatoes are fork-tender, and the chicken reaches an internal temperature of 165°F (74°C).
Common Mistakes to Avoid
Cutting the sweet potatoes too large is the most frequent problem here. If the potato chunks are too big, the chicken will dry out before the potatoes are soft enough to eat. Keep the potato cubes about one inch thick.
Do not skip tossing the ingredients halfway through the baking time. Stirring ensures that the chicken cooks evenly and stops the onions from burning on the edges of the pan.
Variations, Storage, and Final Thoughts
You can easily substitute chicken thighs for the chicken breasts if you prefer dark meat. Chicken thighs actually hold up better to high heat and bring even more flavor to the vegetables.
Keep leftovers in a sealed container in the fridge for up to four days. This makes an excellent lunch the next day, either warmed up or tossed cold over a bed of spinach.
This recipe is proof that healthy cooking does not have to be complicated. It delivers all those comforting autumn flavors with very little effort.
3. Creamy Butternut Squash and Sage Pasta
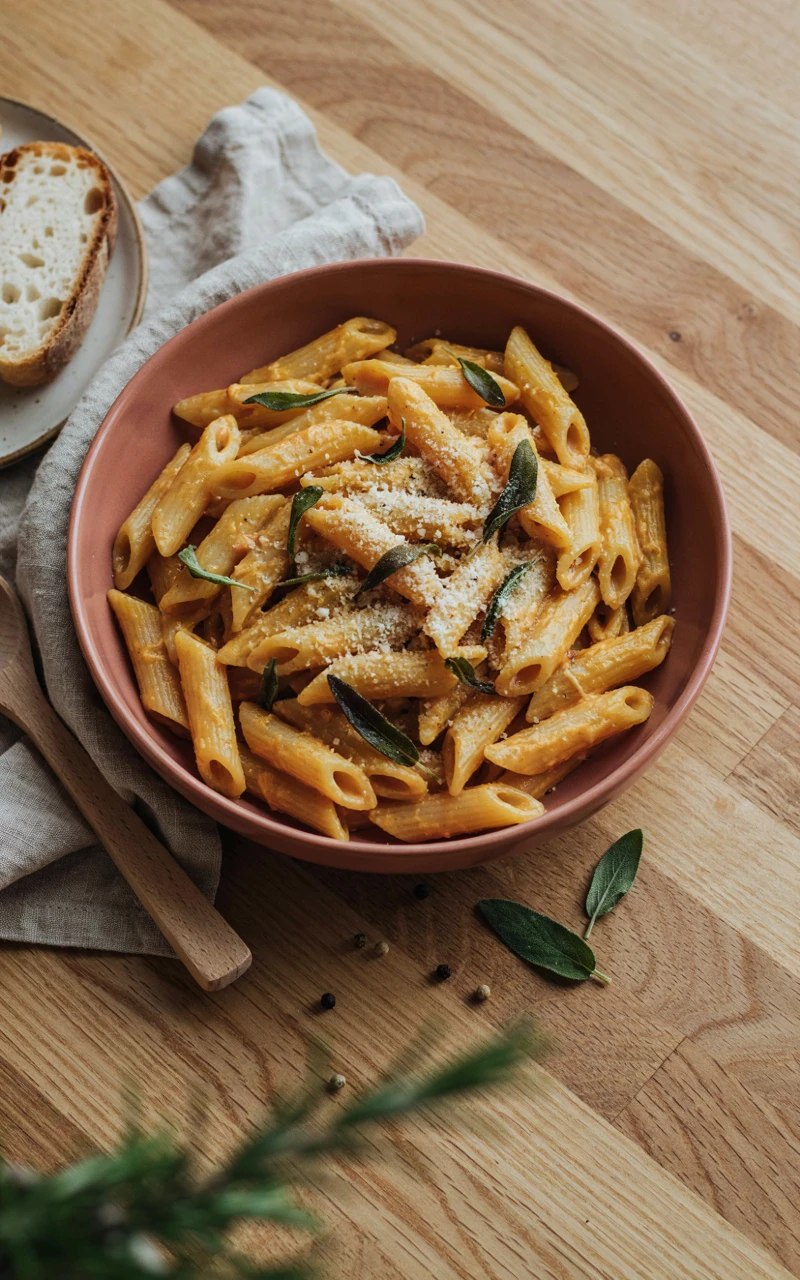
Why You’ll Love This Recipe
If you are looking for healthy fall dinner recipes that feel like pure comfort food, this pasta is a winner. The sauce looks and tastes incredibly rich, but the creaminess actually comes from blended butternut squash rather than heavy cream.
Fresh sage brings a warm, earthy flavor that pairs perfectly with the natural sweetness of the squash. It is a filling, warming dinner that feels special enough for a weekend but is fast enough for a Tuesday night.
Ingredients
- 12 oz (340 g) dry pasta of your choice
- 3 cups (400 g) butternut squash, peeled and cubed
- 1.5 cups (350 ml) vegetable broth
- 2 tbsp (30 ml) olive oil
- 2 cloves garlic, minced
- 10 fresh sage leaves
- 1/4 cup (25 g) grated Parmesan cheese
- 1/2 tsp (3 g) salt
Tools and Preparation
You will need a large pot for boiling pasta, a medium saucepan, a blender or immersion blender, and a small skillet. Get your cutting board and knife ready for the squash.
If buying a whole butternut squash feels like too much work on a weeknight, buy the pre-cut cubes from the produce section. It saves a lot of prep time and works just as well.
Step-by-Step Instructions
- Bring a large pot of salted water to a boil and cook the pasta according to the package directions. Before draining the pasta, scoop out one cup of the starchy pasta water and set it aside.
- While the pasta cooks, place the butternut squash cubes and vegetable broth in the medium saucepan. Bring to a simmer, cover, and cook for 15 minutes until the squash is very soft.
- Transfer the soft squash and the broth to a blender. Add the minced garlic, parmesan cheese, and salt. Blend until the mixture is completely smooth and creamy.
- In the small skillet, heat the olive oil over medium heat. Add the fresh sage leaves and fry them for about 1 minute until they are crispy. Remove the pan from the heat.
- Return the drained pasta to its large pot. Pour the blended squash sauce over the noodles and toss to coat. If the sauce is too thick, splash in a little of the reserved pasta water until it reaches the right consistency.
- Serve the pasta warm, topped with the crispy fried sage leaves and a drizzle of the sage-infused olive oil from the skillet.
Common Mistakes to Avoid
Forgetting to save the pasta water is a frustrating mistake. That starchy water is the secret to making the squash sauce cling perfectly to the noodles instead of sliding off into the bottom of the bowl.
Watch the sage leaves closely when you fry them. They go from perfectly crispy to burnt and bitter in a matter of seconds, so pull them off the heat as soon as they stop sizzling.
Variations, Storage, and Final Thoughts
To add more protein, stir in some cooked white beans or sliced grilled chicken at the very end. You can also use a chickpea or lentil pasta to boost the fiber content of the meal.
Store leftovers in the fridge for up to three days. The sauce will thicken up quite a bit as it cools, so add a splash of water or broth when you reheat it on the stove.
I love bringing a bowl of this pasta into the living room on a chilly night. It is exactly the kind of satisfying, vegetable-packed dinner that makes fall my favorite season for cooking.
4. Turkey and White Bean Pumpkin Chili
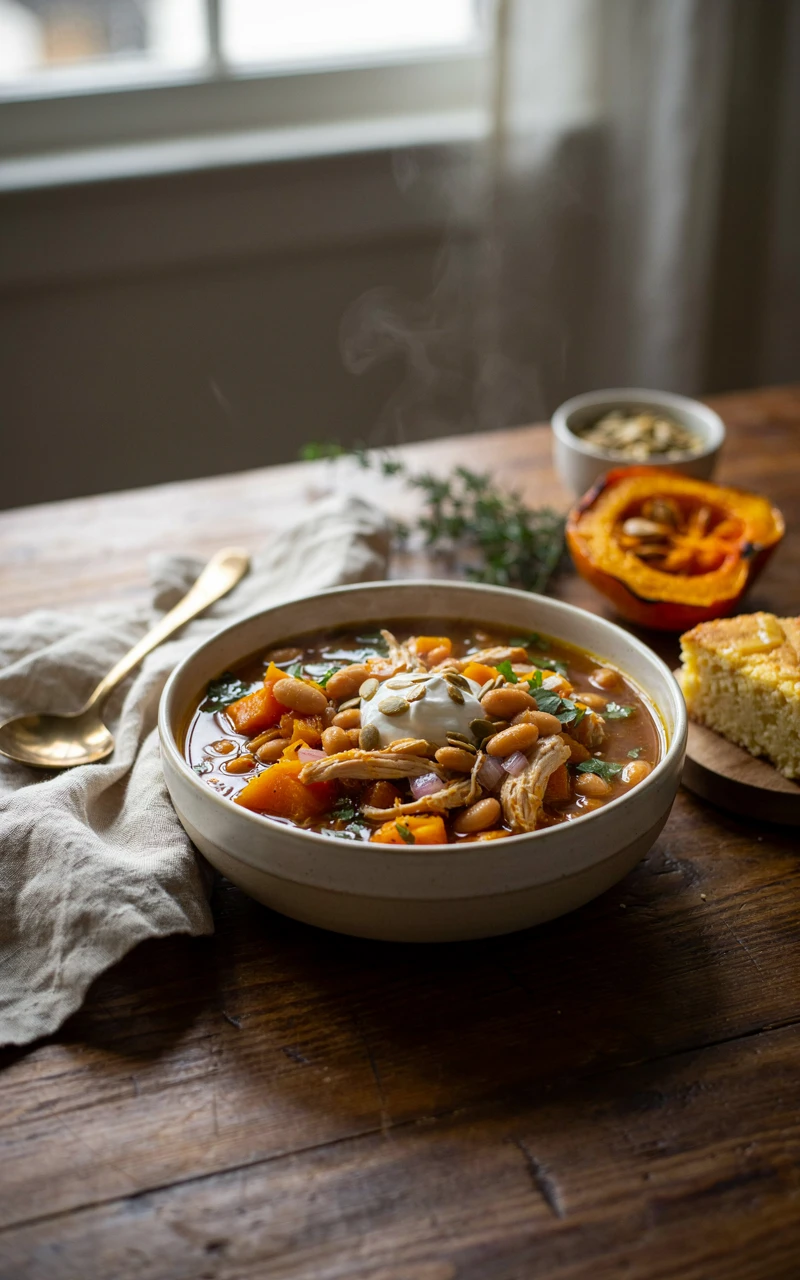
Why You’ll Love This Recipe
When I need easy, healthy fall dinner ideas, I almost always turn to chili. Adding pureed pumpkin to a traditional turkey chili makes the broth thick, rich, and slightly sweet without overpowering the savory spices.
This recipe uses pantry staples like canned beans and diced tomatoes, making it a great option for nights when you have not been to the grocery store. It is packed with protein and fiber, keeping you full and warm all evening.
Ingredients
- 1 lb (450 g) lean ground turkey
- 1 can (15 oz / 425 g) white beans, rinsed and drained
- 1 can (15 oz / 425 g) plain pumpkin puree
- 1 can (14.5 oz / 411 g) diced tomatoes, undrained
- 2 cups (470 ml) chicken broth
- 1 medium yellow onion, diced
- 1 tbsp (15 ml) olive oil
- 1 tbsp (8 g) chili powder
- 1 tsp (2 g) ground cumin
- 1 tsp (6 g) salt
Tools and Preparation
You will need a large Dutch oven or a heavy-bottomed soup pot, a wooden spoon, a cutting board, a knife, and a can opener. Dice your onion before you start cooking.
Open all your cans and rinse your white beans in a colander. Having everything ready to dump into the pot makes the cooking process completely stress-free.
Step-by-Step Instructions
- Heat the olive oil in your large pot over medium-high heat. Add the diced onion and cook for about 3 minutes until it starts to soften.
- Add the ground turkey to the pot. Break the meat apart with your wooden spoon and cook for 5 to 7 minutes until it is completely browned and no pink remains.
- Sprinkle the chili powder, cumin, and salt over the meat and onions. Stir well and let the spices toast for 1 minute until they smell fragrant.
- Pour in the diced tomatoes, pumpkin puree, white beans, and chicken broth. Stir everything together until the pumpkin dissolves smoothly into the broth.
- Bring the chili to a gentle boil, then reduce the heat to low. Cover the pot and let it simmer for 20 minutes to allow the flavors to combine.
- Ladle the hot chili into bowls and serve with your favorite toppings, like a spoonful of Greek yogurt or fresh cilantro.
Common Mistakes to Avoid
The most crucial mistake to avoid is buying pumpkin pie filling instead of plain pumpkin puree. Pie filling is loaded with sugar and spices like cinnamon and nutmeg, which will completely ruin a savory chili.
Do not skip toasting the spices with the meat before adding the liquids. Letting the chili powder and cumin hit the hot oil wakes up their flavor and makes the finished dish taste much richer.
Variations, Storage, and Final Thoughts
If you want to make this a vegetarian meal, simply leave out the turkey and add a second can of beans, like kidney or black beans. You can also swap the chicken broth for vegetable broth.
Chili is one of those rare meals that actually tastes better the next day. It keeps well in the fridge for up to four days, and it freezes beautifully in airtight containers for up to three months.
This is my go-to recipe for busy October nights. It requires minimal chopping, cooks in one pot, and delivers a massive amount of flavor for very little work.
5. Sheet Pan Sausage, Apple, and Root Vegetables

Why You’ll Love This Recipe
This meal brings the absolute best flavors of the season onto one pan. It is one of my favorite quick, healthy fall dinner ideas because it pairs the savory, salty bite of sausage with the warm sweetness of roasted apples.
Root vegetables like carrots and parsnips get wonderfully tender in the oven. Because you are using pre-cooked chicken sausage, the whole meal is ready in about half an hour, making it perfect for a rushed weeknight.
Ingredients
- 12 oz (340 g) pre-cooked chicken sausage, sliced into rounds
- 2 crisp apples, cored and chopped
- 3 large carrots, peeled and chopped
- 2 parsnips, peeled and chopped
- 2 tbsp (30 ml) olive oil
- 1 tsp (1 g) dried thyme
- 1/2 tsp (3 g) salt
- 1/4 tsp (1 g) black pepper
Tools and Preparation
Grab a large baking sheet, aluminum foil or parchment paper, a cutting board, and a chef’s knife. Preheat your oven to 400°F (200°C).
Peel the carrots and parsnips and cut them into small, half-inch pieces. Leave the skin on the apples for extra color and texture, but core them and chop them to roughly the same size as the vegetables.
Step-by-Step Instructions
- Line your baking sheet with foil or parchment paper for easy cleanup.
- Place the sliced sausage, chopped apples, carrots, and parsnips directly onto the lined baking sheet.
- Drizzle the olive oil evenly over the pan. Sprinkle the dried thyme, salt, and black pepper over the top.
- Use your hands or a large spatula to toss everything together right on the pan until the apples and vegetables are coated in the oil and seasonings.
- Spread the mixture out into a single layer so nothing is overlapping.
- Roast in the oven for 20 to 25 minutes, stirring once halfway through, until the vegetables are tender and the sausage slices are browned on the edges.
Common Mistakes to Avoid
Choosing the wrong type of apple will throw off the texture of this dish. Avoid soft baking apples like McIntosh, which will turn into applesauce in the oven. Use a firm, crisp variety like Honeycrisp, Fuji, or Pink Lady.
Make sure you cut the root vegetables small enough. Carrots and parsnips are dense and take longer to cook than apples, so cutting them into small pieces ensures everything finishes baking at the same time.
Variations, Storage, and Final Thoughts
You can easily switch up the vegetables based on what you have in the fridge. Cubed butternut squash or small red potatoes work wonderfully in place of the parsnips.
Store any leftovers in an airtight container in the fridge for up to three days. It reheats beautifully in the oven or in a skillet on the stove.
There is something incredibly satisfying about a dinner that requires only a cutting board and a baking sheet. It is a colorful, comforting meal that always hits the spot.
6. Stuffed Acorn Squash with Quinoa and Cranberries
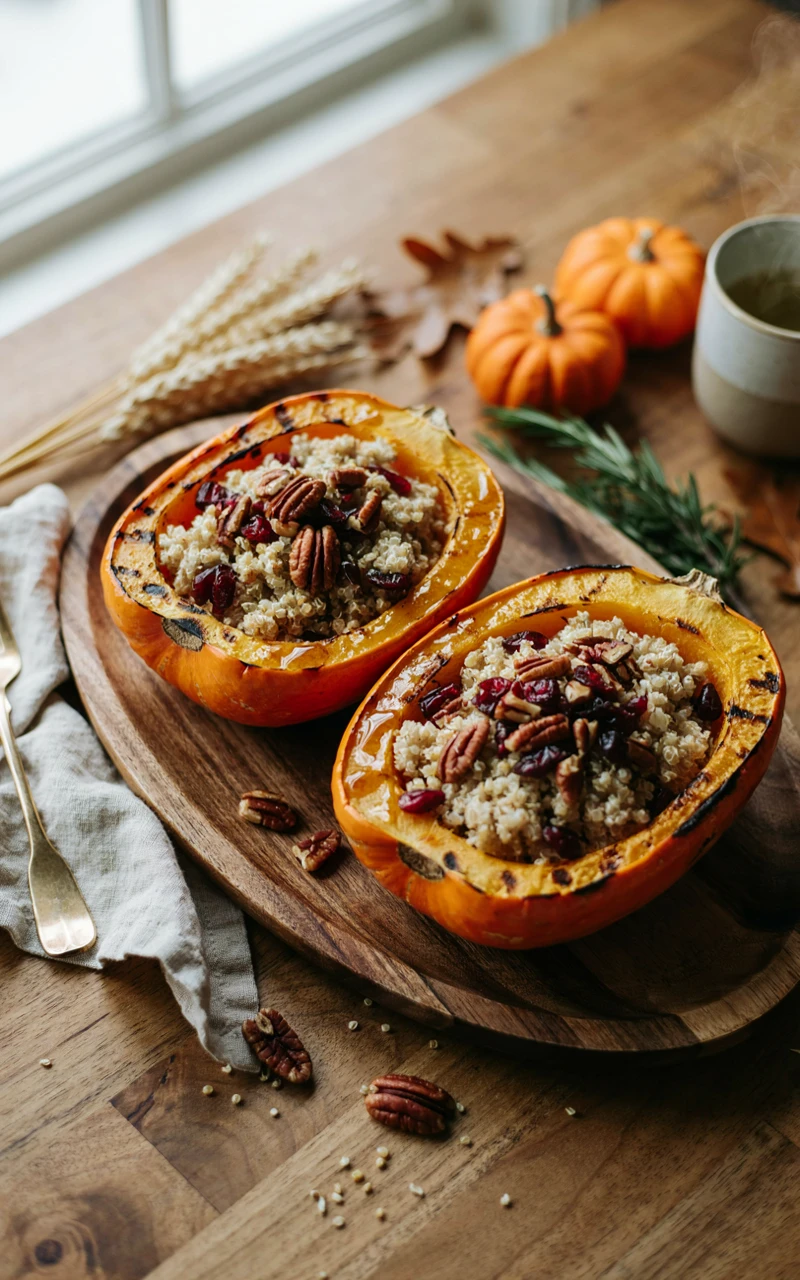
Why You’ll Love This Recipe
Stuffed squash looks like a fancy, time-consuming meal, but it is actually incredibly straightforward. The acorn squash serves as a natural, edible bowl that gets sweet and tender as it roasts.
The filling is a hearty mix of quinoa, dried cranberries, and toasted pecans. It is a fantastic plant-based dinner that feels substantial and filling, bringing plenty of texture and flavor to your evening table.
Ingredients
- 2 medium acorn squash, halved and seeds removed
- 1 cup (185 g) cooked quinoa
- 1/2 cup (60 g) dried cranberries
- 1/2 cup (55 g) chopped pecans
- 2 cups (60 g) fresh baby spinach, roughly chopped
- 2 tbsp (30 ml) olive oil, divided
- 1/4 tsp (1 g) salt
- 1/4 tsp (1 g) black pepper
Tools and Preparation
You will need a sharp, heavy chef’s knife, a cutting board, a baking dish, and a medium mixing bowl. Preheat your oven to 400°F (200°C).
Cutting acorn squash can be tricky. Use a large, sharp knife to cut straight through the stem to the bottom. Use a sturdy metal spoon to scrape out all the seeds and stringy bits from the center.
Step-by-Step Instructions
- Rub the inside of each squash half with 1 tablespoon of the olive oil. Sprinkle them lightly with salt and pepper.
- Place the squash halves cut-side down in your baking dish. Bake for 30 to 35 minutes, or until the skin pierces easily with a fork.
- While the squash bakes, prepare the filling. In your mixing bowl, combine the cooked quinoa, dried cranberries, chopped pecans, and chopped spinach.
- Drizzle the remaining 1 tablespoon of olive oil over the quinoa mixture and stir well. The heat from the quinoa will slightly wilt the fresh spinach.
- Remove the tender squash from the oven and carefully flip the halves over so they face up.
- Scoop the quinoa filling generously into the center of each squash half. Return the dish to the oven and bake for 10 more minutes until the filling is heated through and the pecans are toasted.
Common Mistakes to Avoid
Do not try to stuff the squash before it is fully cooked. The filling is already cooked, so if you put it in a raw squash, the quinoa will dry out and burn long before the thick squash walls get tender.
Be careful when flipping the hot squash halves out of the oven. Use a pair of sturdy tongs to turn them over so you do not burn your fingers on the steam trapped underneath.
Variations, Storage, and Final Thoughts
If you want to add meat to this dish, brown some ground turkey or mild Italian sausage in a skillet and stir it into the quinoa mixture before stuffing the squash.
Leftover stuffed squash keeps well in the fridge for up to three days. I like to cut the cold squash into chunks and mix it right into the filling for a quick, hearty lunch.
This recipe brings such a great pop of color to the dinner table. It is exactly the kind of meal I want to eat when the leaves start changing outside.
7. 30-Minute Tuscan White Bean and Kale Soup
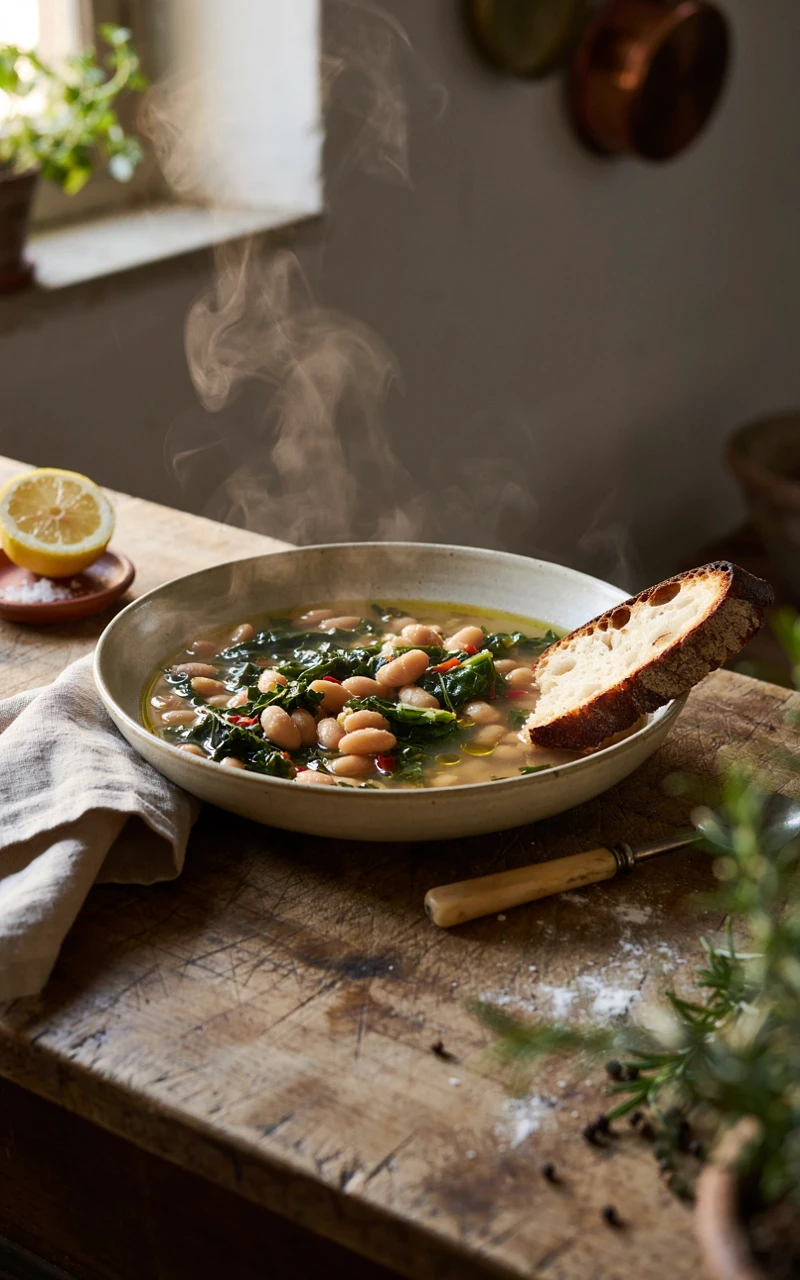
Why You’ll Love This Recipe
A warm bowl of soup is the ultimate comfort on a cold, dark evening. This Tuscan-inspired recipe uses canned beans and fresh greens to create a rich, satisfying dinner from start to finish in just 30 minutes.
The broth gets its deep flavor from garlic, onions, and diced tomatoes, while the kale adds a bright, earthy bite. It is completely foolproof, incredibly cheap to make, and leaves you feeling nourished.
Ingredients
- 2 cans (15 oz / 425 g each) cannellini beans, rinsed and drained
- 1 bunch fresh kale, stems removed and leaves chopped
- 1 can (14.5 oz / 411 g) diced tomatoes, undrained
- 4 cups (940 ml) vegetable broth
- 1 medium yellow onion, diced
- 3 cloves garlic, minced
- 2 tbsp (30 ml) olive oil
- 1 tsp (1 g) dried oregano
Tools and Preparation
Pull out a large soup pot or Dutch oven, a cutting board, and a knife. Wash your kale thoroughly before starting.
To prep the kale, hold the thick, tough stem with one hand and strip the green leaves off with the other. Discard the stems and chop the leaves into small, bite-sized pieces.
Step-by-Step Instructions
- Heat the olive oil in your large pot over medium heat. Add the diced onion and cook for about 4 minutes until it becomes translucent and soft.
- Add the minced garlic and dried oregano to the pot. Stir constantly for 1 minute until you can smell the garlic.
- Pour in the diced tomatoes with their juices, the vegetable broth, and the rinsed cannellini beans. Stir everything together.
- Turn the heat up slightly to bring the soup to a gentle simmer. Let it cook uncovered for 15 minutes so the flavors can blend.
- Add the chopped kale to the pot. It will look like a lot of greens, but they will shrink down quickly.
- Stir the soup for 3 to 4 minutes until the kale is completely wilted and bright green. Ladle into bowls and serve hot.
Common Mistakes to Avoid
Adding the kale too early is a common mistake. If you boil kale for 15 minutes, it turns into a mushy, dark green mess. Stir it in right at the end so it keeps a bit of its texture and its vibrant color.
Do not forget to rinse your canned beans. The liquid inside the can is very starchy and salty, and pouring it straight into the pot will make your soup broth cloudy and overly thick.
Variations, Storage, and Final Thoughts
For a richer broth, drop a Parmesan cheese rind into the pot while the soup simmers, then remove it before serving. You can also add sliced, cooked sausage if you want a meatier soup.
This soup stores beautifully in the fridge for up to four days. The kale holds up much better in leftover broth than spinach does, making this a perfect meal prep option.
When the weather is miserable and I have zero energy, this is the recipe I lean on. It is fast, healthy, and warms you up from the inside out.
Finding the energy to cook after a long day is never easy, but having a few reliable recipes in your back pocket changes everything. I love knowing that I can pull together a great dinner without spending hours on my feet, and it leaves me more time to actually relax in the evenings. If you are updating your space for the season too, you might enjoy reading about some simple fall kitchen decor ideas to make your cooking area feel even more welcoming.
I hope these meals make your weeknights a little less chaotic and a lot more delicious. Pick one that sounds good to you, grab the ingredients, and give it a try this week. Let me know in the comments which recipe you are planning to make first!