This post may contain affiliate links, which means I may receive a small commission should you decide to click that link and make a purchase. For more information please refer to the Terms & Conditions.

I am utterly obsessed with Thanksgiving. It is my favorite holiday, hands down. I truly live for those classic Southern dishes. The smells of a roasting turkey and sizzling onions feel like home. Thanksgiving is more than a meal; it is a feeling.
That feeling is built on cornbread dressing and sweet potato casserole. I know how overwhelming it is to plan the big meal. You want those “wow” moments when people take their first bite. I am here to help you get precisely that.
I’ll walk you through the 10 essential dishes. Let’s get ready to create your most delicious holiday yet.
The 10 Essential Classic Southern Thanksgiving Dishes
I’m so excited to share these recipes with you. This isn’t just any list. These are the Southern Thanksgiving dishes that are the heart of the meal.
You’ll find that the magic is in doing it the right way. It’s all about those rich layers of flavor. It’s about the techniques that have been passed down.
We won’t cut any corners here, but the result is worth the effort. This is food that tastes like home. Let’s get cooking.
The Perfect Roast Turkey
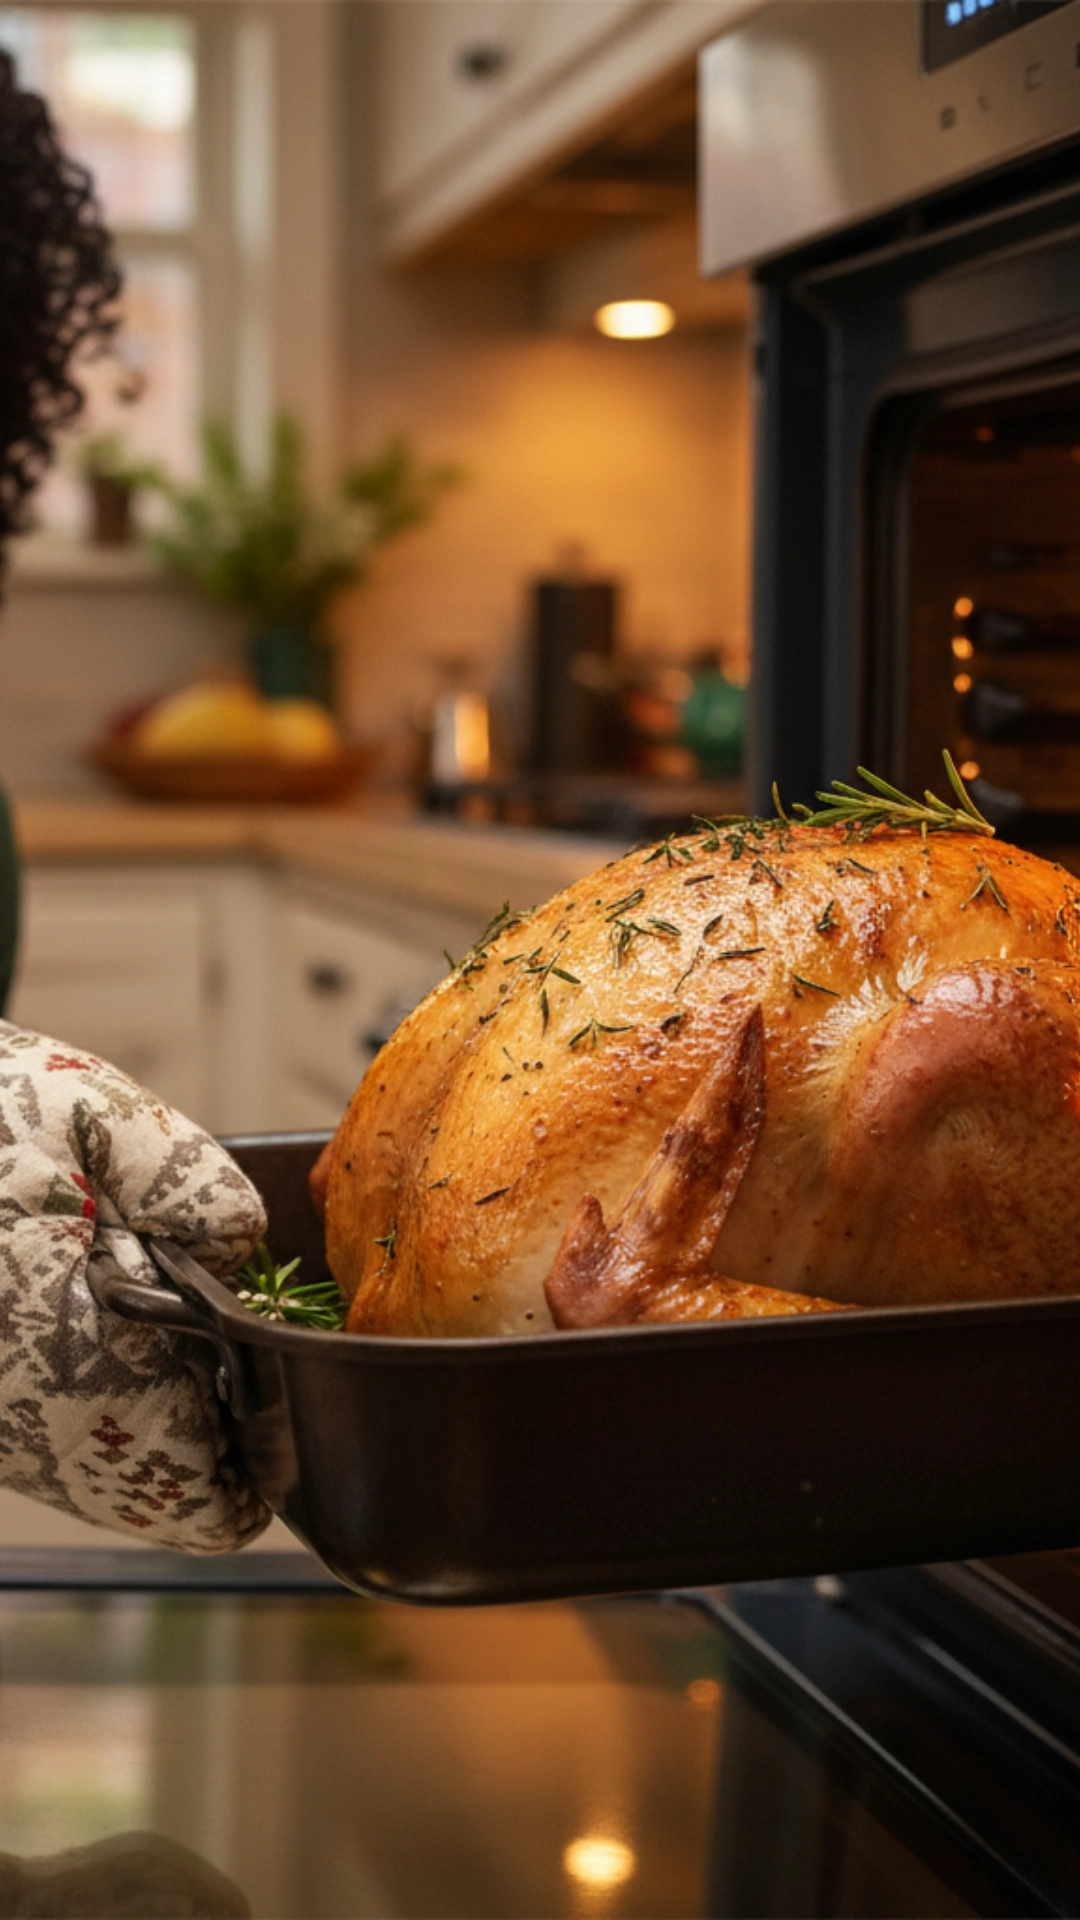
The turkey is the centerpiece, the star of the show. A Southern Thanksgiving often features a deeply seasoned, juicy bird. Forget dry, bland turkey. This method will give you a beautiful, golden-brown centerpiece packed with flavor.
Step-by-Step: Your Perfect Roast Turkey Guide
What You’ll Need:
- 1 (12-15-pound) whole turkey, completely thawed
- Giblets and neck (for gravy)
- 1/2 cup (113g) unsalted butter, softened
- 2 tablespoons (30g) kosher salt
- 1 tablespoon (15g) black pepper
- 1 tablespoon (15g) poultry seasoning
- 1 large onion, quartered
- 2 large carrots, cut into 2-inch chunks
- 2 celery stalks, cut into 2-inch chunks
- 1 apple, quartered
- 1 bunch of fresh herbs (I love a mix of sage, rosemary, and thyme)
Instructions:
- Prep Your Bird: First, make sure your turkey is 100% thawed. This can take several days in the refrigerator, so plan. Once melted, remove the turkey from its packaging. Reach inside the cavity and remove the neck and the bag of giblets. Save these for your gravy!
- Dry the Skin: This is my most important tip. Pat the entire turkey, inside and out, completely dry with paper towels. I mean bone dry. This is the secret to getting that crispy, golden skin everyone loves.
- Make Your Herb Butter: In a small bowl, mix the softened butter, salt, pepper, and poultry seasoning. You can also chop up a few fresh herbs and add them here.
- Season Generously: Carefully slide your fingers under the skin of the turkey breast to loosen it. Rub about half of your herb butter directly onto the breast meat, under the skin.
- Season the Outside: Rub the remaining herb butter all over the outside of the turkey. Get it on the legs, the wings, and the back.
- Stuff with Aromatics: Stuff the central cavity with your quartered onion, carrots, celery, apple, and other fresh herbs. These aren’t for eating; they create steam and flavor the meat from the inside out.
- Truss the Bird: Tie the legs with kitchen twine and tuck the wing tips under the body. This helps the turkey cook more evenly.
- Roast to Perfection: Place the turkey on a roasting rack inside a large roasting pan and put it in a preheated 325°F (165°C) oven.
- Monitor the Temp: Roast until a meat thermometer inserted into the thickest part of the thigh (not touching bone) reads 165°F (74°C). This will take several hours, so be patient. I don’t like to baste because opening the oven lets the heat out, but you can.
- REST!: This is the second-most important tip. When the turkey is done, please remove it from the oven, transfer it to a large cutting board, and tent it loosely with aluminum foil. You MUST let it rest for at least 30 minutes before carving. This lets the juices redistribute back into the meat. If you cut it right away, all that delicious juice will run out onto the board.
Southern Cornbread Dressing
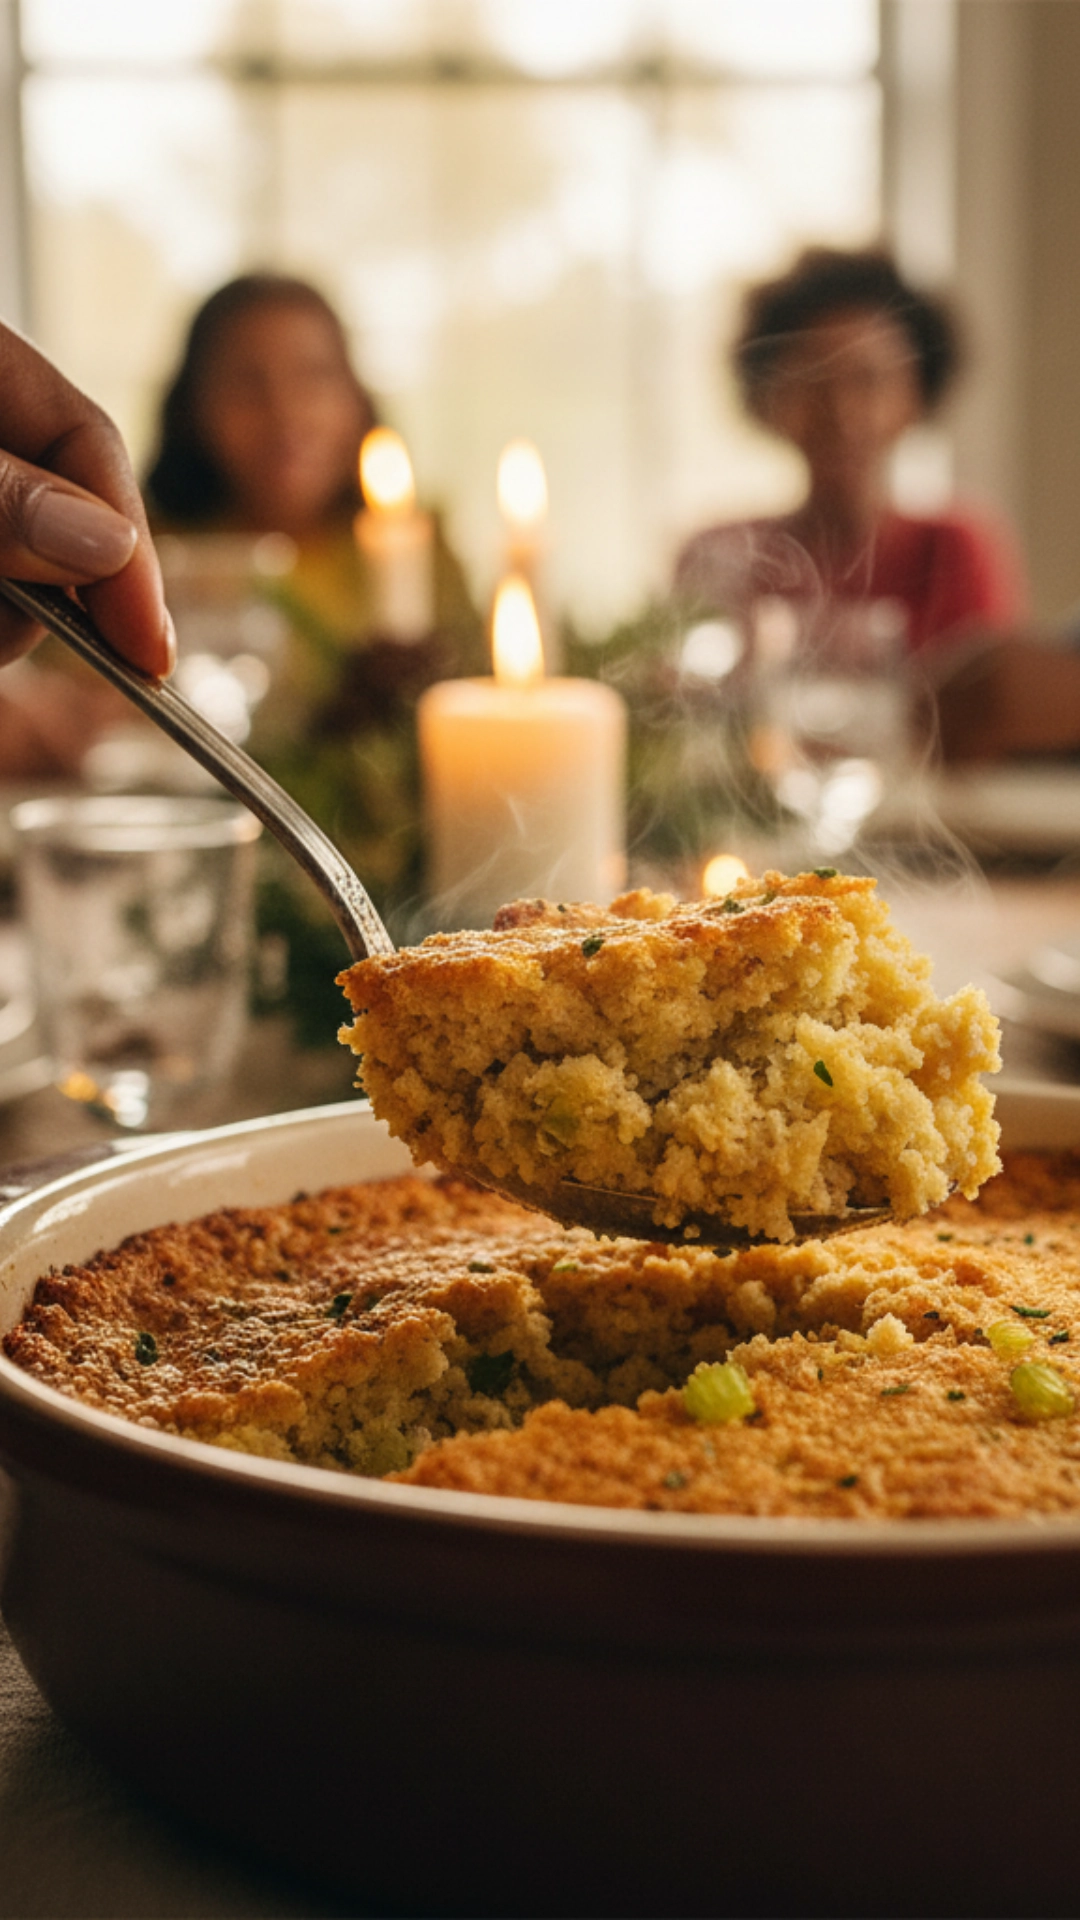
In the South, it’s “dressing,” not “stuffing.” The key difference is that it’s baked in a separate casserole dish, creating those crispy, golden-brown edges. The base is always, always crumbled cornbread.
Step-by-Step: How to Make Cornbread Dressing
What You’ll Need:
- 1 (9×13 pan) of cornbread, baked a day or two before (stale is better)
- 4 slices of stale white bread, torn into small pieces
- 1/2 cup (113g) unsalted butter
- 1 large onion, finely chopped
- 3-4 celery stalks, finely chopped
- 1 green bell pepper, finely chopped (optional, but classic)
- 3-4 cups (710-945ml) chicken broth
- 2 large eggs, lightly beaten
- 1 tablespoon (15g) dried sage (this is the key flavor)
- 1 teaspoon (5g) poultry seasoning
- 1 teaspoon (5g) black pepper
- Salt to taste
Instructions:
- Prep Your Base: Make your pan of cornbread the day before, or even two days before. You want it to be dry and crumbly. Once ready, crumble the entire pan of cornbread into a considerable mixing bowl. Add your torn pieces of stale white bread.
- Sauté Your Vegetables: Melt 1/2 cup of butter in a large skillet. Add chopped onion, celery, and bell pepper (this mix is called the “holy trinity” in Southern cooking). Sauté them over medium heat until they are very soft and fragrant, about 10-15 minutes.
- Combine the Base: Pour the cooked vegetables and all the butter from the skillet directly over the crumbled cornbread in the bowl.
- Add Seasonings: Sprinkle generously with the dried sage, poultry seasoning, salt, and pepper. I love a lot of black pepper and sage in my dressing. Gently toss everything together with your hands or a large spoon.
- Moisten with Broth: Slowly pour the chicken broth, starting with 3 cups. You want the dressing to be very moist, almost soggy, but not quite a soup. Keep adding broth and mixing until all the dry crumbs are soaked. The stale bread will soak it all up.
- Bind with Eggs: Add the two lightly beaten eggs to the bowl. The eggs act as a binder and help the dressing set up when baking. Mix until just combined.
- Bake to Golden: Pour the mixture into a large, greased 9×13 baking dish. You can dot the top with a few extra pats of butter for good measure (I always do!). Bake in a 375°F (190°C) oven for 40-50 minutes, until the top is golden brown and crispy, and the center is set.
Baked Macaroni and Cheese (The REAL Kind)
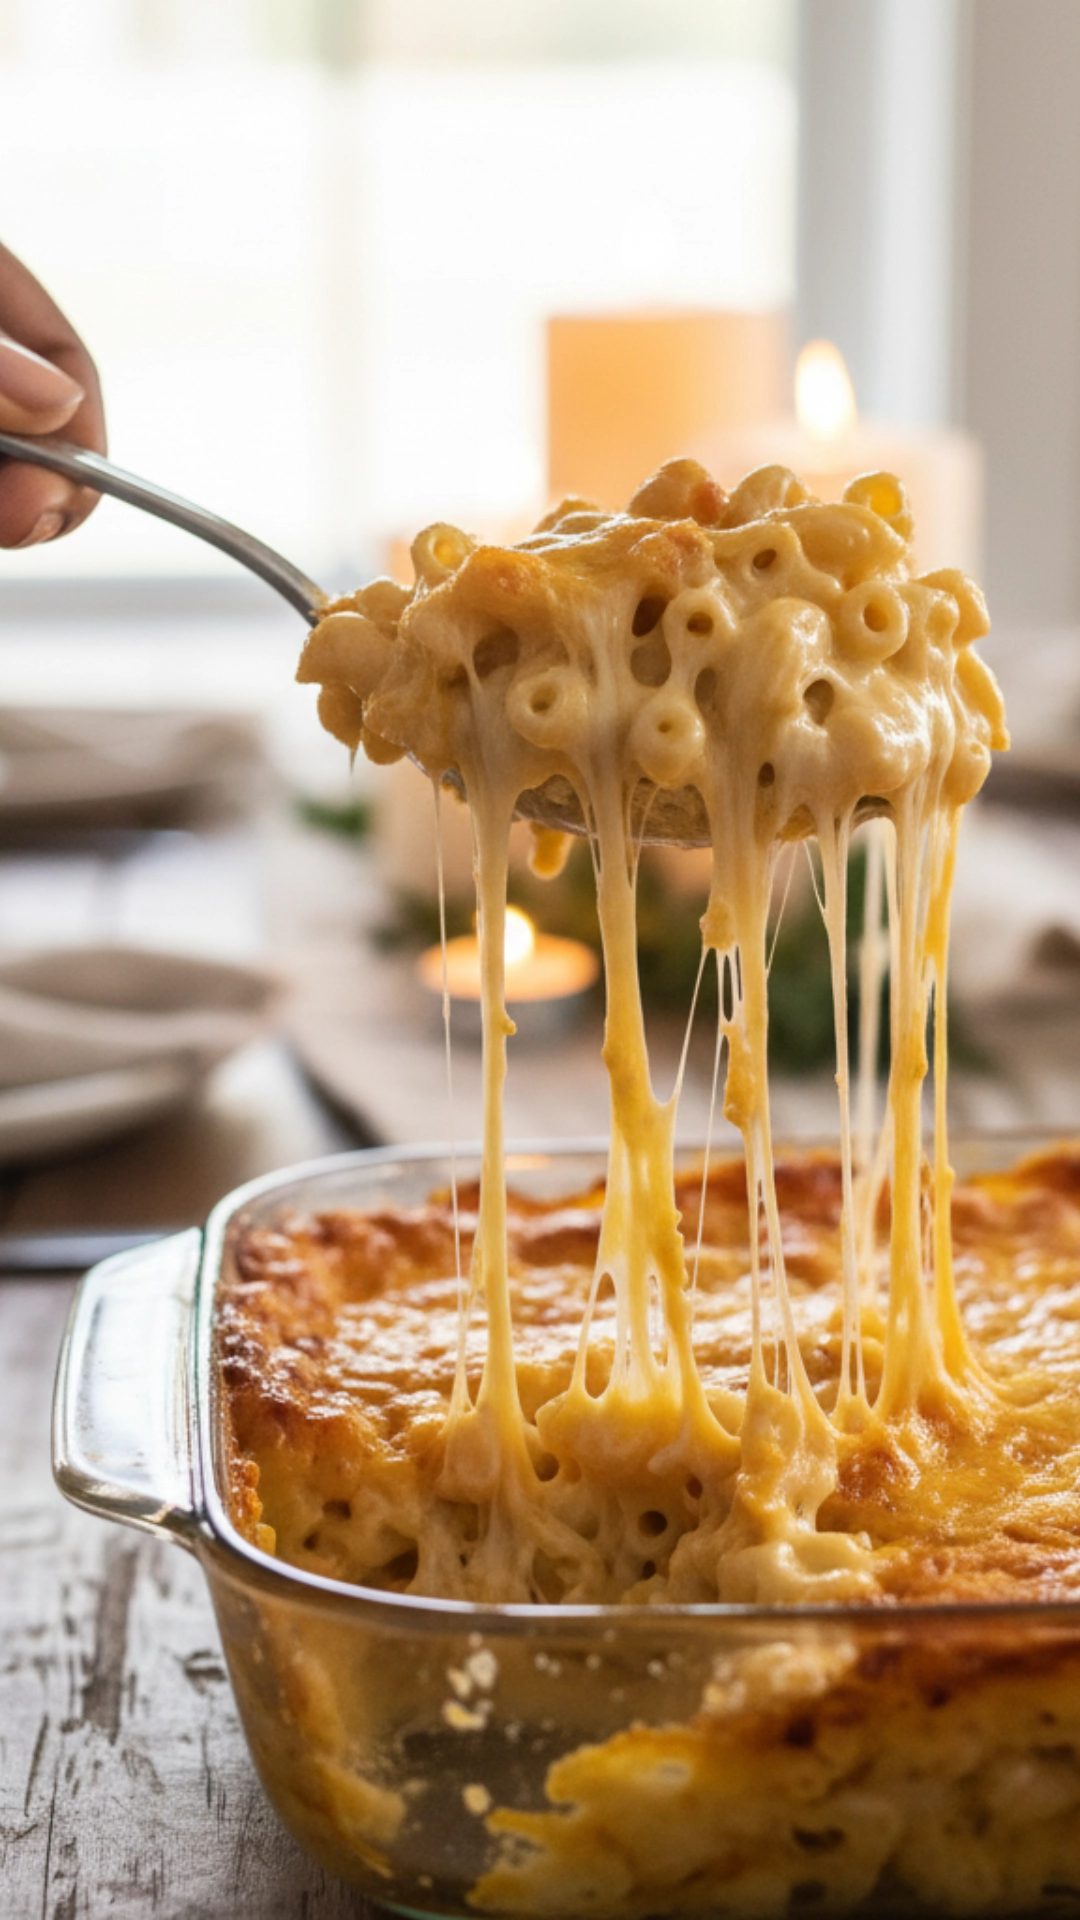
This is not the kind from a box. Southern-style baked macaroni and cheese is a rich, decadent casserole. It’s held together by a creamy, homemade cheese sauce and baked until bubbly and golden.
Step-by-Step: Creamy, Cheesy Baked Mac and Cheese
What You’ll Need:
- 1 pound (450g) of elbow macaroni
- 4 tablespoons (57g) unsalted butter
- 4 tablespoons (30g) all-purpose flour
- 3 cups (710ml) whole milk
- 1 can (12 oz / 354ml) evaporated milk
- 16 oz (450g) sharp cheddar cheese, shredded
- 8 oz (225g) Gruyère cheese, shredded (or Monterey Jack)
- 1 teaspoon (5g) salt
- 1/2 teaspoon (2.5g) black pepper
- 1/4 teaspoon (1g) cayenne pepper
My Favorite Cheese Tip: I’m obsessed with using a mix. My go-to is sharp cheddar for flavor and Gruyère for creaminess. Pro-tip: You must shred your own cheese. Pre-shredded bags have an anti-caking agent that makes your sauce grainy.
Instructions:
- Cook Your Pasta: Boil the elbow macaroni in a large pot of salted water for 1-2 minutes less than the package directions. You want it very al dente (firm to the bite) because it will continue to cook in the oven. Drain it well.
- Make the Roux: Melt the four tablespoons of butter in a large pot or Dutch oven over medium heat. Whisk in the four tablespoons of all-purpose flour. Keep whisking for about two minutes. This cooks out the raw flour taste and forms your “roux,” which will thicken the sauce.
- Build the sauce: Slowly whisk in the 3 cups of whole milk, adding a little bit at a time, constantly whisking to prevent lumps. Once all the milk is in, whisk in the one can of evaporated milk. This makes it extra creamy.
- Season and Simmer: Add your salt, pepper, and a tiny pinch of cayenne (it won’t make it spicy, it just makes the cheese flavor “pop”). Let the sauce simmer and thicken for about 5 minutes, stirring often.
- Melt the Cheese: Turn the heat down to low. Add the shredded cheese by the handful, stirring until each handful is melted before adding the next. Save about 2 cups of the cheese mixture for the top.
- Combine: Once your sauce is smooth and creamy, pour in your drained macaroni. Stir gently to coat every single noodle.
- Layer and Bake: Pour half the mac and cheese mixture into a greased 9×13 baking dish. Sprinkle a layer of your reserved cheese (about 1 cup). Top with the rest of the mac and cheese. Finally, sprinkle the remaining 1 cup of cheese all over the top.
- Bake: Bake in a 350°F (175°C) oven for 30-40 minutes. You want it hot, bubbly, and golden brown on top. Let it rest for 10 minutes before serving to set up the sauce.
Candied Sweet Potato Casserole
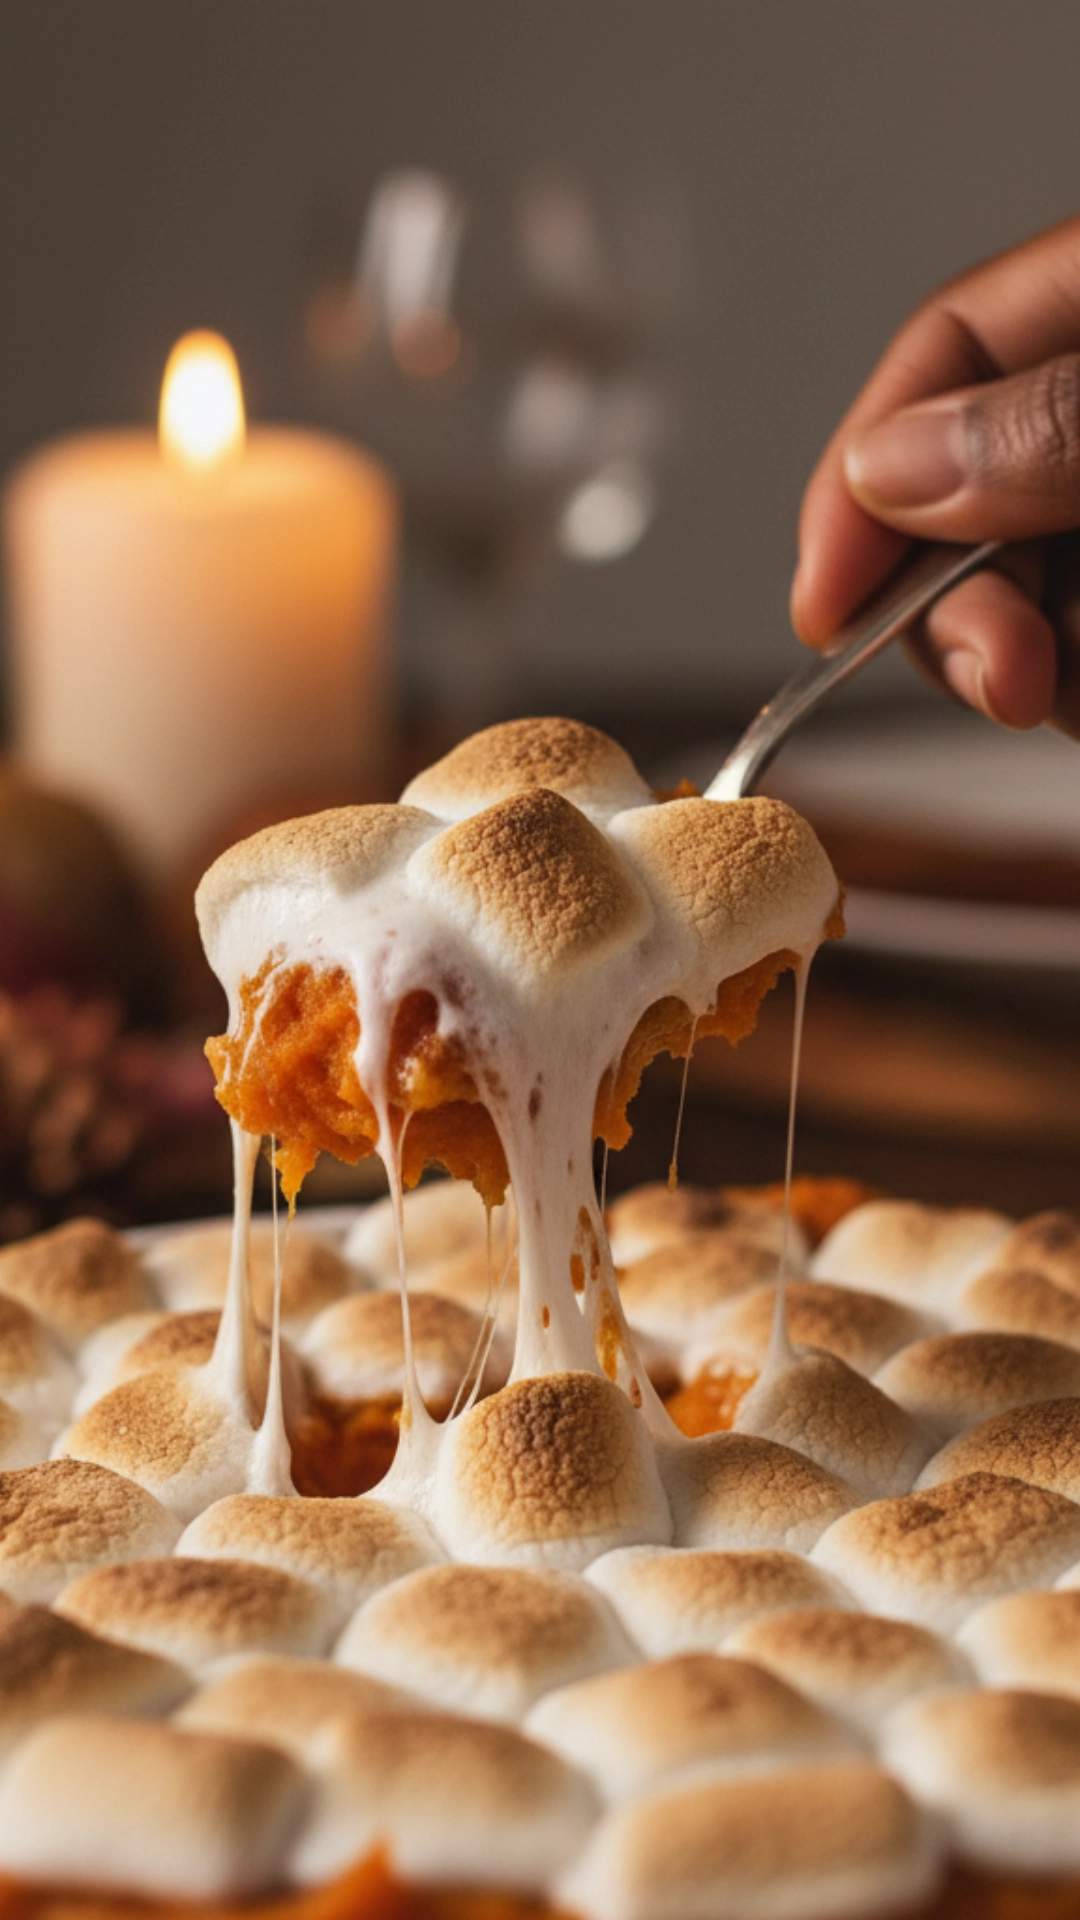
This is a non-negotiable dish. It’s practically a dessert served as a side. You’ll find two main camps: those who top it with crunchy pecans and those who prefer toasted marshmallows. I’ll tell you how to do both, but my heart belongs to the pecan crumble.
Step-by-Step: Making Sweet Potato Casserole
What You’ll Need:
- 4 pounds (about 5-6 large) sweet potatoes
- 1/2 cup (113g) unsalted butter, softened
- 1/2 cup (100g) packed brown sugar
- 1/4 cup (50g) white sugar
- 2 large eggs, beaten
- 1/3 cup (80ml) heavy cream or whole milk
- 1 teaspoon (5ml) vanilla extract
- 1/2 teaspoon (2.5g) salt
- 1 teaspoon (5g) cinnamon
- 1/2 teaspoon (2.5g) nutmeg
For the Topping (Choose One):
- Pecan Crumble: 1 cup (110g) chopped pecans, 1/2 cup (100g) packed brown sugar, 1/3 cup (40g) all-purpose flour, four tablespoons (57g) cold butter, cubed.
- Marshmallow: 1 (10 oz) bag of mini marshmallows.
Instructions:
- Cook the Potatoes: You can either bake or boil your sweet potatoes. I prefer to bake them whole (prick them with a fork first) at 400°F (200°C) for about an hour until they are very tender, which concentrates their flavor. Boiling works, too; just peel, cube, and boil in water until fork-tender.
- Mash the Potatoes: Once cooked and cool enough to handle, peel the potatoes (if you baked them) and add them to a large mixing bowl. Mash them well until they are smooth.
- Mix the Casserole: To the mashed potatoes, add the 1/2 cup softened butter, 1/2 cup brown sugar, 1/4 cup white sugar, two beaten eggs, 1/3 cup cream, 1 tsp vanilla, salt, cinnamon, and nutmeg. Mix everything until it’s smooth and well combined.
- Prepare the Dish: Spread the sweet potato mixture evenly into a greased 9×13 casserole dish.
- Add Your Topping:
- If using pecans, mix the 1 cup pecans, 1/2 cup brown sugar, and 1/3 cup flour in a separate bowl. Use your fingers to work in the 4 tbsp of cold butter until a crumbly mixture forms. Sprinkle this all over the top of the potatoes.
- If using marshmallows: Skip this step for now.
- Bake: Bake at 350°F (175°C) for 30-35 minutes. The edges should be bubbly, and the center should be hot.
- Final Step for Marshmallows: If you are using marshmallows, pull the casserole out after 30 minutes. Sprinkle the mini marshmallows all over the top and put them back in the oven for 5-10 minutes, or until they are puffed, gooey, and perfectly toasted. Watch it closely so they don’t burn!
Slow-Cooked Collard Greens

You have to have something green on the table, which means collard greens in the South. These aren’t just steamed; they are slow-simmered in a rich, smoky broth (called “pot likker”) until they are perfectly tender and full of soul.
Step-by-Step: Rich Collard Greens
What You’ll Need:
- 2-3 large bunches of collard greens (about 2-3 pounds)
- 1 large smoked turkey leg or 2-3 smoked turkey wings
- 1 large onion, chopped
- 4-5 cloves of garlic, minced
- 6-8 cups (1.4 – 1.9 Liters) chicken broth
- 2 tablespoons (30ml) apple cider vinegar
- 1 teaspoon (5g) red pepper flakes (for a bit of heat)
- Salt and black pepper to taste
Instructions:
- Wash Your Greens! This is the most important part. Collard greens can be very sandy, so you need to wash them multiple times. Fill your clean kitchen sink with cold water, submerge the leaves, and swish them around. Drain the water, rinse, and repeat until you see no grit at the bottom of the sink.
- Prep the Greens: Remove the tough, thick stem from the center of each leaf. You can do this by folding the leaf and slicing the stem. Then, stack the leaves, roll them up like a cigar, and cut them into 1-inch ribbons.
- Start the Flavor Base: In a large pot or Dutch oven, add your smoked turkey leg, chopped onion, and minced garlic.
- Add Greens and Broth: Add your chopped collard greens to the pot. It will look like an impossible amount, but they will cook down a lot. Pack them in. Pour enough chicken broth (about 6-8 cups) to almost cover the greens. Add the red pepper flakes.
- Simmer Low and Slow: Bring the pot to a boil, then reduce the heat to low, cover, and let it simmer. This is where the magic happens. You must let them cook for at least 1.5 hours, but 2-3 hours is even better. They should be incredibly tender.
- Finish the Dish: Just before serving, stir in the two tablespoons of apple cider vinegar. This brightens up the flavor. Taste the “pot likker” (the broth) and adjust with salt and pepper. You can remove the turkey leg, pull the meat off the bone, chop it, and add it back to the pot.
Creamy Giblet Gravy

Don’t you dare throw away those pan drippings or the packet of giblets! That is pure gold. Giblet gravy is a non-negotiable for spooning over turkey, dressing, and mashed potatoes.
Step-by-Step: Making Rich Giblet Gravy
What You’ll Need:
- Giblets (gizzard, heart, liver) and neck from the turkey
- Turkey pan drippings (after the turkey is done roasting)
- 4 cups (945ml) chicken or turkey broth, divided
- 1/4 cup (30g) all-purpose flour
- 1/4 cup (57g) turkey fat (skimmed from drippings) or butter
- 1 small onion, chopped
- 1 celery stalk, chopped
- 2 hard-boiled eggs, finely chopped (my family’s secret!)
- Salt and pepper to taste
Instructions:
- Cook the Giblets: While the turkey is roasting, place the neck, gizzard, and heart (not the liver yet, it can be bitter) in a small saucepan. Cover with about 2 cups of the chicken broth, and add the chopped onion and celery. Bring to a boil, then simmer for about an hour until the meat is tender. Add the liver for the last 15 minutes of cooking.
- Prep the Meat: Remove the meat from the broth. Strain the broth and save it! Discard the bones and gristle, and finely chop the tender giblet meat. Finely chop your two hard-boiled eggs as well.
- Get the Drippings: Once your turkey is out of the oven and resting, pour all the drippings from the roasting pan into a large measuring cup. Let it sit for a few minutes so the fat rises to the top.
- Make the Roux: Skim 1/4 cup of the clear fat from the top of the drippings and put it in a large saucepan. (If you don’t have enough fat, add butter to make 1/4 cup. Heat it over medium heat. Whisk in the 1/4 cup of flour and keep whisking for 2-3 minutes until golden.
- Build the Gravy: Slowly whisk in the reserved giblet-cooking broth and the non-fatty part of the turkey drippings (the brown bits at the bottom are the best part!). Keep whisking and add the remaining 2 cups of chicken/turkey broth as needed until you reach your desired consistency.
- Simmer and Finish: Bring the gravy to a simmer and let it cook for 5-10 minutes to thicken. Stir in the chopped giblet meat and the chopped hard-boiled eggs. Season to taste with salt and pepper.
Southern-Style Green Bean Casserole
This is a classic for a reason. While many Southern tables now embrace fresh green beans, the old-school casserole with canned beans, cream of mushroom soup, and fried onions is pure nostalgia. I like a “new-school” version that uses fresh beans but keeps the classic feel.
Step-by-Step: Fresh Green Bean Casserole
What You’ll Need:
- 1.5 pounds (680g) fresh green beans, trimmed
- 1 can (10.5 oz) cream of mushroom soup
- 1/2 cup (120ml) milk
- 1 tablespoon (15ml) soy sauce
- 1/2 teaspoon (2.5g) black pepper
- 1 can (6 oz) French-fried onions, divided
Instructions:
- Blanch the Beans: Bring a large pot of salted water to a boil. Add your fresh, trimmed green beans and cook for 4-5 minutes. You want them to be bright green and crisp-tender. Immediately drain them and plunge them into a bowl of ice water. This stops the cooking process and keeps them perfectly green.
- Make the Sauce: In a large bowl, whisk together the can of cream of mushroom soup, 1/2 cup of milk, one tablespoon of soy sauce, and the black pepper.
- Combine: Drain the green beans well from their ice bath. Add them to the bowl with the sauce. Add half of the container of fried onions. Stir gently to combine everything.
- Bake: Pour the mixture into a 9×13 baking dish. Bake at 350°F (175°C) for 25-30 minutes, until the sauce is hot and bubbly.
- Top and Crisp: Remove the dish from the oven and sprinkle the remaining fried onions all over it. Return it to the oven for 5-7 more minutes, just until the onions are golden brown and crispy.
Fluffy Buttermilk Biscuits

You need something to sop up all that gravy and pot likker. While some families do rolls, I’m obsessed with a flaky, fluffy buttermilk biscuit. The secret is cold, cold butter.
Step-by-Step: Easy Buttermilk Biscuits
What You’ll Need:
- 2.5 cups (300g) all-purpose flour
- 1 tablespoon (15g) white sugar
- 1 tablespoon (15g) baking powder
- 1 teaspoon (5g) salt
- 1/2 cup (113g) very cold unsalted butter, cut into small cubes
- 1 cup (235ml) cold buttermilk
- 2 tablespoons (30g) melted butter (for brushing)
Instructions:
- Prep: Preheat your oven to 400°F (200°C). Put your 1/2 cup of cubed butter in the freezer for 15 minutes before you start.
- Mix Dry Ingredients: In a large bowl, whisk together 2.5 cups of flour, one tablespoon of sugar, one tablespoon of baking powder, and one tablespoon of salt.
- Cut in the Butter: Add your cold, cubed butter to the flour. Using your fingertips or a pastry cutter, quickly work the butter into the flour until it looks like coarse cornmeal with some pea-sized butter bits remaining. Work fast—you don’t want the butter to melt.
- Add Buttermilk: Make a well in the center of the flour mixture and pour in the 1 cup of cold buttermilk. Use a fork to mix until a shaggy dough gently comes together. Do not overmix!
- Fold for Layers: Turn the dough out onto a lightly floured surface. Gently pat it into a 1-inch thick rectangle. Fold the rectangle in thirds, like a letter. Rotate it 90 degrees and pat it out again. Repeat this folding process 2-3 more times. This is what creates those amazing, flaky layers.
- Cut: Pat the dough out to about 3/4 inch thick. Use a 2.5-inch floured biscuit cutter to cut out your biscuits. Press straight down—don’t twist the cutter, as that seals the edges and stops them from rising.
- Bake: Place the biscuits on a baking sheet so they are just touching (this helps them rise tall). Brush the tops with the 2 tablespoons of melted butter. Bake for 12-15 minutes, until tall and golden brown.
Homemade Cranberry Sauce
I know, I know. Some people love the rings from the can. But I’m telling you, homemade cranberry sauce is so straightforward, and it tastes a million times better. It takes 15 minutes, and you can make it days ahead.
Step-by-Step: Simple Cranberry Sauce
What You’ll Need:
- 1 (12-oz / 340g) bag of fresh cranberries
- 1 cup (200g) white sugar
- 1 cup (235ml) water (or orange juice, which I love)
- Zest of one orange (my secret)
- A pinch of salt
Instructions:
- Rinse: Rinse your fresh cranberries and pick out soft or shriveled ones.
- Combine: In a medium saucepan, combine the cranberries, 1 cup sugar, and 1 cup water (or orange juice). Add a pinch of salt.
- Boil: Bring the mixture to a boil over medium-high heat, stirring to dissolve the sugar.
- Simmer: Once boiling, reduce the heat to low and let it simmer. In 5-10 minutes, the cranberries start to pop. That’s what you want!
- Finish: Keep simmering and stirring for about 10-15 minutes, until the sauce thickens and most of the berries burst. Stir in the orange zest.
- Chill: Pour the sauce into a bowl. It will thicken significantly as it cools. Cover and store in the refrigerator. It’s best when made at least a day in advance.
Classic Pecan Pie
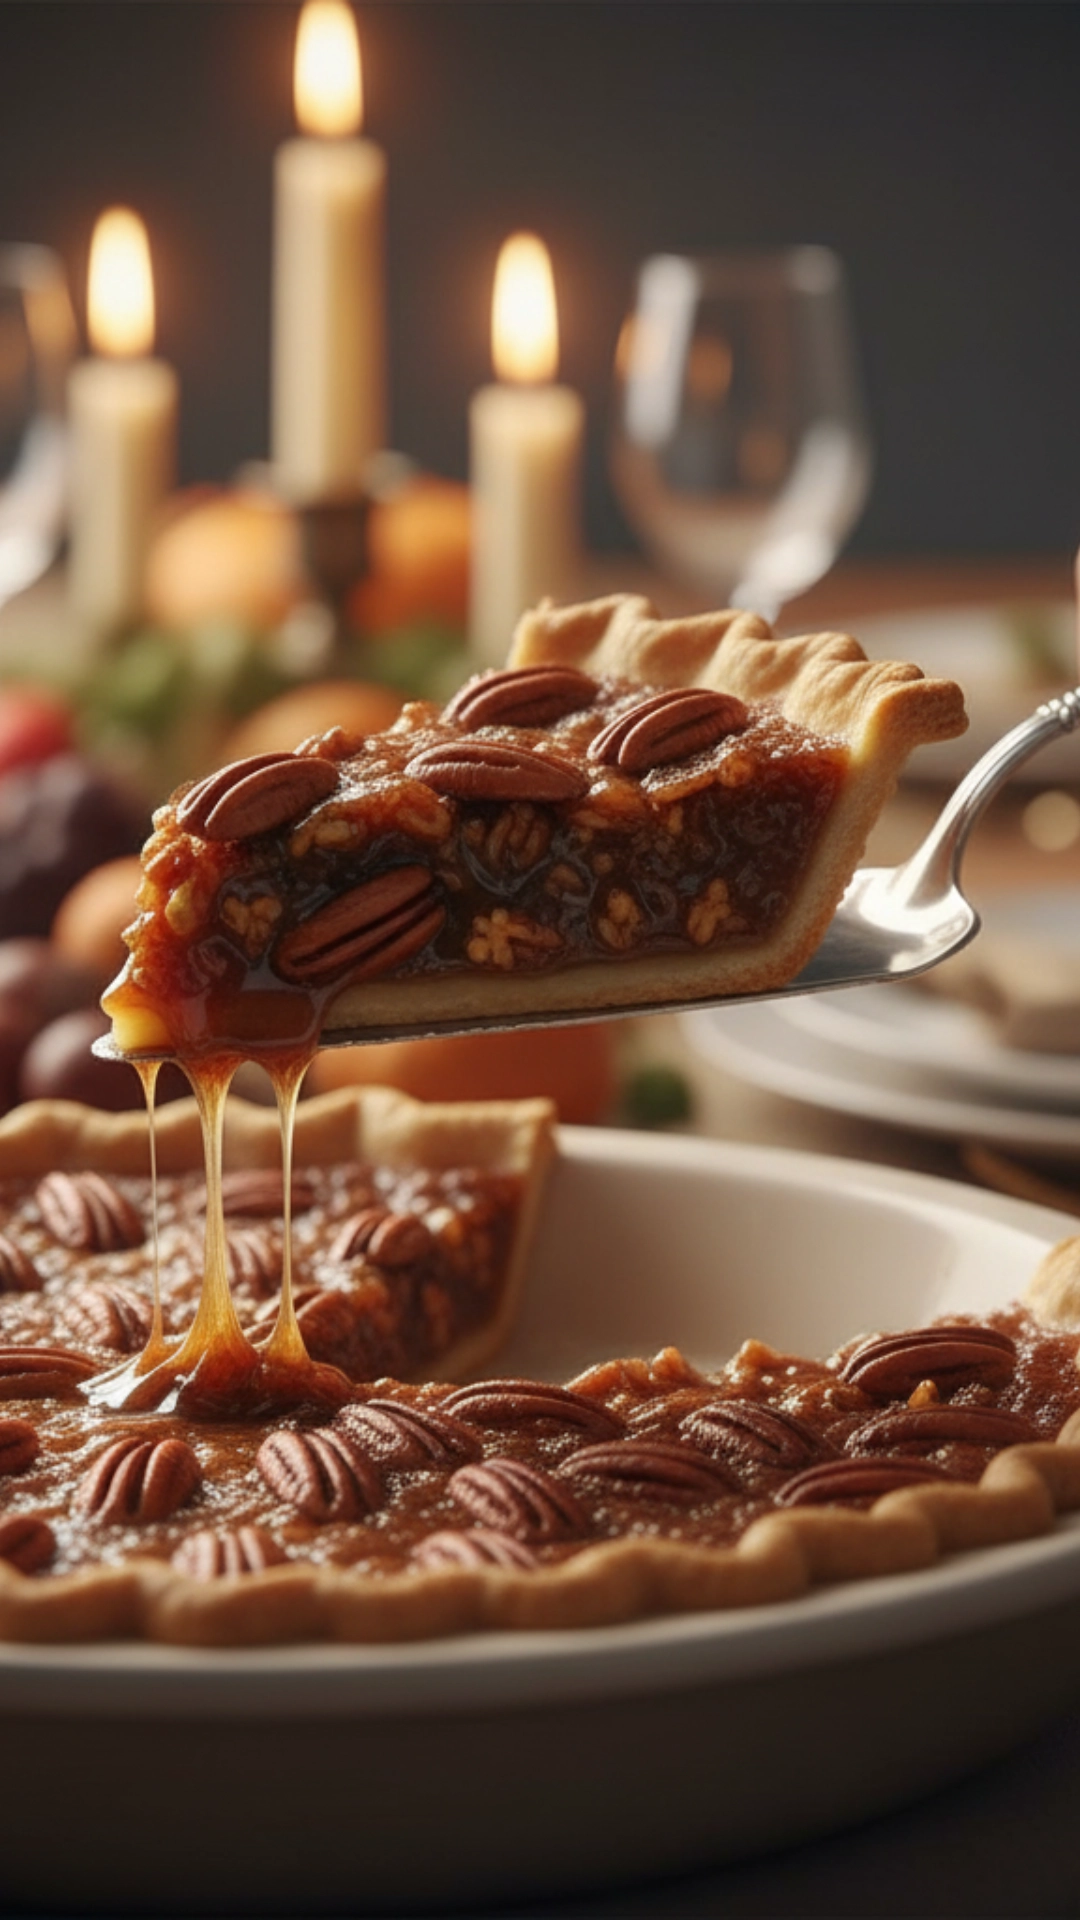
Finally, dessert. While pumpkin pie is popular, the true Southern Thanksgiving classic is a gooey, sweet, pecan-filled.
Step-by-Step: Perfect Pecan Pie
What You’ll Need:
- 1 (9-inch) unbaked pie crust (store-bought is fine!)
- 1.5 cups (170g) pecan halves
- 3 large eggs, lightly beaten
- 1 cup (235ml) light corn syrup
- 1/2 cup (100g) packed light brown sugar
- 1/4 cup (57g) unsalted butter, melted
- 1 teaspoon (5ml) vanilla extract
- 1/2 teaspoon (2.5g) salt
Instructions:
- Prep the Crust: Place your unbaked pie crust in a 9-inch plate. Crimp the edges. Scatter the 1.5 cups of pecan halves evenly over the bottom of the crust.
- Make the Filling: In a medium bowl, whisk together the three lightly beaten eggs, 1 cup corn syrup, 1/2 cup brown sugar, 1/4 cup melted butter, 1 tsp vanilla, and 1/2 tsp salt. Whisk well until combined.
- Pour: Gently pour the liquid filling over the pecans in the pie crust. The pecans will rise to the top as it bakes.
- Bake: Bake in a 350°F (175°C) oven for 50-60 minutes.
- Check for Doneness: This is the tricky part. The pie is done when the edges are set and the center is almost set—it should still have a very slight jiggle, like gelatin. If the crust or pecans on top start to get too dark, you can loosely tent the pie with aluminum foil for the last part of baking.
- Cool Completely: You must let the pecan pie cool completely (for at least 2 hours) on a wire rack. This allows the gooey center to set up properly before you slice it.
Making Your Thanksgiving Menu Work
The key to a stress-free holiday is doing as much as possible before the big day. You don’t want to be trying to make all 10 of these dishes on Thanksgiving morning.
- 3-4 Days Ahead: Make your cranberry sauce. It gets better as it sits.
- 2 Days Ahead: Bake your cornbread and leave it out to get stale for the dressing. You can also bake your pecan pie.
- 1 Day Ahead: Assemble your sweet potato casserole (don’t add the topping yet). Assemble your mac and cheese (don’t bake it). Wash and chop all your collard greens. Make your biscuits and freeze the unbaked dough (you can bake them from frozen!).
- Thanksgiving Day: This day is for the turkey, the gravy, the dressing, and the collard greens. You’ll need to bake the “prep-ahead” casseroles (mac and cheese, sweet potatoes) until they are hot and bubbly.
This Menu is Pure Comfort
There you have it. These are the Southern dishes I dream about all year long. They are more than food; they are tradition and memory-making. I know this seems like a lot, but trust me on this.
Follow these steps to have the most incredible, comforting meal. Your family will be talking about it for years. I hope this helps you feel inspired to try it yourself. Happy Thanksgiving!
