This post may contain affiliate links, which means I may receive a small commission should you decide to click that link and make a purchase. For more information please refer to the Terms & Conditions.

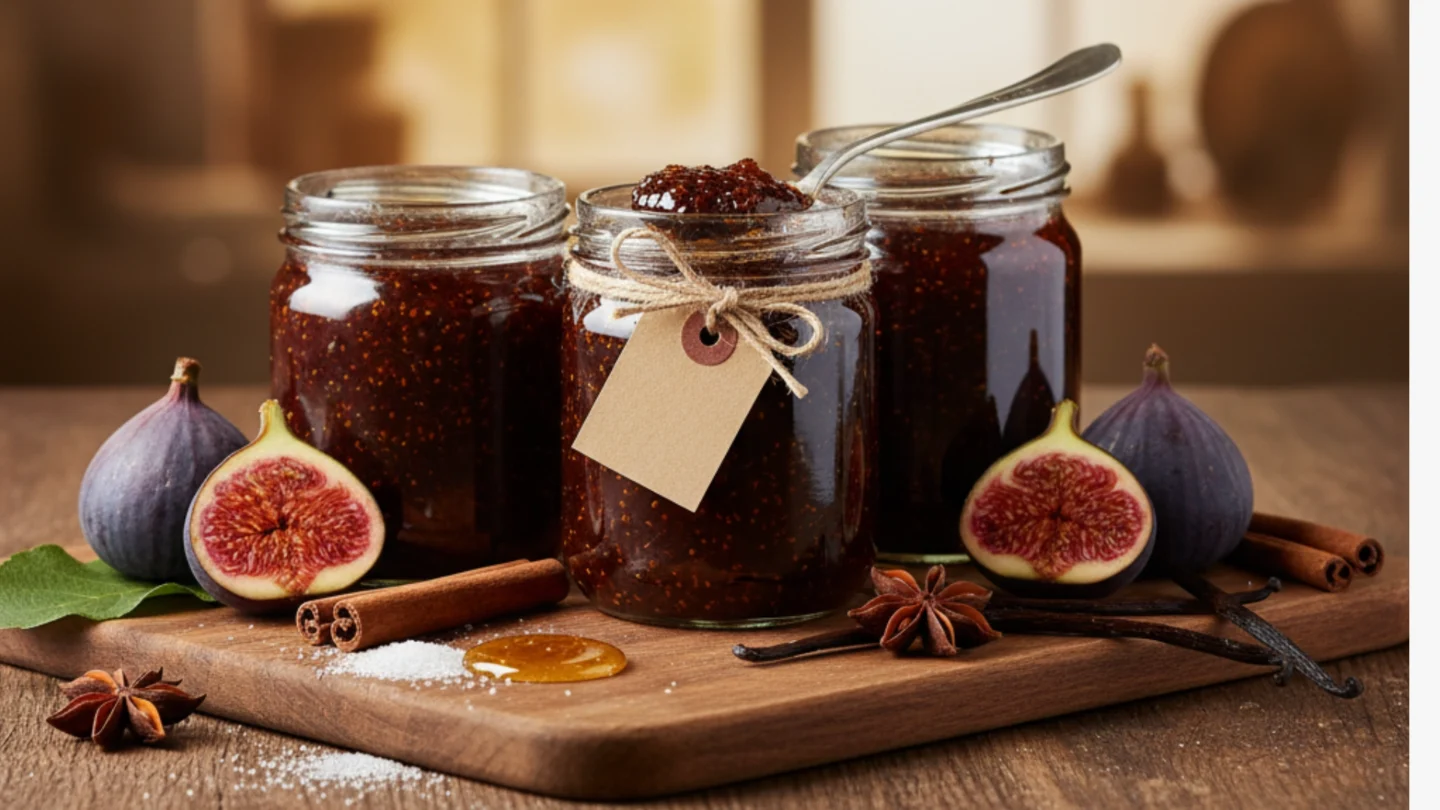
This Fig Jam Recipe is my secret to preserving that perfect late-summer feeling—when the air is warm and the scent of ripe fruit is all around.
For years, I was convinced that making jam was some complicated, all-day affair reserved for experts. But let me tell you a little secret: this recipe is not only surprisingly simple, but it creates a jam so luscious and rich, you’ll wonder why you ever bought it from a store.
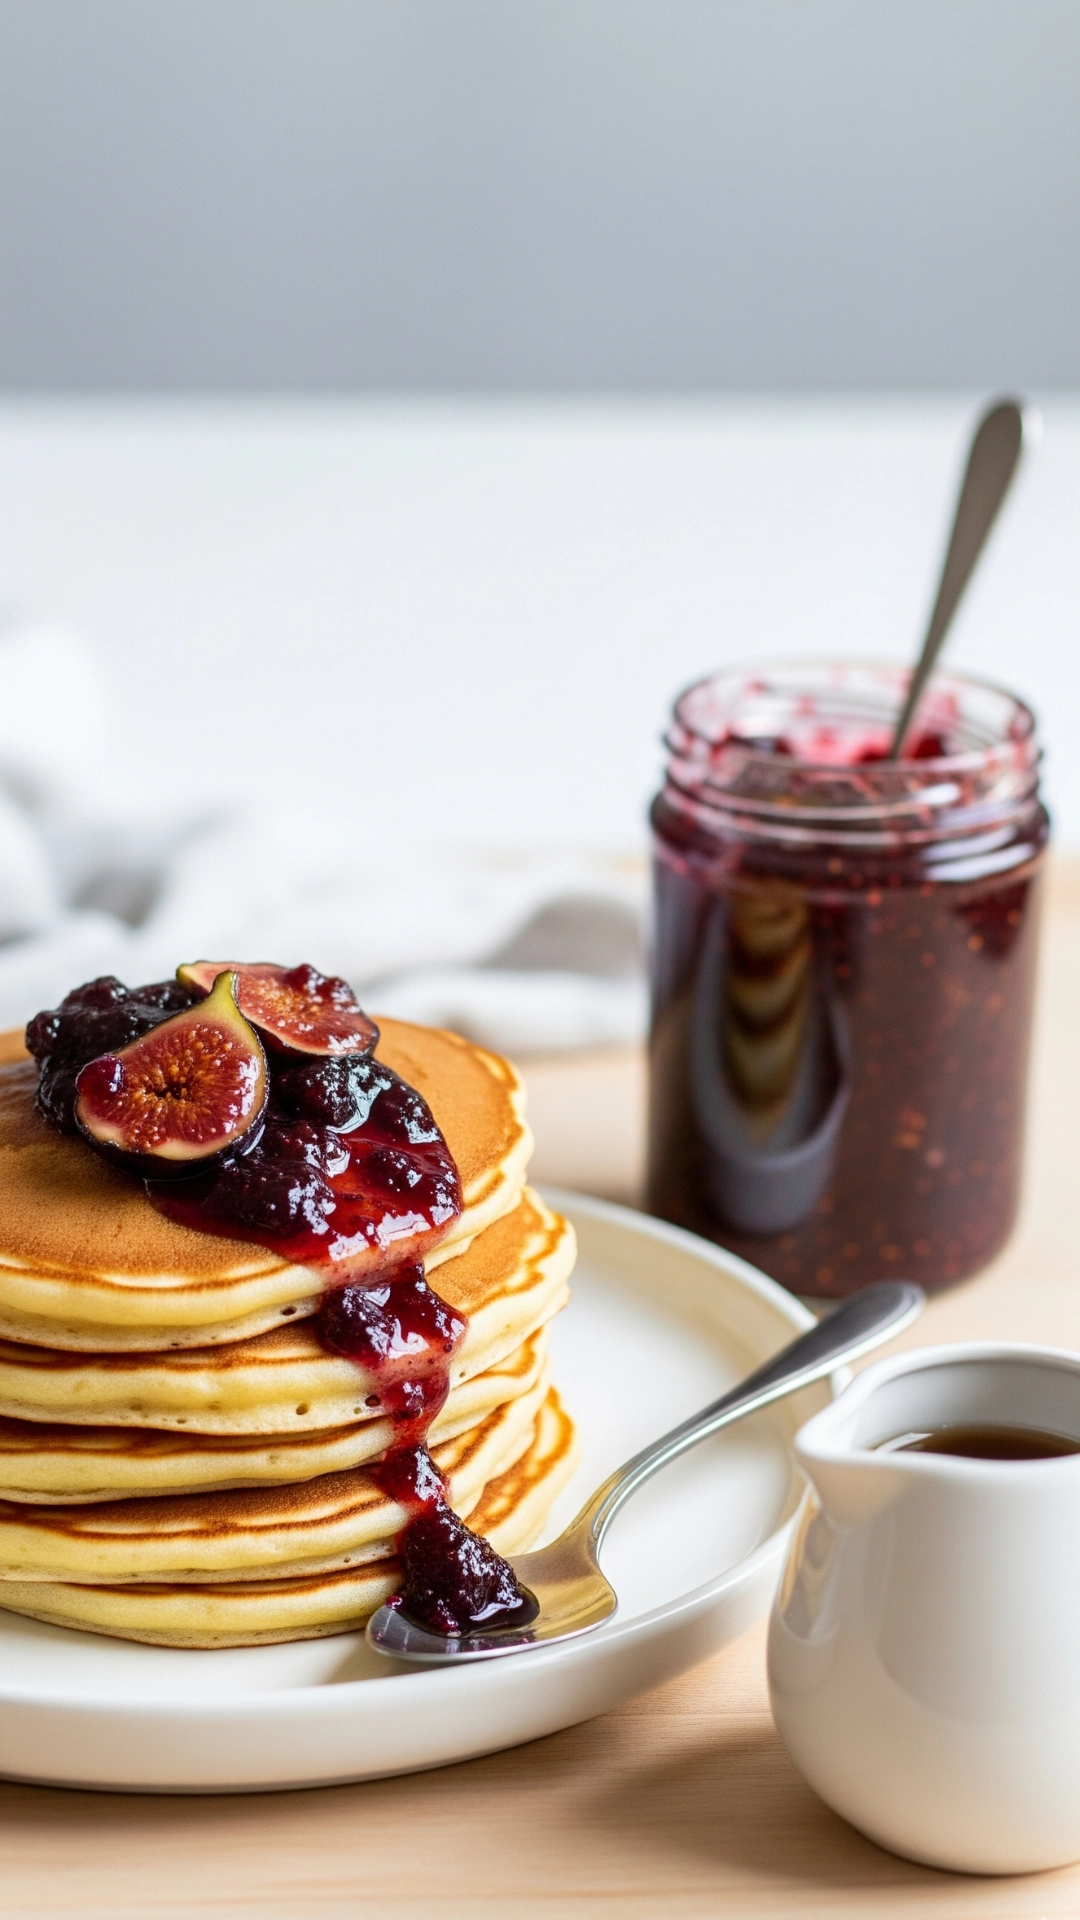
We’re not just preserving fruit here; we’re creating a little jar of magic that elevates everything it touches. Imagine spreading this deep, jewel-toned jam on a warm toast, dolloping it onto a cheese board, or swirling it into your morning yogurt.
If you’re ready to taste the difference, let’s start with what I promise will be the best fig jam you’ve ever had.

What You’ll Need: The Essential Ingredients
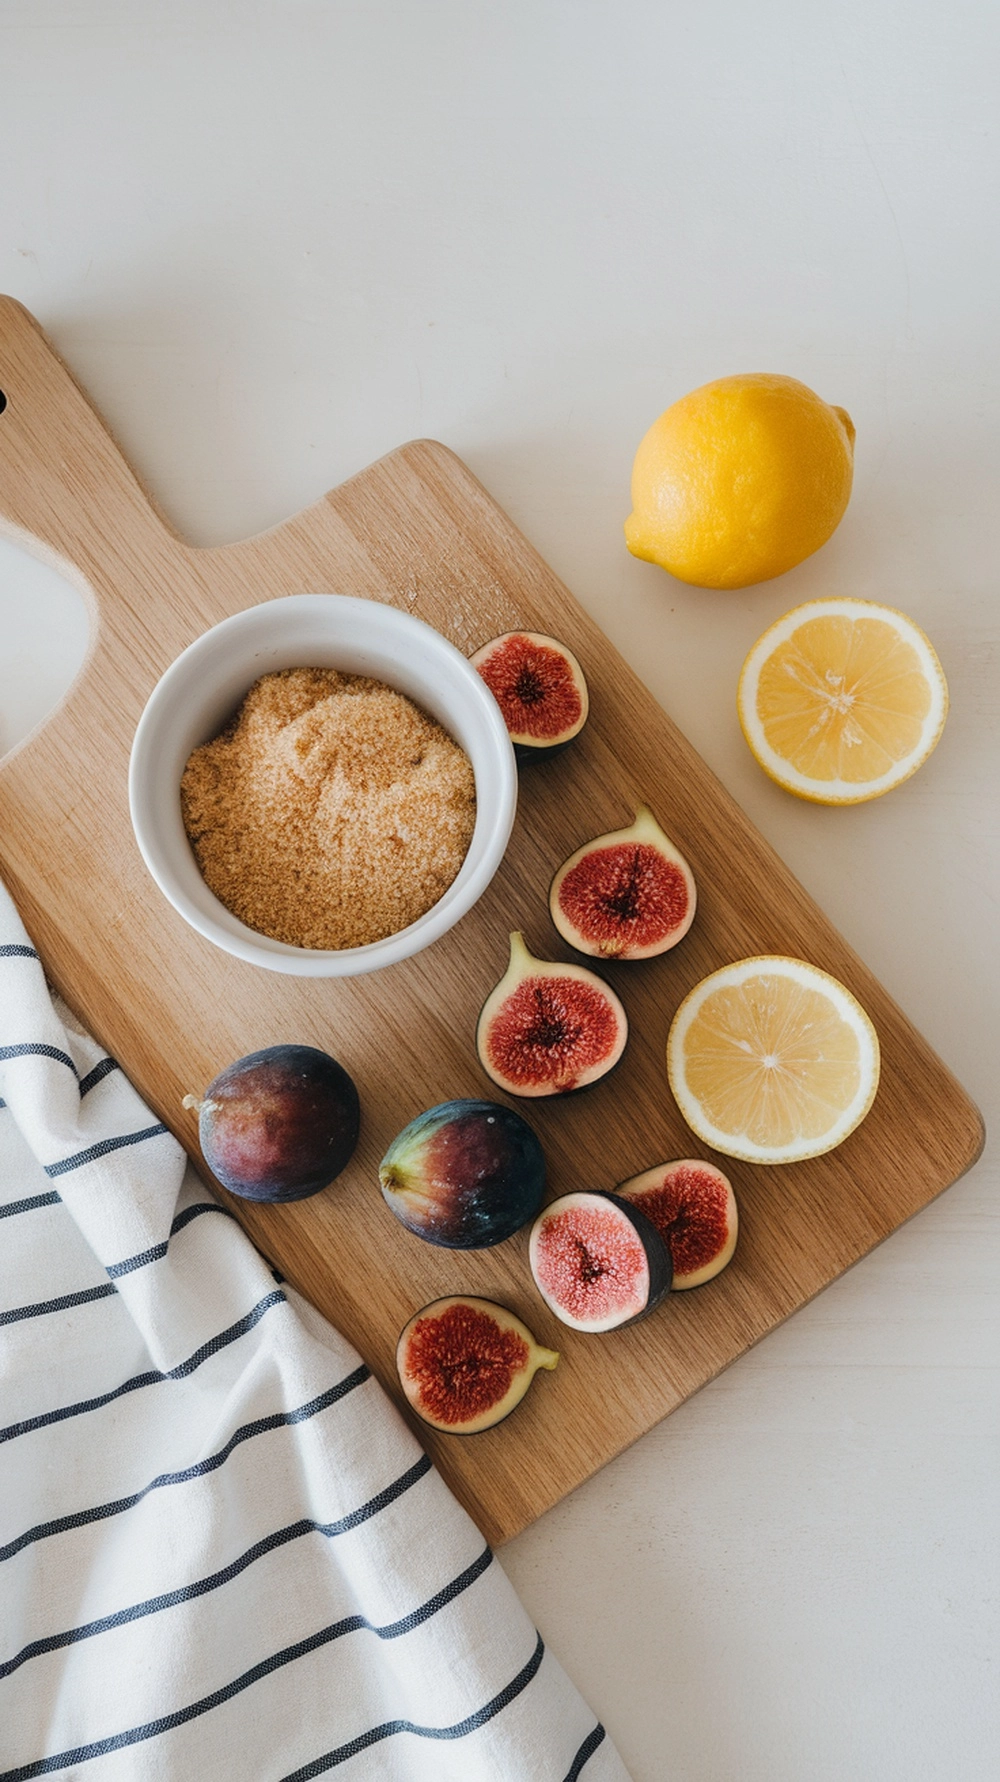
Making fig jam requires only a few simple ingredients, allowing the figs’ natural flavor to shine. Quality matters here, so try to get the freshest, ripest figs.
- Fresh Figs: This is, of course, the star of our show! You’ll want about 2 pounds (approximately 900 grams) of fresh, ripe figs. Look for figs that are soft to the touch but not mushy, with a rich, deep color. Any variety will work, but Black Mission, Kadota, or Brown Turkey figs are particularly popular for jam.
- Granulated Sugar: Sugar acts as a preservative and helps achieve that beautiful, thick, glossy texture. We’ll use about 1.5 cups (300 grams), but you can adjust this slightly. Remember, figs are naturally sweet, so you might need less sugar than you think!
- Lemon Juice: Freshly squeezed lemon juice is crucial. It not only brightens the flavor of the jam but also provides pectin (a natural gelling agent) and helps with preservation. You’ll need about two tablespoons.
- Water (Optional): A small amount of water (about 1/4 cup) can help the figs break down initially, especially if they aren’t super juicy.
- Pectin (Optional): While figs have some natural pectin, if you prefer a substantial set, you can add a packet of liquid or powdered pectin according to package directions. I often make it without additional pectin for a slightly softer, more rustic jam.

Equipment You’ll Need for Fig Jam Recipe
- Large, Heavy-Bottomed Pot or Dutch Oven: This is essential for even heating and preventing scorching.
- Wooden Spoon or Heatproof Spatula: For stirring.
- Potato Masher (Optional): A masher is handy if you prefer a smoother jam.
- Sterilized Jars and Lids are crucial for proper preservation. You’ll need enough to hold about 4-5 half-pint jars.
- Canning Funnel (Optional but Recommended): Makes filling jars much neater.
- Ladle: For transferring jam into jars.
- Tongs or Jar Lifter: This is used to handle hot jars.
Step-by-Step Guide: How to Make Fig Jam

Here’s how to turn those beautiful figs into golden jars of deliciousness:
1. Prepare Your Jars: This step is critical for safe preservation. Wash your jars and lids thoroughly in hot, soapy water, then rinse them well.
- For Hot Water Bath Canning: Place the jars in a large stockpot, cover with water, and bring to a boil. Boil for at least 10 minutes. Keep the jars in the hot water until ready to fill. You can also sterilize them in a dishwasher on a hot cycle.
- Lids: Simmer the lids (not boiling) in a separate pot of hot water for a few minutes before using. This softens the sealing compound.
2. Prepare the Figs: Gently wash the figs under cool running water. Pat them dry. Trim off the hard stem ends. Depending on the size of your figs, you can halve or quarter them. If they’re tiny, you might even leave them whole.
3. Macerate the Figs (Optional, but Recommended for Flavor): Combine the prepared figs with the granulated sugar and lemon juice in a large pot. Stir gently to coat the figs. Let this mixture sit at room temperature for at least 30 minutes, or even a few hours.
The sugar will draw out the juices from the figs, creating a syrupy base and intensifying their flavor. This also helps them break down more easily during cooking.
4. Cook the Jam: Place the pot over medium-high heat. If you didn’t macerate or your figs aren’t juicy, add about 1/4 cup of water to help them start. Bring the mixture to a rolling boil, stirring frequently to prevent scorching.
5. Simmer and Thicken: Once boiling, reduce the heat to medium-low and continue to simmer. Stir regularly, especially as the jam thickens. Use a potato masher to break down the figs to your desired consistency.
Some people prefer chunky jam, others a smoother spread. Depending on the ripeness of your figs and your desired thickness, this process can take 20 to 40 minutes.
6. Test for Set: This is crucial! Place a small plate in the freezer before cooking to check if your jam is ready. Spoon a small amount onto the cold plate when you think the jam is done.
Let it sit for a minute, then push your finger through it. If the surface wrinkles, it’s ready! If not, continue cooking for a few more minutes and test again.
7. Ladle into Jars: Carefully remove your sterilized jars from the hot water. Place a canning funnel on top of each jar. Ladle the hot jam into the jars, leaving about 1/4 inch of headspace (the space between the jam and the rim of the jar).
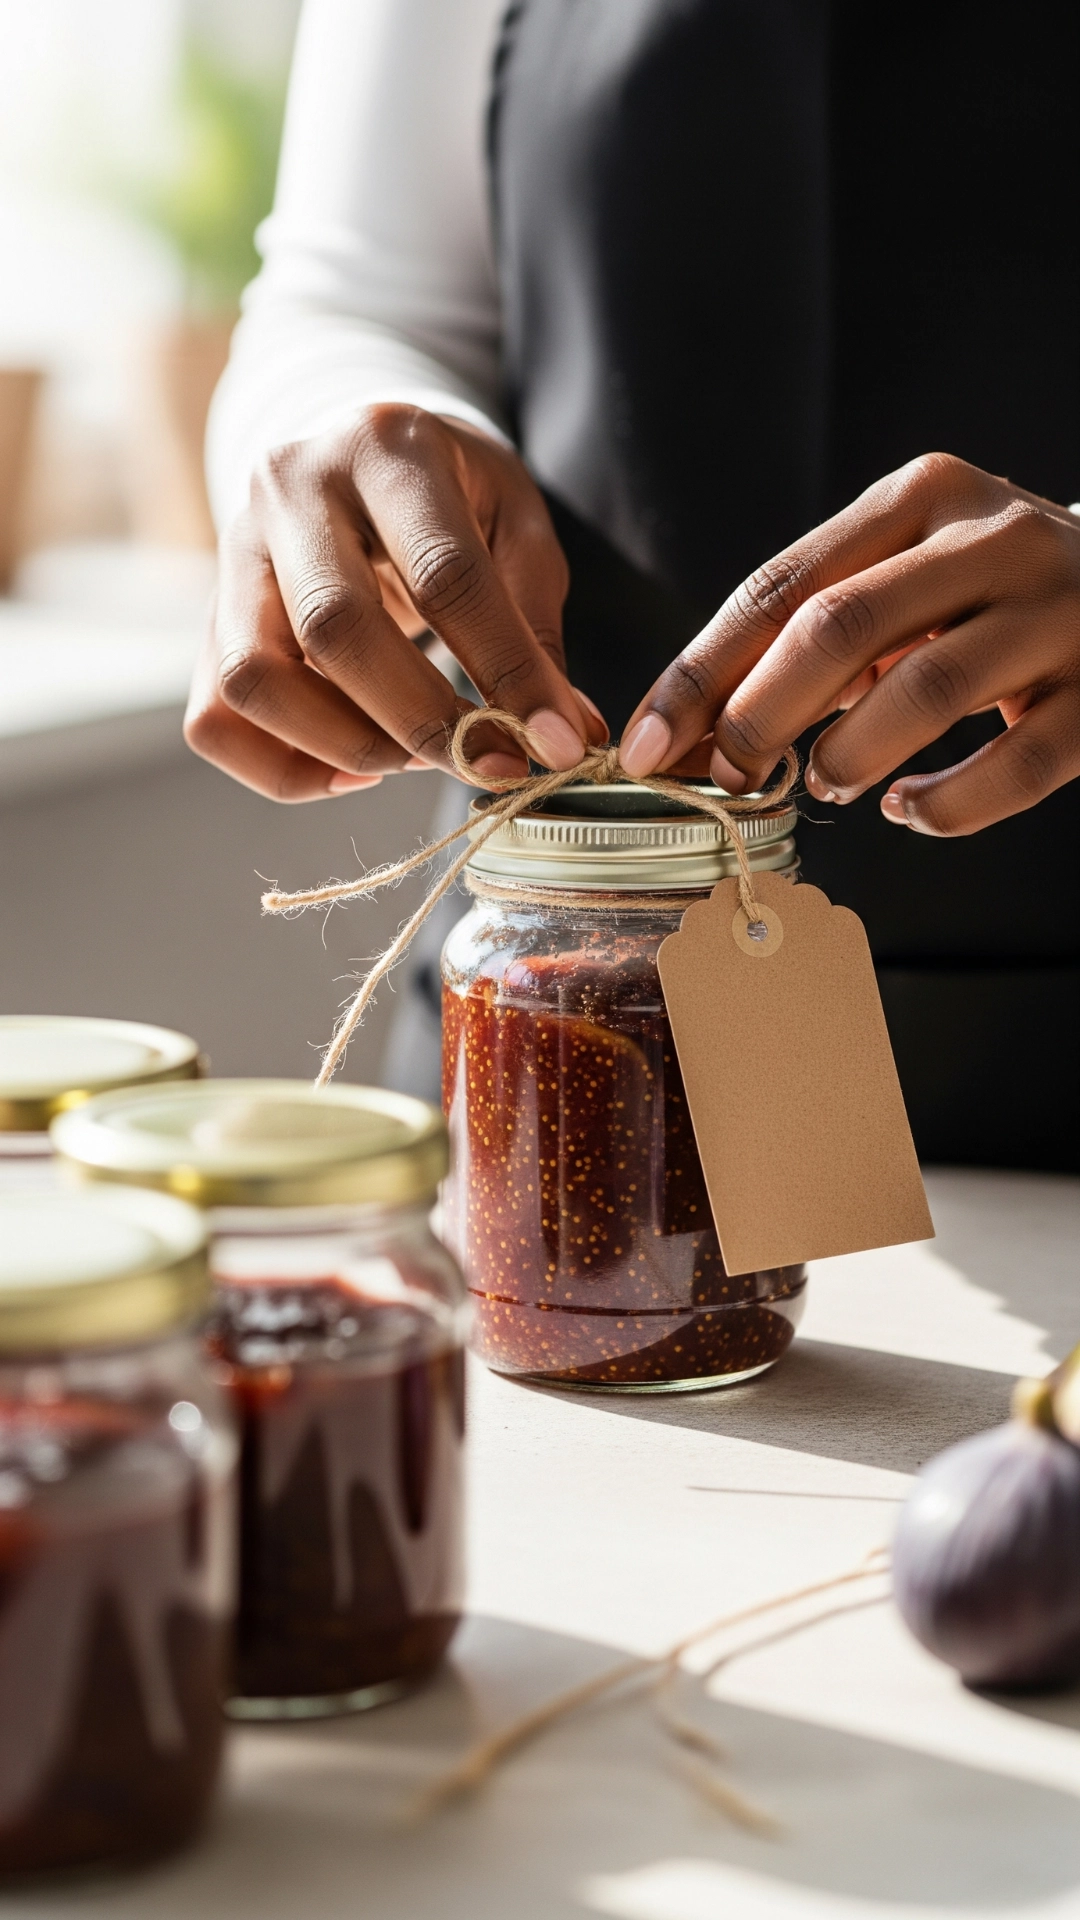
8. Seal the Jars: Wipe the rims of the jars clean with a damp paper towel (any jam on the rim can prevent a proper seal). Place the hot lids on top, then screw on the bands until they are fingertip tight. Do not overtighten.
9. Process (For Shelf Stability): To make your jam shelf-stable for long-term storage, you’ll need to process it in a boiling water bath.
- Carefully lift the filled jars into your large stockpot (the one you used for sterilizing) using a jar lifter. Make sure the jars do not touch each other.
- Add enough hot water to cover the jars by at least 1-2 inches.
- Bring the water to a rolling boil and process the jars for 10 minutes (adjust for altitude if necessary).
- After 10 minutes, turn off the heat and let the jars sit in the hot water for 5 more minutes.
- Carefully remove the jars with the jar lifter and place them on a wire rack or a clean kitchen towel to cool completely for 12-24 hours. You should hear a “pop” as the lids seal.
10. Check Seals and Store: Check the seals after 12-24 hours. The center of the lid should be concave and not flex when pressed. If any jars haven’t sealed, refrigerate them and use them within a few weeks. Sealed jars can be stored in a cool, dark place for up to 1 year. Once opened, refrigerate the jam.
Variations to Try:
While classic fig jam is divine, you can easily customize it with additional flavors:
- Vanilla Bean: Split a vanilla bean and scrape the seeds into the jam as it cooks. You can leave the pod in during cooking and remove it before jarring.
- Spices: A pinch of cinnamon, nutmeg, star anise, or cardamom can add a warm, complex note.
- Orange Zest: A teaspoon of finely grated orange zest complements the figs beautifully.
- Balsamic Vinegar: A tablespoon of good-quality balsamic vinegar added at the end of cooking can add a sophisticated tang.
- Rosemary or Thyme: For a savory twist, a small sprig of fresh rosemary or thyme cooked with the figs adds an unexpected but delicious aroma.

How to Enjoy Your Homemade Fig Jam:
Oh, the possibilities!
- Classic Pairing: Spread on toast, scones, muffins, or croissants.
- Cheese Board Essential: Figs and cheese are a match made in heaven! Serve with goat cheese, brie, blue cheese, or cheddar.
- Yogurt or Oatmeal: Stir a spoonful into your morning yogurt or oatmeal for a burst of flavor.
- Desserts: Use as a filling for tarts, cakes, or thumbprint cookies. Drizzle over ice cream.
- Savory Dishes: Glaze roasted pork or chicken, or add to pan sauces.
- Sandwiches: Elevate a grilled cheese sandwich with a layer of fig jam.
Troubleshooting Common Jam Problems:
- Jam is too thin: It usually hasn’t cooked enough to reach the gelling point. Continue cooking and testing for a set. Adding pectin (according to package directions) can also help if you’re struggling.
- Jam is too thick/hard: This means it was overcooked. If it’s tough, gently reheating it with a tablespoon or two of water, stirring well, and then re-jarring.
- Jam not sealing: Ensure your jars and lids are clean and properly prepared. Leave the correct headspace. If a jar doesn’t seal, store it in the refrigerator.
The Reward is Sweet!
There’s nothing quite like the satisfaction of opening a jar of homemade jam, especially one as exquisite as fig jam. It’s a taste of summer, a culinary hug, and a testament to the simple joy of creating something beautiful with your hands.
So, gather your figs, clear your schedule for some kitchen adventure, and get ready to impress yourself (and everyone you share it with!) with this truly irresistible homemade fig jam. Happy jamming!
