This post may contain affiliate links, which means I may receive a small commission should you decide to click that link and make a purchase. For more information please refer to the Terms & Conditions.
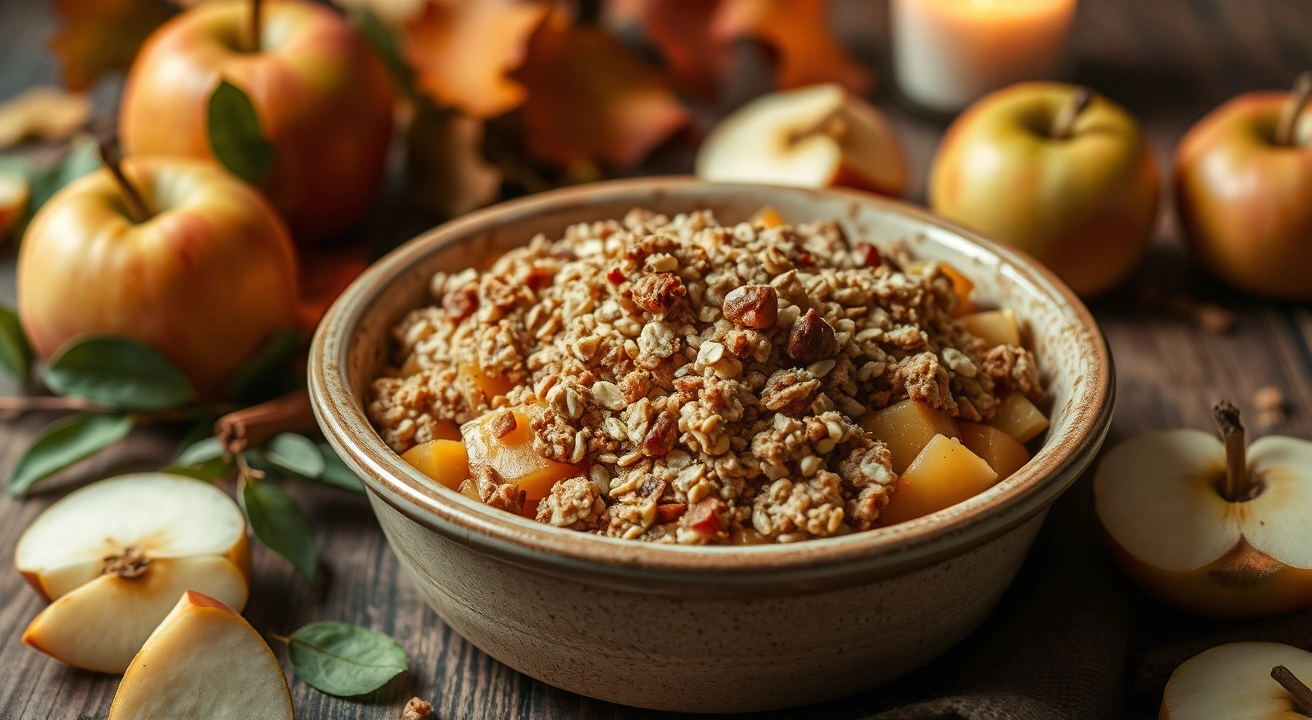
Imagine a warm and comforting dessert perfect for autumn. Apple crisp is a delicious and traditional treat. It combines sweet apples with a crunchy, buttery topping.
Get ready to learn how to make this popular fall dessert. We will look at the best apple crisp recipe, and every bite will remind you of the beautiful flavors of the season.
Classic Apple Crisp: An Irresistible Autumn Treat
As autumn air gets crisp, nothing beats the smell of apple crisp in the kitchen. This old-fashioned dessert brings back memories of Grandma’s kitchen and is full of nostalgic fall flavors.
A Nostalgic Dessert Reminiscent of Grandma’s Kitchen
The magic of this dessert is in its mix. The cinnamon-spiced apple filling and the oat crumble topping are perfect together. When you bite into it, the apples burst with flavor. It’s a mix of textures and tastes that takes you back in time.
The Perfect Combination of Sweet Apples and Crispy Oat Topping
- The homemade apple crisp has a mix of tart and sweet apples. They’re perfectly balanced.
- The oat crumble topping adds a nice crunch. It goes well with the soft apples.
- This classic fall dessert is the ultimate comfort food. It’s perfect for cozy autumn evenings with family and friends.
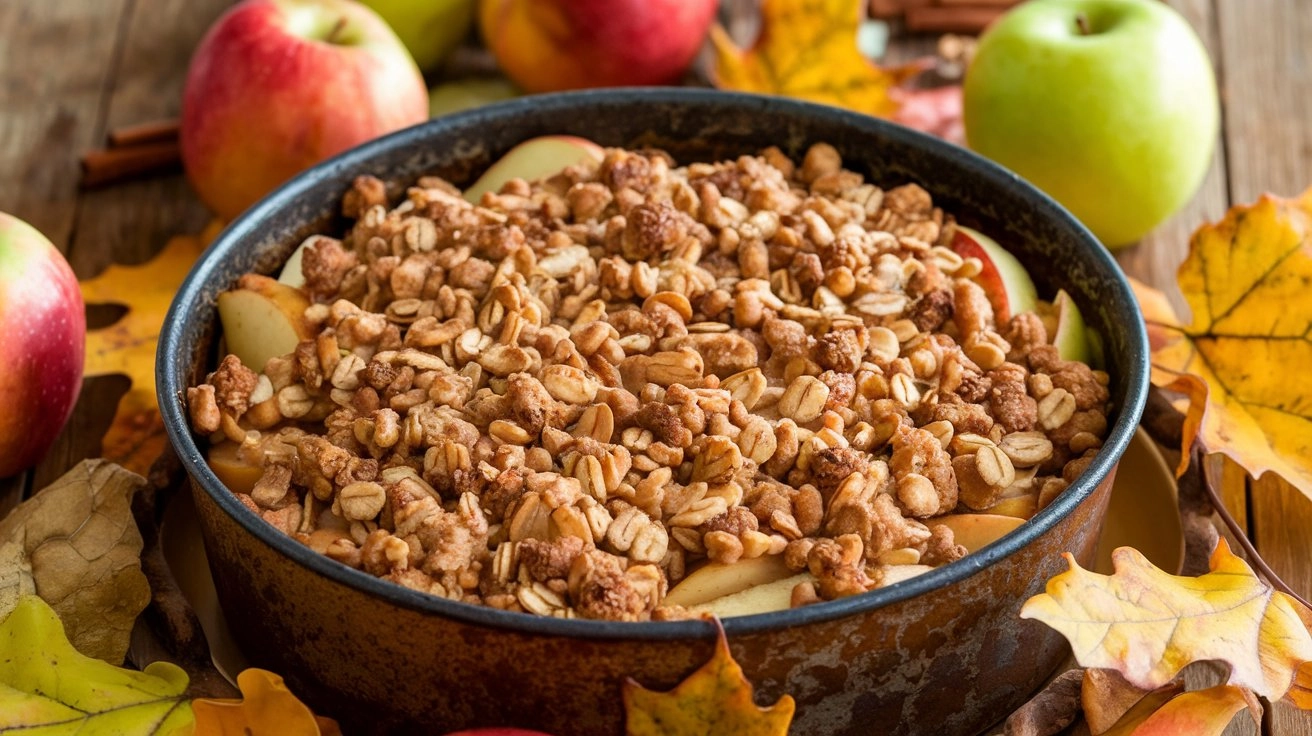
Try this homemade apple crisp recipe if you’re looking for nostalgic fall flavors or a tasty old-fashioned dessert. It will become a favorite in your home.
Selecting the Appropriate Apples for Your Apple Crisp Recipe
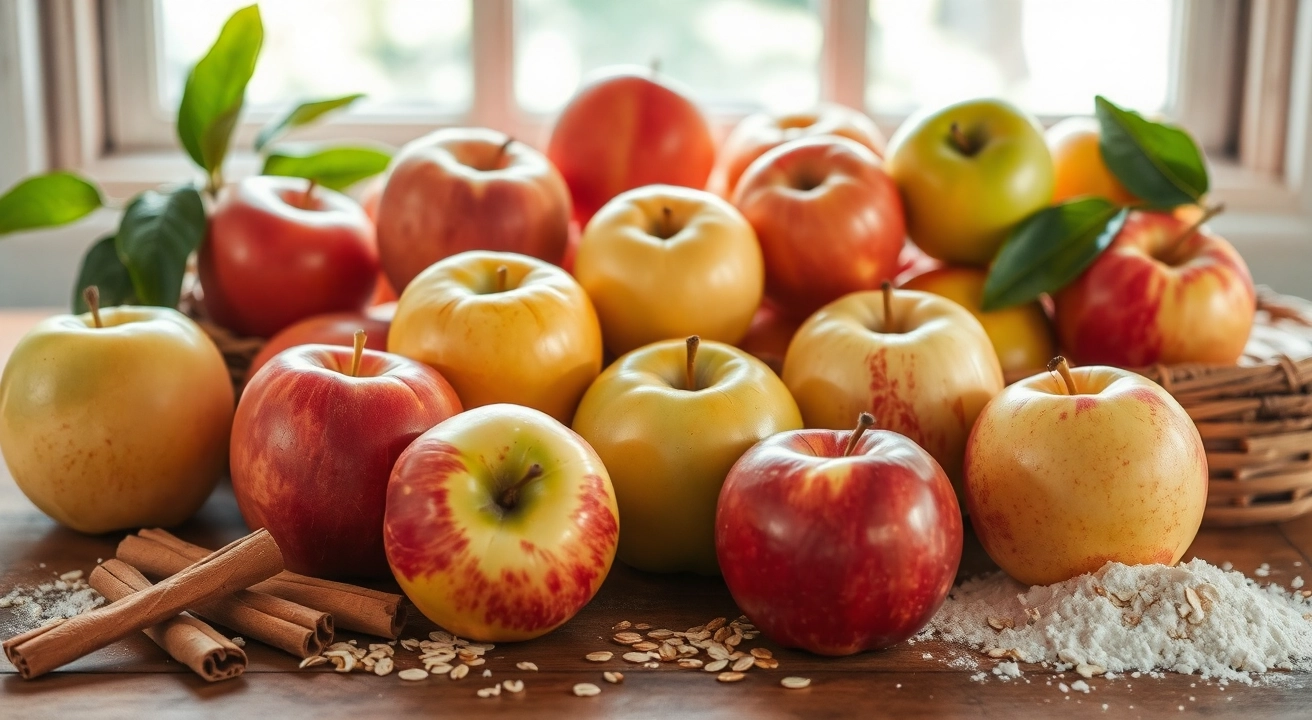
Choosing suitable apples is critical for a great apple crisp. Look for firm, tart-sweet apples that stay firm while baking. Top picks are Honeycrisp, Granny Smith, Fuji, Gala, Golden Delicious, and Pink Lady.
These apples perfectly combine flavors and textures. Honeycrisp and Granny Smith apples keep their shape and taste tart-sweet, while Fuji and Gala’s apples are sweet and juicy, making the filling jammy.
For a softer apple crisp, try Golden Delicious or McIntosh apples. They get smooth and creamy during baking. Pink Lady apples add a tart-sweet twist.
Find the apples that taste best to you. Mix and match to create a favorite apple crisp recipe. Your family and friends will love it.
Peeling or Not Peeling: That is the Question
When making apples crisp, you must decide whether to peel the apples or leave the skins on. Both choices have benefits, and it’s all about what you like best.
Weighing the Pros and Cons of Leaving the Skins On
Leaving the apple skins on adds a unique texture difference to your apple crisp. The skins make it chewier and more rustic, which some people love. Moreover, you retain more fiber and nutrients when you leave the skin on.
But peeled apples vs. unpeeled can make the filling smoother. The skins might get tough or chewy when baked, so peeling them could be better for a soft, melt-in-your-mouth filling.
- Skins add texture and retain nutrients
- Peeled apples have a smoother, more uniform filling
- Personal preference plays a significant role in the decision
So, you can peel or not peel apples in your apple crisp. Try both ways and see which one your family likes best!
The Ultimate Topping: Vanilla Ice Cream and Salted Caramel Sauce
Apple crisp is excellent on its own, but adding vanilla ice cream and salted caramel sauce makes it even better—the ice cream’s coolness pairs well with the warm apples, and the caramel sauce adds a salty-sweet touch that makes it perfect.
The secret to this classic fall dessert pairing is finding the right mix of sweet and salty. The salted caramel sauce, made with brown sugar, half-and-half, and sea salt, makes the apple crisp with ice cream even more special.
Vanilla is the best choice for ice cream. It’s cool and creamy, balancing the warm apples and rich caramel. This elevated flavor combination brings together sweet, salty, and comforting tastes.
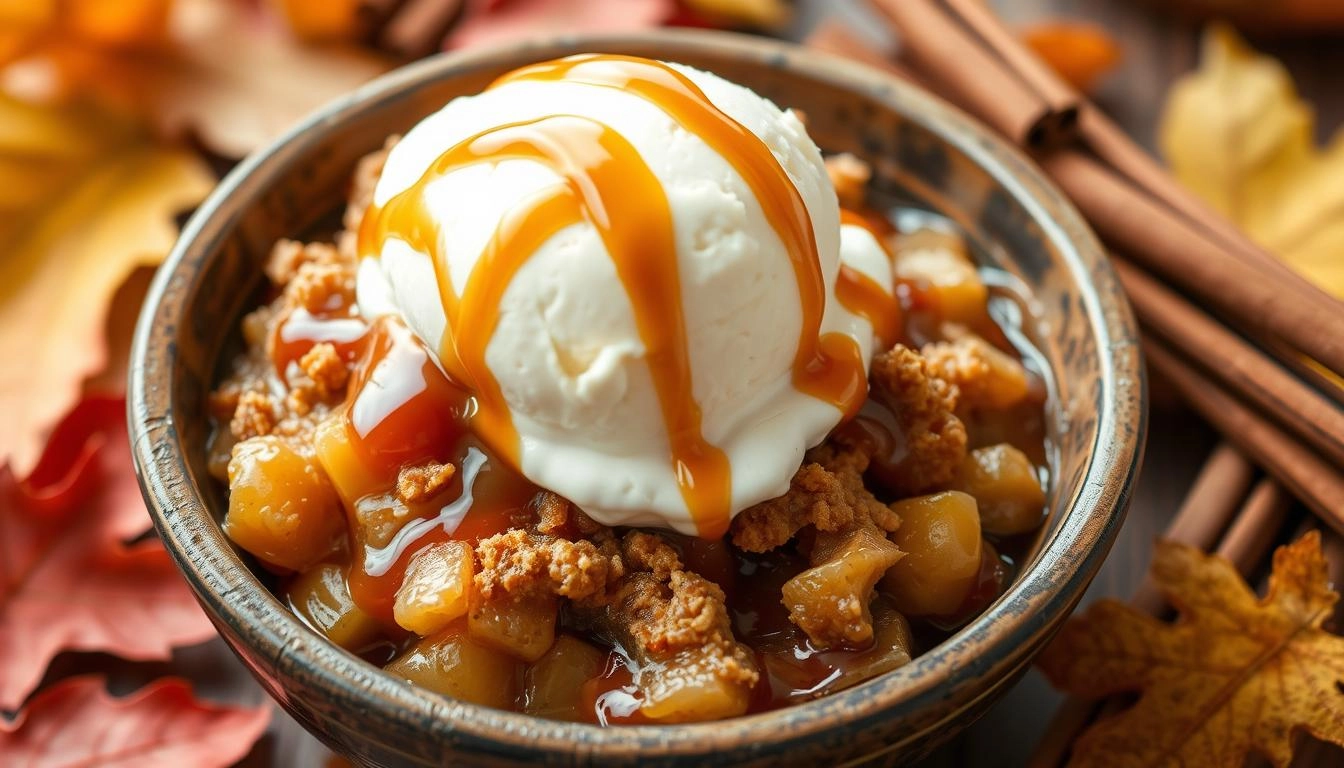
This classic fall dessert pairing is perfect for any fall day. Whether warm or chilled from the oven, it’s a hit. It’s a treat that celebrates the season’s best and will have everyone asking for more.
Baking Essentials for the Perfect Apple Crisp Recipe
It would help if you had some crucial baking tools to make a perfect homemade apple crisp. An 8×8 baking dish is ideal for the recipe. A strong vegetable peeler helps peel the apples fast. A pastry cutter is excellent for mixing the cold butter into the oat topping, making it crumbly.
You’ll also need other kitchen basics. A sharp knife or apple corer is suitable for slicing and coring apples. A big mixing bowl is vital for mixing the apple filling and streusel topping. A baking sheet or sheet pan can catch drips while baking.
With the right tools, you can make a delicious apple crisp. Prepare your essential baking tools, heat your oven, and begin making this delicious fall dessert!
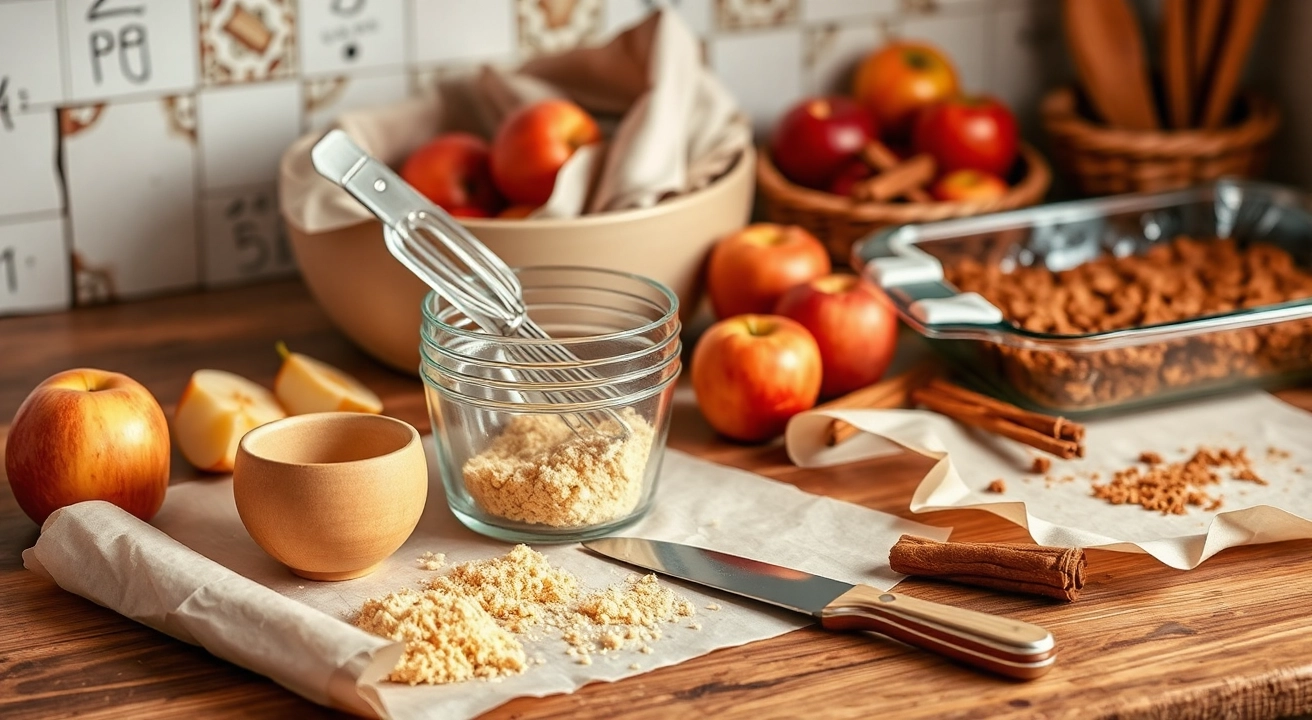
Having the right tools is critical to a great apple crisp. Before you start, ensure you have the 8×8 baking dish, vegetable peeler, pastry cutter, and other tools. With some prep, you’ll make a yummy apple crisp that everyone will love.
Step-by-Step Instructions for an Easy Apple Crisp Recipe
Making a tasty apple crisp at home is easy. This classic dessert has spiced apples and a crunchy oat topping. Follow these steps for a delicious apple crisp.
Preparing the Spiced Apple Filling
Begin by peeling, coring, and slicing 1.5 pounds of apples, about 4 medium apples, or 6 cups of sliced fruit. Mix the apple slices with sugar, cinnamon, lemon juice, and vanilla.
Spread the apple mix evenly in a 2-quart baking dish.
Creating the Irresistible Crisp Topping
- In another bowl, combine all-purpose flour, rolled oats, brown sugar, cinnamon, and a small amount of salt.
- Cut in cold cubed butter until it looks like coarse crumbs.
- Sprinkle the oat topping over the apple filling.
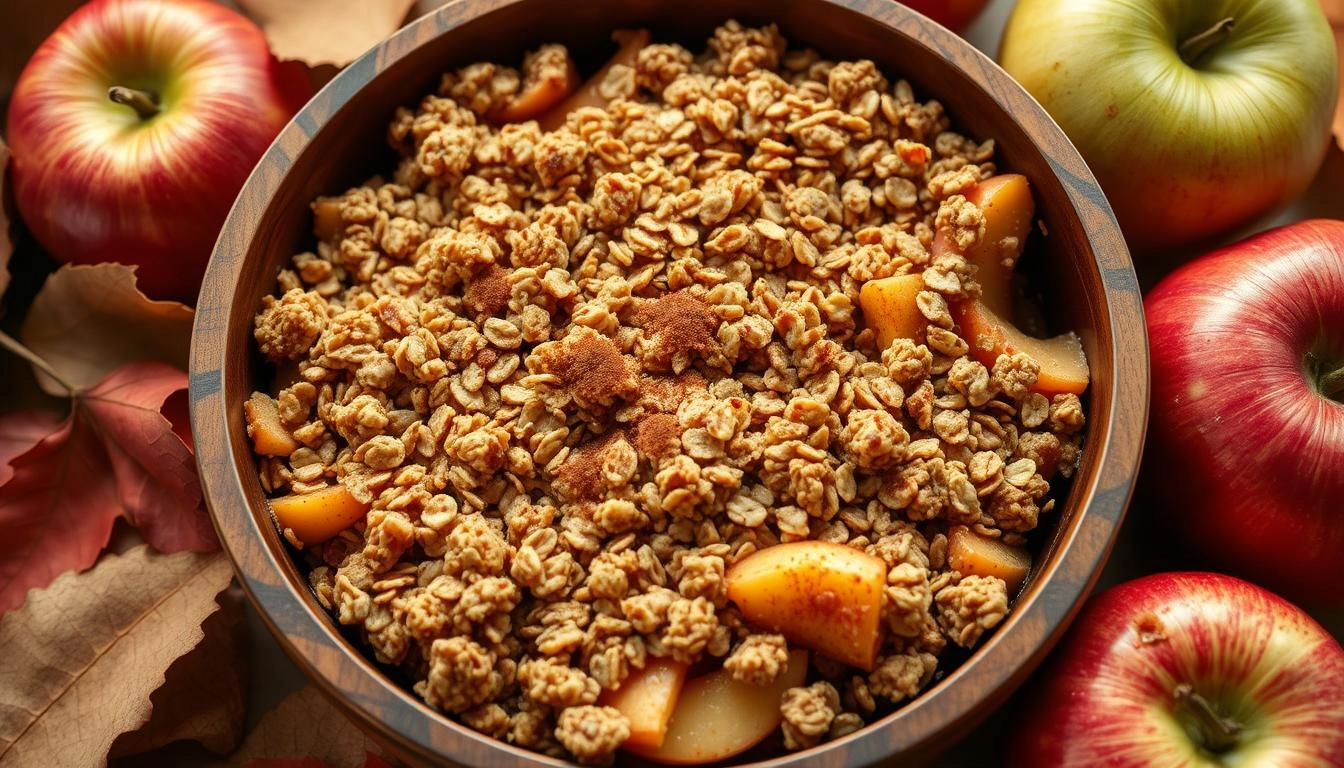
Bake the apple crisp in the oven at 375°F for 40 to 45 minutes. This is done when the apple filling bubbles and the top is golden and crunchy. Let it cool for a bit before serving it warm. It tastes delicious with vanilla ice cream or salted caramel sauce.
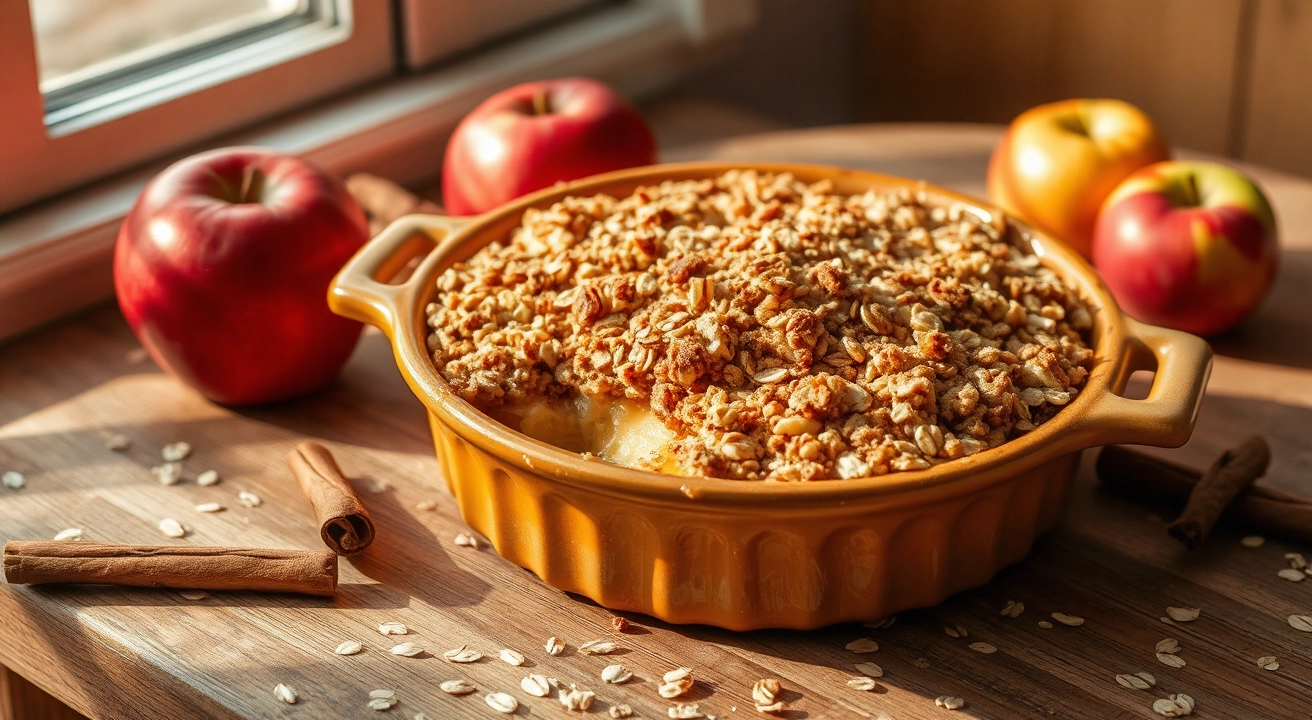
With this guide, you can make apple crisps at home anytime. The blend of sugary apples and crispy oat topping is tasty!
Make-Ahead and Freezing Tips for Apple Crisp Recipe
You can make apple crisps ahead of time. Keep the apple filling in the fridge for up to 2 hours before you bake it. You can also prepare the crumble topping earlier and keep it cold. When you are ready, mix all the ingredients and bake them.
If you want to keep your apple crisp for a long time, you can freeze it for up to 4 months. Please remove it from the freezer, heat it again, and let it thaw in the fridge overnight. Then, bake it at 350°F for 20-25 minutes.
These tips will help you enjoy apple crisp throughout the year. It’s great for family get-togethers or when you want a warm dessert. This recipe makes it easy to satisfy your craving for something sweet.
Storage Guidelines:
- You can refrigerate unbaked apple crisp filling for up to 2 hours before assembling and baking.
- Also, you can store baked apple crisps in the refrigerator for up to 5 days.
- Baked and frozen apple crisps can be stored in the freezer for up to 4 months.
Reheating Tips:
- Thaw frozen apple crisp in the refrigerator overnight before reheating.
- To warm the apple crisp, put it in an oven set to 350°F (175°C) for 20 to 25 minutes. It should be hot all the way through, and the topping will become crunchy.
You can enjoy this apple crisp recipe anytime with these make-ahead instructions, freezing tips, and reheating guidelines. Enjoy the sweet apples and crispy topping all year.
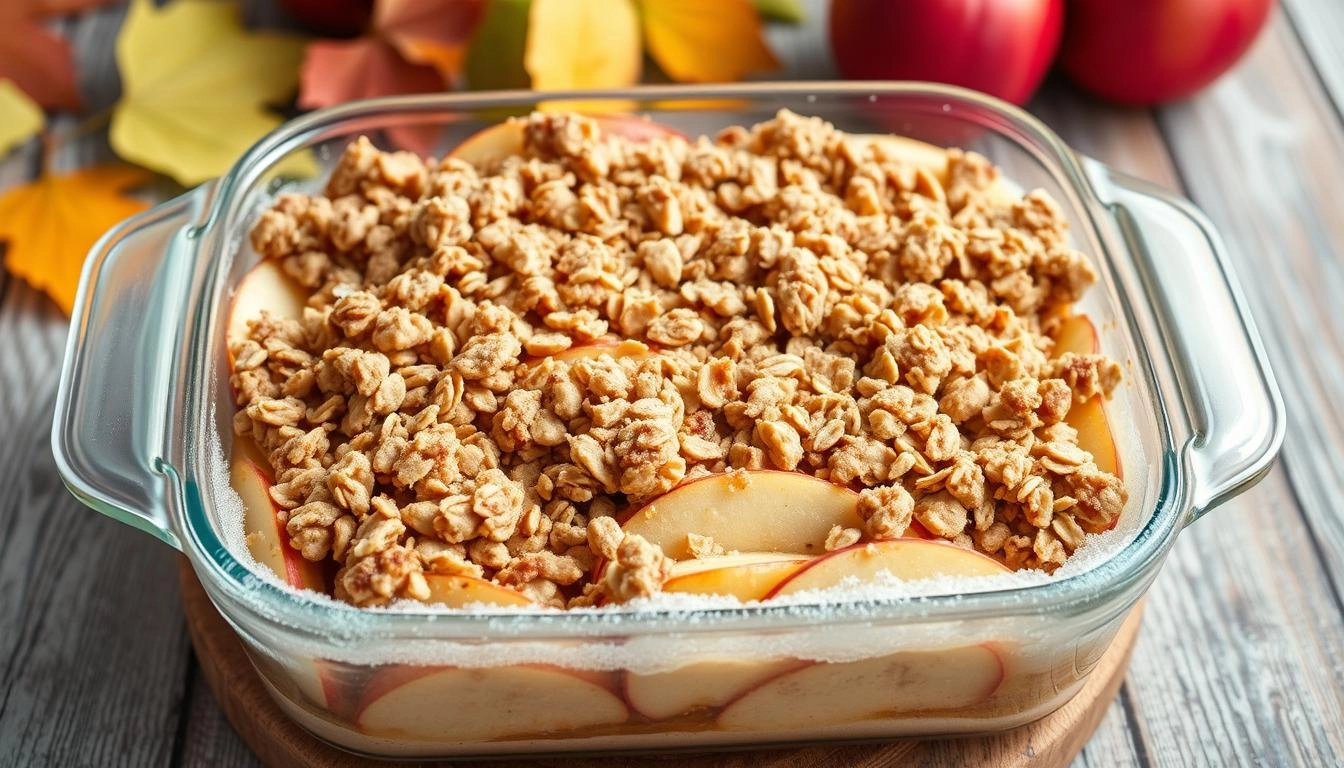
Apple Crisp Recipe – A Fall Favorite
This simple apple crisp recipe is a favorite fall dessert. Its warm and cozy flavors combine juicy apples with cinnamon and a crunchy, buttery oat topping.
This recipe is excellent for families and perfect for sharing. You can enjoy it alone or with vanilla ice cream and salted caramel sauce. This easy homemade apple dessert will become a new autumn tradition for you!
This cozy comfort food recipe uses 2.5 pounds of fresh, tart apples: Fuji, Gala, and Granny Smith. A crumbly, crunchy topping balances the sweetness.
It’s quick to prepare, taking just 15 minutes. The total cooking time is 1 hour and 1It’snutes. It’s perfect for busy weeknights or weekend gatherings.
Enjoy this classic fall dessert fresh from the oven or up to 2 days later. The flavors and textures will make everyone want more. So, gather your ingredients, preheat your oven, and get ready to savor the ultimate easy apple dessert.
FAQ
Q: What makes this apple crisp recipe perfect for fall?
A: This apple crisp recipe is perfect for fall because it combines the warmth of cinnamon-spiced apples with a golden, crunchy oat topping. It’s cozy, comforting, and ideal for chilly weather.
Q: Can I use other fruits in this apple crisp recipe?
A: Absolutely! While apples are the star of this dessert, you can mix in other fruits like pears or berries for a fun twist on the classic apple crisp.
Q: How do I make apple crisp ahead of time?
A: You can prepare the apple crisp a day in advance by assembling it and storing it in the fridge. When ready to serve it, bake it for a fresh, warm dessert.
Q: Can I make this apple crisp gluten-free?
A: You can easily make this apple crisp gluten-free by swapping the oats and flour with gluten-free alternatives, such as certified gluten-free oats and flour blends.
Q: How do I store leftover apple crisps?
A: Store any leftover apple crisp in an airtight container in the fridge for 3-4 days. Reheat it in the oven for a few minutes to restore warmth and crunch.
