This post may contain affiliate links, which means I may receive a small commission should you decide to click that link and make a purchase. For more information please refer to the Terms & Conditions.
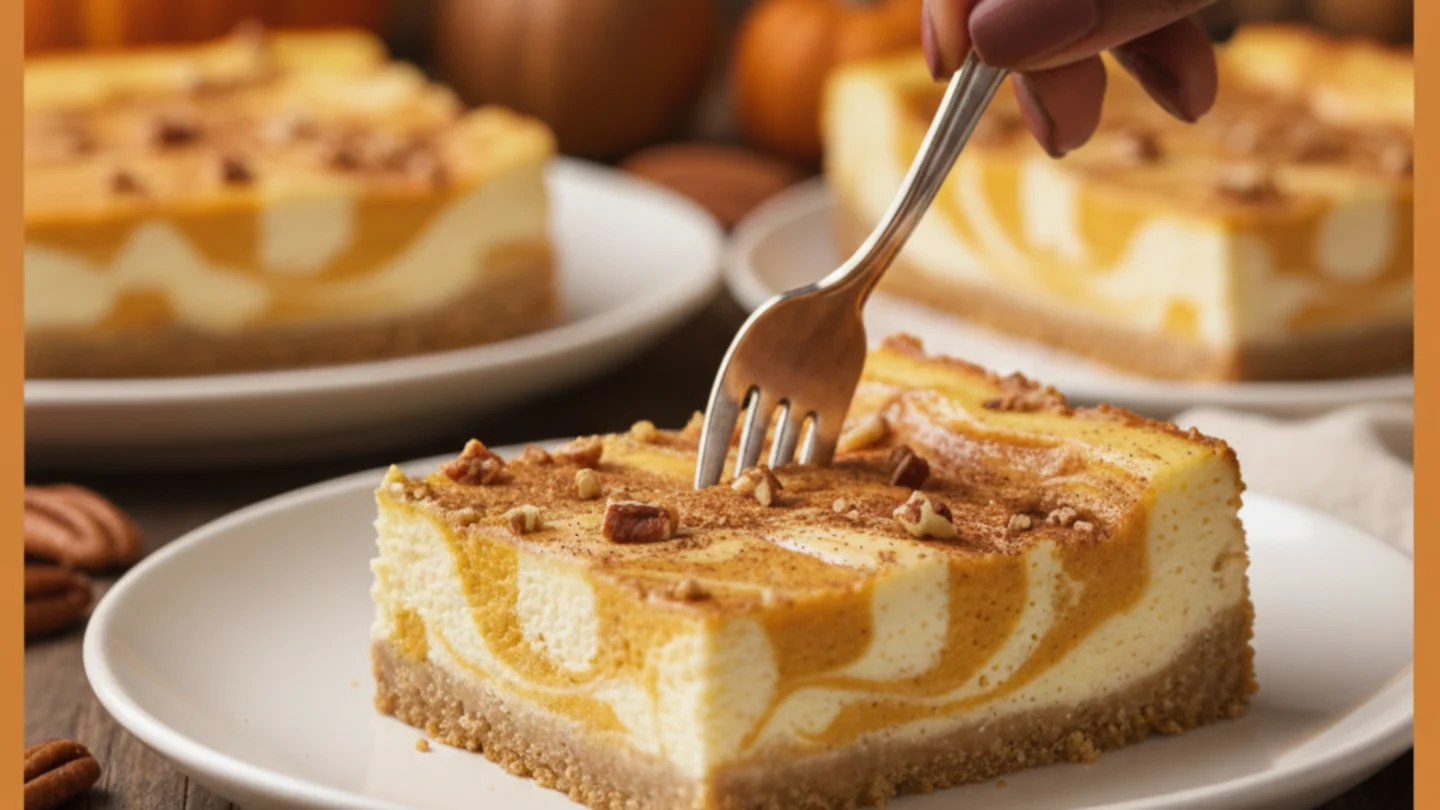
I can’t get enough of Thanksgiving. I believe the best part of any great meal is the sweet ending. It’s true. I always save room for dessert. I know how it feels when that final course falls flat. That feeling is the worst. I wanted to share my secret to an epic holiday finale.
It’s all about the Thanksgiving Desserts. I’ve gathered my absolute favorites for you. These recipes are sure to wow everyone at your table. Let’s get into it!
Thanksgiving Desserts Beyond the Classic Pie
I’m obsessed with the classics, but sometimes you need more. A traditional pumpkin pie is always welcome, of course. But your holiday dessert spread is where you can truly shine. I believe variety is the key to wowing your guests. Think about how much fun it is to try a little of everything!
I love giving all the fall flavors a fun, different twist and offering a new take on familiar favorite shows such as Extra Care. Here are my absolute favorite recipes that cut.
The Ultimate Decadent Pumpkin Treat: Pumpkin Cheesecake Bars
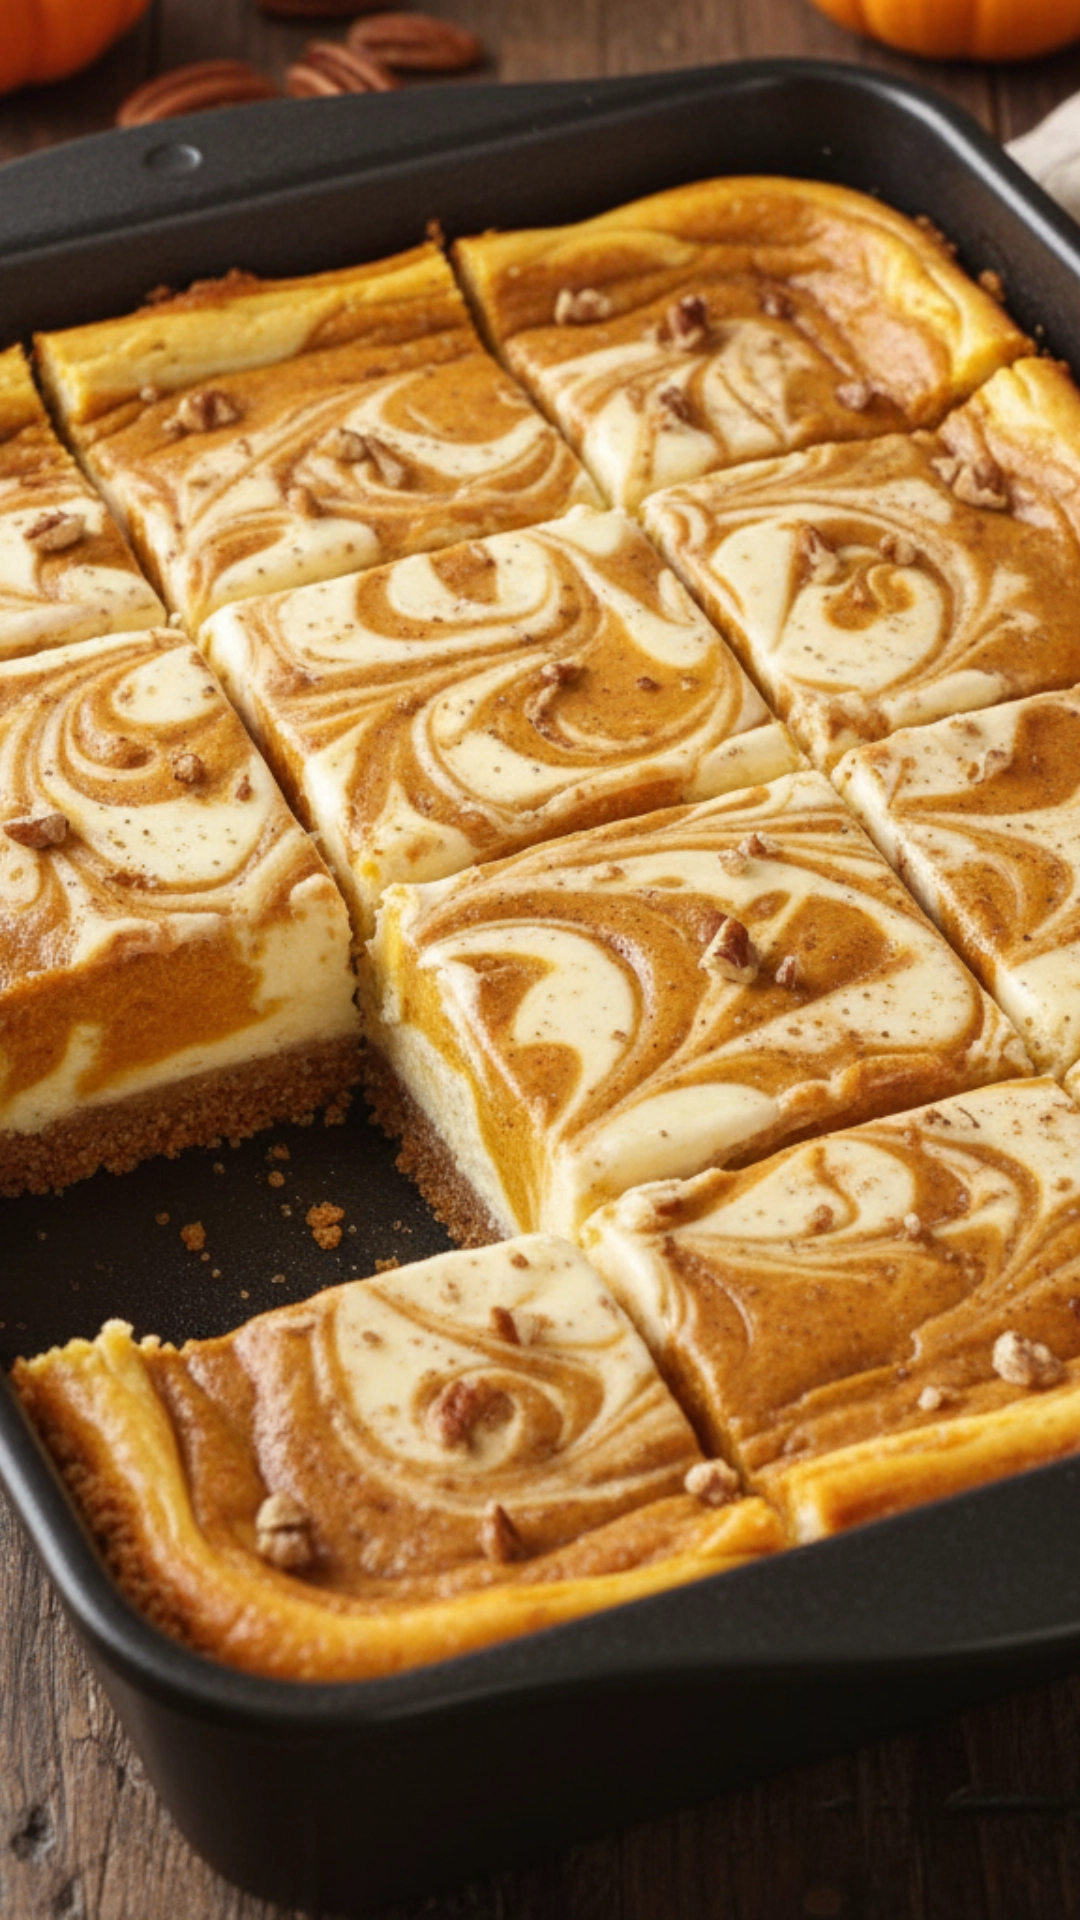
Everyone loves pumpkin and cheesecake. So, why not combine them? These Pumpkin Cheesecake Bars are less fussy than a whole cheesecake and easier to slice and serve than a pie. They are rich and creamy and have that perfect spiced flavor you crave for the holiday. I also find that they look amazing when plated.
Step-by-Step Guide to Making Pumpkin Cheesecake Bars
For this delicious treat, you’ll need two main parts: the crust and the filling. I always start with the crust because it needs to chill.
1. The Simple Press-In Crust
- Prep Your Pan: Preheat your oven to 350°F (175°C). Then, line a 9×13-inch baking pan with parchment paper. Make sure the paper hangs over the sides to lift the finished bars out easily later. I promise this small step saves a massive headache.
- Mix the Dry Ingredients: In a bowl, mix 2 cups of crushed graham cracker crumbs, a quarter cup of granulated sugar, and one teaspoon of pumpkin pie spice. This is where you get that wonderful warm scent!
- Add the Fat: Pour 1/2 cup of melted unsalted butter over the crumbs. Stir this together until all the crumbs are evenly moistened. It should look like wet sand.
- Press and Chill: Press the mixture firmly and evenly into the bottom of your prepared pan. You can use the bottom of a measuring cup to compact it. Put the pan in the freezer for about 10 minutes while you work on the filling. Chilling the crust helps it hold its shape perfectly.
2. The Creamy Swirl Filling
- Cream the Cheese: In a large bowl, use an electric mixer to beat two 8-ounce packages of softened cream cheese until completely smooth and fluffy. Take your time, as you don’t want any lumps.
- Add the Sweetness: Mix in 1 cup of granulated sugar until well combined. Then, beat in 1/2 teaspoon of vanilla extract.
- Mix in the Eggs: You must beat in 3 large eggs, one at a time. Make sure each egg is fully incorporated before adding the next one. Don’t overmix this part; combine it well. This is your main cheesecake base.
- Create the Pumpkin Swirl: Scoop out about 1 cup of the cheesecake mixture and put it into a separate small bowl. Stir 1/2 cup of pure pumpkin puree and one teaspoon of pumpkin pie spice into this smaller portion. I also like to add a pinch more cinnamon here for extra flavor. This is your pumpkin swirl mixture.
3. Assemble and Bake
- Pour the Base: Pour the main cheesecake filling over your chilled crust and spread it evenly with a spatula.
- Add the Swirl: Now, dollop the pumpkin mixture over the plain cheesecake layer.
- Make the Swirl Effect: Take a butter knife or a skewer and gently swirl the pumpkin mixture into the plain layer. The knife should run through in figure-eights or S-shapes. Please don’t overdo it, or you’ll lose the beautiful contrast. You are aiming for distinct ribbons.
- Bake Time: Bake your bars for 35 to 45 minutes. The edges should look set, and the center should only jiggle slightly when gently shaking the pan.
- Cool completely: Turn the oven off and prop the door open with a wooden spoon for about 15 minutes. This slow cooling helps prevent the cheesecake from cracking. Then, remove the bars and let them cool completely on a wire rack before you put them in the refrigerator to chill for at least 4 hours, or until they are substantial. I always make these a day ahead, as I think they taste even better cold.
Classic Flavors in New Formats
Beyond the famous pie trio (pumpkin, pecan, and apple), you can still celebrate those classic fall tastes in a new, exciting way. People will appreciate the familiar flavors but be delighted by the fresh presentation. I think a new take on an old favorite shows you put in extra care.
Individual Apple Cranberry Crisps
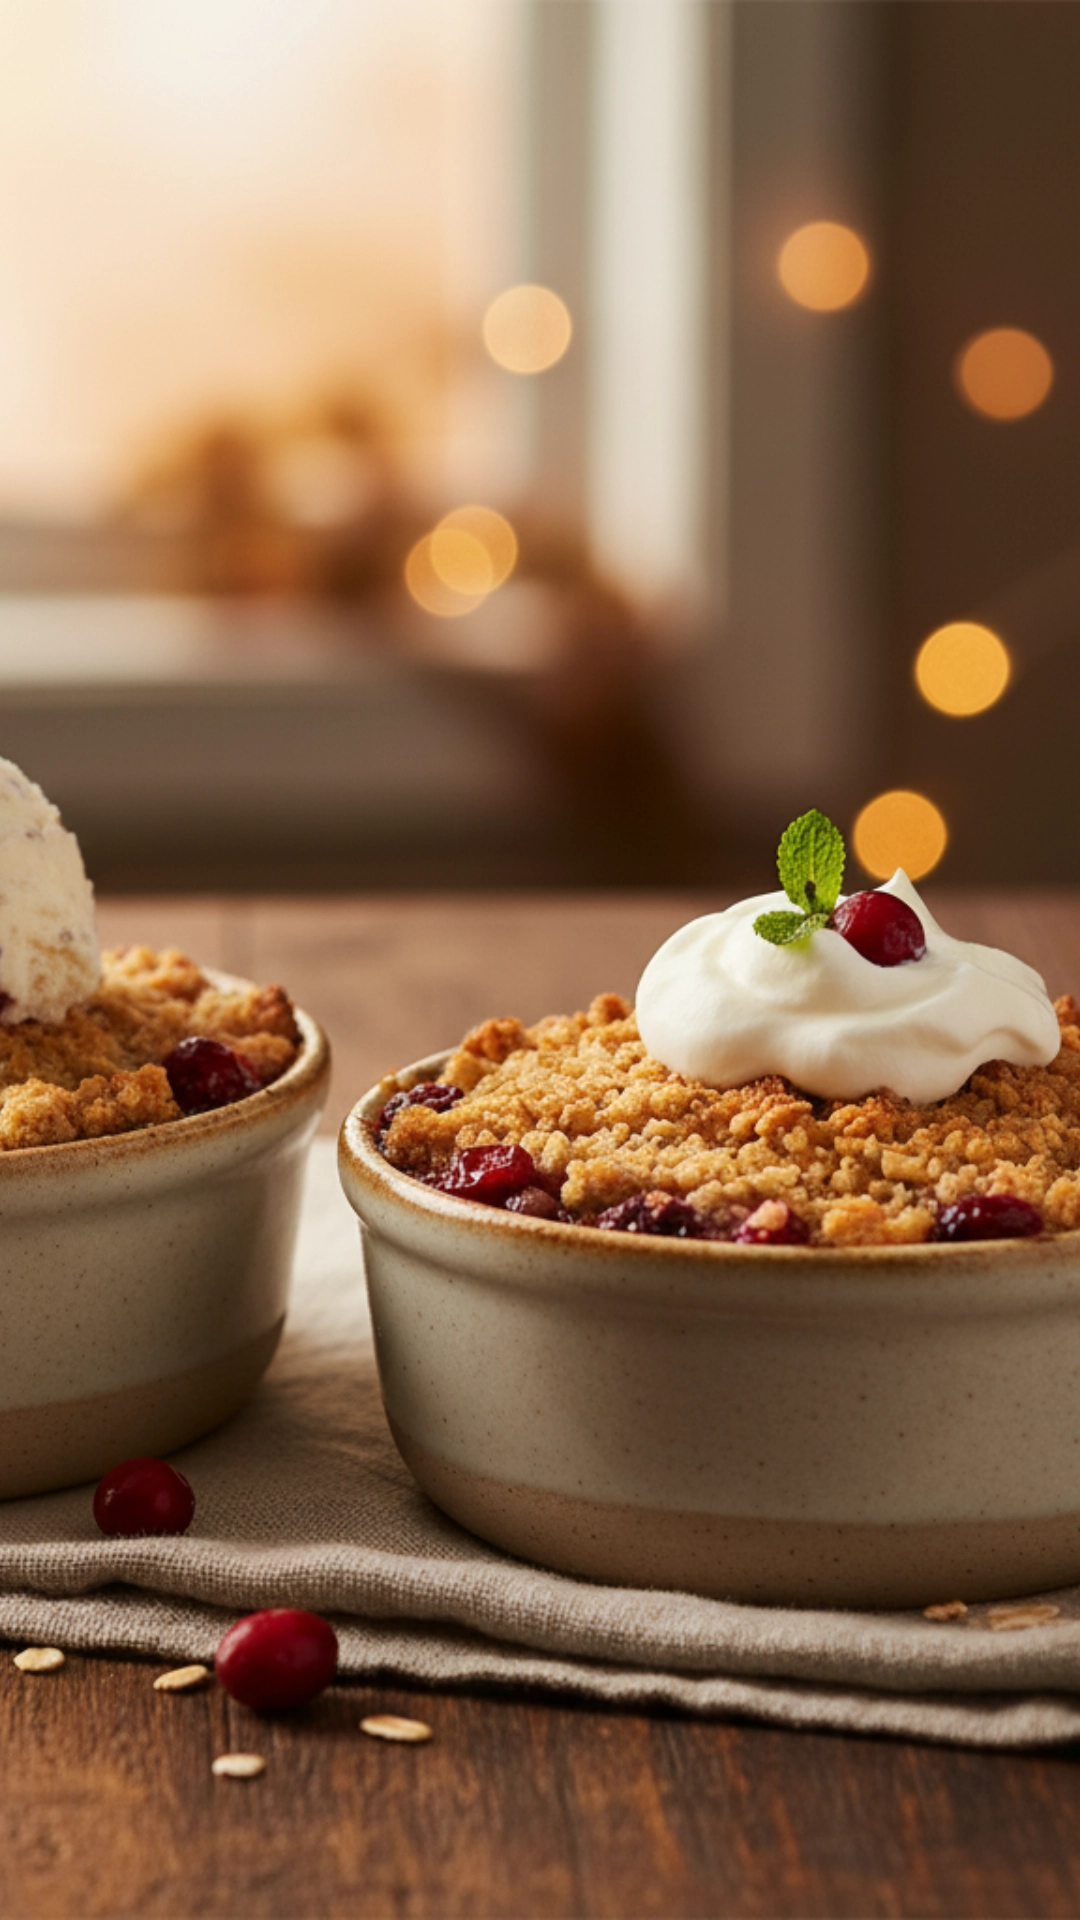
I love how a warm crisp tastes on a cold night. Individual crisps are fantastic because they eliminate the need to slice and serve. Each guest gets their perfect portion, served warm from the oven. The combination of tart cranberries and sweet apples is ideal for Thanksgiving Desserts.
How to Make Single-Serving Apple Cranberry Crisps
This recipe uses small ramekins, which really elevate the presentation. You can prepare these completely ahead of time and bake them when your guests are having their main course.
1. The Fruity Filling
- Chop the Fruit: You should peel, core, and dice about four medium-sized apples, like Gala or Honeycrisp. You want about 4 cups of chopped apples.
- Mix the Flavor: Gently toss the chopped apples with 1 cup of fresh or frozen cranberries. Add 1/4 cup of granulated sugar, one tablespoon of all-purpose flour (to thicken the juices), 1/2 teaspoon of ground cinnamon, and a pinch of ground nutmeg.
- Portion Them Out: Scoop the fruit mixture evenly into 8 to 10 oven-safe ramekins. You can pile the fruit up, as it will cook down as it bakes.
2. The Crumbly Topping
- Combine the Dry Mix: In a separate bowl, combine 3/4 cup of all-purpose flour, 1/2 cup of rolled oats, 1/2 cup of packed light brown sugar, and 1/4 teaspoon of salt. The oats give this crisp a wonderful, chewy texture.
- Cut in the Butter: Add 1/2 cup (one stick) of cold unsalted butter, which you should first cut into small cubes. You can use a pastry blender or your fingers for this step. You are looking for a crumbly mixture with pieces of butter no larger than small peas.
- Sprinkle It On: Spread the topping evenly over the fruit in each ramekin, ensuring it is mainly covered.
3. Bake and Serve
- Baking Instructions: Place the ramekins on a baking sheet to catch any bubbling juices. Bake at 375°F (190°C) for 25 to 30 minutes. The topping should be golden brown, and the fruit filling should be bubbling hot and tender when pierced with a fork.
- The Best Topping: I always serve these warm. Before serving, top each one with a dollop of fresh whipped cream or a scoop of vanilla bean ice cream. The contrast between the warm crisp and the cold cream is pure heaven.
Adding Chocolate and Unexpected Twists
Not every dessert has to scream “fall spices” to be a great Thanksgiving Dessert. Sometimes, you need a rich, deep chocolate option for the lovers at the table. A little surprise can be a big hit!
Rich Chocolate Bourbon Pecan Bars
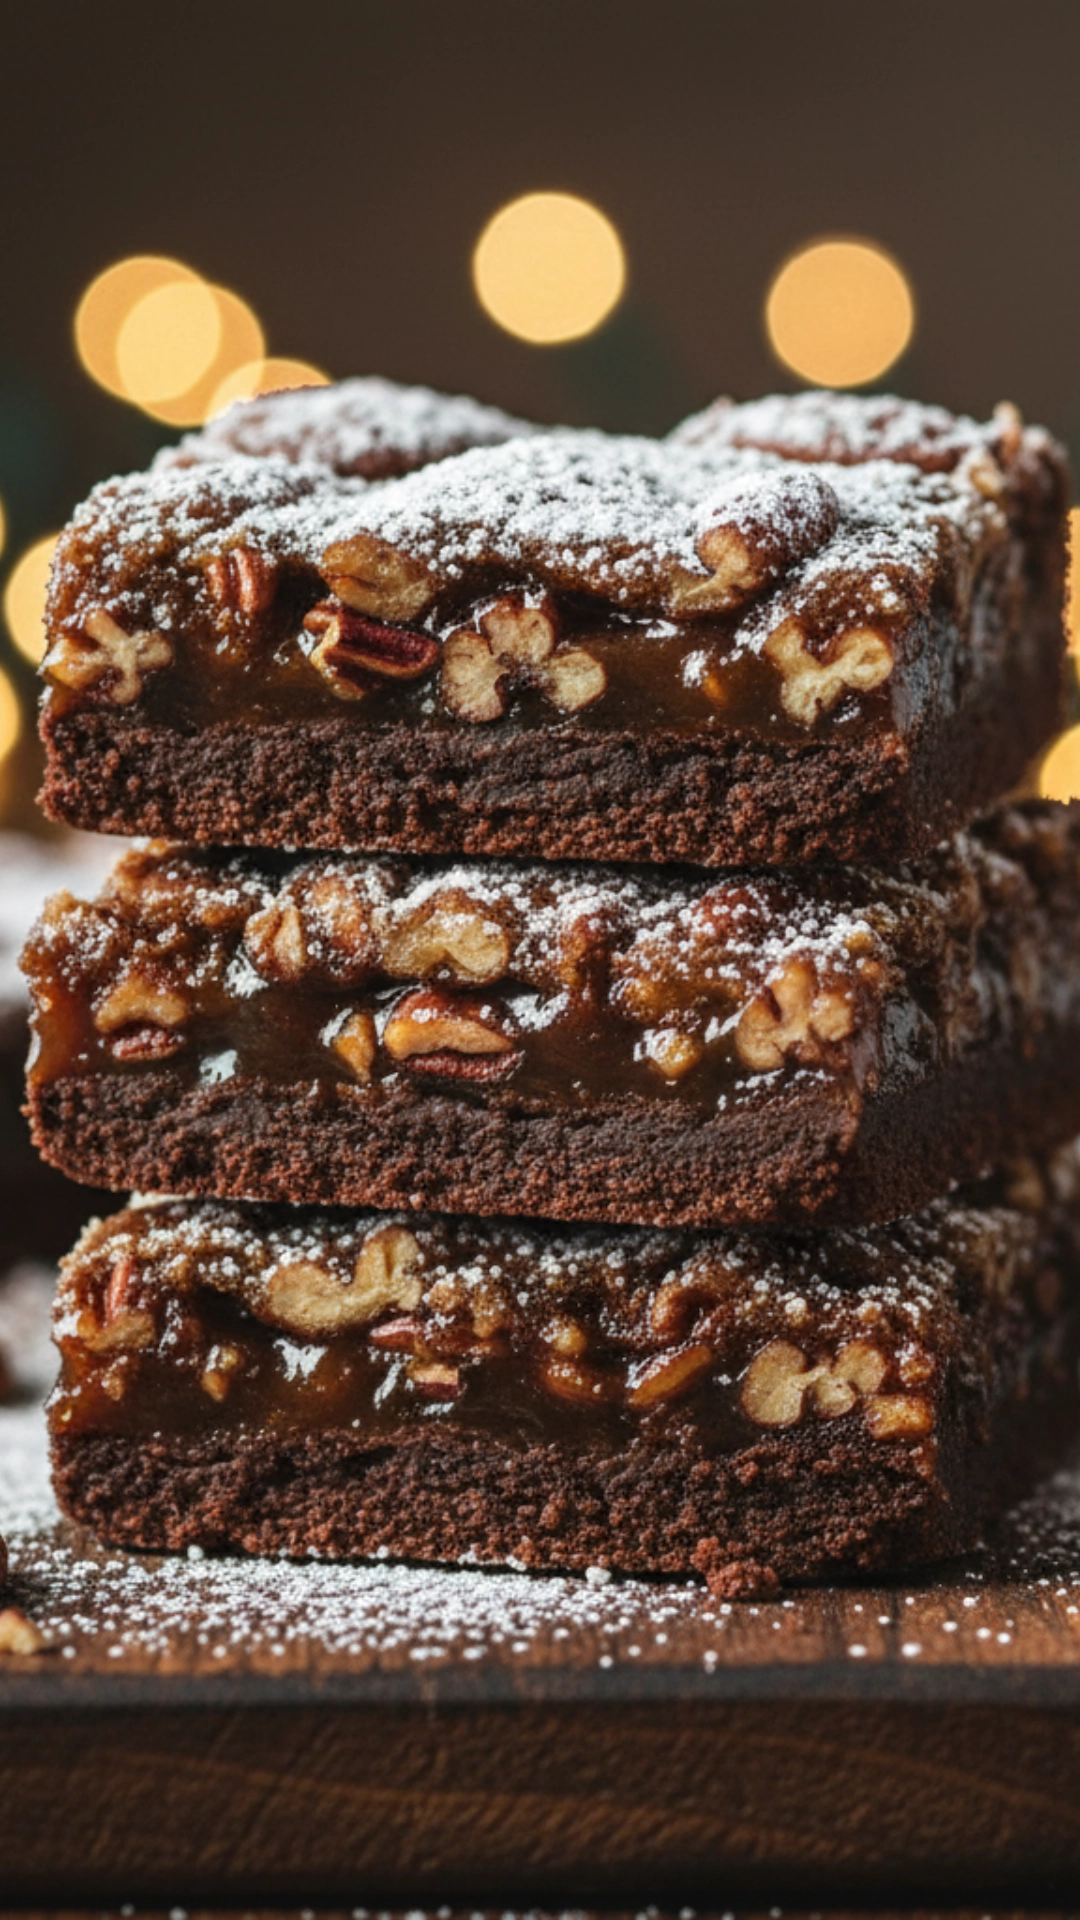
This is a twist on the classic pecan pie, but made into an easy-to-serve bar with the incredible addition of chocolate and a hint of bourbon. The bourbon adds a grown-up warmth that complements the nuts perfectly. These bars are vibrant, so a little square goes a long way. I think the fudgy chocolate base makes this stand out.
Recipe for Fudgy Chocolate Bourbon Pecan Bars
These bars have a simple shortbread crust and a gooey, fudgy filling. You can make them a few days in advance, too, which is a massive plus for holiday planning.
1. The Simple Shortbread Crust
- Preheat: Preheat your oven to 350°F (175°C) and line a 9×13-inch pan with parchment paper.
- Mix the Dough: Beat 1cup of softened unsalted butter with 1/2 cup of granulated sugar until light and fluffy.
- Add the Flour: Gradually beat in 2 cups of all-purpose flour and 1/2 teaspoon of salt until the dough comes together. It will be thick.
- Press and Bake: Press this dough into the bottom of your prepared pan. Bake the crust for 15 minutes until it is lightly golden.
2. The Decadent Pecan Filling
- Melt the Chocolate: While baking the crust, melt 1 cup of semi-sweet chocolate chips and 1/4 cup of unsalted butter in a heatproof bowl. You can do this gently over a pot of simmering water or 30-second bursts in the microwave. Stir until smooth and glossy.
- Whisk the Wet Ingredients: In a separate bowl, whisk together three large eggs, 3/4 cup packed brown sugar, 1/2 cup corn syrup (or maple syrup), and two tablespoons of bourbon. The corn syrup gives the batter that essential chewiness.
- Combine: Pour the melted chocolate mixture into the egg mixture and whisk until completely smooth. Then, stir in 1 teaspoon of vanilla extract and 1/2 teaspoon of salt.
- Add the Pecans: Gently fold in 2 cups of chopped pecans, which you want distributed evenly throughout the filling.
3. Finish and Slice
- Pour and Bake: Pour the pecan filling over the warm, pre-baked crust and spread it out gently to the edges.
- Second Bake: Return the pan to the oven and bake for 25 to 30 minutes. The filling should be set but still slightly soft in the center.
- Cool Completely: Just like the cheesecake, this needs to cool completely. Let it cool on a wire rack for about an hour, then chill it in the refrigerator until it is firm enough to slice neatly. Chilling it for at least 3 hours makes the cleanest squares. Use the parchment paper to lift the whole block out before cutting.
Light and Bright Options for a Lighter Finish
After a huge holiday meal, some people want something lighter and brighter for their Thanksgiving Desserts. A fruity, tangy option is a fantastic palate cleanser. I always include one of these to break up the rich flavors.
Cranberry Orange Mousse Parfaits
These parfaits are a stunning no-bake option. They are cool, airy, and the tartness of the cranberry and orange is precisely what you need after a savory feast. They look elegant in a small glass or jar; you can make them thoroughly beforehand!
How to Assemble Cranberry Orange Mousse Parfaits
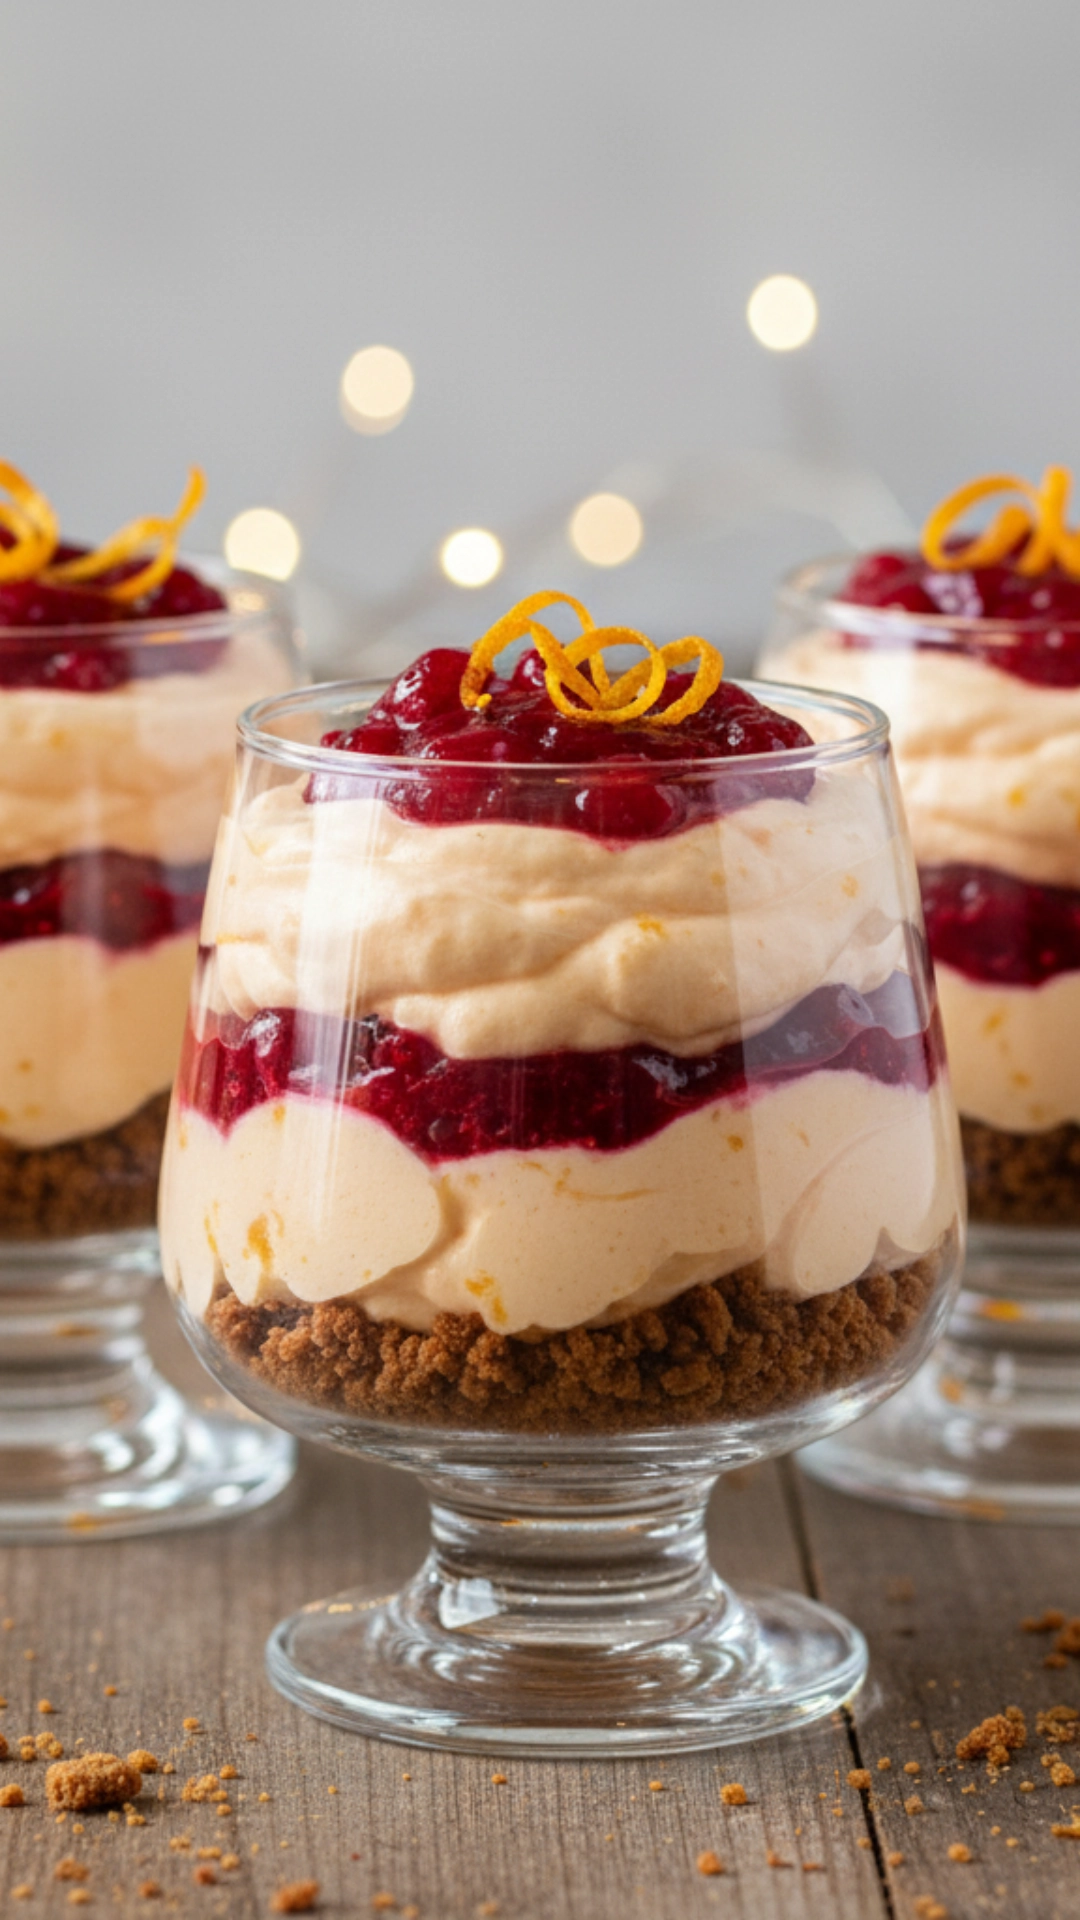
This recipe has three easy components: the cranberry base, the orange mousse, and the crunchy topping.
1. The Tart Cranberry Base
- Cook the Sauce: You should simmer $1$ cup of fresh cranberries with 1/4 cup of water, 1/4 cup of sugar, and the zest of one orange until the berries burst and the sauce thickens. This usually takes about 10 minutes.
- Cool Down: Now, let this cranberry sauce cool completely. It should be thick and jam-like. I want to do this the day before.
2. The Fluffy Orange Mousse
- Whip the Cream: Beat 2 cups of heavy whipping cream with 1/4 cup of powdered sugar and one teaspoon of vanilla extract until stiff peaks form. Stiff peaks mean the cream holds its shape perfectly when you lift the whisk.
- Add the Citrus: Gently fold in the zest of a second orange and two tablespoons of orange juice. This keeps the flavor bright and airy.
3. Layering the Parfait
- The Crunch Layer: You should crush some simple shortbread or gingersnap cookies. Place a spoonful of the crumbs at the bottom of 8 small serving glasses or jars.
- The Mousse Layer: Now, pipe or spoon a layer of the orange mousse over the crumbs.
- The Cranberry Swirl: Dollop a spoonful of the cooled cranberry sauce on top of the mousse. Gently swirl it with a toothpick for a pretty effect.
- Repeat and Chill: You should repeat the layers with a bit more crunch, another layer of mousse, and finish with a decorative cranberry sauce swirl. Chill the parfaits for at least 2 hours before serving. A garnish of fresh, candied cranberries or an orange twist makes them pop.
Essential Tips for a Stress-Free Dessert Spread
Serving several delicious Thanksgiving Desserts doesn’t have to be overwhelming. You’re already juggling a huge main meal, so I want to give you some analytical tips to help you manage the sweets. My goal is for you to be relaxed and enjoy the day.
Strategically Planning Your Dessert Prep
- Bake Ahead: You should aim to make at least half of your desserts completely by the Tuesday before Thanksgiving. Things like the Pumpkin Cheesecake Bars, the Chocolate Bourbon Pecan Bars, and the Cranberry Orange Mousse Parfaits all hold up beautifully when chilled. This frees up your oven for other dishes on the big day. I’ll usually make my bar desserts on Monday night.
- Utilize the Freezer: If you are making a whole pie, you can prepare the crust and the filling up to a month in advance and freeze them separately. Thaw them in the refrigerator the day before. For many cake batters, you can even bake the cake layers, wrap them tightly, and freeze them until you are ready to frost.
- The Day Before is for Assembly: Wednesday is for simple assembly. This is when you layer your parfaits or whip up a quick batch of cream cheese frosting for your bars. You should also make your whipped cream on Wednesday night—it keeps best in the refrigerator in an airtight container.
The Art of the Dessert Platter
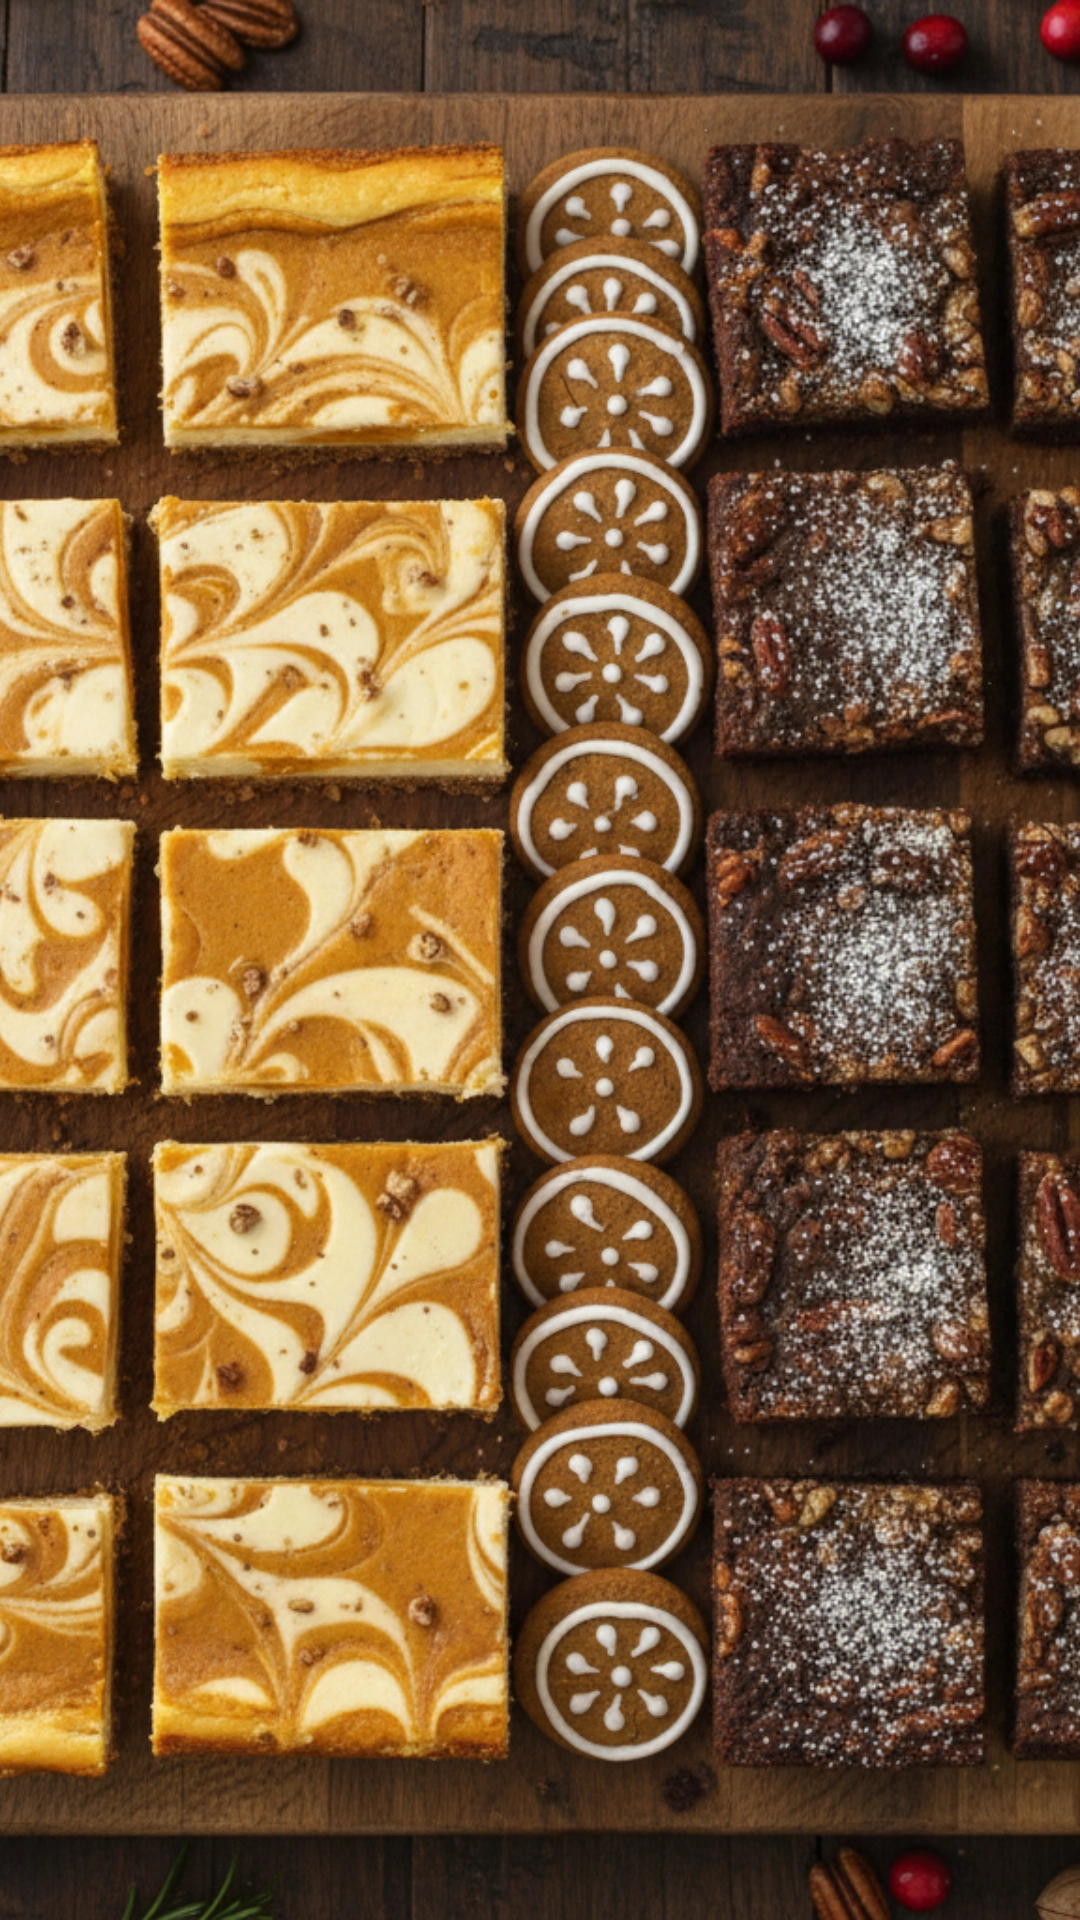
- Offer Variety: When you plan your menu, think about different textures. You should have something creamy (mousse/cheesecake), something warm and crumbly (crisp/cobbler), and something rich and fudgy (the bars). This keeps things interesting.
- Pre-Portioning is Key: This is my favorite analytical tip for serving stress-free Thanksgiving Desserts. Slice all your bars and pies before your guests arrive. You can use a warm, sharp knife to get immaculate cuts. This makes serving a breeze, and it looks beautiful. For the crisps and parfaits, the individual servings do the work for you.
- Create a Dessert Station: Don’t clutter your main dining table with desserts. Set up a separate area, like a side table or kitchen counter, as a dedicated dessert station. This keeps the dining table clear for coffee and conversation and makes it easy for guests to serve themselves when ready. I like to offer a few simple toppings at the station, like extra whipped cream, a jar of caramel sauce, and a bowl of chopped nuts.
Conclusion: Ending with the Sweetest of Notes
I would love to share these ideas with you. I truly believe the final course is the best part of Thanksgiving feasting. It’s your last chance to celebrate those wonderful fall flavors. I hope this post helps you create a gorgeous spread without losing your mind in the kitchen.
That’s the real goal! Whether you go for the Pumpkin Cheesecake Bars or the Apple Cranberry Crisps, your guests will be thrilled. I know mine always are. I’m already dreaming of those first perfect bites. I hope this helps you feel inspired to try these for your gathering.
I can’t wait to hear how yours turns out—tag me when you make them!
