This post may contain affiliate links, which means I may receive a small commission should you decide to click that link and make a purchase. For more information please refer to the Terms & Conditions.
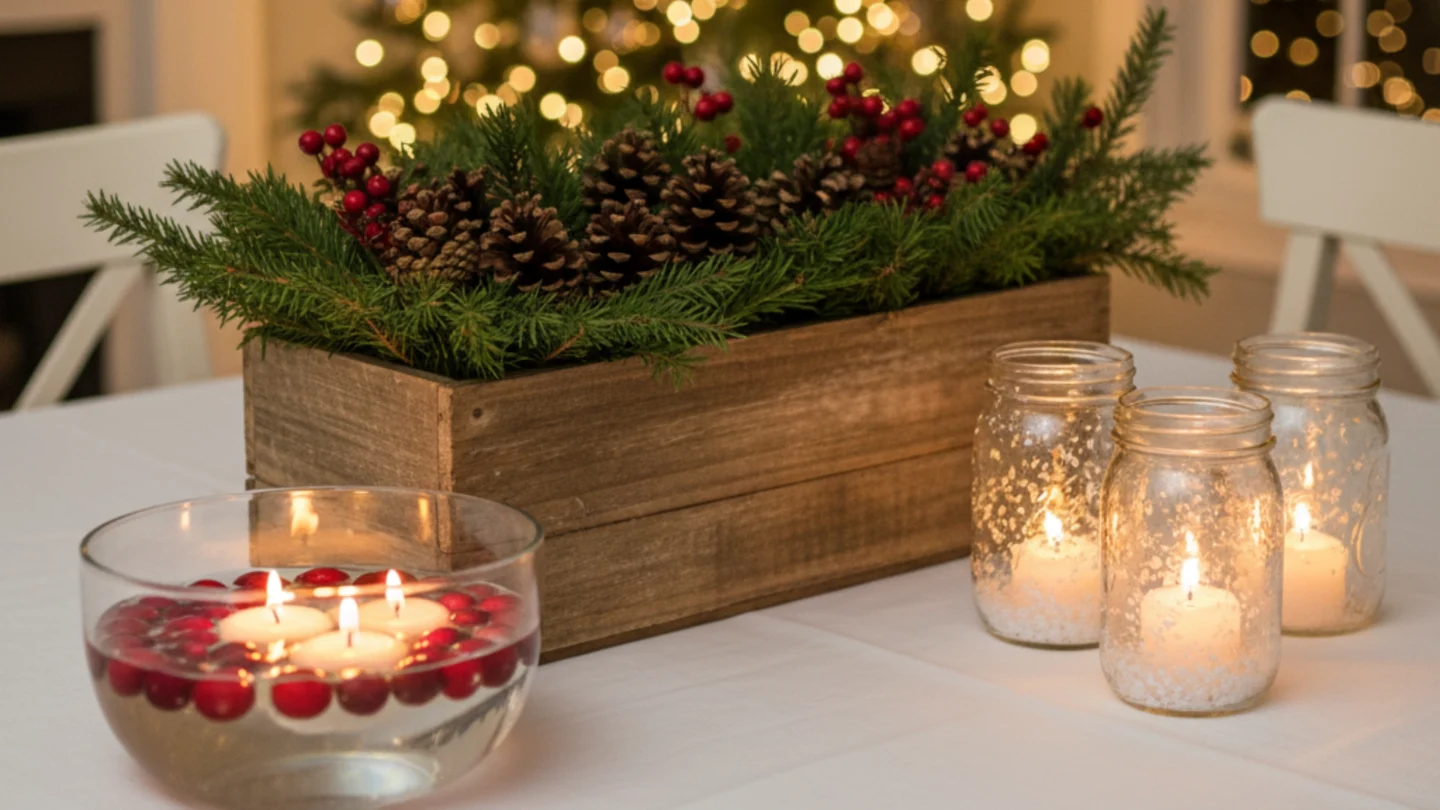
I absolutely love this time of year, but I used to feel a lot of pressure to buy expensive, complicated decorations. My search for Simple DIY holiday centerpieces began when I realized I was spending a lot of money on things that didn’t feel like me.
I’m genuinely obsessed with the idea that the most beautiful holiday decor is personal, and I’m convinced that anyone can make something stunning with just a few simple items.
I’ve spent a lot of time analyzing what makes a centerpiece “work,” and I’ve realized it’s not about being a professional crafter. I mean it. It’s about layering simple, beautiful things. I want to show you my 10 absolute favorite, no-fail ideas.
I’ll walk you through every single step, and I promise you already have most of what you need. I genuinely believe you can make these, and your guests will be amazed when you say, “I made that!”
Your 10 Step-by-Step Simple DIY Holiday Centerpieces
Get ready to transform your table! We’re going to break down 10 super-easy, high-impact ideas. You don’t need a huge budget or a ton of time. You’ve got this.
The Classic Floating Cranberry Bowl
I have to start with this one because it’s so elegant and takes about three minutes. It’s the perfect last-minute solution that appears to have taken hours.
What You Need:
- A wide, shallow glass bowl (a trifle bowl or even a significant salad bowl works)
- Water (distilled water if you want it crystal clear)
- 1 bag of fresh cranberries
- A few floating tea light candles
- (Optional) A few small sprigs of fresh greenery (like rosemary, pine, or cedar)
Step-by-Step Instructions:
- Choose Your Stage: Place your clean, dry glass bowl in the center of your table.
- Add Greenery (Optional): If you’re using greenery, place a few sprigs in the bottom of the bowl. This adds a nice natural layer.
- Fill with Water: Gently fill the bowl with water until it’s about 3/4 full. The greenery might float up, which is totally fine.
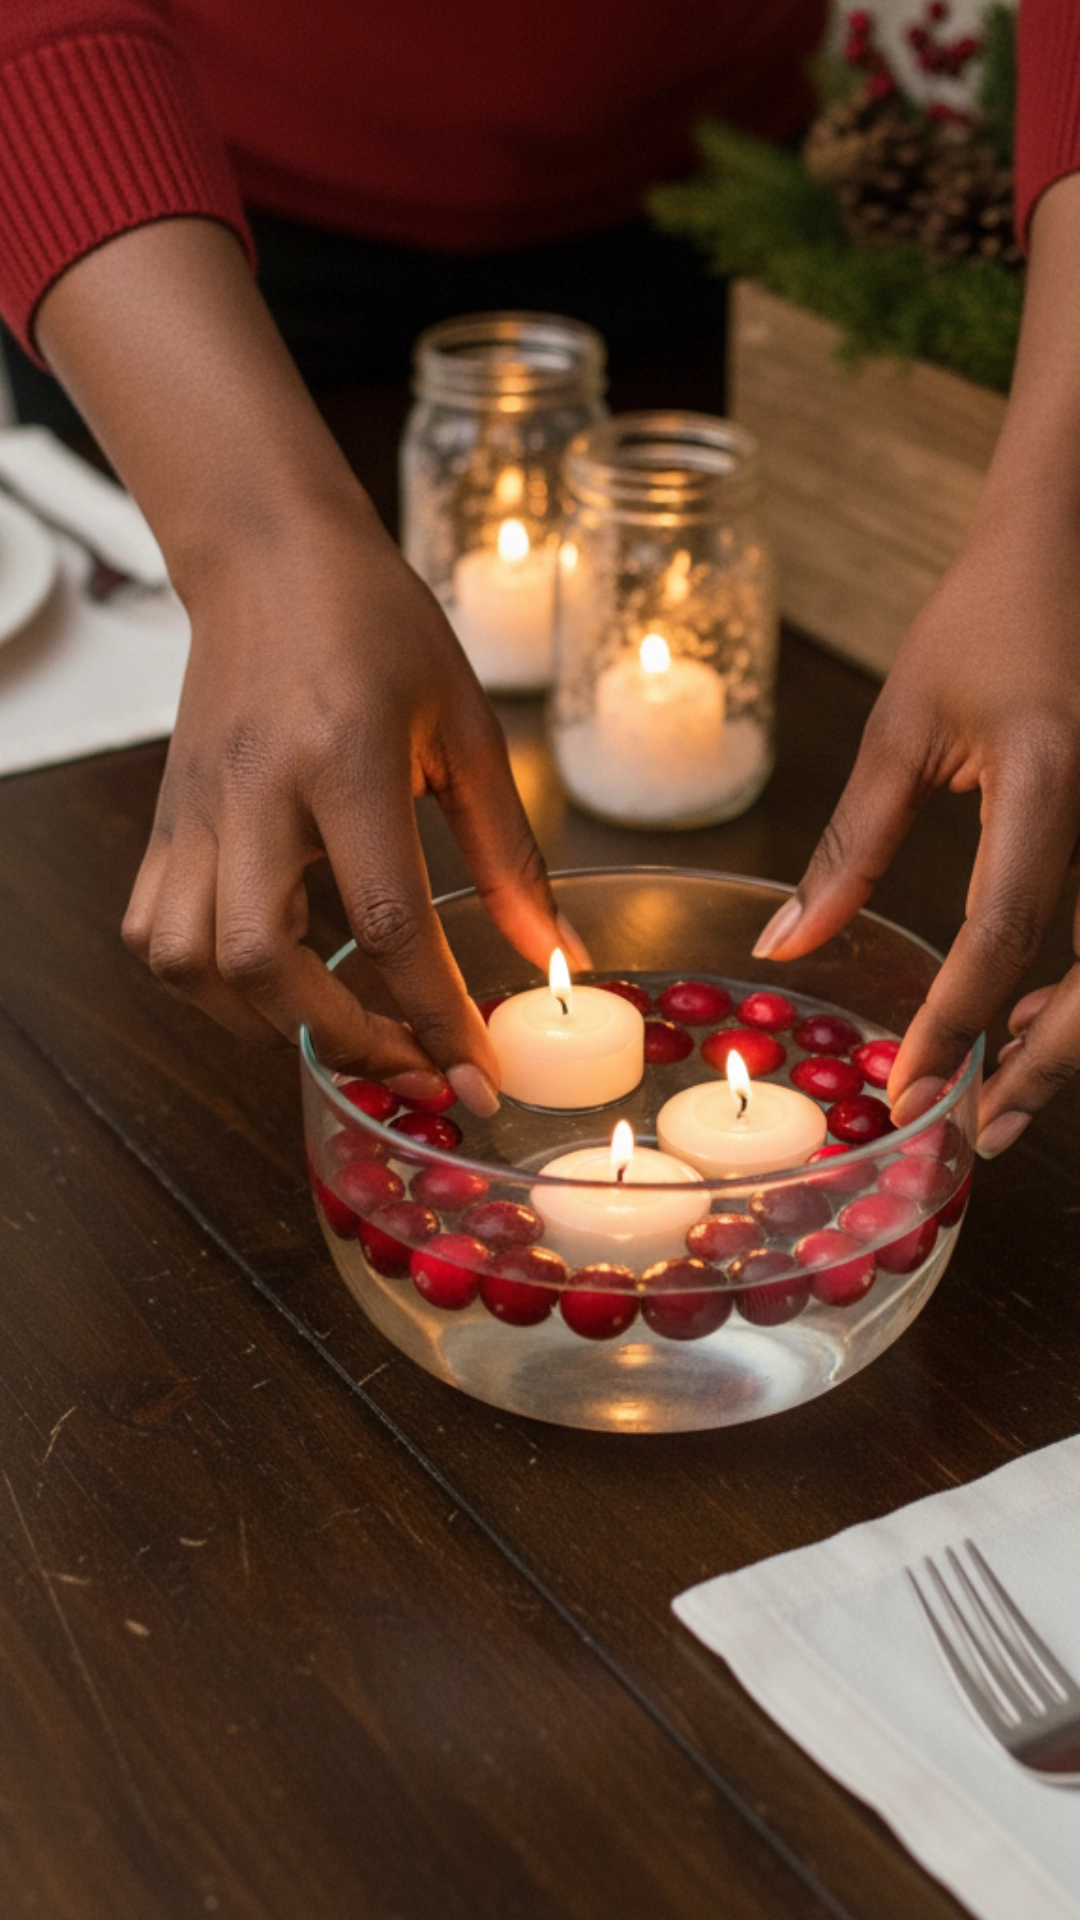
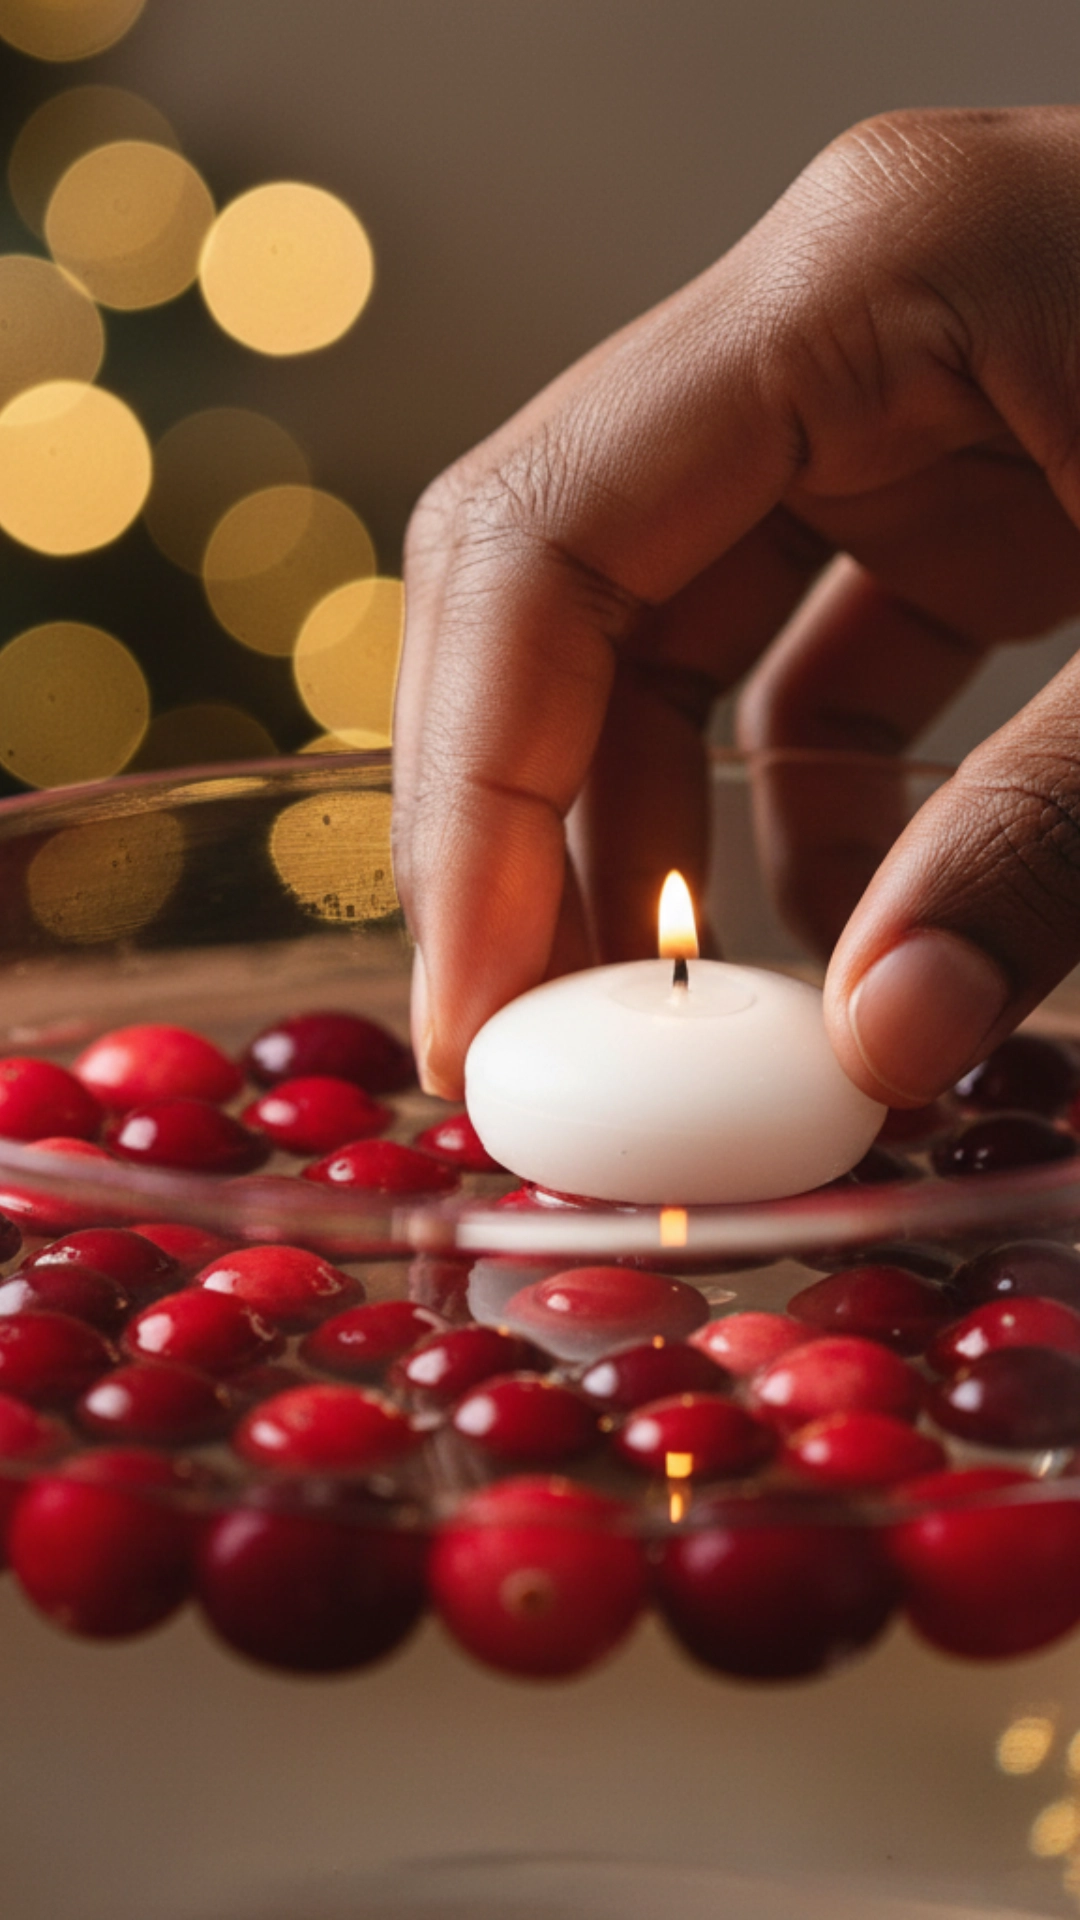
- Pour in the Cranberries: This is the best part. Gently pour the entire bag of fresh cranberries into the water. They will float and create a beautiful, dense red top layer.
- Place Your Candles: Carefully nestle your floating tea lights on top of the cranberries. Three is usually the perfect number.
- Light and Admire: Light the candles just before your guests arrive. The glow through the water and cranberries is magical.
My Pro-Tip: For an extra “wow” effect, use sparkling water for a subtle, bubbly finish. This is one of those simple DIY holiday centerpieces that looks 10 times more expensive than it is.
The 5-Minute Ornament Bowl
I’m obsessed with this because it’s a “non-crafty” craft. You are literally just arranging. It’s the perfect way to use those extra ornaments you love but that didn’t fit on the tree.
What You Need:
- A large decorative bowl, platter, or tray (it doesn’t have to be clear)
- A variety of round “filler” ornaments (the basic, inexpensive ones)
- A few “special” or larger ornaments
- (Optional) A string of battery-operated fairy lights (the kind with a thin wire)
Step-by-Step Instructions:
- Start with Lights (Optional): If you’re using fairy lights, turn them on and loosely pile the wire and battery pack in the bottom of your bowl.
- Build Your Base: Fill the bottom of the bowl with your “filler” ornaments. These are your base layers, so don’t worry about them being perfect.
- Add Your “Stars”: Place your larger, more beautiful, or more “special” ornaments on top of the filler balls. Space them out so they draw the eye.
- Fill the Gaps: Use any remaining small ornaments to fill in any weird gaps or holes. You want the bowl to look full and abundant.
- Tuck the Wires: If you used lights, ensure that you tuck any visible wires down between the ornaments, so that only the tiny bulbs are visible.
My Pro-Tip: Stick to a clear color palette. A bowl of all silver and gold, or red and green, looks more intentional and sophisticated than a random jumble of every color.
The Rustic Evergreen & Pinecone Box
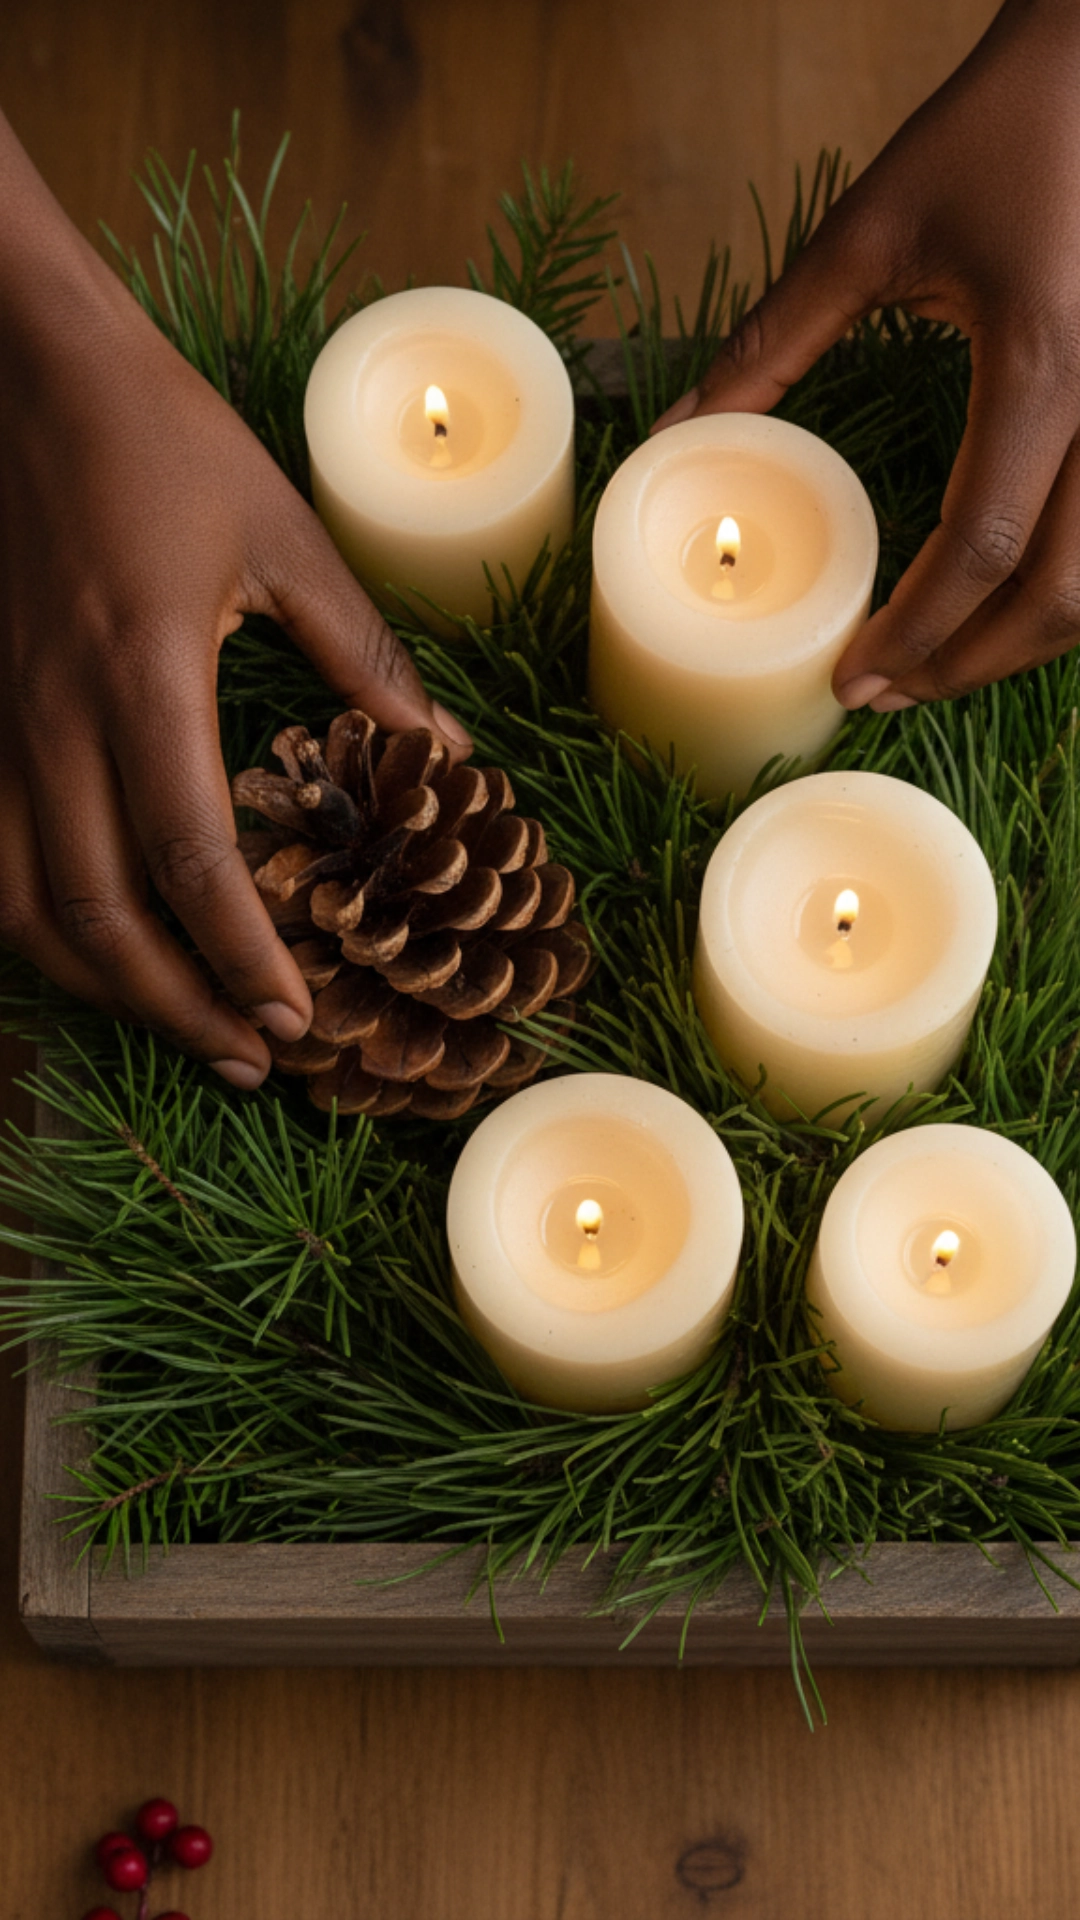
This is one of my favorite simple DIY holiday centerpieces because it brings the outdoors in and smells fantastic. If you have a long, rectangular dining table, this is the one for you.
What You Need:
- A wooden planter box, tray, or any long, shallow container
- A few blocks of floral foam (or crumple up newspaper)
- Lots of fresh greenery (pine, cedar, fir—you can get free clippings from tree lots)
- Pinecones (store-bought or ones you’ve found and baked)
- 3-5 pillar candles of varying heights (real or battery-operated)
Step-by-Step Instructions:
- Set Your Foundation: Place your long box or tray on the table. If you’re using real candles, ensure they are placed on small, stable candle holders first and then put them in the box. If you’re using battery candles, you can just set them in.
- Fill the Box: Place your floral foam (or crumpled paper) in the box, arranging it around your candles. This gives your greenery something to stick into and adds height.
- Create Your Greenery Base: Start with your longest, fluffiest branches. Lay them down first to create the main shape and length, allowing them to spill over the edges slightly.
- Layer and Fill: Use your smaller greenery sprigs to fill in all the gaps. Stick them into the foam or just lay them on top, working all the way around the candles. You want to hide the foam completely.
- Add Pinecones: Once your greenery feels full, nestle your pinecones into the branches. Please place them in small clusters of two or three, spacing them out along the length of the box.
My Pro-Tip: Don’t be afraid to add more. You can also tuck in some berry sprigs (real or faux) or a few small ornaments to add a pop of red.
The Snowy Winter Luminaries
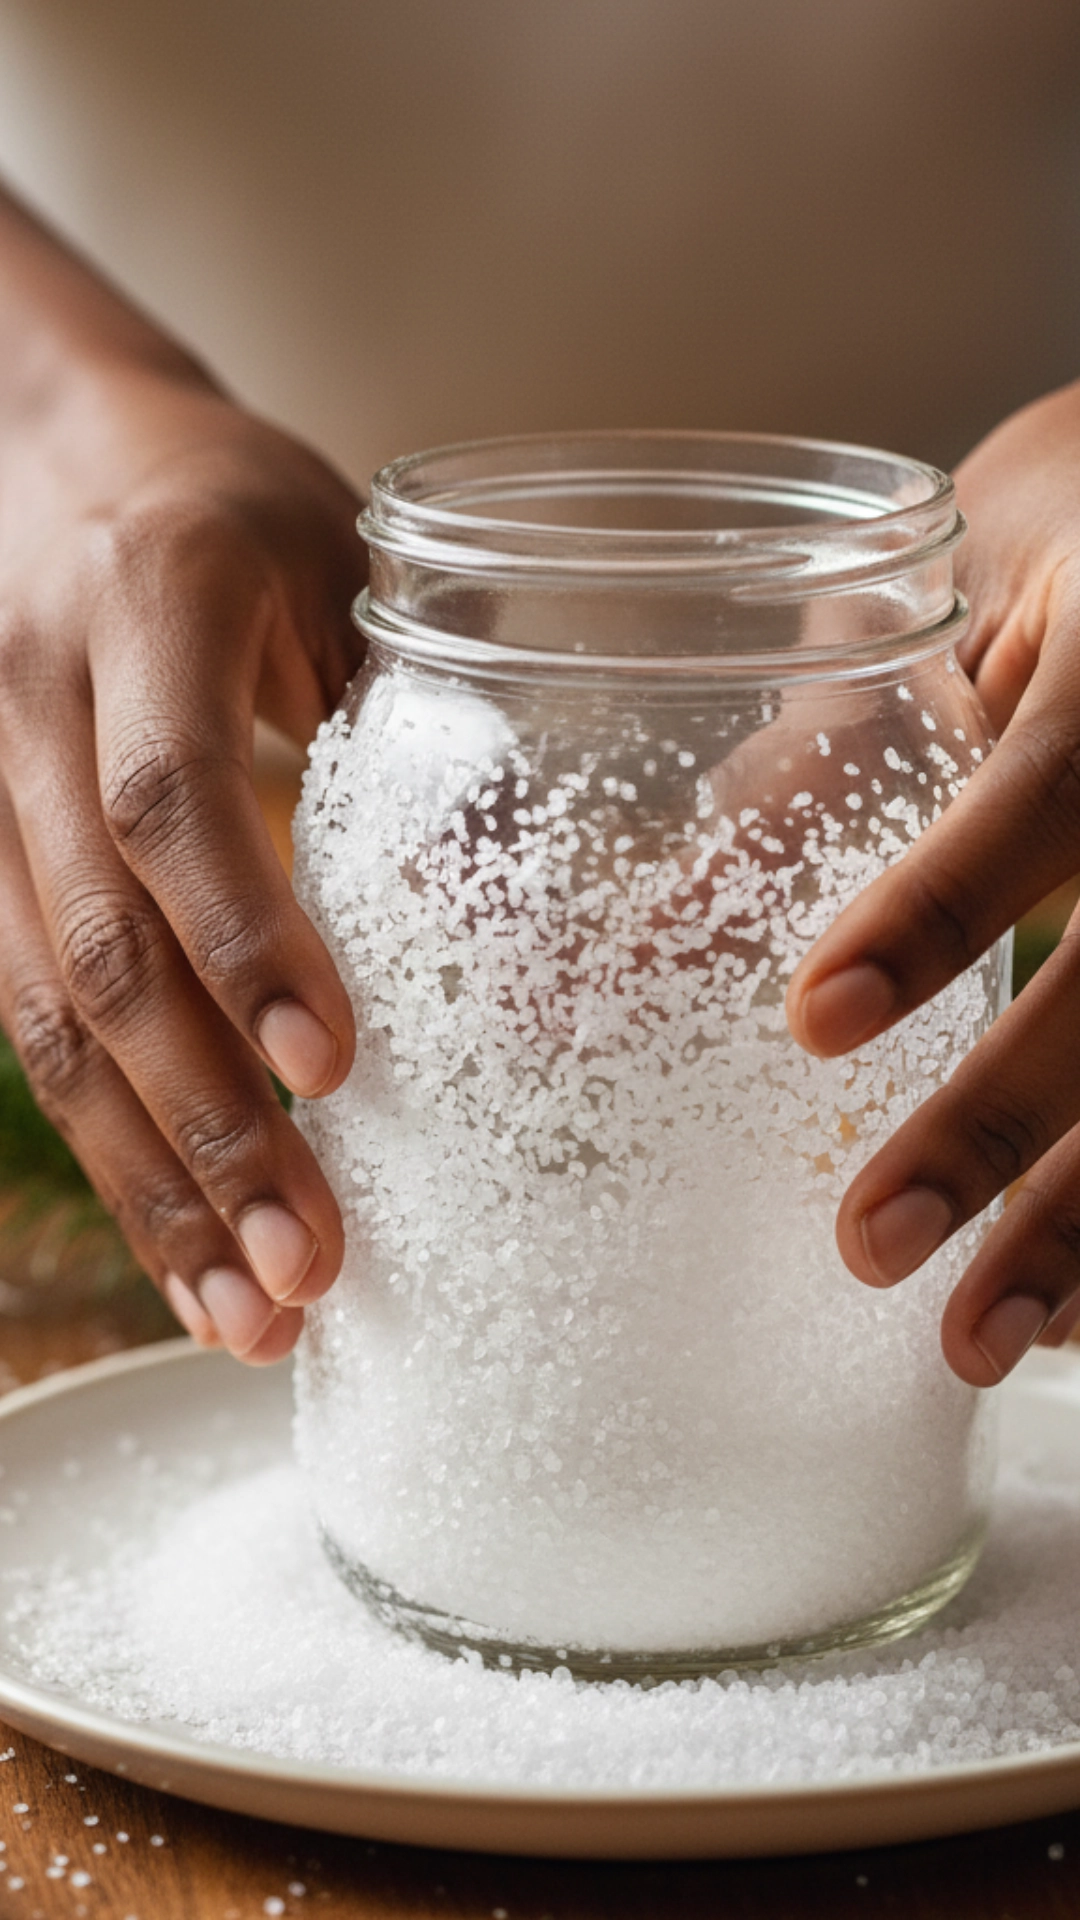
I love how this looks. It’s less “Christmas” and more “winter wonderland,” so you can keep it out from December through February. It’s a perfect, easy holiday centerpiece.
What You Need:
- 3-5 glass jars (mason jars, old food jars, any glass container you have)
- Epsom salt (this is the secret!)
- Mod Podge or white school glue
- A foam brush
- Twine or ribbon
- Tea lights (battery-operated are safest for this)
Step-by-Step Instructions:
- Prepare Your Station: Ensure your jars are clean and completely dry. Pour a thick layer of Epsom salt onto a paper plate.
- Apply the Glue: Working one jar at a time, use your foam brush to “paint” a thin, even layer of Mod Podge or glue all over the outside of the jar. Avoid the very top rim where the lid screws on.
- Make It “Snow”: Immediately hold the sticky jar over the plate and roll it in the Epsom salt. You can also use your hand to scoop and pat the salt onto the surface. You want to cover it completely.
- Let It Dry: Set the jar aside to dry completely. This is the most crucial step! It needs to be 100% dry, which can take anywhere from 1 to 2 hours. Please don’t touch it.
- Add the Finishing Touch: Once dry, the salt will be stuck on and look like magical frost. Tie a simple bow of twine or red ribbon around the rim of the jar.
- Light It Up: Group your 3-5 jars on a tray or directly on the table. Pop a battery-operated tea light in each one and turn them on. The glow through the “snow” is so cozy.
The Tiered Tray Holiday Tower
You’ve seen tiered trays for farmhouse decor, but I think they really shine during the holidays. This is another “arranging” centerpiece that requires zero glue or crafting.
What You Need:
- A two or three-tiered tray
- A mix of holiday items: small ornaments, pinecones, greenery sprigs, small figurines (like reindeer or trees), faux snow, and fairy lights.
Step-by-Step Instructions:
- Start at the Bottom: The bottom tray is your largest area. Start by laying down a base of greenery or faux snow.
- Place “Anchor” Items: Add your largest items to the bottom tray. This could be a small “Merry Christmas” sign, a large pinecone, or a couple of your biggest ornaments.
- Fill the Gaps: Fill in the spaces on the bottom tray with more miniature ornaments, berries, and nuts.
- Move to the Top: Repeat the process on the top tray(s), but with smaller items. The top is an excellent place for a single, special item, like a ceramic tree or a beautiful ornament.
- Add Lights: If you’re using fairy lights, start at the top and loosely drape and weave the lights down, tucking the wire between your decor items. Try to hide the battery pack on the bottom layer, behind your items.
My Pro-Tip: To make it look professional, stick to a theme. A “rustic” theme would use pinecones, wood, and plaid. A “glam” theme would use gold, silver, and glitter.
The “Smell of Christmas” Centerpiece
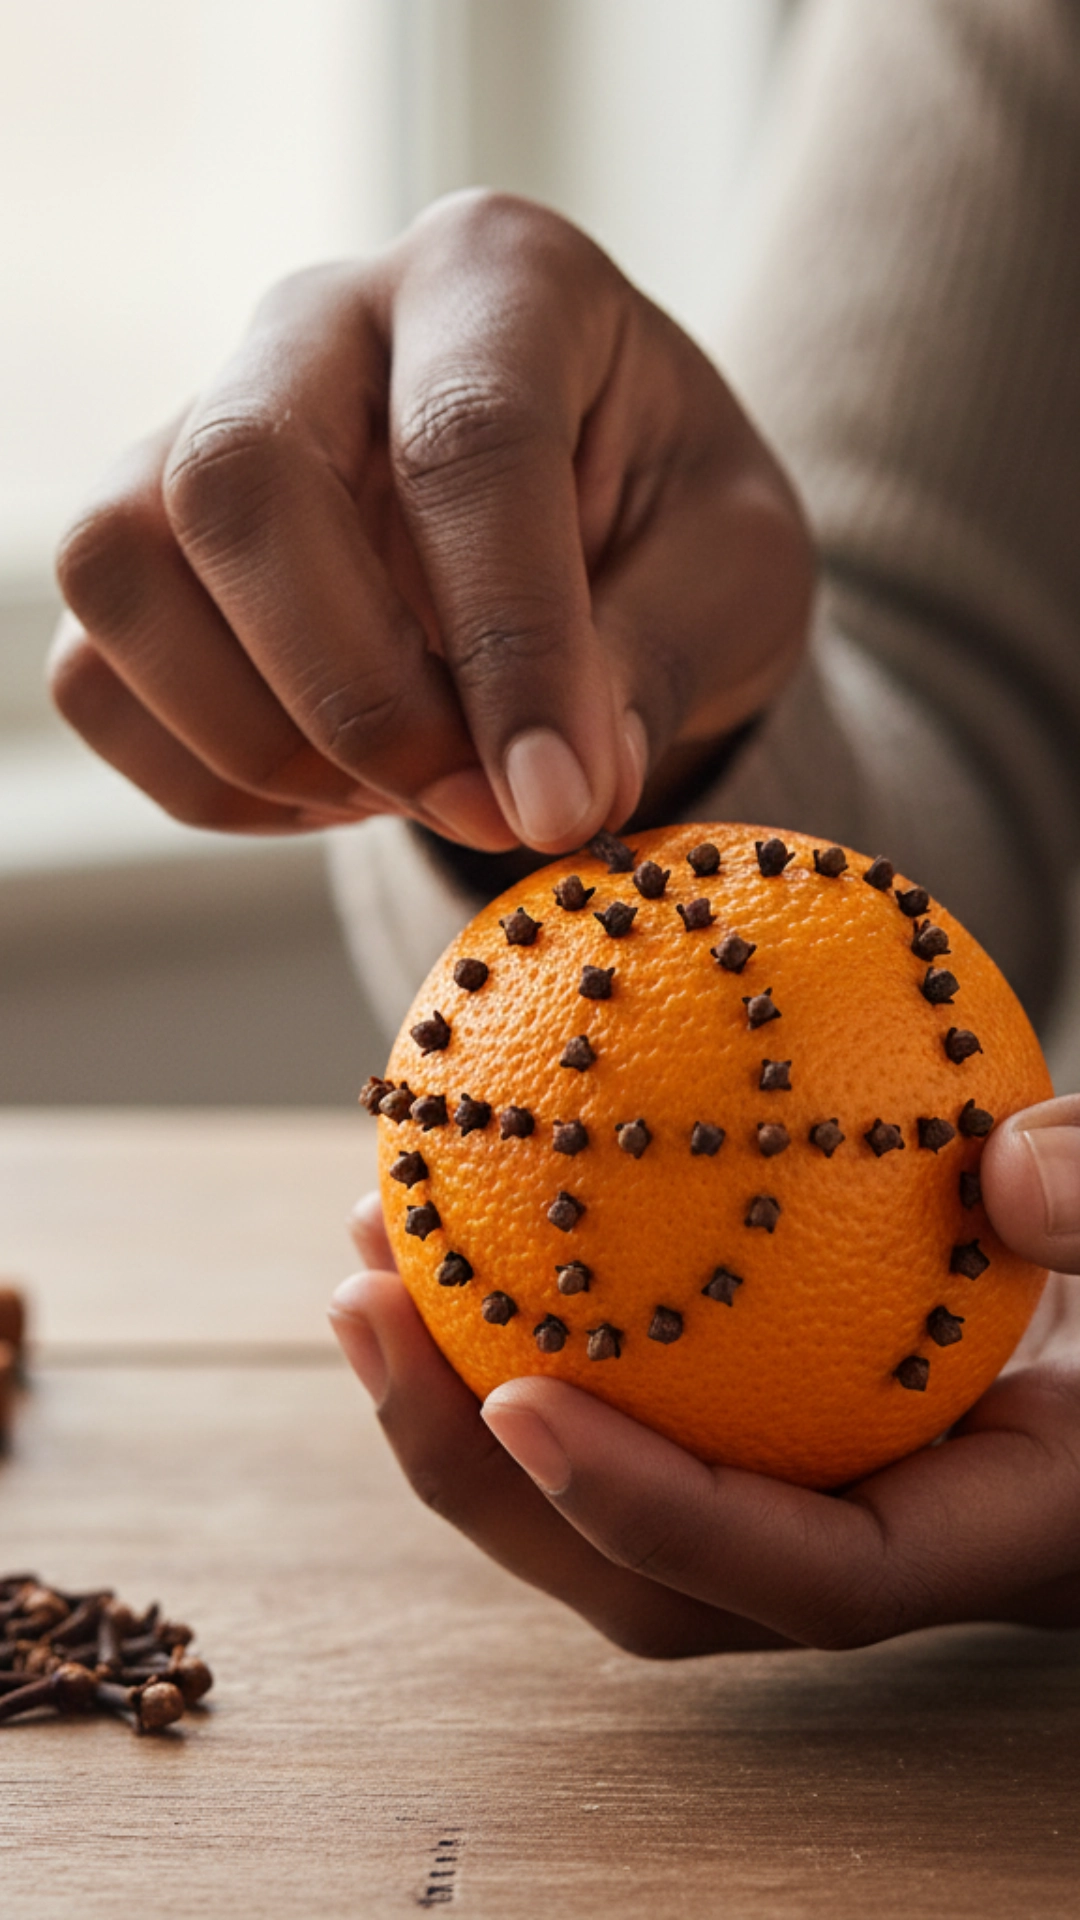
This is a multi-sensory centerpiece. It not only looks beautiful and classic, but it will also fill your room with the most amazing, warm holiday scent.
What You Need:
- A round platter or a low, wide bowl
- 3-4 fresh oranges
- A small jar of whole cloves
- A few handfuls of mixed nuts in their shells (walnuts, almonds, pecans)
- A few cinnamon sticks (the long ones are great)
- (Optional) A simple pillar candle for the center
Step-by-Step Instructions:
- Stud Your Oranges: This is a fun activity to do while watching a movie. Take your oranges and poke the sharp end of the whole cloves into the peel. You can make patterns (like stripes or swirls) or just stud them all over. The more cloves, the more scent.
- Place Your Anchor: If you’re using a candle, place it in the center of your platter.
- Arrange the Oranges: Place your clove-studded oranges on the platter, nestled around the candle (or centered if you’re not using one).
- Fill It In: This is the fun part. Pour your mixed nuts all around the oranges, filling the gaps on the platter.
- Add the Final Touch: Tuck your cinnamon sticks in between the nuts and oranges. You’re done! It’s a gorgeous, natural, and one of the best-smelling simple DIY holiday centerpieces ever.
The Elegant 3-Minute Candle Trio
This is my go-to when I am seriously out of time. It’s minimalist, elegant, and works on any table. The secret is using a runner to “ground” the items.
What You Need:
- A table runner (a simple linen, burlap, or plaid one)
- 3 pillar candles of different heights (e.g., 3-inch, 4-inch, 6-inch)
- A few sprigs of real or faux greenery (like eucalyptus or pine)
- (Optional) A small tray or a wood slice to put the candles on
Step-by-Step Instructions:
- Lay Your Foundation: Lay your table runner down the center of your table.
- Cluster Your Candles: Place your three candles in a tight cluster in the very center of the table. You can set them directly on the runner or place them on a small tray or wood slice first for added stability and texture.
- Add Greenery: Place your greenery sprigs around the base of the candle cluster. Let them fan out naturally onto the runner.
- Check Your Angles: Walk around the table to make sure it looks good from all sides. You may need to tuck in one more sprig at the back. That’s it. It’s done, and it looks incredibly chic.
The “Upside-Down” Wine Glass Snow Globes
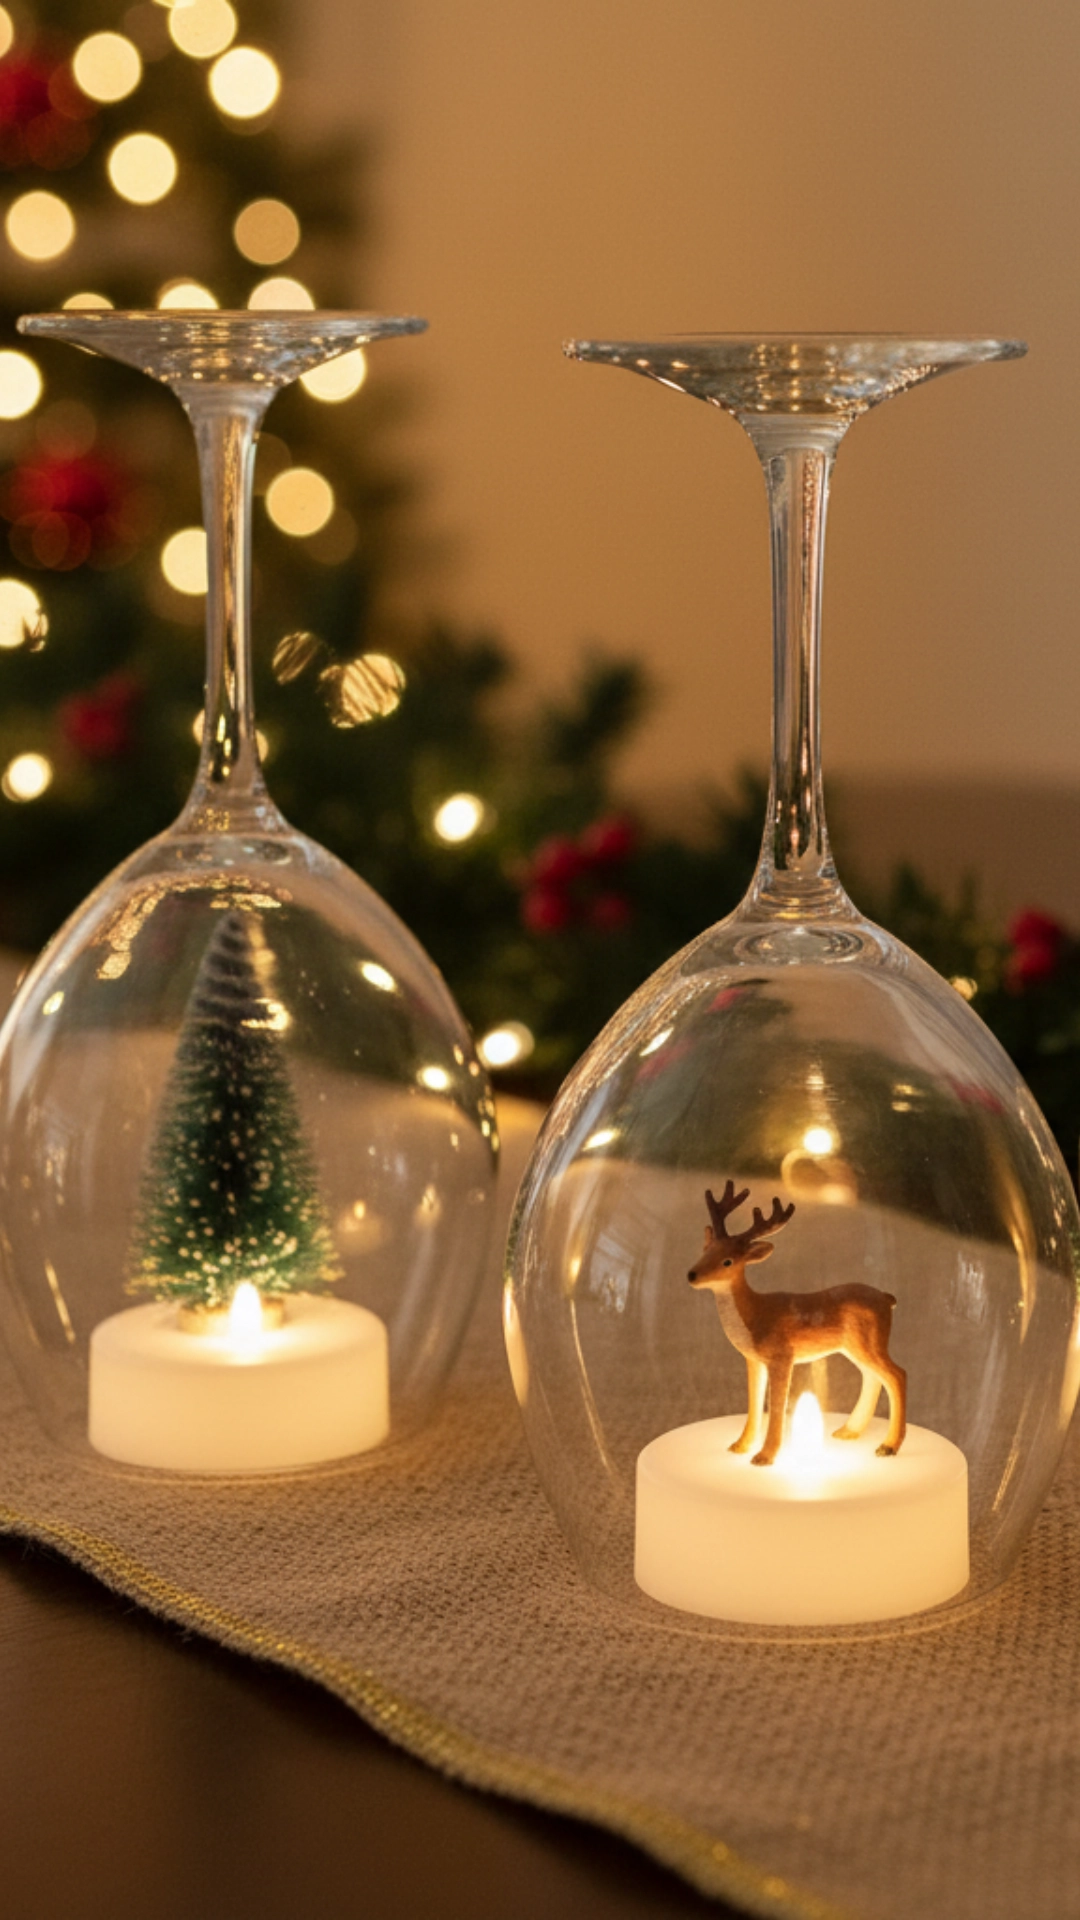
I’m obsessed with this idea! It’s so clever and whimsical. You’re basically creating mini snow globes using items you already own.
What You Need:
- 3 wine glasses (the ones with a stem)
- 3 small “scenes” (e.g., a mini bottle-brush tree, a miniature reindeer figurine, a large pinecone)
- Faux snow or coarse salt
- Cardstock or thin cardboard
- A pencil and scissors
- 3 tea lights (battery-operated only)
Step-by-Step Instructions:
- Trace Your Bases: Turn a wine glass upside down on your cardstock and trace the rim. Cut out the circle just inside the line so it fits snugly. Do this for all three glasses.
- Create Your Scene: Place a small pile of faux snow in the center of one cardstock circle. Place your tiny tree or figurine right in the middle of the snow.
- Cover the Scene: Carefully place the wine glass upside down over the scene, “trapping” it inside. The cardstock is now the base.
- Carefully Flip: This is the trickiest part. Slide one hand under the cardstock and place your other hand on the base of the wine glass. In one quick, confident motion, flip the whole thing over. The snow and figurine will now be inside the glass, “snow globe” style. Don’t worry! If it’s not perfect, you can use a dab of hot glue to attach the figurine to the cardstock first.
- Top it Off: The flat bottom of the wine glass (now the top) is the perfect, safe holder for a battery-operated tea light.
- Repeat: Do this two more times and cluster your three “candle holders” in the center of your table.
The Faux Gift Box Stack
This is so fun, colorful, and perfect for a coffee table or a dining table where you don’t need to see over it (like a buffet).
What You Need:
- 3 empty cardboard boxes of different sizes (like tissue boxes, or shoe boxes)
- Beautiful wrapping paper
- Tape
- Ribbon (wired ribbon works best)
- (Optional) A decorative tree topper or a large bow
Step-by-Step Instructions:
- Wrap Your Boxes: Carefully wrap your three empty boxes in coordinating, beautiful wrapping paper. They should look like perfect presents.
- Add the Ribbon: Tie a beautiful ribbon around each box, finishing with a bow.
- Stack Them Up: Place the largest box on the table. Stack the medium box on top, turning it at a slight angle for a more playful look.
- Top it Off: Place the smallest box on top, also at an angle.
- The Final Flourish (Optional): Instead of a bow on the top box, you can add a small, lightweight tree topper to finish the “tree” of presents. This is a simple DIY holiday centerpiece that you can customize to your exact color scheme.
The Simple Greenery Garland Runner
If you want high-impact, low-effort “wow,” this is it. Instead of a box, you’re just laying the greenery directly on the table for a lush, organic, “magazine-shoot” look.
What You Need:
- A long, pre-made garland (real or good-quality faux)
- (Or) Lots of loose greenery sprigs
- (Optional) Pinecones, berry sprigs, or 3-5 ornaments
- (Optional) 3-5 tall, thin taper candles in holders
Step-by-Step Instructions:
- Lay the Garland: If you have a pre-made garland, this is easy. Just lay it down the center of your table, letting it drape over the ends.
- Build Your Own (If Needed): If you’re using loose sprigs, lay your largest branches down first, overlapping them to create a single long “runner.” Then, fill in the top and sides with your smaller, fluffier sprigs until it looks full.
- Add Candles (Optional): If you’re using taper candles, place your holders first (before the greenery), spacing them out down the center. Then, lay your greenery around the bases.
- “Decorate” the Garland: This is the final layer. Gently nestle your pinecones, berry sprigs, or a few beautiful ornaments into the greenery. Please don’t overdo it. Just a few pops of color or texture will make it look complete.
You Don’t Need to Be a Pro to Decorate Like One
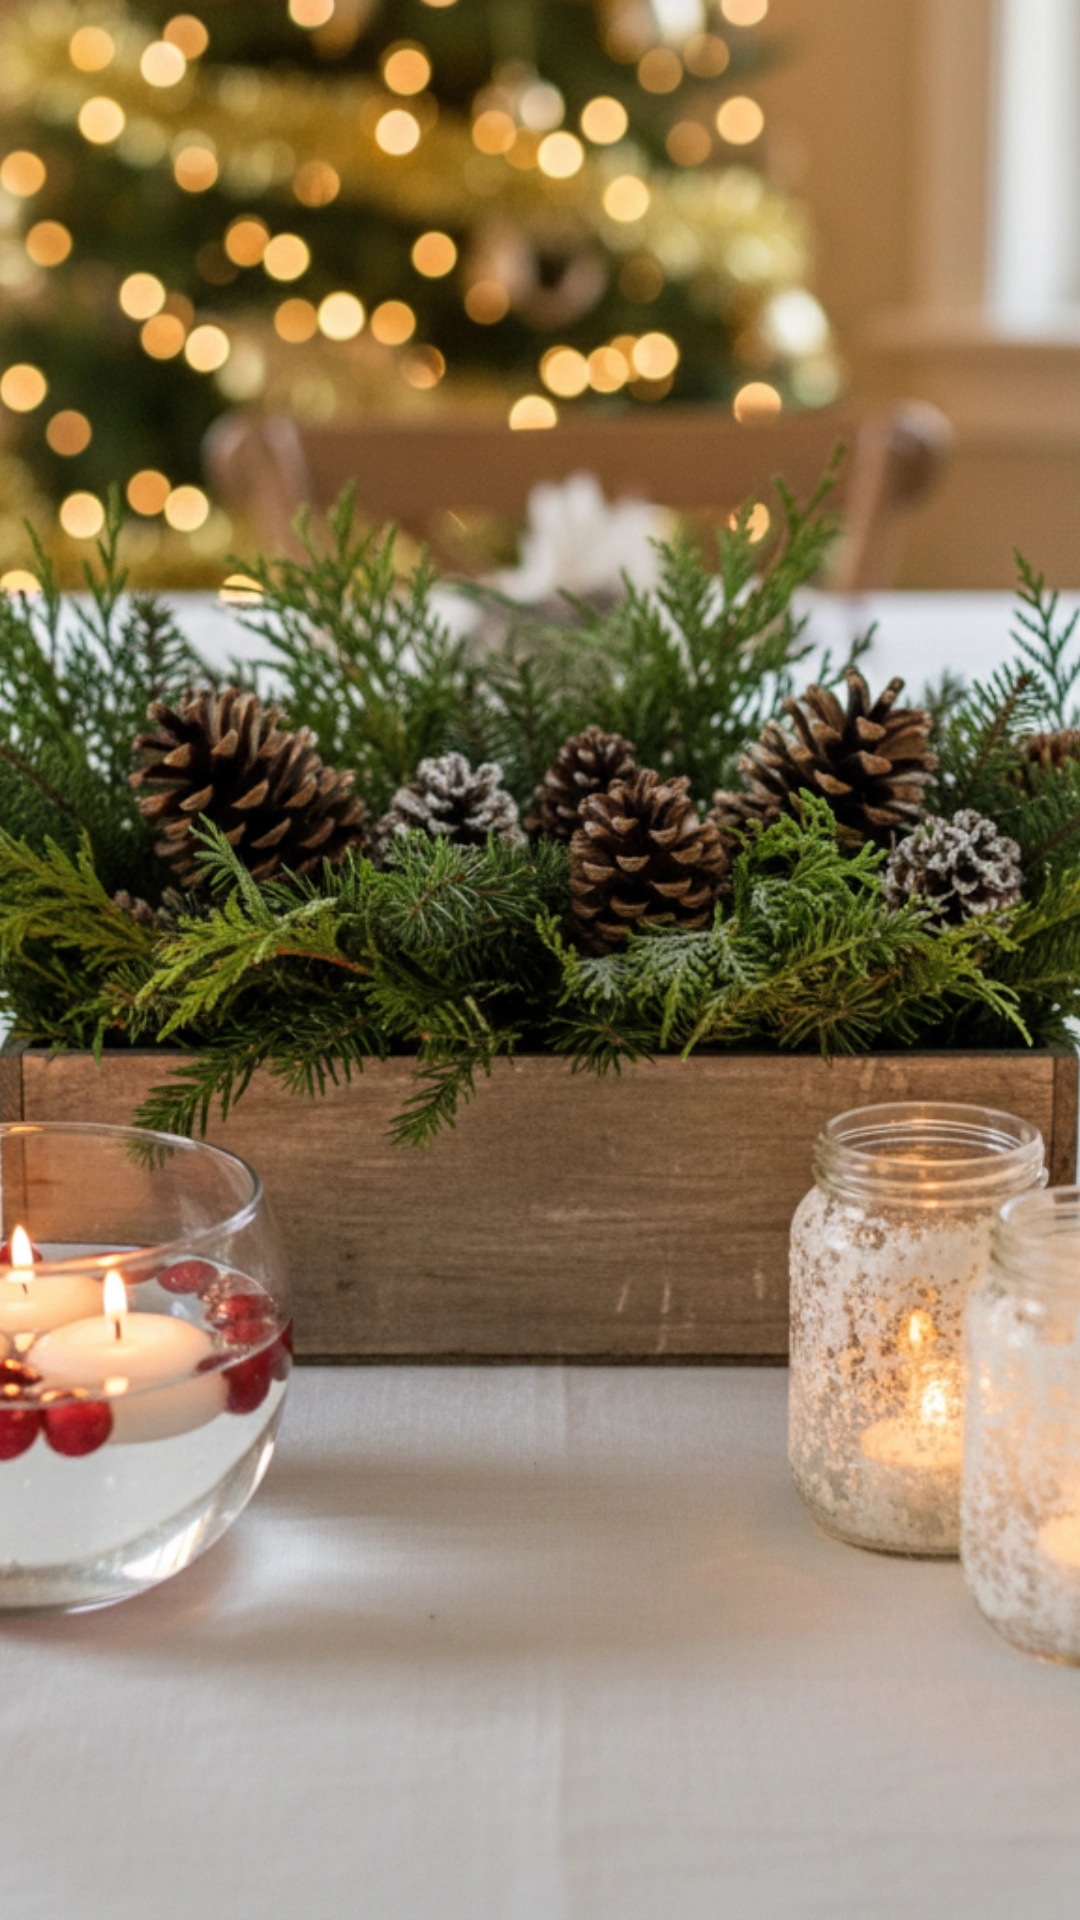
I genuinely hope you feel inspired by these Simple DIY Holiday Centerpieces. I’m convinced that the holidays feel so much more special when you’ve put a little bit of yourself into your decor.
I find that the best part about DIY is that there’s no “wrong” way to do it. You can mix and match these ideas, use what you have, and create something that is 100% unique to your home. You don’t need to spend a lot of money to create a warm, beautiful, and inviting table.
So pick one, put on some holiday music, and have fun making it. Happy decorating!
