This post may contain affiliate links, which means I may receive a small commission should you decide to click that link and make a purchase. For more information please refer to the Terms & Conditions.
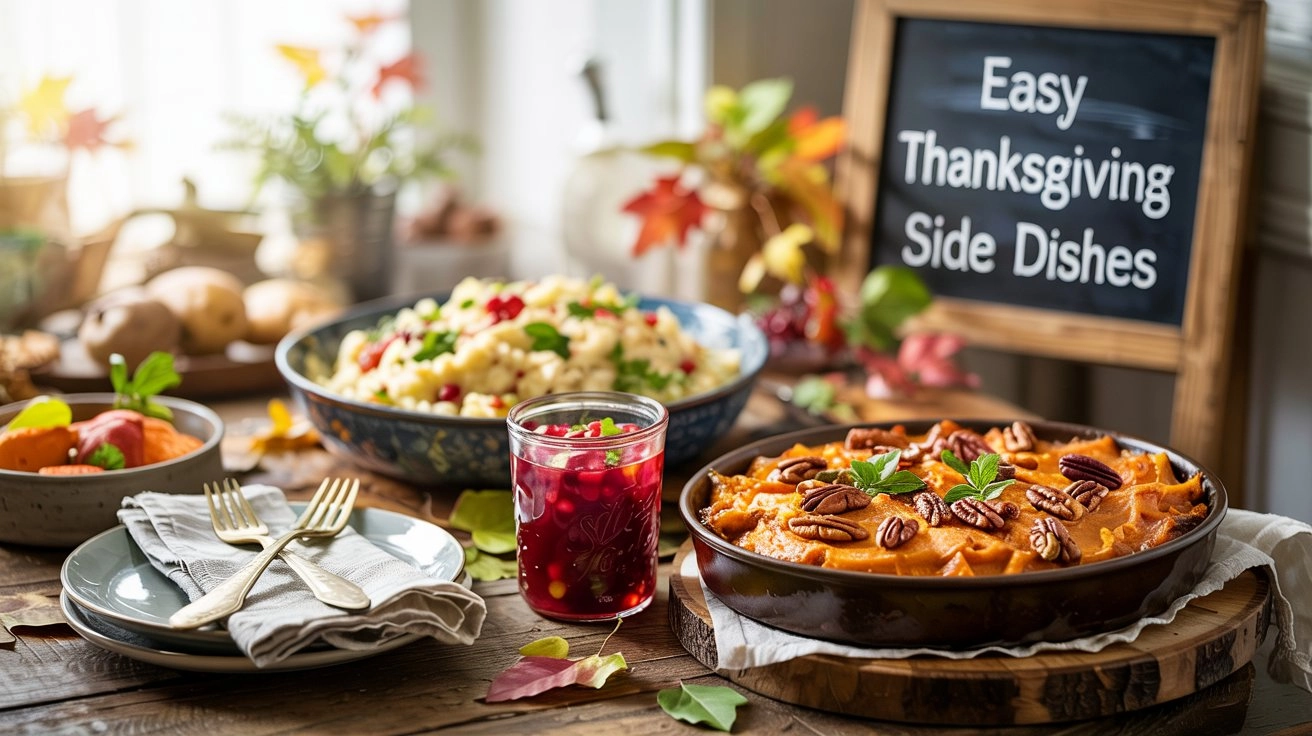
Thanksgiving side dishes can make or break the meal; I’m all about those tasty additions that get everyone talking. Whether you need classics or something with a twist, I’ve gathered 10 easy Thanksgiving side dishes that everyone will love.
These options will please your family and friends and add that special touch to your holiday feast. Ready to impress without the stress? Let’s dive in!
Cranberry Sauce with Orange Zest
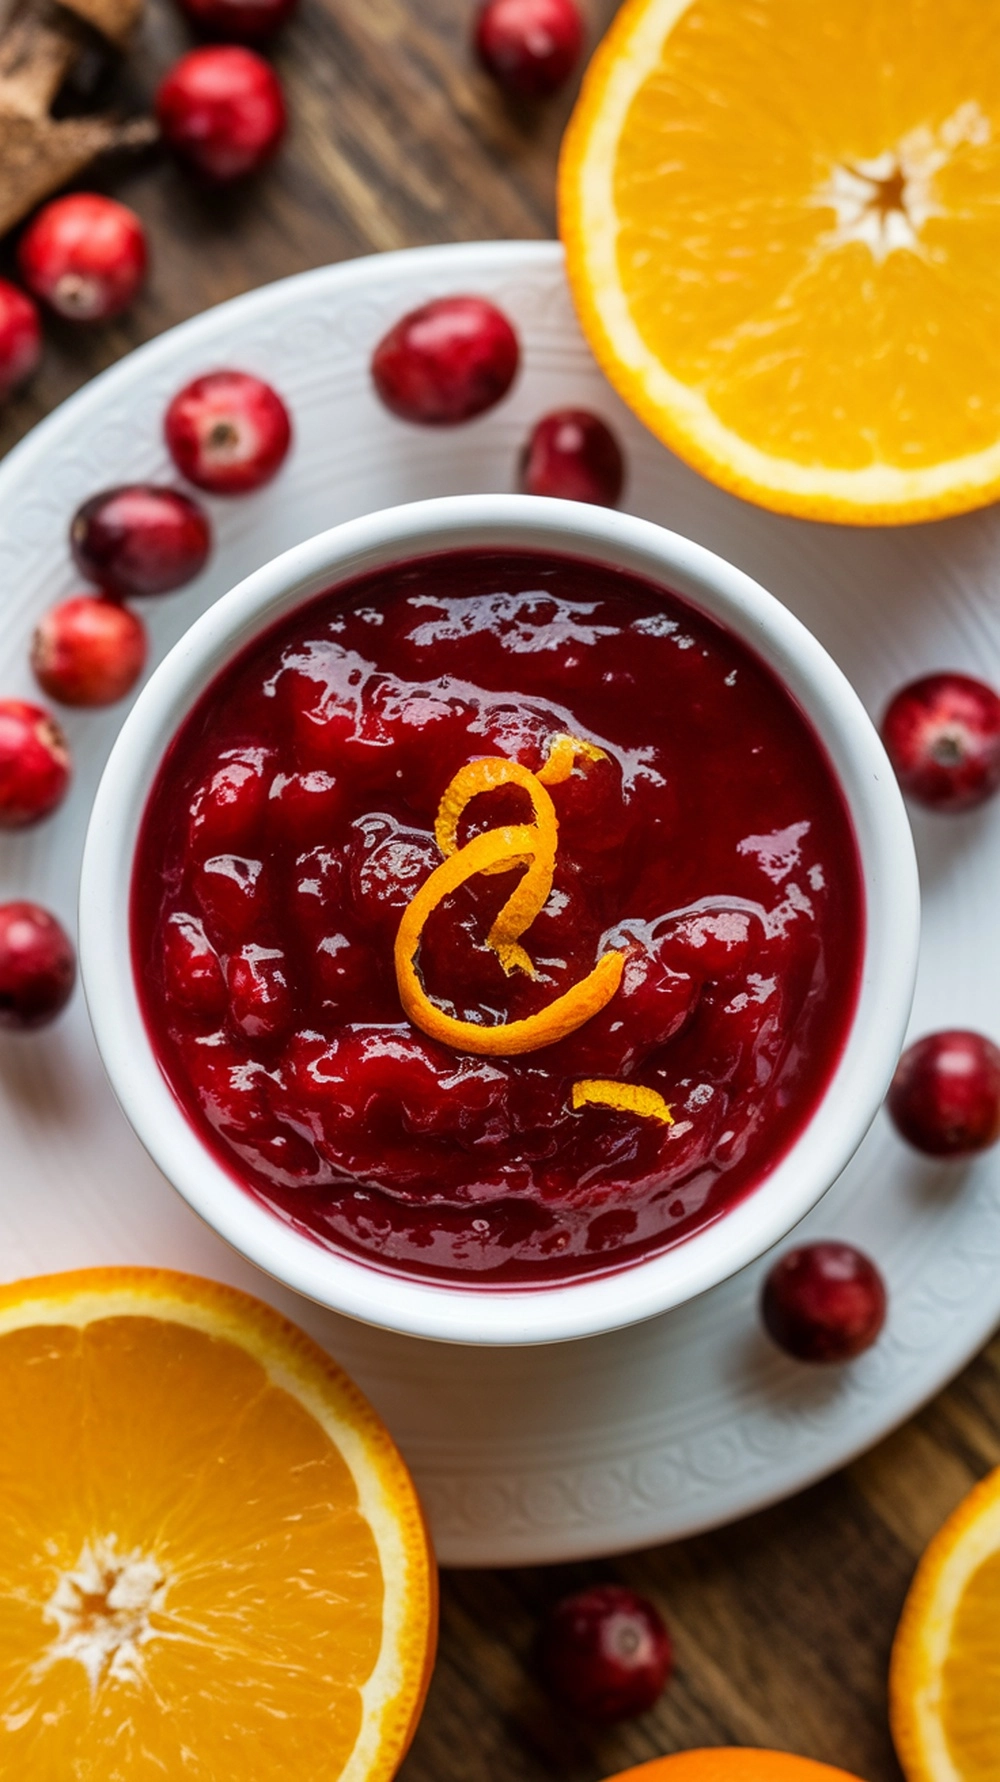
I am obsessed with this orange zest cranberry sauce! I used to be fine with the canned stuff, but once I realized how easy this is, I’ve never gone back. That bright, fresh flavor from the orange zest perfectly cuts the tartness of the cranberries.
It’s a refreshing twist on a Thanksgiving classic, and I love how it’s the easiest way to impress my guests.
Why You’ll Love This Orange Zest Cranberry Sauce
I’m serious, this recipe takes the classic dish to a new level. The bright citrus aroma and taste are unforgettable. It creates a beautiful, refreshing contrast to all the other rich and savory dishes on your Thanksgiving plate.
It takes about 15 minutes to make with just four simple ingredients. It’s a lifesaver when you’re juggling a dozen other recipes.
Ingredients
- 12-ounce bag fresh cranberries (about 3 cups)
- 1 cup granulated sugar (you can adjust this to your taste)
- 1 cup water
- 1 large orange (you’ll need the zest and can use the juice, too!)
Tools and Preparation
- Medium saucepan or pot
- Spoon or spatula
- Microplane or zester
- Serving bowl
Step-by-Step Instructions
- Rinse Your Cranberries: First, pour your fresh cranberries into a colander and rinse them under cold water. Pick out any soft or shriveled ones.
- Combine in Pot: Add the rinsed cranberries, sugar, and water to your medium saucepan. Stir it quickly to combine.
- Bring to a Boil: Place the pot over medium-high heat and bring the mixture to a boil.
- Simmer and Burst: Once boiling, reduce the heat to medium-low and let it simmer. You’ll start to hear the cranberries “pop” and burst. This is the best part! Continue simmering for 10-12 minutes, stirring occasionally, until most of the berries have broken down and the sauce has thickened.
- Add the Zest: While the sauce simmers, wash your orange and use a zester to remove the zest. Be careful to get the bright orange part, not the white pith underneath.
- Finish the Sauce: Remove the pot from the heat. Stir in all that lovely orange zest. The aroma is incredible!
- Cool and Serve: Pour the sauce into your serving bowl. It will thicken considerably as it cools. You can serve it warm or, my favorite, make it ahead and serve it chilled.
Variations
- Extra Citrus: In Step 2, add the juice from your zested orange and the water for an even bigger citrus punch.
- Warm Spices: For a warmer-spiced version, add a pinch of cinnamon, a dash of ground cloves, or a cinnamon stick to the pot while it simmers.
- Sweeter Sauce: If you like your cranberry sauce less tart, add more sugar, 1/4 cup at a time, until it’s perfect.
Storage
This is the perfect make-ahead dish! You can store this cranberry sauce in an airtight container in the fridge for up to a week. It actually gets better after a day or two as the flavors meld. It will thicken significantly once it’s cold.
Common Mistakes to Avoid
- Forgetting to Stir: Don’t just set it and forget it. The sugar can burn on the bottom of the pot if you don’t stir it every few minutes while it simmers.
- Overcooking: Don’t cook it for 30 minutes, thinking it needs to be super thick. It will look a bit loose when hot, but it thickens dramatically as it cools down. If you overcook it, it can become more like a stiff jelly.
- Zesting the Pith: Avoid zesting the white, bitter pith of the orange. It will add a bitter taste to your beautiful sauce. Stick to the colorful orange part only.
Final Thoughts
Trust me, once you try this simple homemade orange zest cranberry sauce, you will never want the canned version again. It’s so simple, so fresh, and it just feels special. It’s become a non-negotiable part of my holiday menu, and I know it will be at yours, too!
Garlic Mashed Potatoes with Cream Cheese
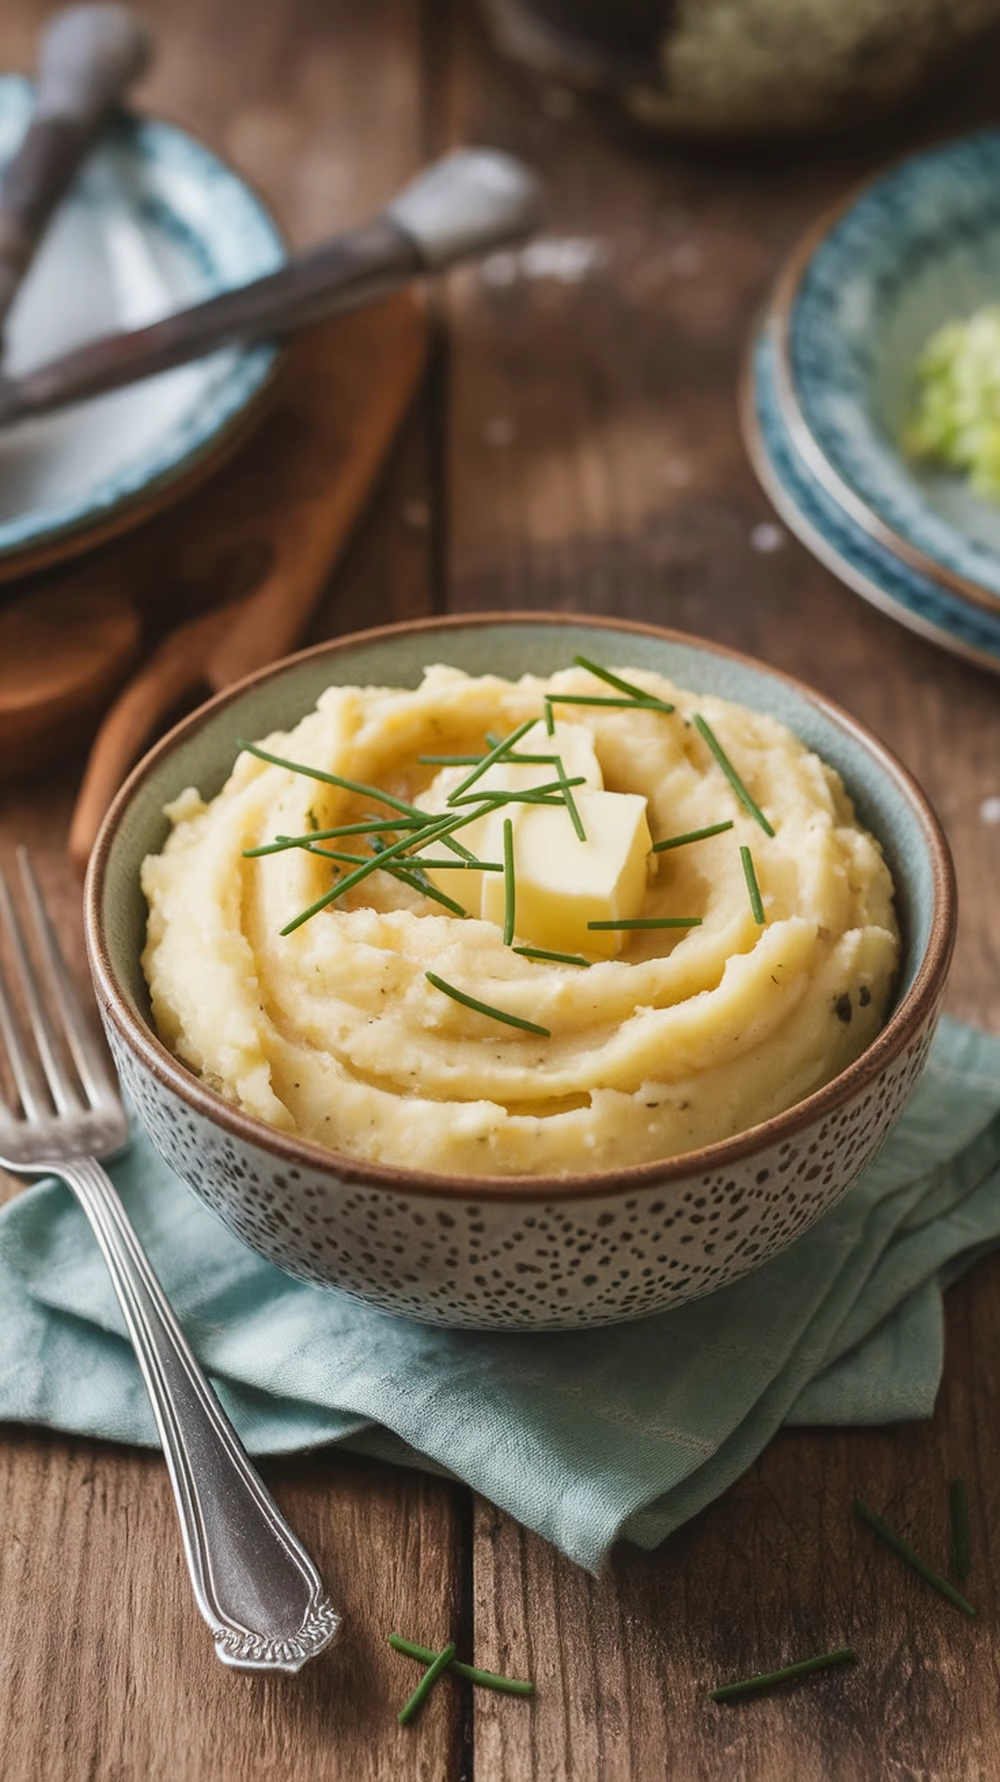
Why You’ll Love This Recipe: These garlic mashed potatoes are a must-have for any Thanksgiving feast. The cream cheese gives them an extra-rich and tangy texture that is creamy and flavorful. They are my pick for the perfect side dish to complement your turkey.
Ingredients
- 1 kg potatoes (e.g., Yukon Gold or Russet), peeled and cubed
- 100 g cream cheese, softened
- 4 cloves garlic, minced
- 50 g butter
- 200 ml milk, warmed
- Salt and pepper to taste
- For Garnish: Fresh chives (optional)
Tools and Preparation
- Large pot
- Small pan
- Potato masher
- Colander
Step-by-Step Instructions
- Place the peeled and cubed potatoes in a large pot. Cover with cold salted water.
- Bring to a boil, reduce the heat, and simmer until tender, about 15-20 minutes.
- While the potatoes cook, melt the butter in a small pan over medium-low heat. Add the minced garlic and sauté for 1-2 minutes until fragrant (don’t let it brown).
- Drain the potatoes well and return them to the hot, empty pot.
- Add the sautéed garlic-butter, the softened cream cheese, and the warm milk.
- Mash everything together with a potato masher until smooth and creamy.
- Season with salt and pepper to taste.
Variations
- Stir in 2 tablespoons of chopped fresh chives at the end.
- Use roasted garlic instead of sautéed garlic for a deeper, sweeter flavor.
- Swap the cream cheese for Boursin cheese for an herby twist.
Storage: Leftovers can be stored in an airtight container in the fridge for up to 3 days. To make them creamy again, reheat them in the microwave or on the stove with a splash of milk.
Common Mistakes to Avoid: Don’t use a blender or food processor; this will overwork the potatoes and make them gummy. Use a hand masher. Also, make sure your milk is warm for a smoother mash.
Final Thoughts: These garlic mashed potatoes are easy to make and bring a comforting vibe to your Thanksgiving table. Serve them hot with a pat of butter and a sprinkle of chives.
Honey Glazed Carrots with Thyme
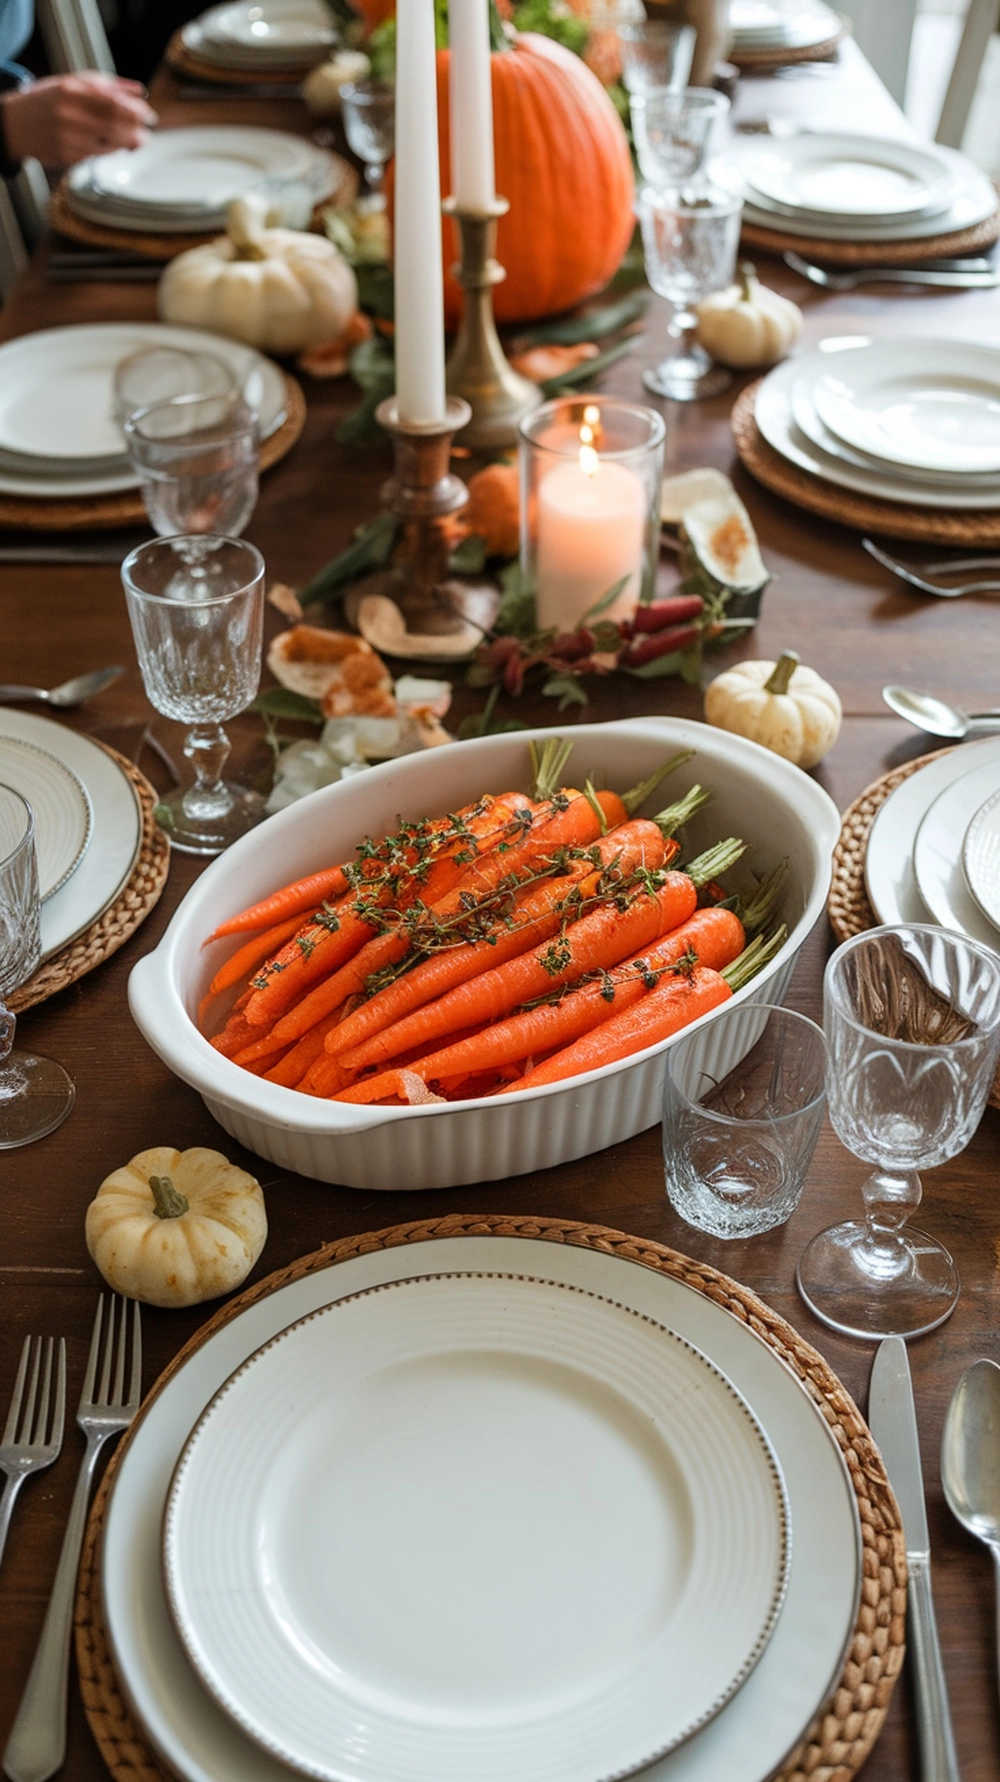
Why You’ll Love This Recipe: These honey-glazed carrots are a delightful addition to any Thanksgiving feast. The vibrant orange carrots shine on the table, and the honey caramelizes to create a beautiful glaze.
Ingredients
- 1.5 lbs (700g) carrots, peeled (use whole thin carrots or slice larger ones)
- 2 tbsp unsalted butter
- 2 tbsp honey
- 1 tbsp fresh thyme leaves (or 1 tsp dried)
- 1/4 cup (60 ml) water
- Salt and black pepper to taste
Tools and Preparation
- Large skillet or pan with a lid
- Vegetable peeler
- Knife and cutting board
Step-by-Step Instructions
- Melt the butter in the large skillet over medium heat.
- Add the carrots, fresh thyme, salt, and pepper. Toss to coat everything in the butter.
- Pour in the water, simmer, and cover the pan with a lid.
- Cook for 10-15 minutes, or until the carrots are fork-tender.
- Remove the lid and drizzle the honey over the carrots.
- Turn the heat slightly and cook, stirring often, for another 3-5 minutes.
- The liquid will reduce and thicken into a beautiful, sticky glaze that coats the carrots.
- Serve warm, topped with a bit of extra fresh thyme.
Variations
- Savory: Add 1 tablespoon of balsamic vinegar with the honey.
- Spicy: Add a pinch of red pepper flakes with the thyme.
- Nutty: Toss with 1/3 cup of toasted pecans or walnuts before serving.
Storage: Leftovers can be stored in an airtight container in the fridge for up to 3 days. They can also be reheated in a pan over low heat or microwave.
Common Mistakes to Avoid: Don’t cut the carrots into different sizes; they won’t cook evenly. Reduce the sauce at the end; this creates the “glaze” instead of just a watery sauce.
Final Thoughts: This simple dish is so tasty and fragrant. Serve them warm, and watch them disappear from the Thanksgiving table!
Roasted Brussels Sprouts with Bacon
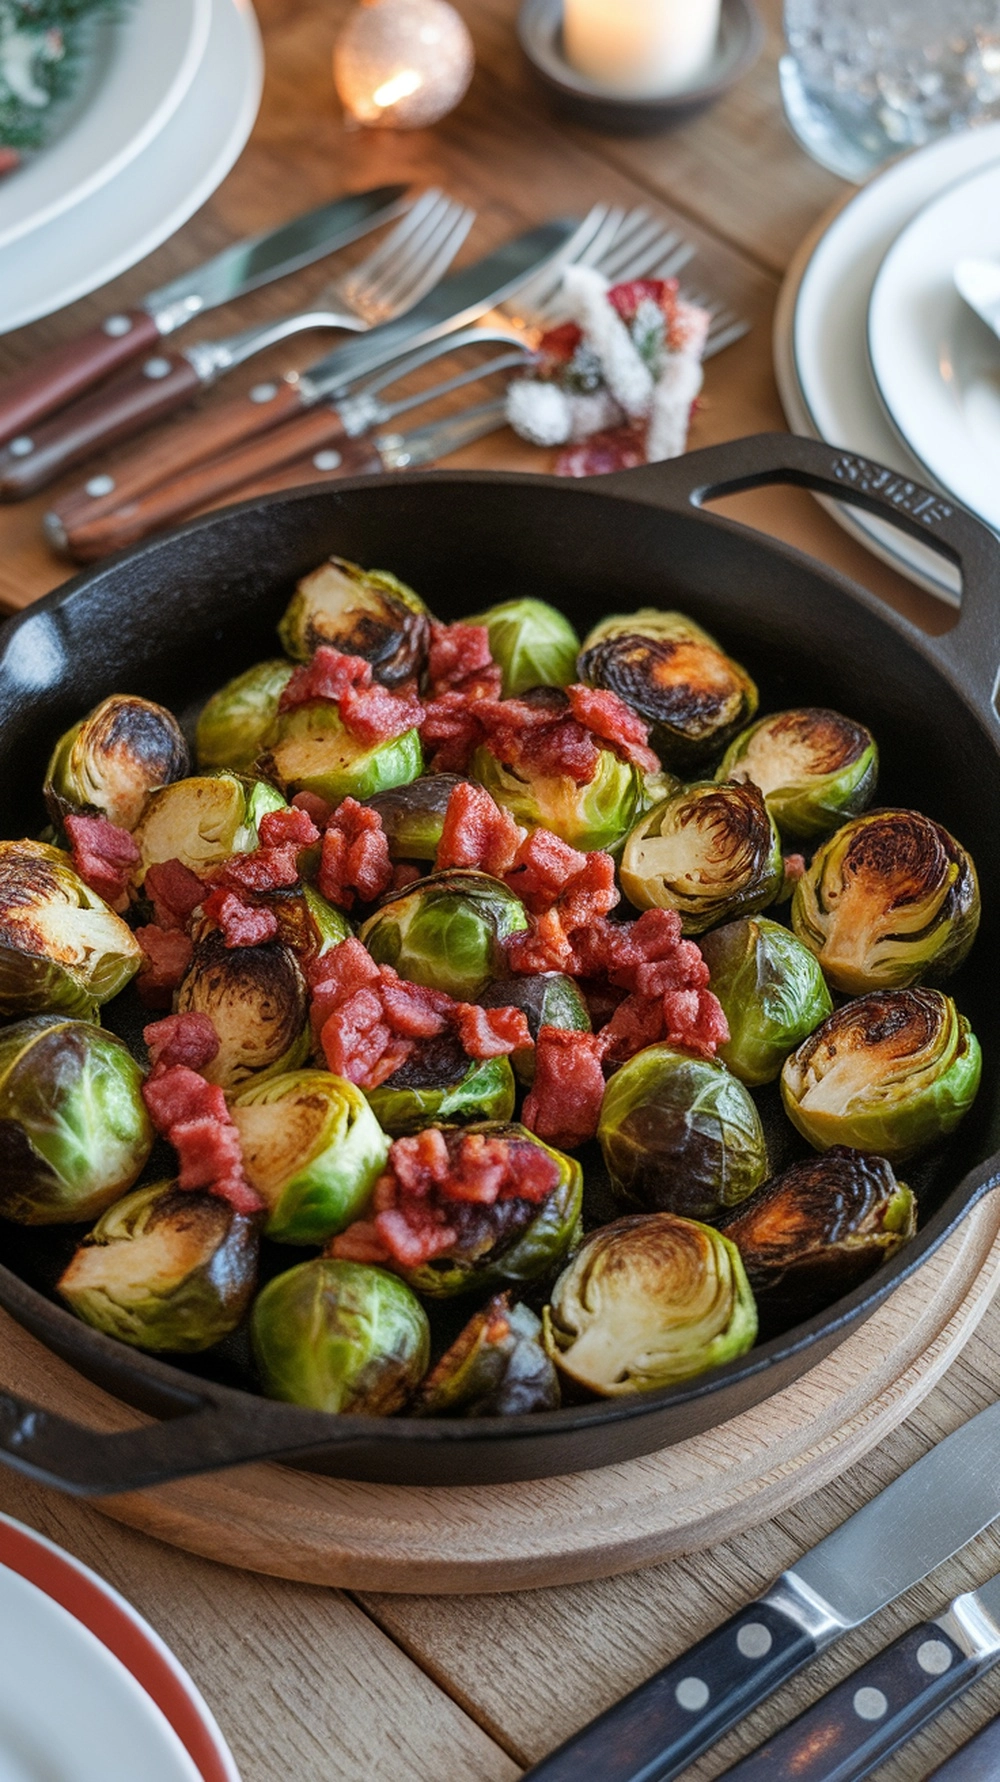
Why You’ll Love This Recipe: These roasted Brussels sprouts with bacon are a must-have for your Thanksgiving side dishes. The crispy, caramelized edges of the sprouts and the savory crunch of bacon create a flavor explosion.
Ingredients
- 1 lb (450g) fresh Brussels sprouts
- 4-6 slices of bacon, chopped
- 2 tbsp olive oil
- 1/2 tsp salt
- 1/4 tsp black pepper
Tools and Preparation
- Baking sheet
- Oven (preheated to 400°F / 200°C)
- Large bowl
- Knife and cutting board
Step-by-Step Instructions
- Preheat your oven to 400°F (200°C).
- Wash and trim the Brussels sprouts. Cut any large ones in half, leaving small ones whole.
- Toss the Brussels sprouts with olive oil, salt, and pepper in a large bowl.
- Add the chopped bacon pieces and toss again to combine.
- Spread the mixture in a single, even layer on a large baking sheet.
- Roast for 20-25 minutes, tossing or flipping them halfway through.
- The sprouts are done when they are tender, golden brown, and have crispy, caramelized edges, and the bacon is fully cooked.
- Serve hot.
Variations
- Sweet and savory: During the last 5 minutes of roasting, drizzle with 1 tablespoon of maple syrup or balsamic glaze.
- Nutty: Add 1/3 cup of chopped pecans or walnuts for 5-7 minutes.
- Cheesy: Sprinkle with grated Parmesan cheese right after they leave the oven.
Storage: Leftovers can be stored in an airtight container in the fridge for up to 3 days. To make them crispy again, reheat them in the oven or an air fryer (the microwave will make them soft).
Common Mistakes to Avoid: Don’t overcrowd the pan! If the sprouts are too close together, they steam instead of roasting. Use two baking sheets if necessary to ensure they get that perfect crispy, caramelized edge.
Final Thoughts: You won’t be able to get enough of this dish! Serve them hot, and watch them disappear from the table.
Balsamic Glazed Beets
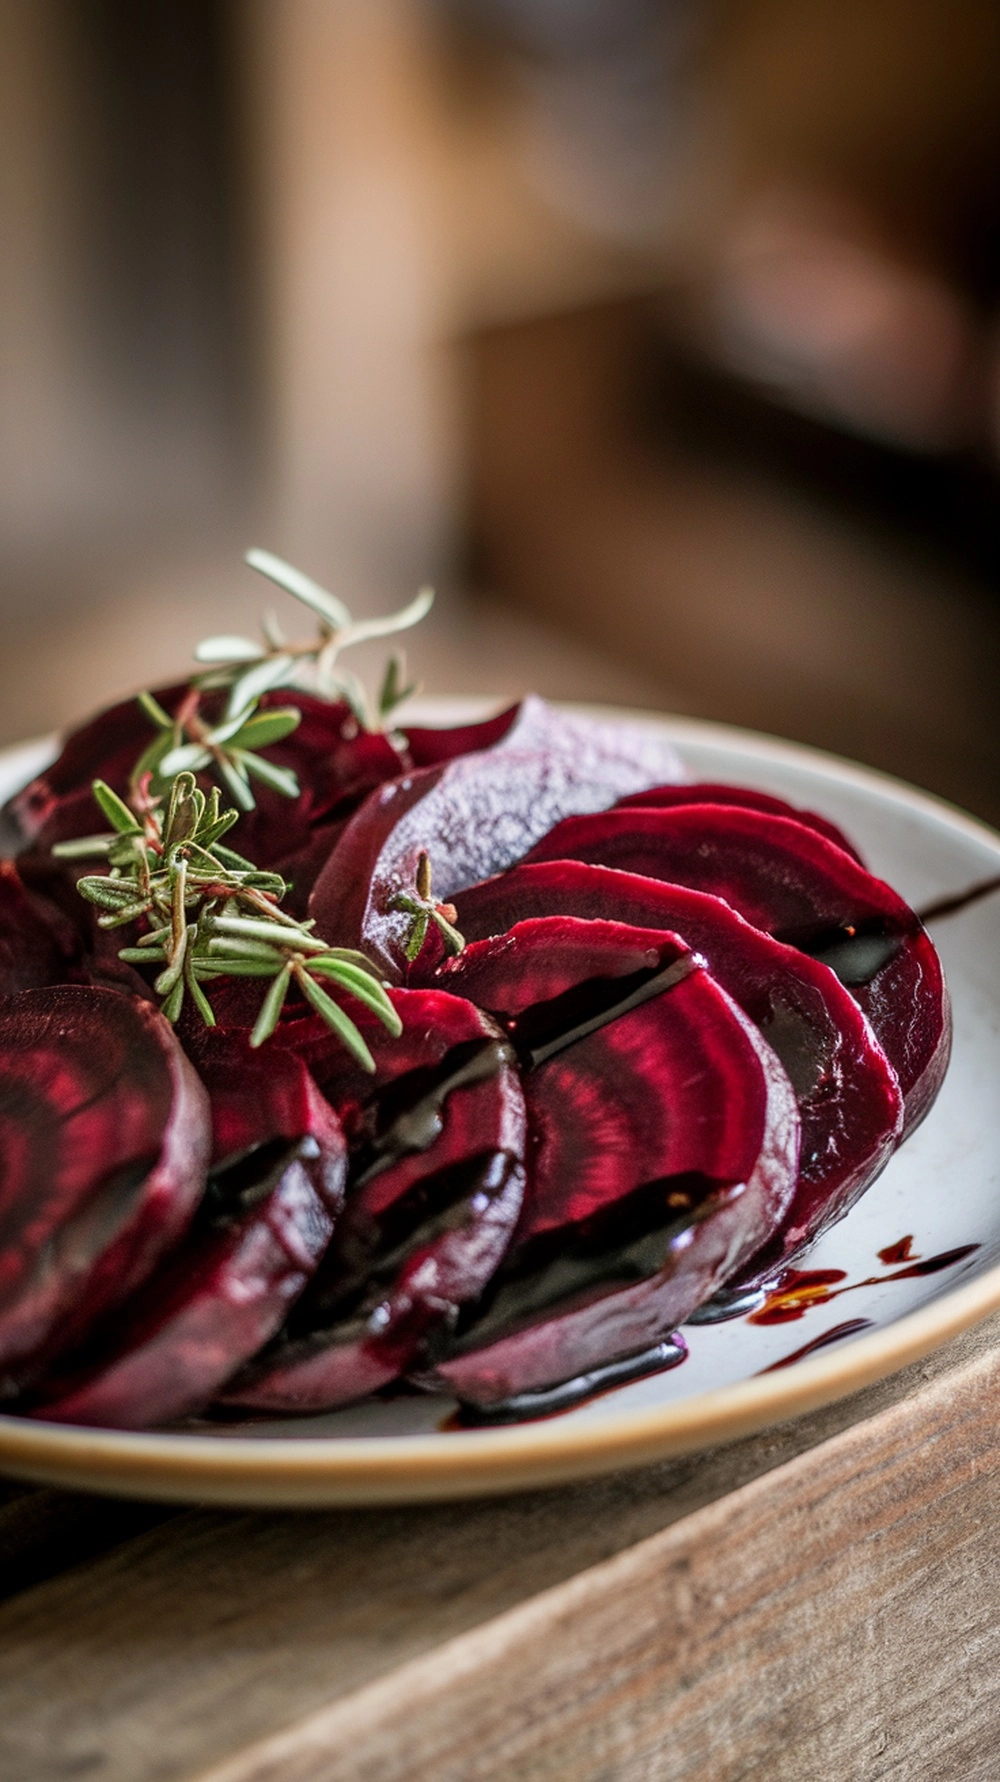
Why You’ll Love This Recipe: Balsamic-glazed beets are a stunning addition to your Thanksgiving table. Their vibrant color and rich flavor make them a standout side dish. The sweetness of the beets pairs perfectly with the tangy balsamic glaze, creating a beautiful dish that tastes amazing.
Ingredients
- 1.5 lbs (700g) fresh beets, scrubbed
- 1 tbsp olive oil (for roasting)
- 1/4 cup (60 ml) balsamic vinegar
- 2 tbsp honey (or maple syrup)
- 1 tbsp olive oil (for the glaze)
- Salt and black pepper to taste
- Fresh rosemary, for garnish (optional)
Tools and Preparation
- Oven (preheated to 400°F / 200°C)
- Baking sheet or roasting pan
- Aluminum foil
- Small saucepan
- Large bowl
Step-by-Step Instructions
- Preheat your oven to 400°F (200°C).
- Toss the unpeeled beets with 1 tbsp of olive oil, salt, and pepper. Wrap them loosely in foil (individually or in a packet) and place them on a baking sheet.
- Roast for 45-60 minutes, or until tender when pierced with a fork.
- Let the beets cool slightly. Once cool enough to handle, use a paper towel to rub off the skins (they should slide off easily).
- Slice the peeled beets into 1/4-inch thick rounds.
- Whisk together the balsamic vinegar, honey, and the remaining 1 tbsp of olive oil in a small saucepan. Heat over medium-low heat for 3-5 minutes, stirring until the glaze thickens slightly.
- Place the sliced beets in a large bowl. Pour the warm glaze over them and toss gently to coat.
- Season with a final pinch of salt and pepper. Garnish with fresh rosemary and serve.
Variations
- Cheesy: Sprinkle with 1/4 cup of crumbled goat cheese or feta before serving.
- Nutty: Top with 1/3 cup of toasted walnuts or pistachios for crunch.
- Herby: Toss with fresh thyme or parsley instead of rosemary.
Storage: Leftovers can be stored in an airtight container in the fridge for up to 4 days. They are delicious cold or gently reheated.
Common Mistakes to Avoid: Don’t undercook the beets; they should be very tender before you peel them. Be careful not to reduce the glaze too long, or it can become too thick and sticky.
Final Thoughts: This recipe is easy to follow and perfect for impressing your guests. It’s a great way to add color and flavor to your Thanksgiving side dishes. Enjoy them warm or at room temperature!
Roasted Garlic and Herb Potatoes
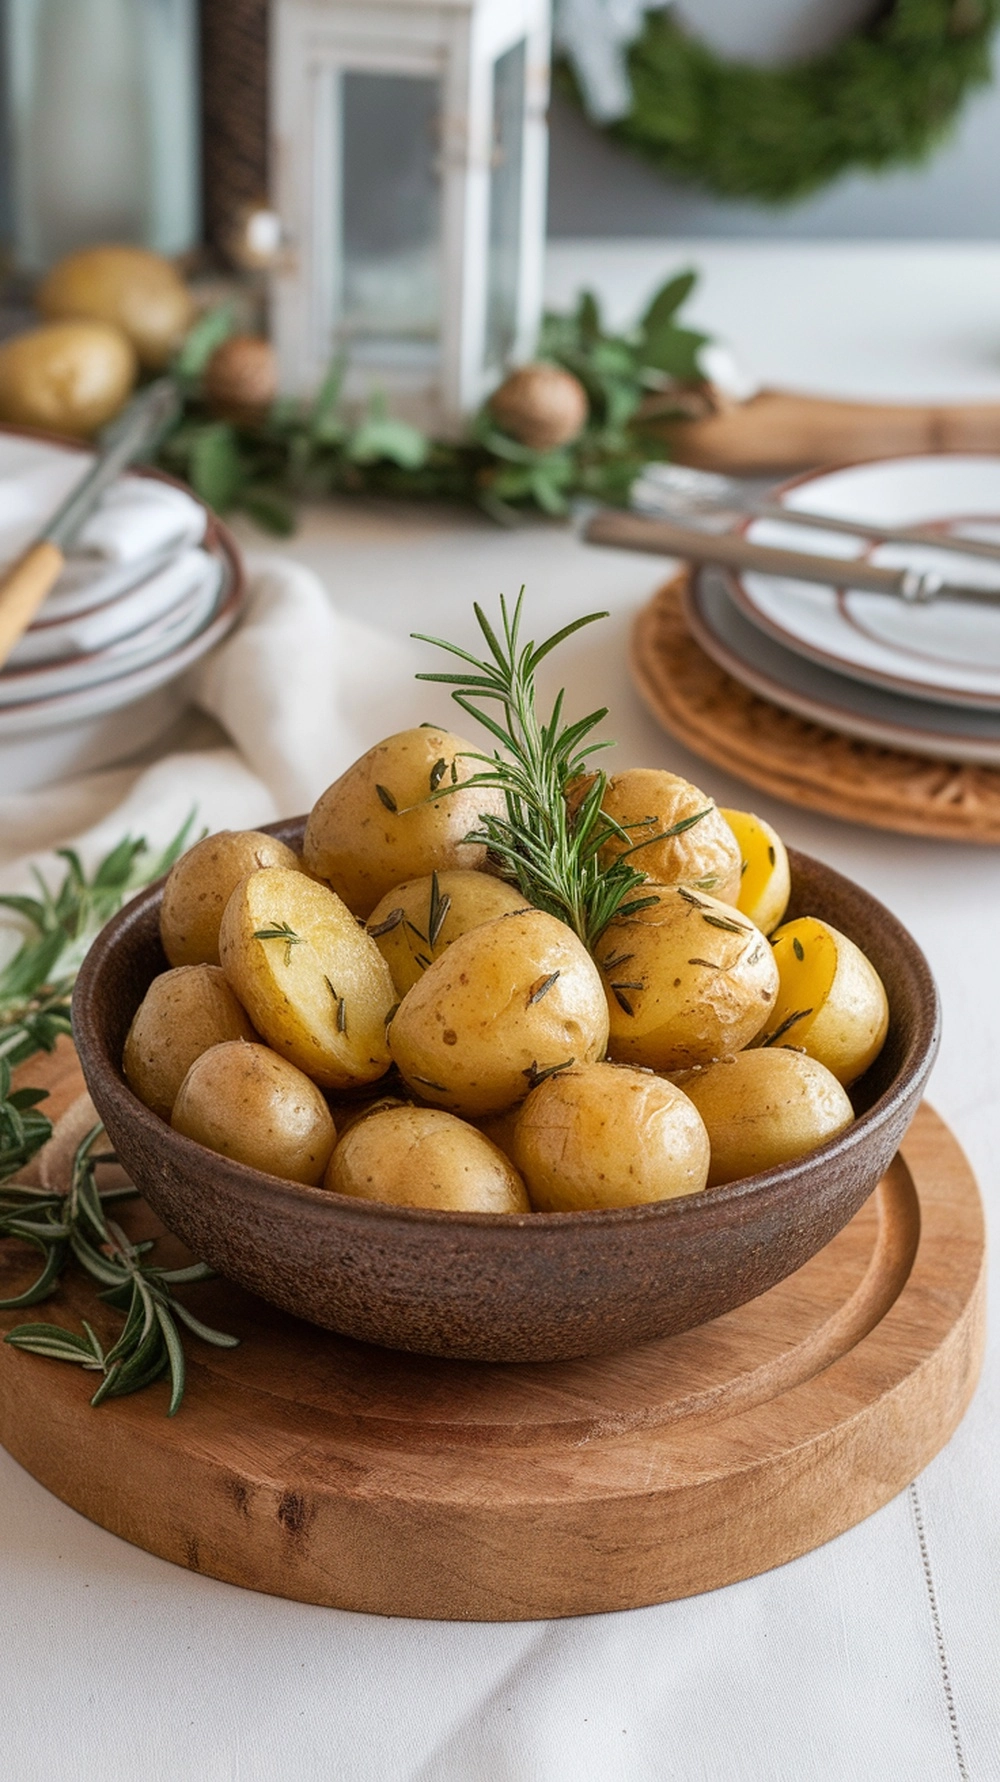
Why You’ll Love This Recipe: These roasted garlic and herb potatoes are a must-have for your Thanksgiving side dishes. They are straightforward to make, yet they always impress! The garlic adds a rich flavor, while the fresh herbs bring a cozy, aromatic touch to the holiday table.
Ingredients
- 1 kg baby potatoes
- 4 cloves garlic, minced
- 30 ml olive oil
- 1 tbsp fresh rosemary, chopped
- 1 tbsp fresh thyme, chopped
- Salt and black pepper to taste
Tools and Preparation
- Oven (preheated to 400°F / 200°C)
- Large baking sheet
- Large bowl
- Knife and cutting board
Step-by-Step Instructions
- Preheat your oven to 400°F (200°C).
- Wash the potatoes. Cut any larger ones in half so they are all a similar size.
- Add the potatoes, minced garlic, olive oil, chopped herbs, salt, and pepper in a large bowl.
- Toss everything together until the potatoes are well-coated.
- Spread the potatoes on a large baking sheet in a single layer.
- Roast for 25-30 minutes, tossing or shaking the pan halfway through.
- They are done when golden, crispy on the outside, and tender on the inside.
- Serve warm, garnished with a few extra fresh herbs.
Variations
- Cheesy: Sprinkle with 1/4 cup of grated Parmesan cheese during the last 5 minutes of roasting.
- Spicy: Add 1/2 teaspoon of red pepper flakes with the herbs.
- Smoky: Add 1 teaspoon of smoked paprika to the seasoning mix.
Storage: Leftovers can be stored in an airtight container in the fridge for up to 3 days. Reheat them in the oven or an air fryer to make them crispy again.
Common Mistakes to Avoid: Don’t overcrowd the baking sheet. The potatoes must be in a single layer to roast and get crispy; otherwise, they will steam and become soft.
Final Thoughts: These roasted potatoes will be a hit at your Thanksgiving gathering!
Cornbread Muffins with Honey Butter
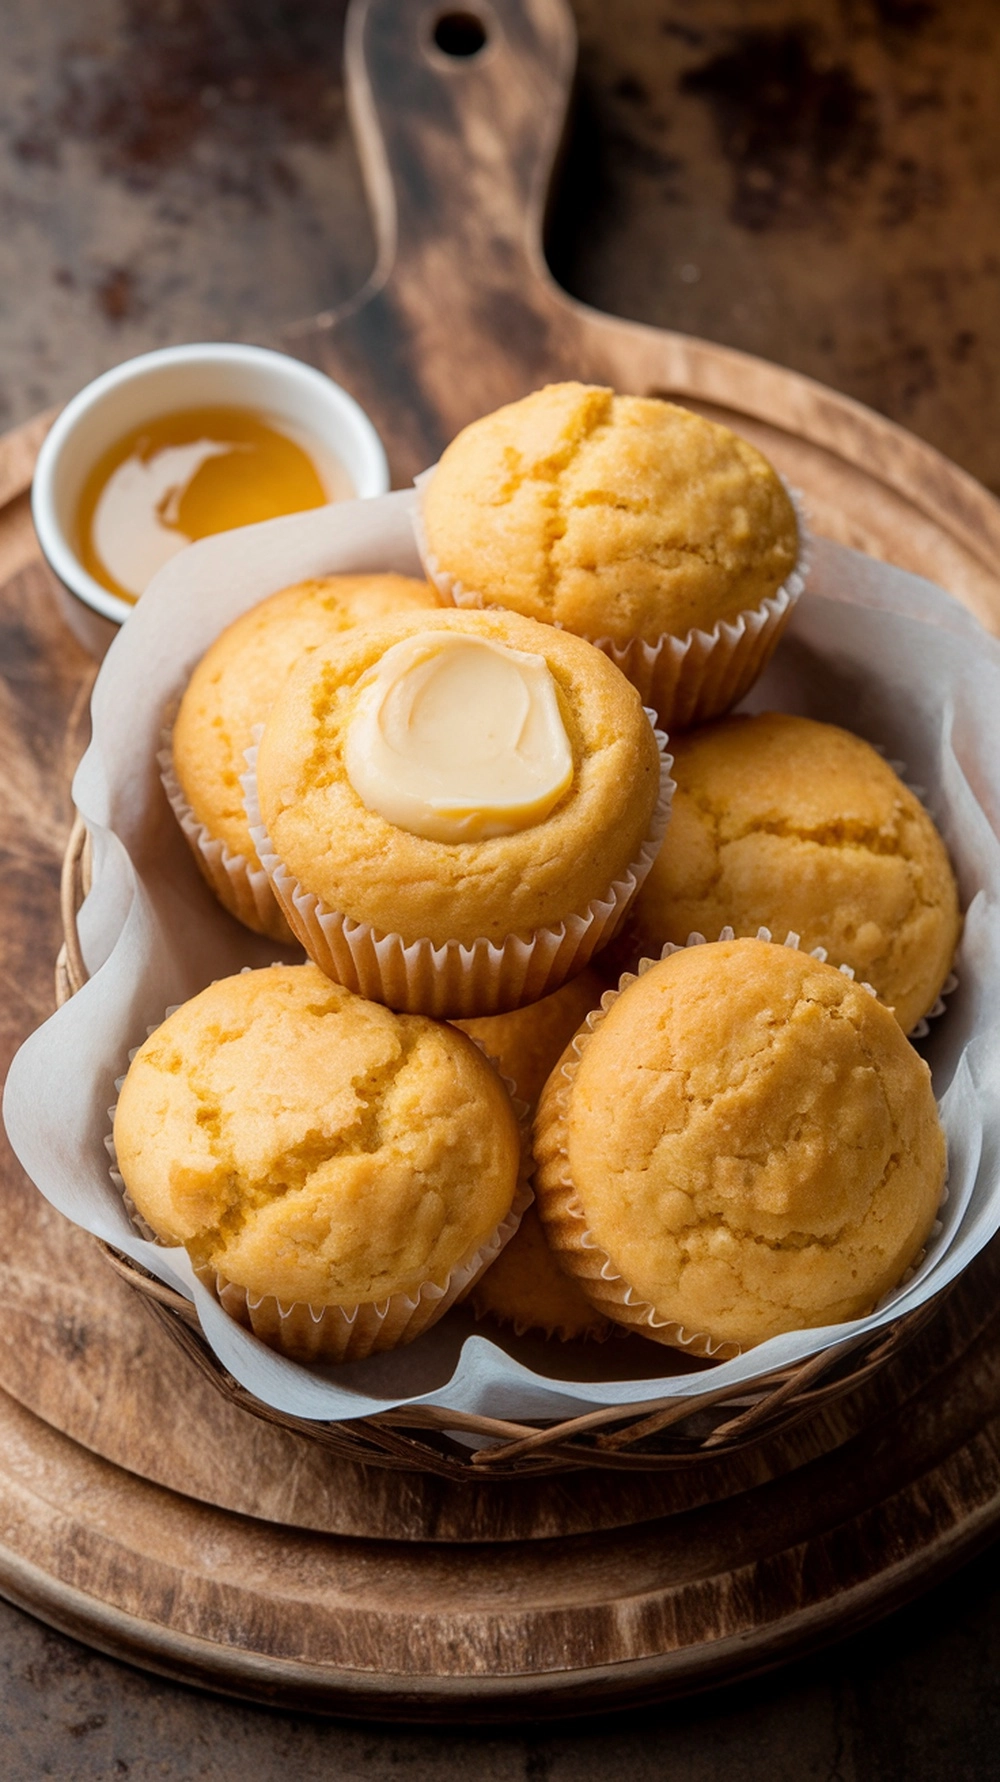
Why You’ll Love This Recipe: Cornbread muffins are a classic choice for Thanksgiving side dishes. They bring a warm, comforting touch to your holiday table. I love how these muffins are soft, fluffy, and just the right amount of sweet. Topped with honey butter, they become irresistible!
Ingredients
- For the Muffins:
- 1 cup (120g) all-purpose flour
- 1 cup (150g) yellow cornmeal
- 1/3 cup (67g) granulated sugar
- 1 tbsp baking powder
- 1/2 tsp salt
- 1 cup (240 ml) milk
- 1 large egg
- 1/4 cup (57g) unsalted butter, melted
- For the Honey Butter:
- 1/4 cup (57g) salted butter, softened
- 2 tbsp honey
Tools and Preparation
- 12-cup muffin tin
- Paper liners
- Oven (preheated to 400°F / 200°C)
- 2 large mixing bowls
- Whisk
Step-by-Step Instructions
- Preheat your oven to 400°F (200°C). Line a 12-cup muffin tin with paper liners.
- Make the Honey Butter: In a small bowl, mash the softened butter and honey together with a fork until smooth. Set aside.
- Mix Dry Ingredients: In a large bowl, whisk together the flour, cornmeal, sugar, baking powder, and salt.
- Mix Wet Ingredients: Whisk the milk and egg together separately. Slowly whisk in the melted butter.
- Pour the wet ingredients into the dry ingredients. Stir just until combined. Do not overmix; a few lumps are okay.
- Divide the batter evenly among the 12 muffin cups.
- Bake for 15-18 minutes until the muffins are golden brown and a toothpick inserted into the center comes clean.
- Serve the muffins warm with a generous dollop of the honey butter.
Variations
- Savory: Reduce sugar to 1 tablespoon and add 1/2 cup of shredded cheddar cheese and 1-2 tablespoons of chopped jalapeños.
- Herby: Add 1 tablespoon of chopped fresh chives or dill to the batter.
- Spicy: Add 1/4 teaspoon of cayenne pepper to the dry ingredients for a subtle kick.
Storage: Store muffins in an airtight container at room temperature for up to 3 days. Reheat in the microwave for 10-15 seconds to soften and warm them again.
Common Mistakes to Avoid: Don’t overmix the batter! This is the most important rule. Stirring too much develops the gluten in the flour, making your muffins tough and dense instead of soft and fluffy.
Final Thoughts: These muffins are perfect for soaking or enjoying gravy. They add a lovely texture to your Thanksgiving feast. Plus, they’re easy to make ahead of time and reheat, making your holiday prep a breeze!
Zucchini Casserole with Cheese
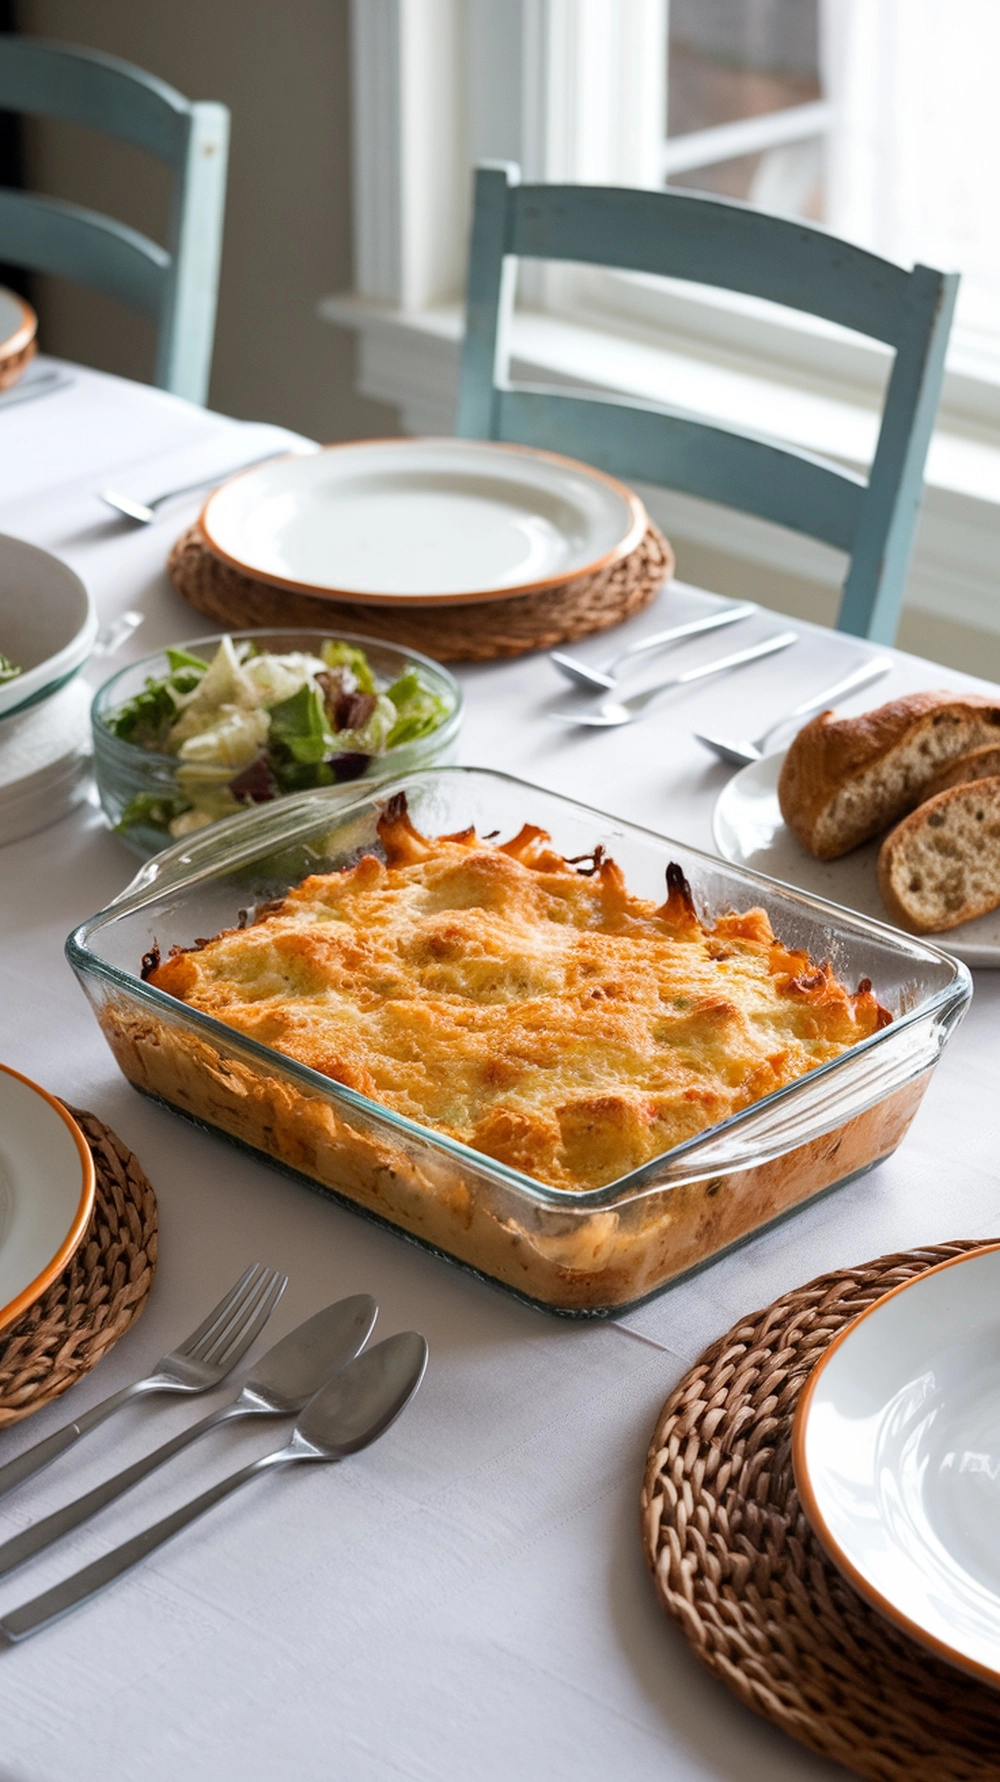
Why You’ll Love This Recipe: This Zucchini Casserole with Cheese is a fantastic addition to your Thanksgiving side dishes. This dish is creamy, cheesy, and packed with flavor. The golden, bubbly top makes it irresistible, and the combination of zucchini and cheese creates a comforting texture that pairs perfectly with turkey.
Ingredients
- 2 lbs (about 1kg) zucchini, sliced into 1/4-inch rounds
- 1.5 cups (about 170g) shredded cheese (Cheddar or Gruyère works well)
- 1/2 cup (50g) grated Parmesan cheese
- 2 large eggs, lightly beaten
- 1/2 cup (120 ml) heavy cream or whole milk
- 1/2 cup (30g) panko breadcrumbs
- 1 tbsp olive oil
- Salt and black pepper to taste
Tools and Preparation
- 9×13 inch (23×33 cm) baking dish (or a similar size casserole dish)
- Oven (preheated to 375°F / 190°C)
- Large bowl
- Whisk
Step-by-Step Instructions
- Preheat your oven to 375°F (190°C). Grease your baking dish with butter or oil.
- In a large bowl, whisk the eggs, heavy cream, 1 cup of the shredded cheese, and most of the Parmesan (save a little of both for the top).
- Season with salt and pepper.
- Add the sliced zucchini to the bowl and toss gently until every slice is coated.
- Pour the mixture into the prepared baking dish and spread it into an even layer.
- In a small bowl, mix the panko breadcrumbs, the remaining shredded cheese, the remaining Parmesan, and the 1 tbsp of olive oil.
- Sprinkle the breadcrumb mixture evenly over the top of the casserole.
- Bake for 30-35 minutes until the top is golden brown and bubbly, and the egg mixture is set.
- Let it rest for 5-10 minutes before serving.
Variations
- With Herbs: Add 1 tablespoon of chopped fresh parsley or 1 teaspoon of dried oregano to the egg mixture.
- Garlic: Sauté 2 minced garlic cloves and 1 small chopped onion, and mix in with the zucchini.
- Spicy: Add 1/4 teaspoon of red pepper flakes for a bit of heat.
Storage: Leftovers can be stored in the fridge for up to 3 days. They can be reheated in the oven or microwave.
Common Mistakes to Avoid: Zucchini holds a lot of water. To make a less watery casserole, salt the zucchini slices first. Let them sit in a colander for 30 minutes, then pat them dry with a paper towel before adding them to the egg mixture.
Final Thoughts: This dish is a great way to use those fresh zucchinis and impress your guests. In no time, you’ll have a delicious side dish that everyone will love.
Maple Roasted Butternut Squash
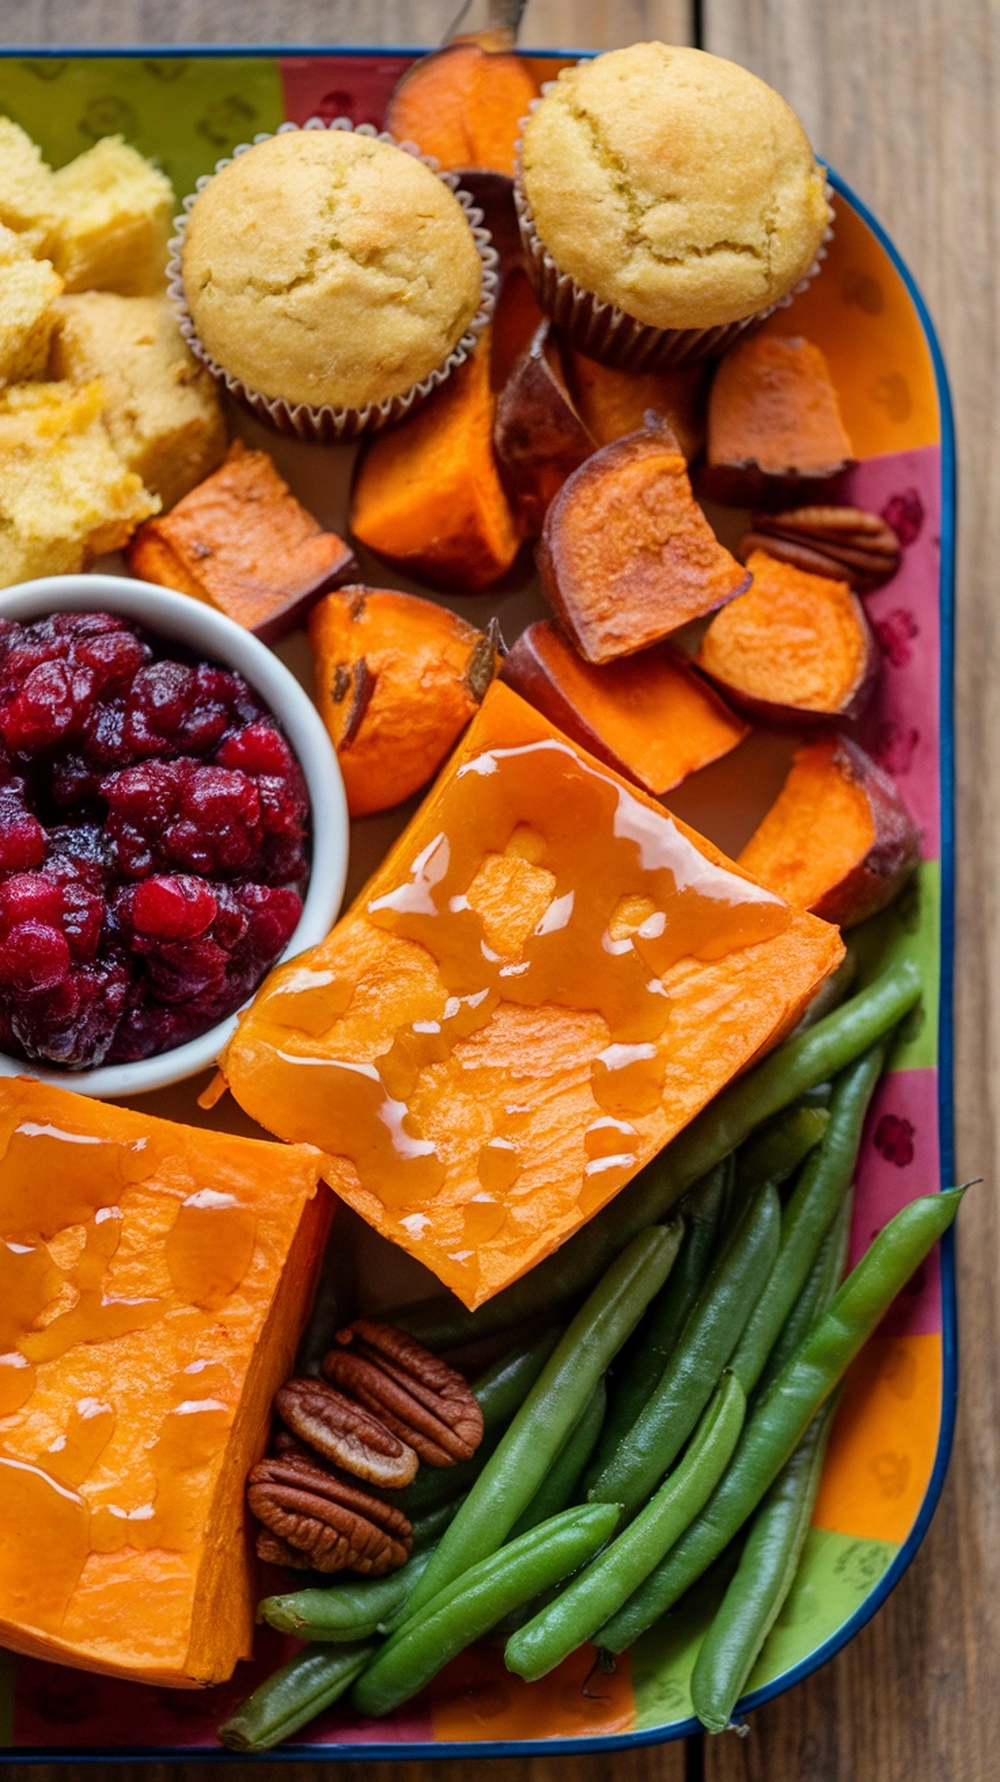
Why You’ll Love This Recipe: Maple-roasted butternut squash is a delightful side dish that brings warmth and sweetness to your Thanksgiving table. The squash’s vibrant orange color pairs beautifully with the rich, golden maple syrup, making it not just tasty but visually appealing.
Ingredients
- 1 large butternut squash, peeled, seeded, and cut into 1-inch cubes
- 2 tbsp olive oil
- 3 tbsp pure maple syrup
- 1 tsp salt
- 1/2 tsp black pepper
Tools and Preparation
- Oven (preheated to 400°F / 200°C)
- Large baking sheet
- Large bowl
- Knife and cutting board
- Vegetable peeler
Step-by-Step Instructions
- Preheat your oven to 400°F (200°C).
- Place the butternut squash cubes in a large bowl.
- Drizzle with the olive oil, maple syrup, salt, and pepper. Toss well to ensure every piece is evenly coated.
- Spread the coated squash in a single layer on a large baking sheet.
- Roast for 25-30 minutes, tossing halfway through.
- The squash is done when it’s tender and the maple glaze is caramelized at the edges.
- Serve warm.
Variations
- Spiced: Add 1/2 teaspoon of ground cinnamon and a pinch of nutmeg before roasting.
- Nutty: Toss with 1/3 cup of toasted pecans or pumpkin seeds after roasting.
- Herby: Add 1 tablespoon of fresh chopped sage or rosemary to the bowl when tossing.
Storage: Leftovers can be stored in an airtight container in the fridge for up to 4 days. They can be reheated in the oven, air fryer, or microwave.
Common Mistakes to Avoid: Don’t overcrowd the baking sheet. The squash must be in a single layer with space to “roast” and caramelize. It will “steam” and become mushy if it’s too crowded.
Final Thoughts: This dish is easy to prepare and packed with flavor. The maple syrup’s sweetness complements the squash’s natural nuttiness, creating a perfect balance. Serve it alongside your turkey and other Thanksgiving dishes for a meal everyone loves.
Stuffed Acorn Squash with Quinoa
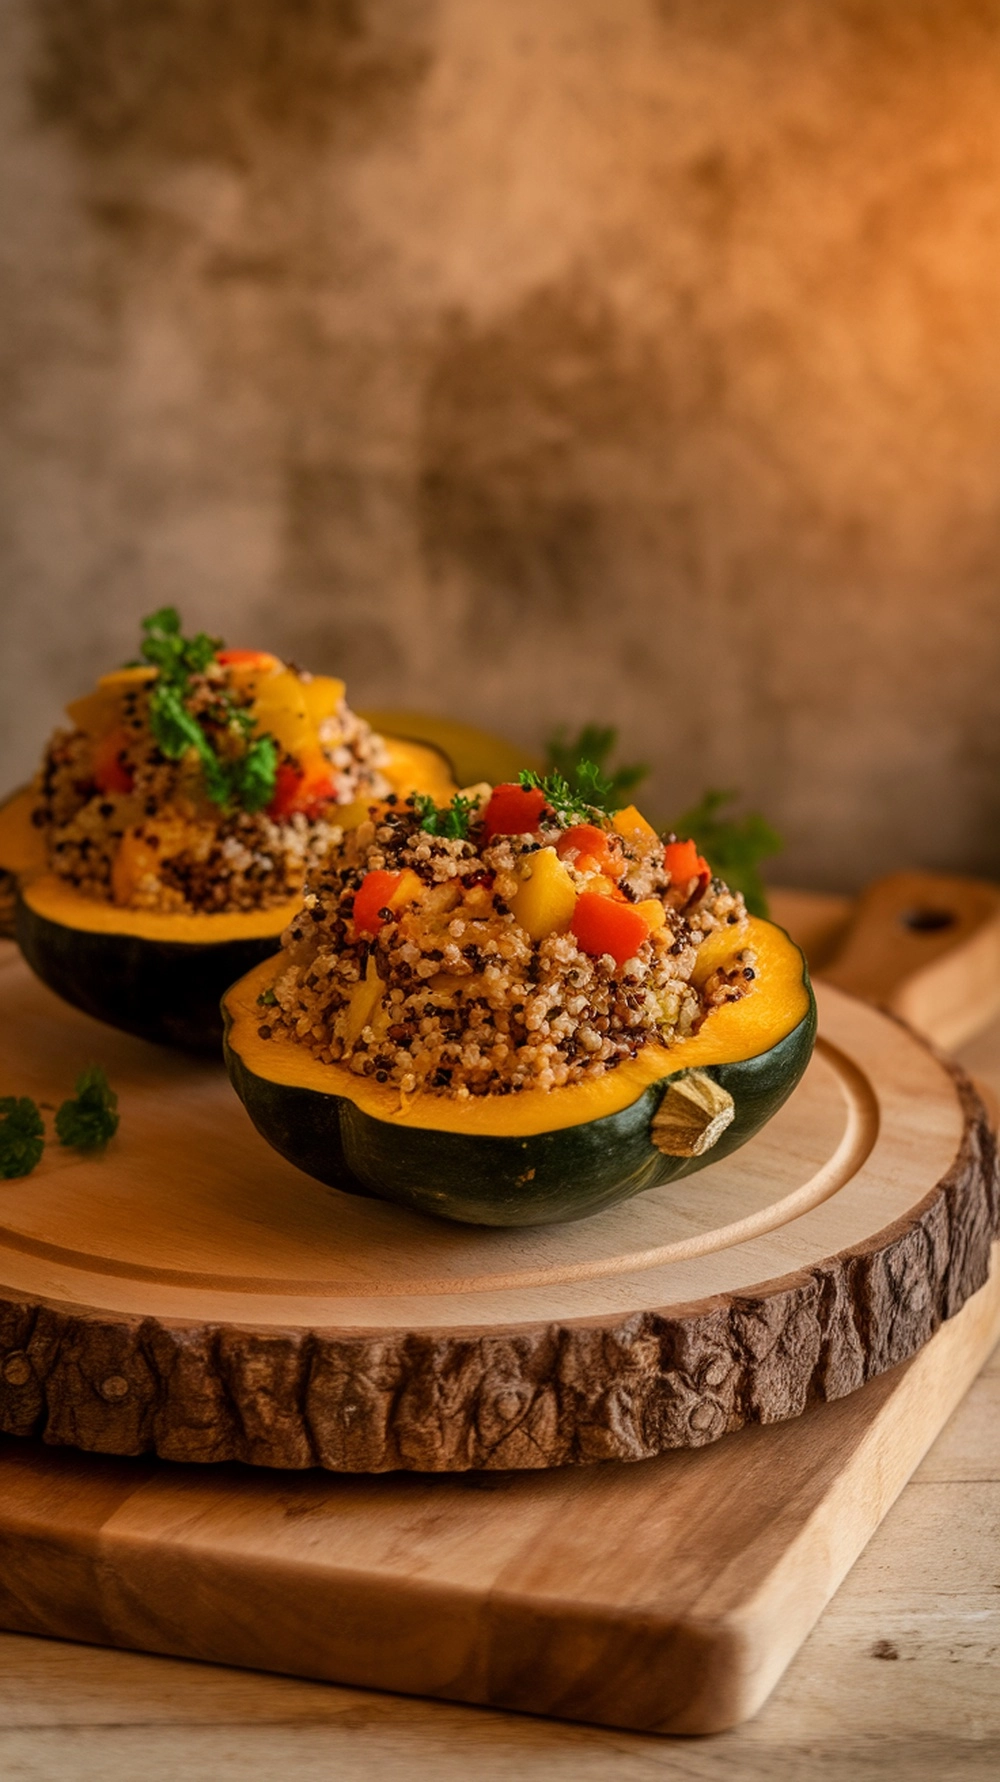
Why You’ll Love This Recipe: Stuffed acorn squash with quinoa is a delightful addition to your Thanksgiving side dishes. The vibrant colors are so visually appealing. The sweet and nutty flavor of the acorn squash pairs perfectly with the hearty quinoa and fresh veggies, making it a showstopper.
Ingredients
- 2 acorn squashes
- 200g quinoa (about 1 cup)
- 1 bell pepper (any color), diced
- 1 small onion, chopped
- 2 cloves garlic, minced
- 30ml (2 tbsp) olive oil, divided
- 400ml (about 1 2/3 cups) water or vegetable broth (for quinoa)
- Salt and pepper to taste
- Fresh parsley, chopped, for garnish
Tools and Preparation
- Oven (preheated to 375°F / 190°C)
- Baking sheet
- Medium pot with a lid (for quinoa)
- Skillet (for veggies)
- Knife and cutting board
- Spoon (for scooping)
Step-by-Step Instructions
- Preheat your oven to 375°F (190°C).
- Carefully cut the acorn squashes in half (from stem to end) and scoop out the seeds.
- Drizzle about half the olive oil on the cut insides of the squash and sprinkle with salt and pepper.
- Place them cut-side down on a baking sheet and roast for about 25-30 minutes, or until tender.
- While the squash is roasting, cook the quinoa. Rinse the quinoa, then add it to the pot with the water or broth. Bring to a boil, then cover, reduce the heat to low, and simmer for 15-20 minutes until the liquid is absorbed.
- In a skillet, heat the remaining olive oil over medium heat. Sauté the onion until soft (about 5 minutes). Add the garlic and bell pepper and cook for another 5 minutes.
- Mix the cooked quinoa with a fork and the sautéed veggies. Add salt and pepper to taste.
- Once the squash is tender, flip the halves over. Fill each half generously with the quinoa mixture.
- Return the stuffed squash to the oven for another 10 minutes to heat through.
- Garnish with fresh parsley before serving.
Variations
- Sweet: Add 1/4 cup of dried cranberries and 1/4 cup of toasted pecans to the quinoa filling.
- Cheesy: Sprinkle with 1/2 cup of crumbled feta or goat cheese before the final 10-minute bake.
- Meaty: Mix 1/2 lb of cooked ground sausage (pork or turkey) with the quinoa.
Storage: Any leftover stuffed squash can be stored in an airtight container in the fridge for up to 3 days. Reheat in the oven or microwave. The quinoa filling can also be made a day ahead.
Common Mistakes to Avoid: Don’t forget to rinse your quinoa; this removes its natural coating, which can taste bitter. Also, be careful not to overcook the squash in the first step, as it can become too mushy to hold the filling.
Final Thoughts: This dish is tasty and packed with nutrients. It’s a great way to impress your guests while keeping things healthy, and it will surely be a hit at your dinner table!
