This post may contain affiliate links, which means I may receive a small commission should you decide to click that link and make a purchase. For more information please refer to the Terms & Conditions.
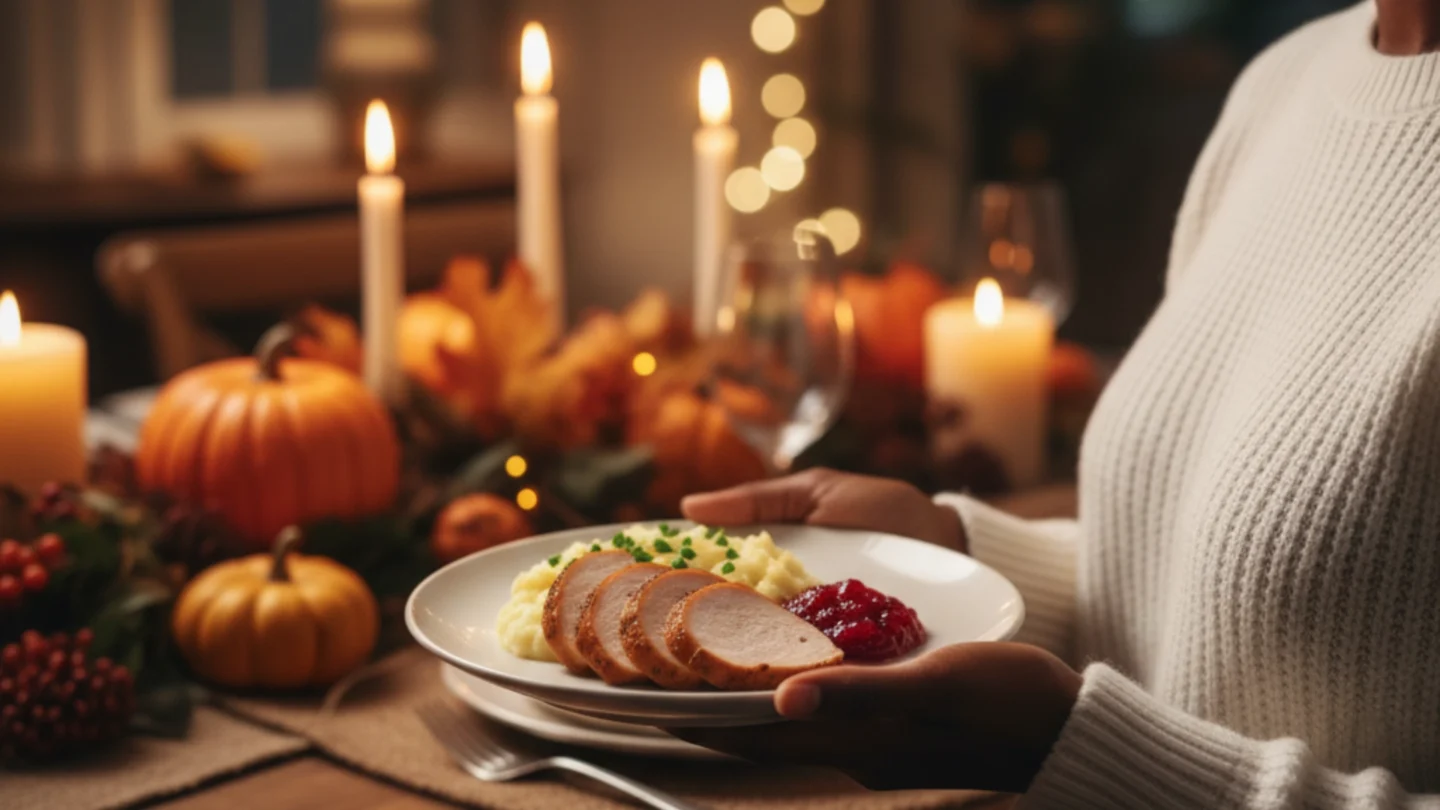
I absolutely love planning my Thanksgiving menu. I start dreaming about my perfect plate in early October: a little turkey, too much stuffing, and that ideal cranberry sauce swirl.
But I also remember the first time I hosted. I was a total mess. I had five side dishes that all needed to be baked at 400 degrees.
I forgot to buy bread, and I think I cried over lumpy gravy. However, I learned that a great Thanksgiving isn’t just about good recipes but a robust plan.
Planning is your secret weapon. It’s the one thing that transforms a holiday from a stressful nightmare into a day you can enjoy.
I’m obsessed with a reasonable timeline and want to share my complete, step-by-step plan. Forget the panic. This guide will help you build your perfect menu with zero stress. Let’s get this planned.
Your Ultimate Thanksgiving Planning Guide
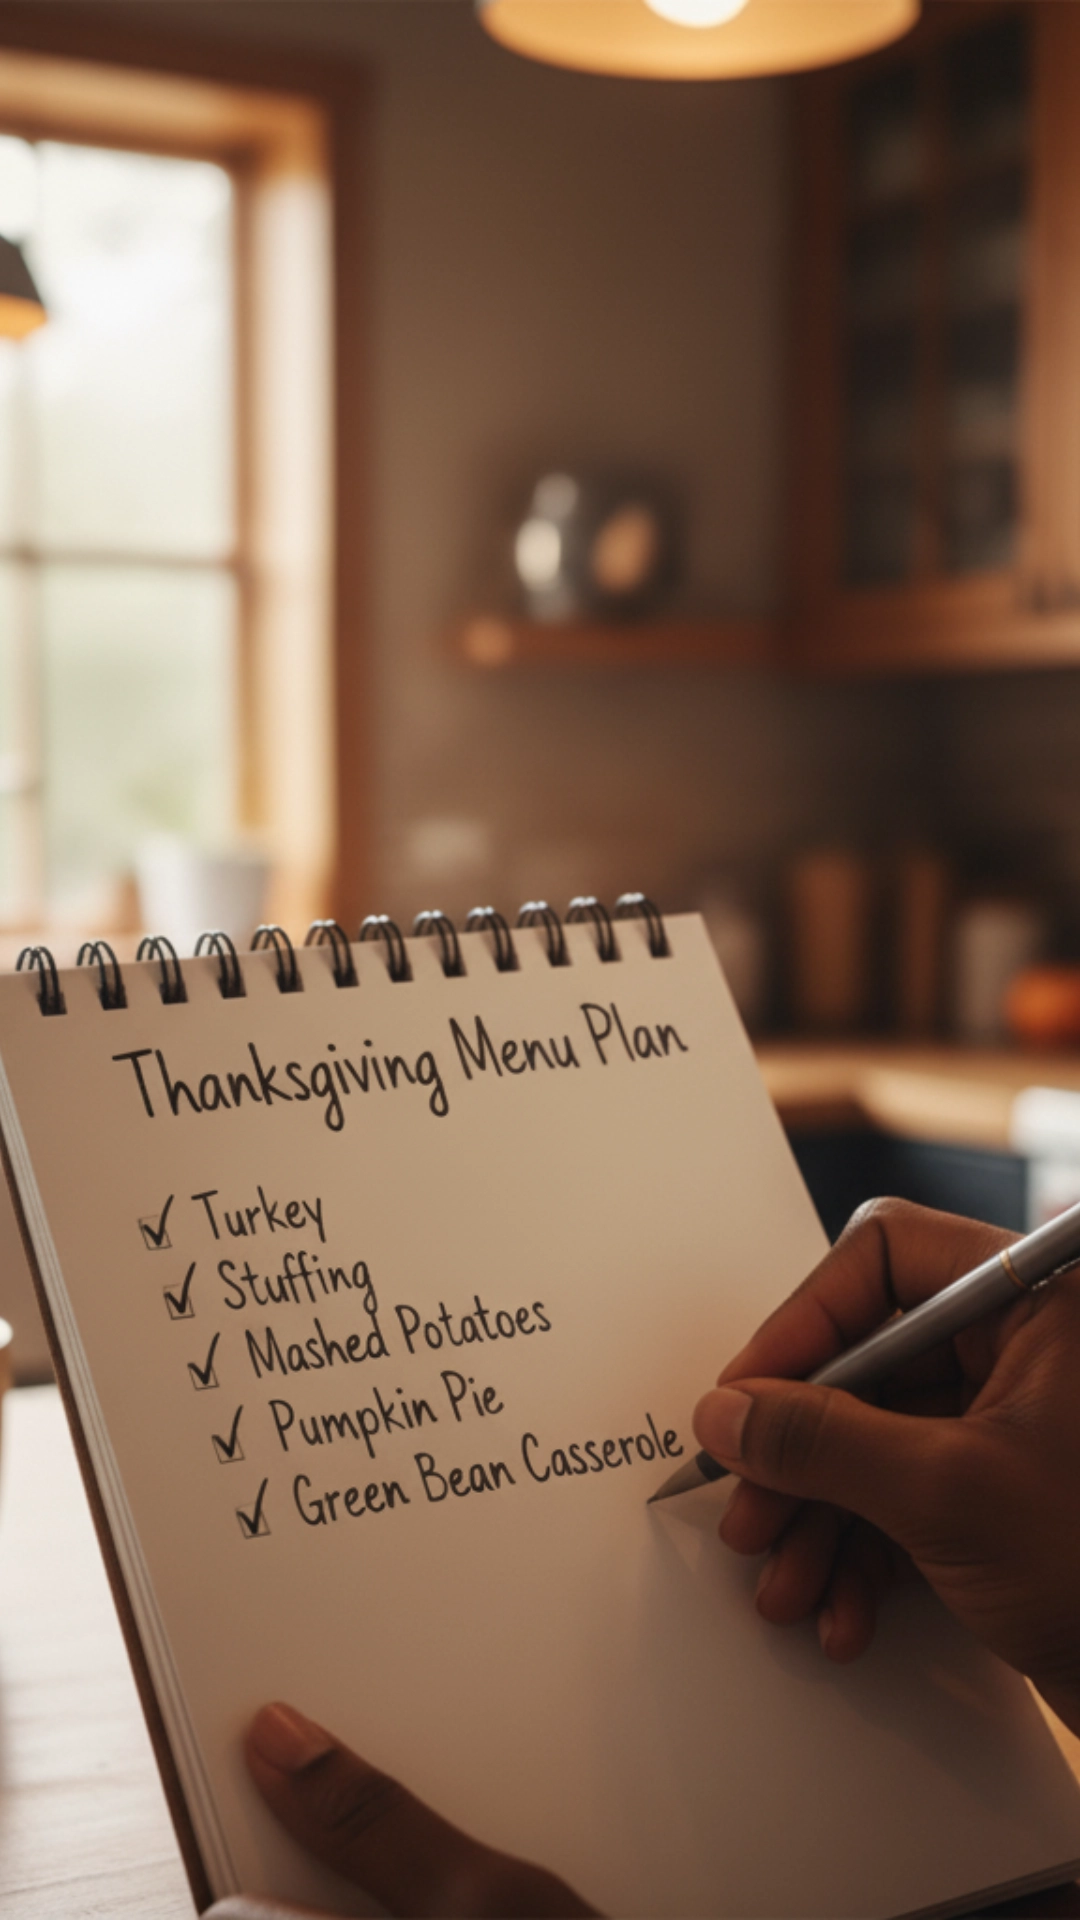
Okay, so this is it. This is my complete breakdown of how to plan the big meal because your Thanksgiving menu deserves a real strategy, not just a wish list.
A good plan saves you money, time, and sanity. I genuinely believe in the power of a good plan, and I’m sharing this one because I know from experience that it works.
Why You MUST Plan Your Menu (The Value)
Don’t just wing it. I promise you, “winging it” on Thanksgiving is a recipe for disaster. Here’s why you need to sit down and plan this out, preferably weeks in advance.
- You’ll Save Money: When you have a list, you only buy what you need. You avoid that last-second, panic-driven trip to the store where you grab three extra bags of cranberries “just in case.”
- You’ll Save Stress: Knowing what needs to be cooked and when is half the battle. A plan is your map. Without a map, you’re lost.
- You’ll Manage “The Oven War”: This is the single biggest mistake I see. You can’t cook a turkey at 325°F, green bean casserole at 375°F, and dinner rolls at 400°F at the same time. Your plan identifies these conflicts so you can solve them before the big day.
- You’ll Get a Balanced Meal: Without a plan, you might end up with five heavy, starchy sides and nothing green or fresh. I’ve done it! A plan lets you look at the menu from a 30,000-foot view and see what’s missing.
Step 1: The Timeline (Your 4-Week Battle Plan)
A perfect Thanksgiving menu doesn’t start on Wednesday night. It starts now. I break my planning into weekly chunks.
4 Weeks Out: The Blueprint
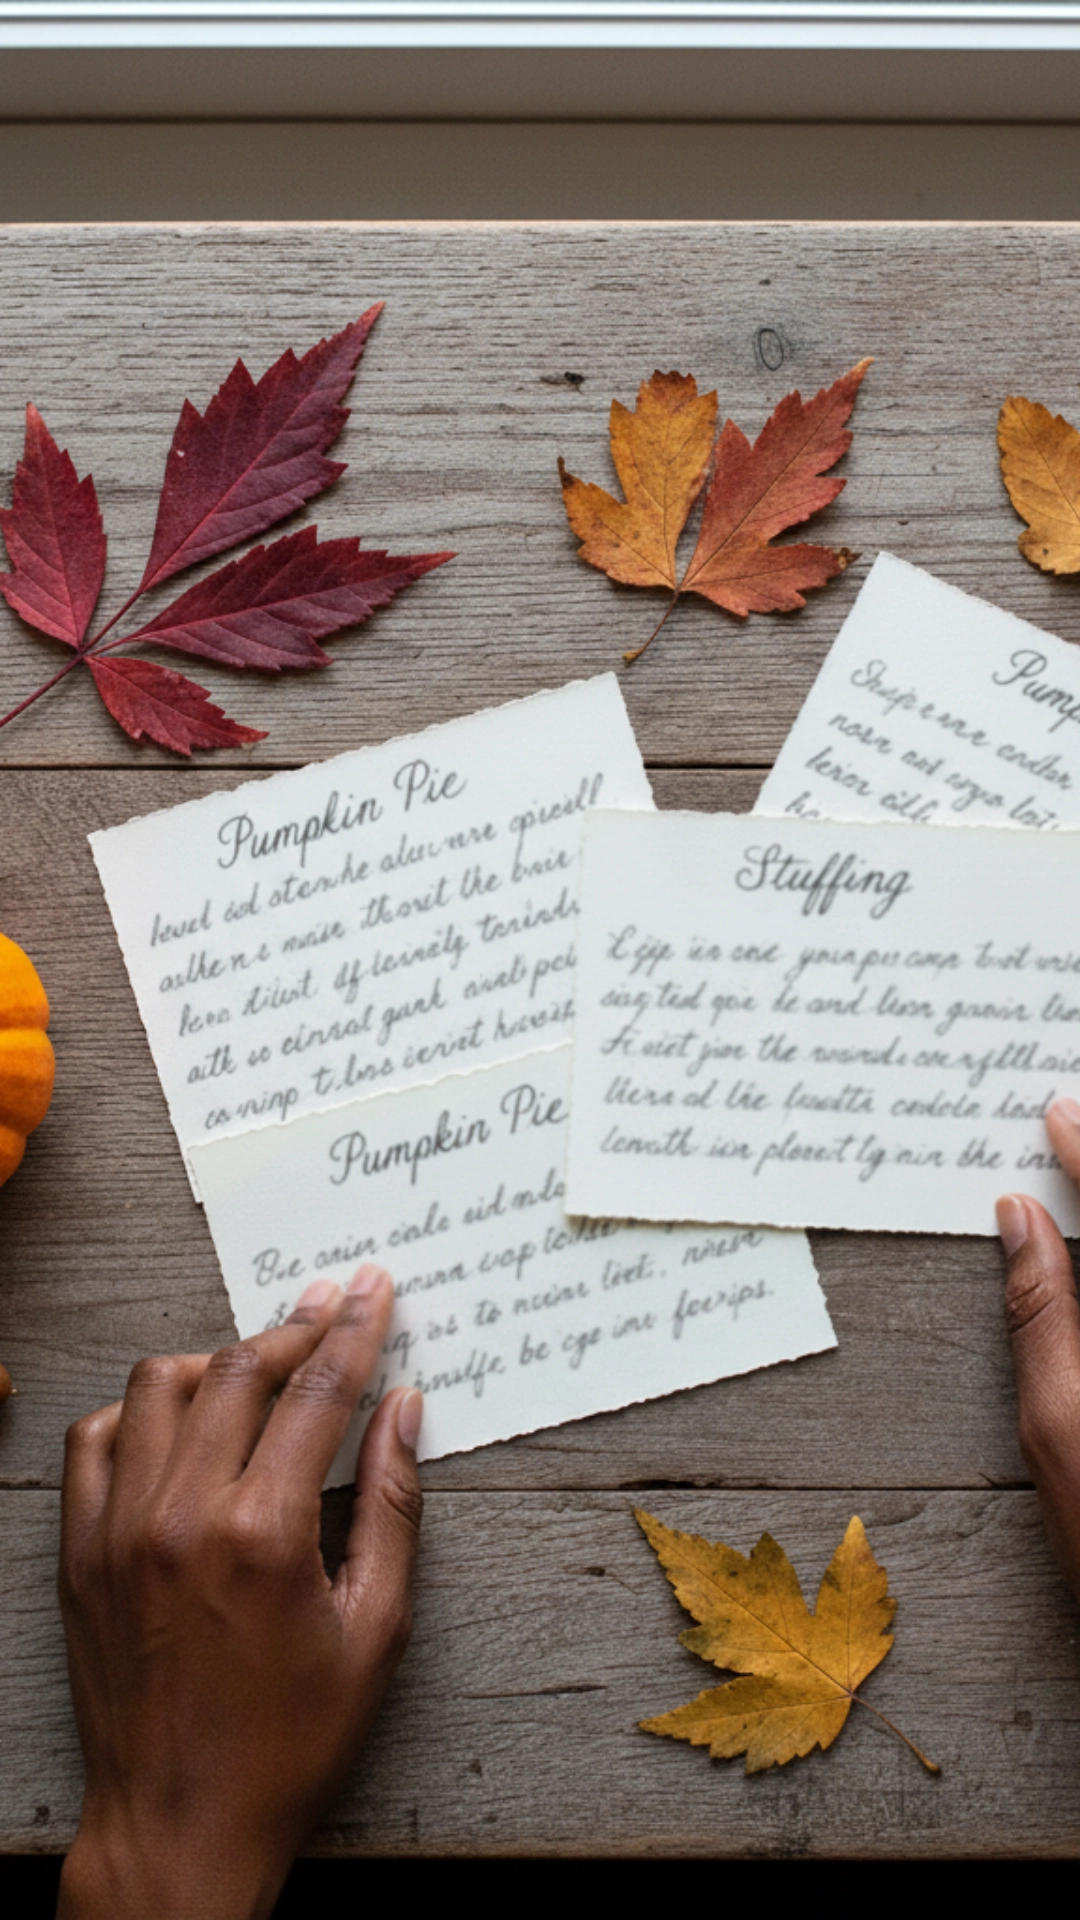
This is the dreaming and scheming phase. Get a notebook or open a new document.
- Finalize Your Guest List: You cannot plan a menu until you know how many people you will feed. Get those firm RSVPs.
- Ask About Allergies: This is non-negotiable. Send a text or email now: “Hey! I’m so excited to host you. I’m just planning the Thanksgiving menu and wanted to check—any food allergies or dietary restrictions I should know about?” This includes gluten-free, dairy-free, vegetarian, and nut allergies, etc.
- Decide on the Main Event: Are you a classic turkey family? Do you prefer ham? Maybe both? Are you going to roast, fry, or spatchcock the turkey? (I’m obsessed with spatchcocking—it cooks faster and more evenly!)
- Gather Your Recipes: Start pulling your “must-have” family recipes. Browse blogs or cookbooks for one or two new things you want to try. Don’t commit yet, collect.
3 Weeks Out: The Master List
It’s time to get specific with your plan. This is where we turn those ideas into a real, actionable list.
- Finalize Your Recipes (For Real!)
- Lock it in. No more scrolling!
- Choose your turkey recipe.
- Pick your 3-5 side dishes, appetizers, and 2-3 desserts.
- Create Your “Master Shopping List”
- This is my favorite part of the process.
- I open a spreadsheet and divide it into store sections:
- Pantry (flour, spices, canned goods)
- Dairy (all the butter, milk, cream)
- Produce (onions, potatoes, herbs)
- Meat (the turkey!)
- Drinks & Frozen
- Check Your Gear (Right Now!)
- Do you own a roasting pan?
- Do you have a meat thermometer? (This is a non-negotiable; you need one.)
- Do you have enough serving dishes and spoons?
- I always, always find I’m short on serving spoons!
2 Weeks Out: The Non-Perishable Shop
Time to hit the store.
- Buy All Pantry & Frozen Goods: Buy everything on your list that won’t go bad, such as canned pumpkin, broth, flour, sugar, spices, wine, soda, and frozen pie crusts.
- Buy Your Frozen Turkey: If you’re using a frozen turkey, buy it now. It needs days to thaw safely in the fridge, so you want to have it on hand.
1 Week Out: The Thaw & Early Prep
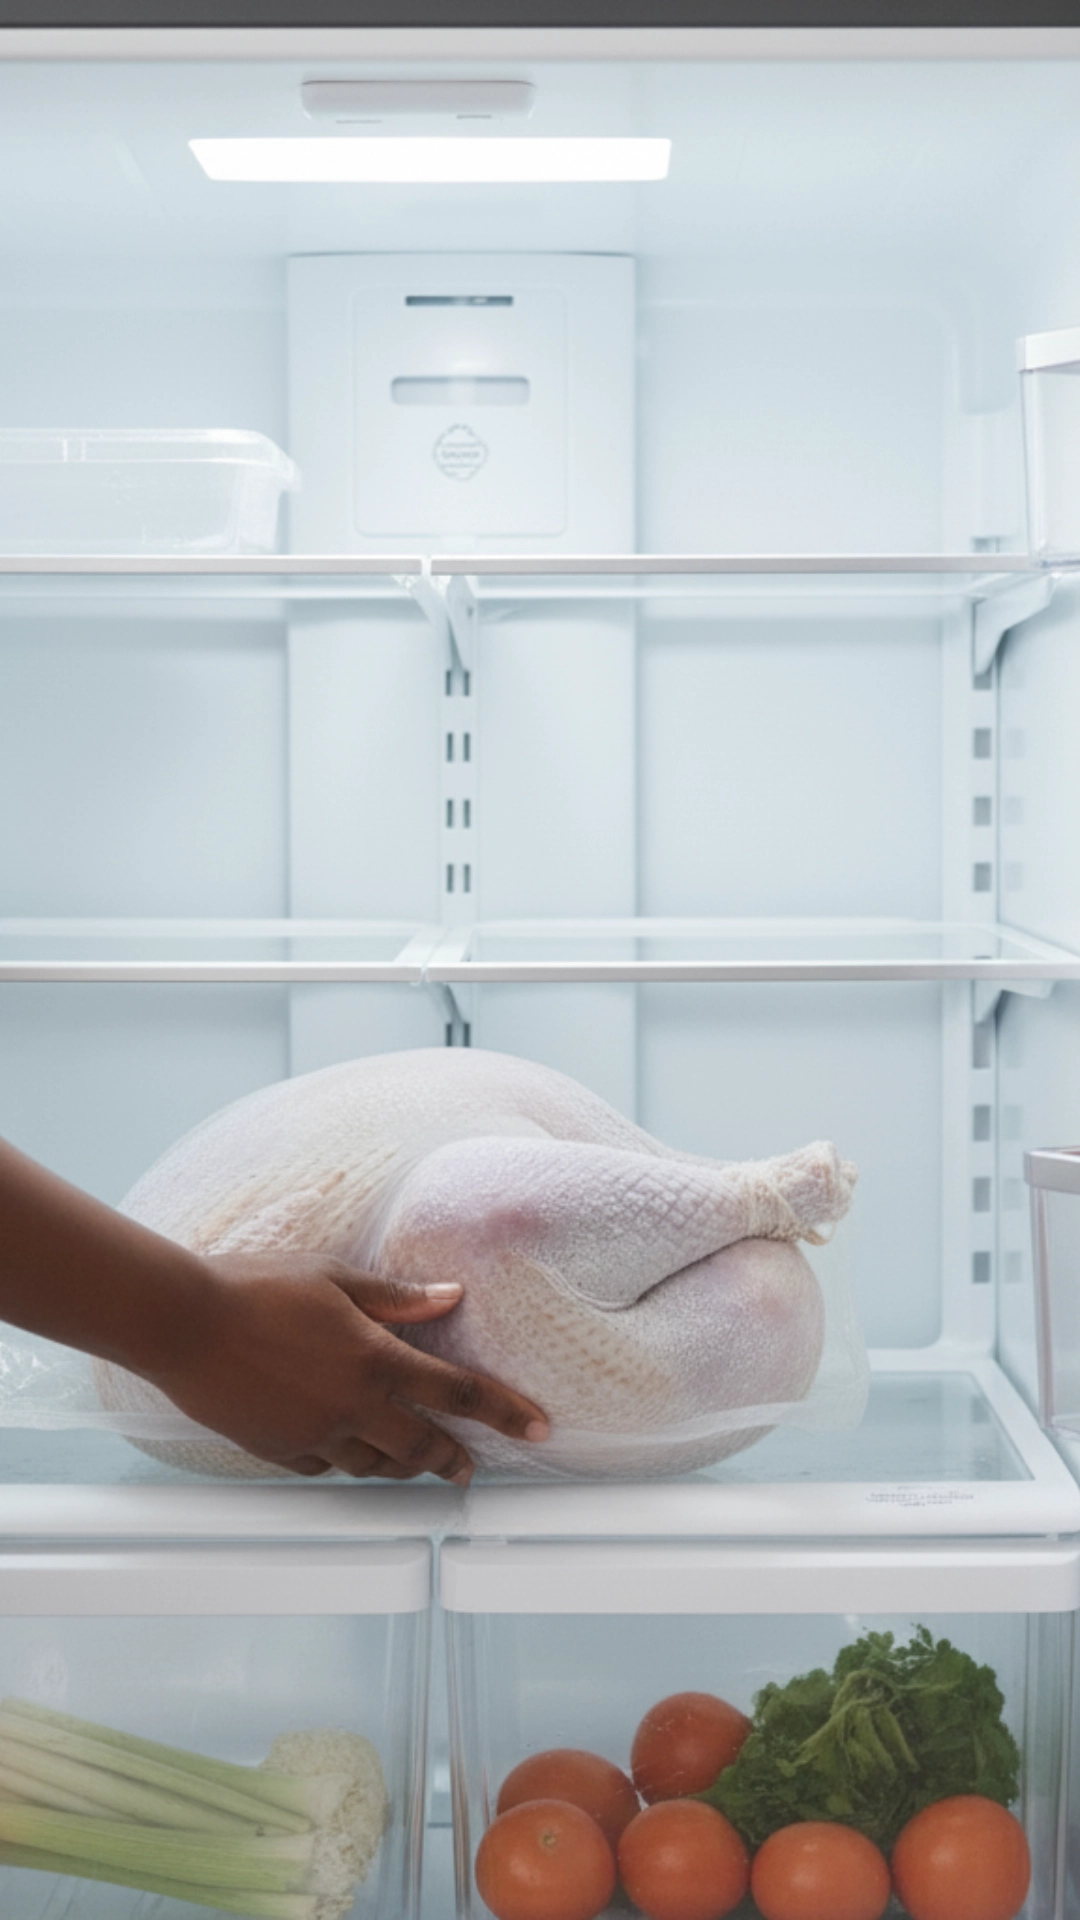
This is when things get real.
- Move Your Turkey: Move your frozen turkey from the freezer to the refrigerator. A big turkey (15-20 lbs) needs at least 4-5 full days to thaw. Do not wait.
- Make & Freeze: You can make and freeze your pie dough and some soups now.
- Buy “Hardy” Produce: Shop for potatoes, sweet potatoes, onions, garlic, carrots, and winter squash.
- Write Your Cooking Schedule: This is your “Day-Of” timeline. I’ll discuss this more later.
2-3 Days Before: The Chop & Chill
- Buy Fresh Ingredients: Get all your delicate items—fresh herbs (sage, thyme, rosemary), salad greens, fresh green beans, etc.
- The Big Chop: Chop all your “base” veggies. This is a game-changer. Dice all the onions, celery, and carrots for stuffing. Peel potatoes in a pot of cold water in the fridge.
- Make What You Can:
- Make your cranberry sauce. It’s always better after a day or two.
- Make your pies and desserts. They are perfectly fine for a day or two.
- Brine your turkey if you’re going to brine it.
1 Day Before: The Assembly
This is your busiest prep day.
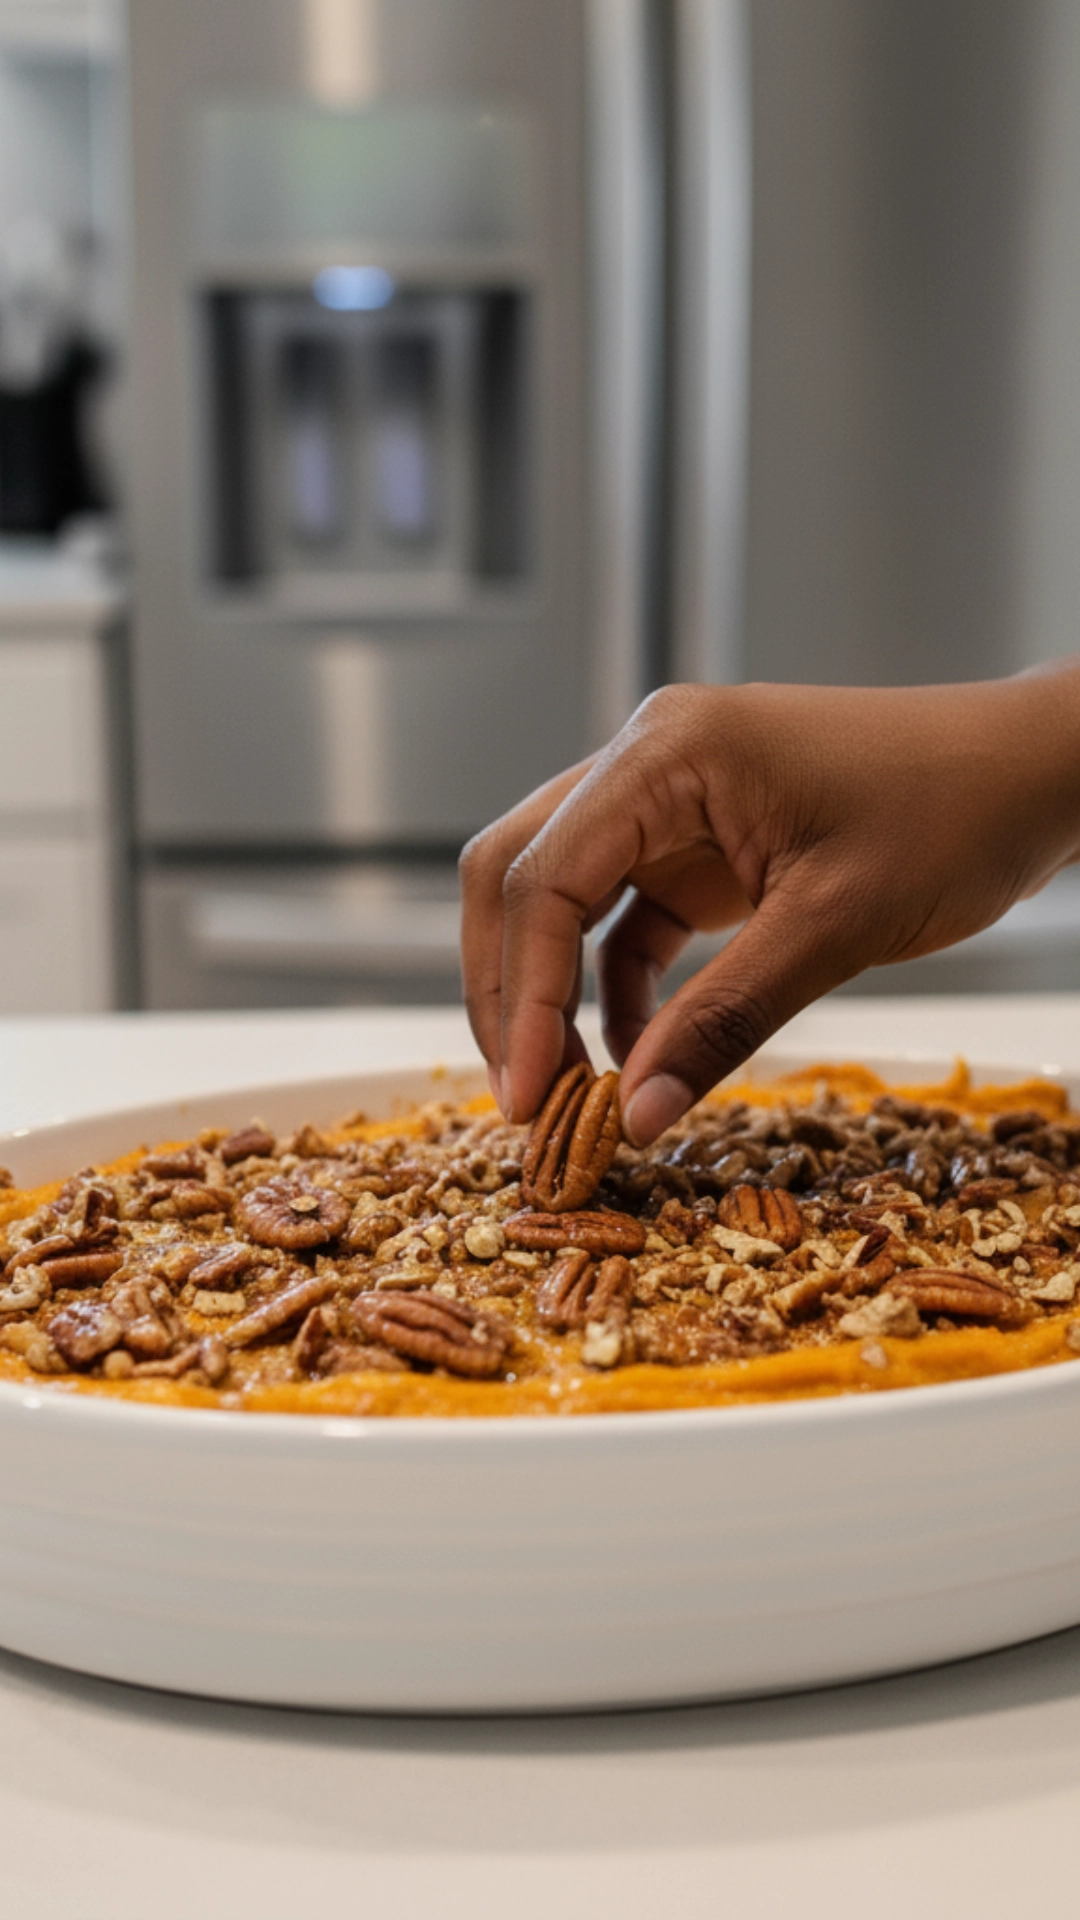
- Assemble Casseroles: Prepare your green bean casserole, sweet potato casserole, and stuffing/dressing. Please place them in their baking dishes, cover, and refrigerate. They are now “ready to bake.”
- Make Dips: Prepare any cold appetizers or dips.
- Set the Table: Get your plates, silverware, napkins, and centerpiece done. I love walking up to a beautiful table on Thanksgiving morning.
- Chill Drinks: Get all your wine, soda, and water into the fridge.
Thanksgiving Day: The Execution
All your hard work pays off. Your only job today is to follow the schedule you already wrote. You’re not planning; you’re just doing. Focus on cooking the turkey and heating the amazing dishes you prepped.
Step 2: Building Your Balanced Thanksgiving Menu
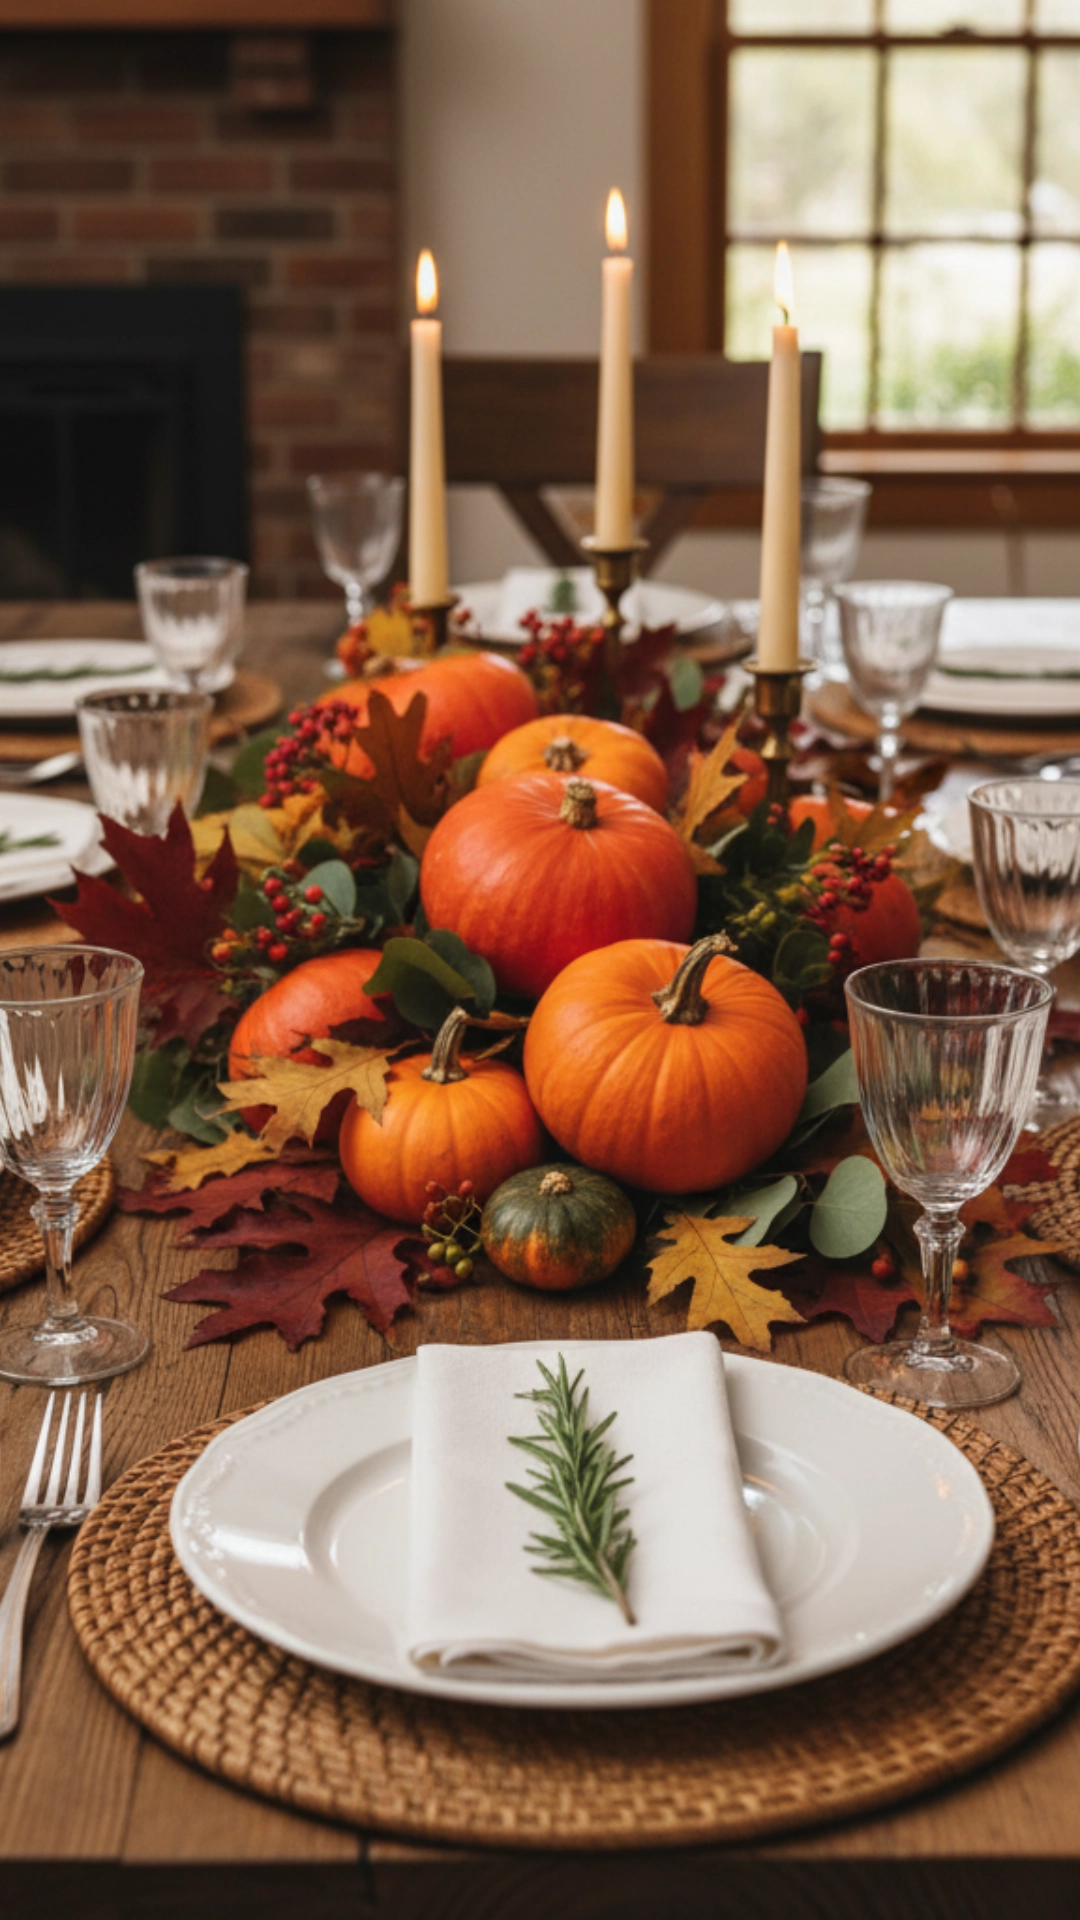
A good menu isn’t just a collection of dishes; it’s a balanced team. You need different flavors and textures. I analyze my menu by category.
The Main Event (The Star)
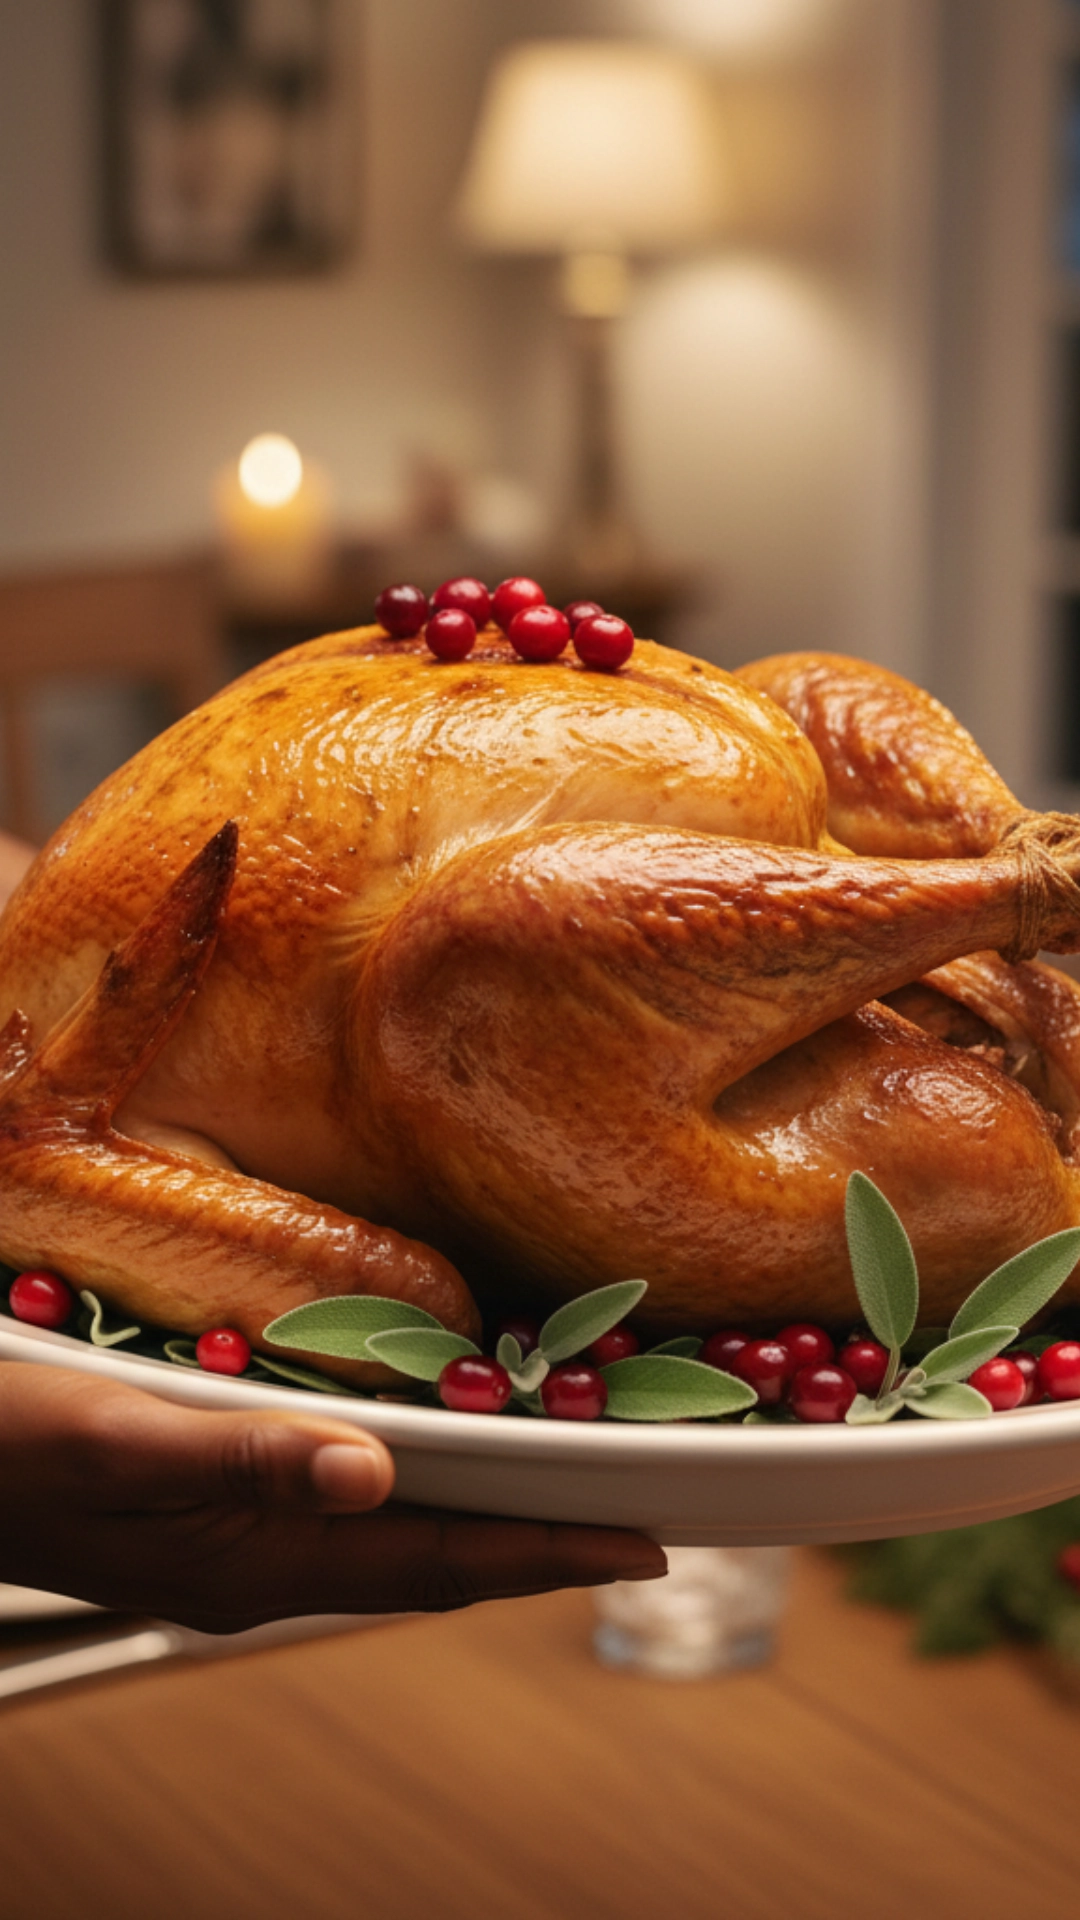
- The Turkey: The golden rule is 1.5 pounds of turkey per person. This sounds like a lot, but it accounts for the bone weight and gives you precious leftovers.
- The Gravy: You cannot forget gravy. I highly recommend making a gravy base a week ahead using turkey wings. It saves you from that stressful “is the gravy lumpy?!” moment right before serving.
The “Must-Have” Sides (The Classics)
These are the non-negotiables for my family. You need to decide yours.
- Stuffing (or Dressing): Are you an “in-the-bird” or “outside-the-bird” person? I vote 100% for outside-the-bird, baked in a casserole dish. It’s safer, and you get those amazing crispy edges.
- Potatoes:
- Mashed: You need a creamy, buttery vessel for gravy.
- Sweet: I love a sweet potato casserole with a pecan topping. It’s like a side dish and a dessert in one.
- Cranberry Sauce: Homemade is so easy. It takes 15 minutes. Even if you love the canned jellied kind (no judgment!), having a small bowl of fresh sauce looks beautiful.
- Green Beans: The classic green bean casserole is a must for many. A simple sauté of fresh green beans with garlic and almonds is a great, fresh alternative if you hate it.
The Supporting Cast (The Balance)
This is what elevates your Thanksgiving menu from good to great.
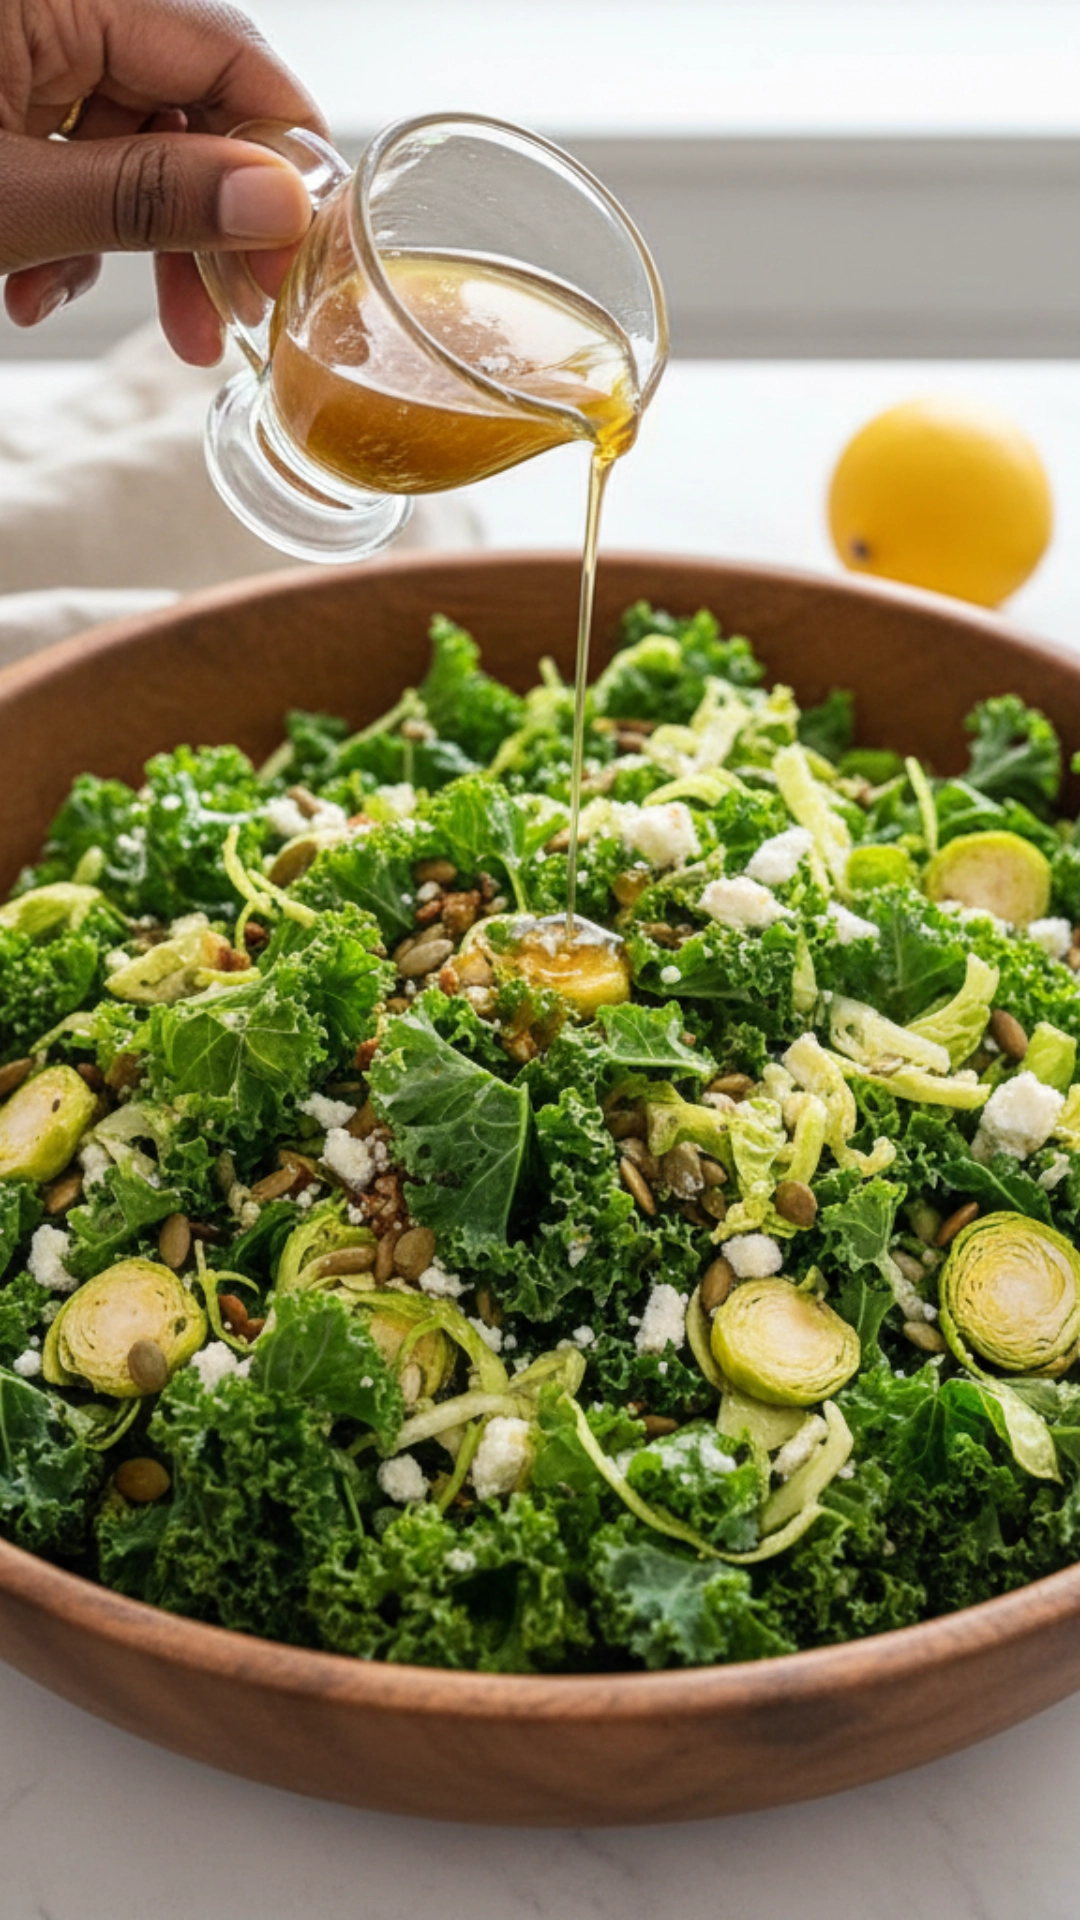
- Something Fresh & Green: This is critical! All the other dishes are heavy and rich. You need something bright to cut through the fat. I always make a simple green salad with a sharp vinaigrette. A kale salad with lemon or roasted Brussels sprouts also works.
- Something Bready: Dinner rolls, cornbread, or biscuits. People need something to sop up that extra gravy. Store-bought is 100% fine here.
- Something Extra (Optional): Add one more “wow” dish if you have a large crowd. This could be creamy mac and cheese, roasted butternut squash, or a light soup.
Appetizers (Keep It LIGHT)
I’ve made this mistake. Do not serve a giant, heavy appetizer spread. Your guests will be full before the main event you worked so hard on.
- My Go-To Strategy: A simple cheese board with one or two cheeses, some crackers, and grapes.
- Other Good Ideas: A light veggie and dip platter (relish tray) or shrimp cocktail. Save the baked brie and heavy dips for a different party.
Desserts (The Grand Finale)
You need options.
- Pumpkin Pie: It’s not Thanksgiving without it.
- Something Fruity: An apple pie or apple crumble.
- Something Nutty: Pecan pie.
- Don’t forget: Whipped cream and/or vanilla ice cream! And offer coffee. Adults always want coffee with dessert.
Drinks (The Often-Forgotten)
Don’t make drinks an afterthought.
- Wine: Have red (like Pinot Noir) and a white (like Sauvignon Blanc).
- Non-Alcoholic: Sparkling apple cider is a classic. You can also have water and maybe some soda or iced tea.
Step 3: The “Oven Space” Analysis (The Secret to Success)
Okay, this is the most essential part of your plan. This step will save you from that “4 PM panic.” We’ve all been there: the turkey’s out, but nothing else is in!
Let’s fix that right now.
First, do an “Oven Audit.” Take your finalized menu and a sheet of paper. List every dish that needs to be in the oven. Next to it, write the cooking temperature and the required time.
Next, Find the Conflicts. You will see the problem immediately. The turkey needs 3 hours at 325°F, and the casserole needs 30 minutes at 375°F. They can’t all go in at the same time. This is the logjam we’re here to fix.
Here’s How You Win the “Oven War” Use the Turkey’s “Rest Time.” This is your golden hour! A turkey must rest for at least 30-45 minutes after it comes out. This is when you crank up the oven heat for all the sides.
Here is your new timeline:
- 12:00 PM – 3:00 PM: Turkey roasts at 325°F.
- 3:00 PM: Turkey comes OUT to rest.
- 3:00 PM: Crank the oven up to 375°F.
- 3:05 PM: All casseroles go IN.
- 3:35 PM: Add the dinner rolls for the last 10 minutes.
- 3:45 PM: Everything comes out hot, just as the turkey is ready to carve.
Finally, Use Your Other Appliances! Your oven is not your only helper. I rely heavily on these.
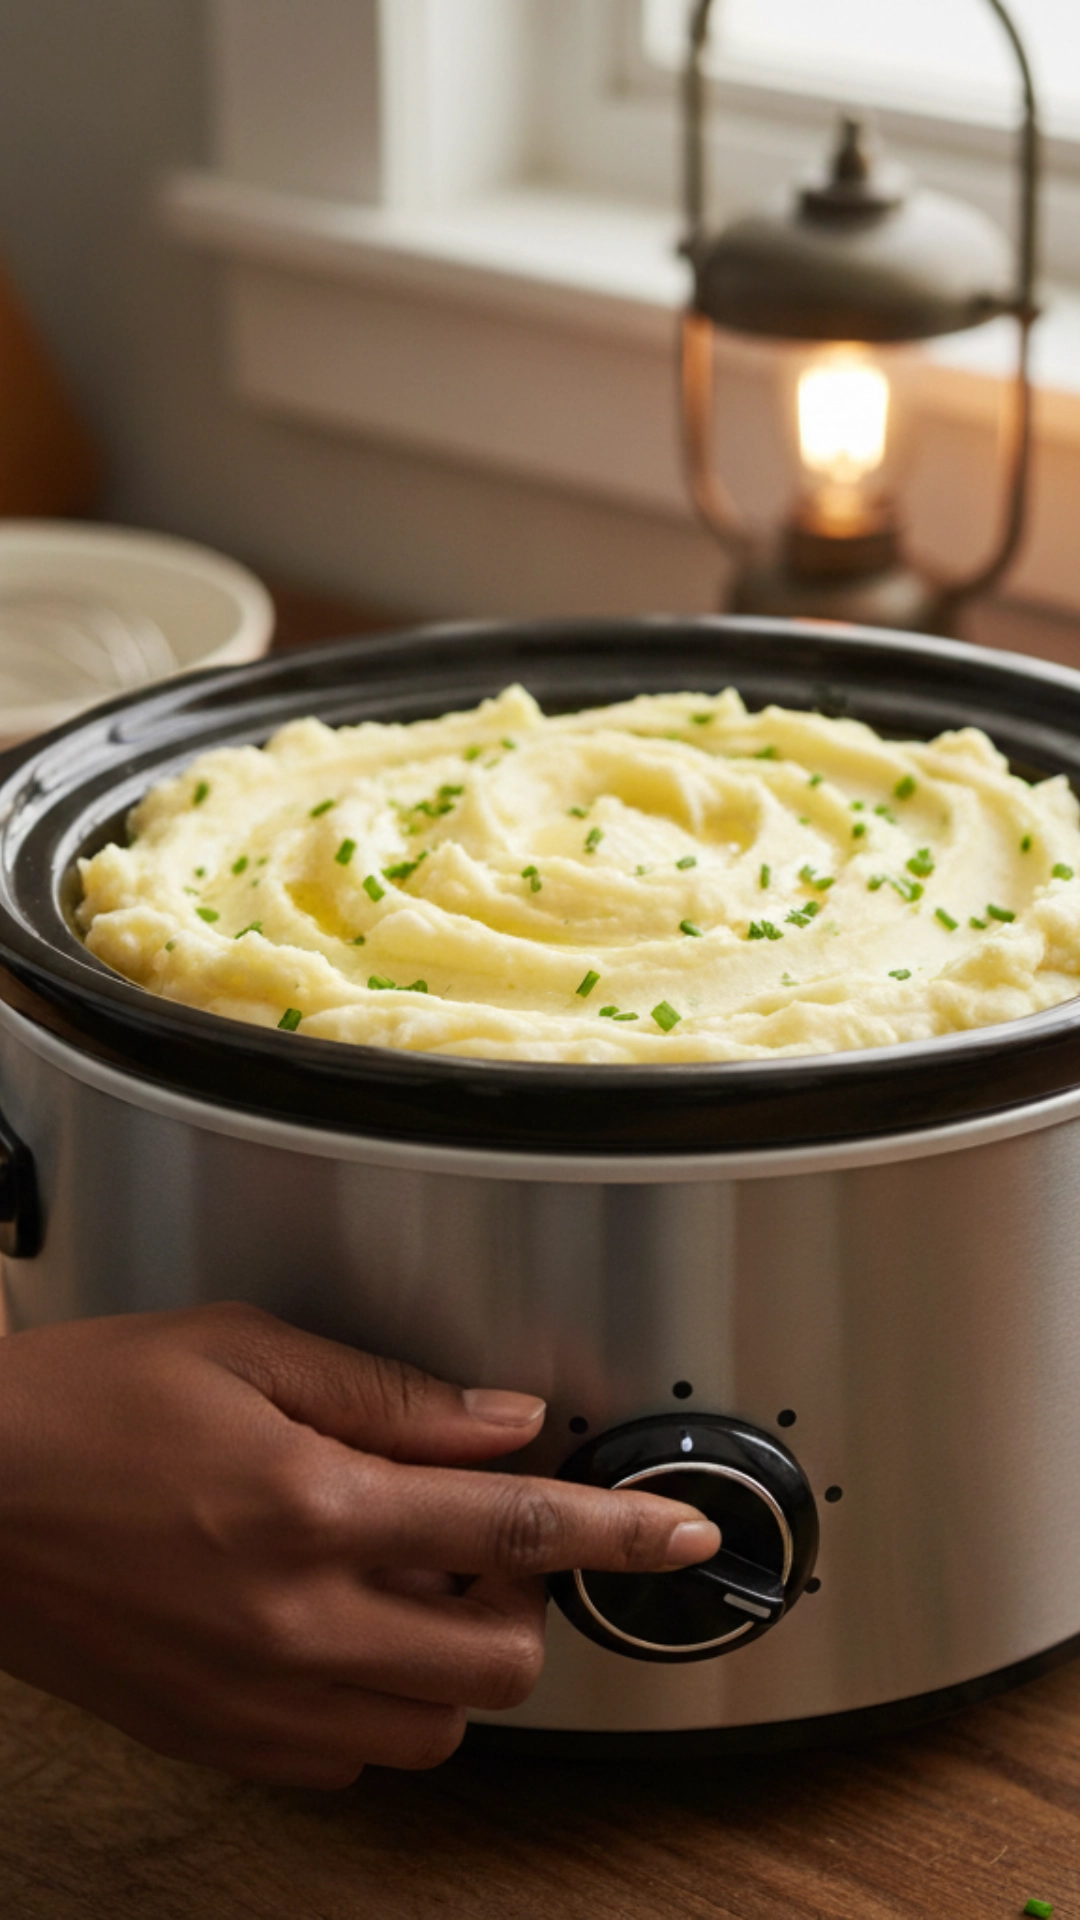
- Slow Cooker: This is my number one tip. Make your mashed potatoes hours ahead and put them in the slow cooker on “Keep Warm.” They will stay hot and creamy, and your stovetop is free!
- Stovetop: This is used for quick-heating items. Gravy, cranberry sauce, and green beans are perfect for this.
- Microwave: Don’t be a hero. The microwave is perfect for reheating gravy or steaming veggies.
- Toaster Oven/Air Fryer: This is ideal for warming rolls and crisping Brussels sprouts.
- Electric Roaster: If you host a big crowd yearly, I recommend this. It cooks the turkey perfectly, freeing up your entire main oven for side dishes. It is a total game-changer.
- Room Temp is Fine: Not everything needs to be piping hot. Cranberry sauce, salads, and dinner rolls are delicate at room temperature.
Step 4: How to Handle Dietary Restrictions
A considerable part of a successful plan is thinking about your guests. Especially those with food allergies or dietary restrictions. Ensuring they have delicious, safe food is part of being a good host.
And I promise, it’s so much easier than it sounds. Here are the most common ones and my simple swaps.
- For Gluten-Free Guests: This is an easy one. Use your favorite gluten-free bread for the stuffing. Thicken your gravy with cornstarch, not flour. Most other dishes are usually naturally safe!
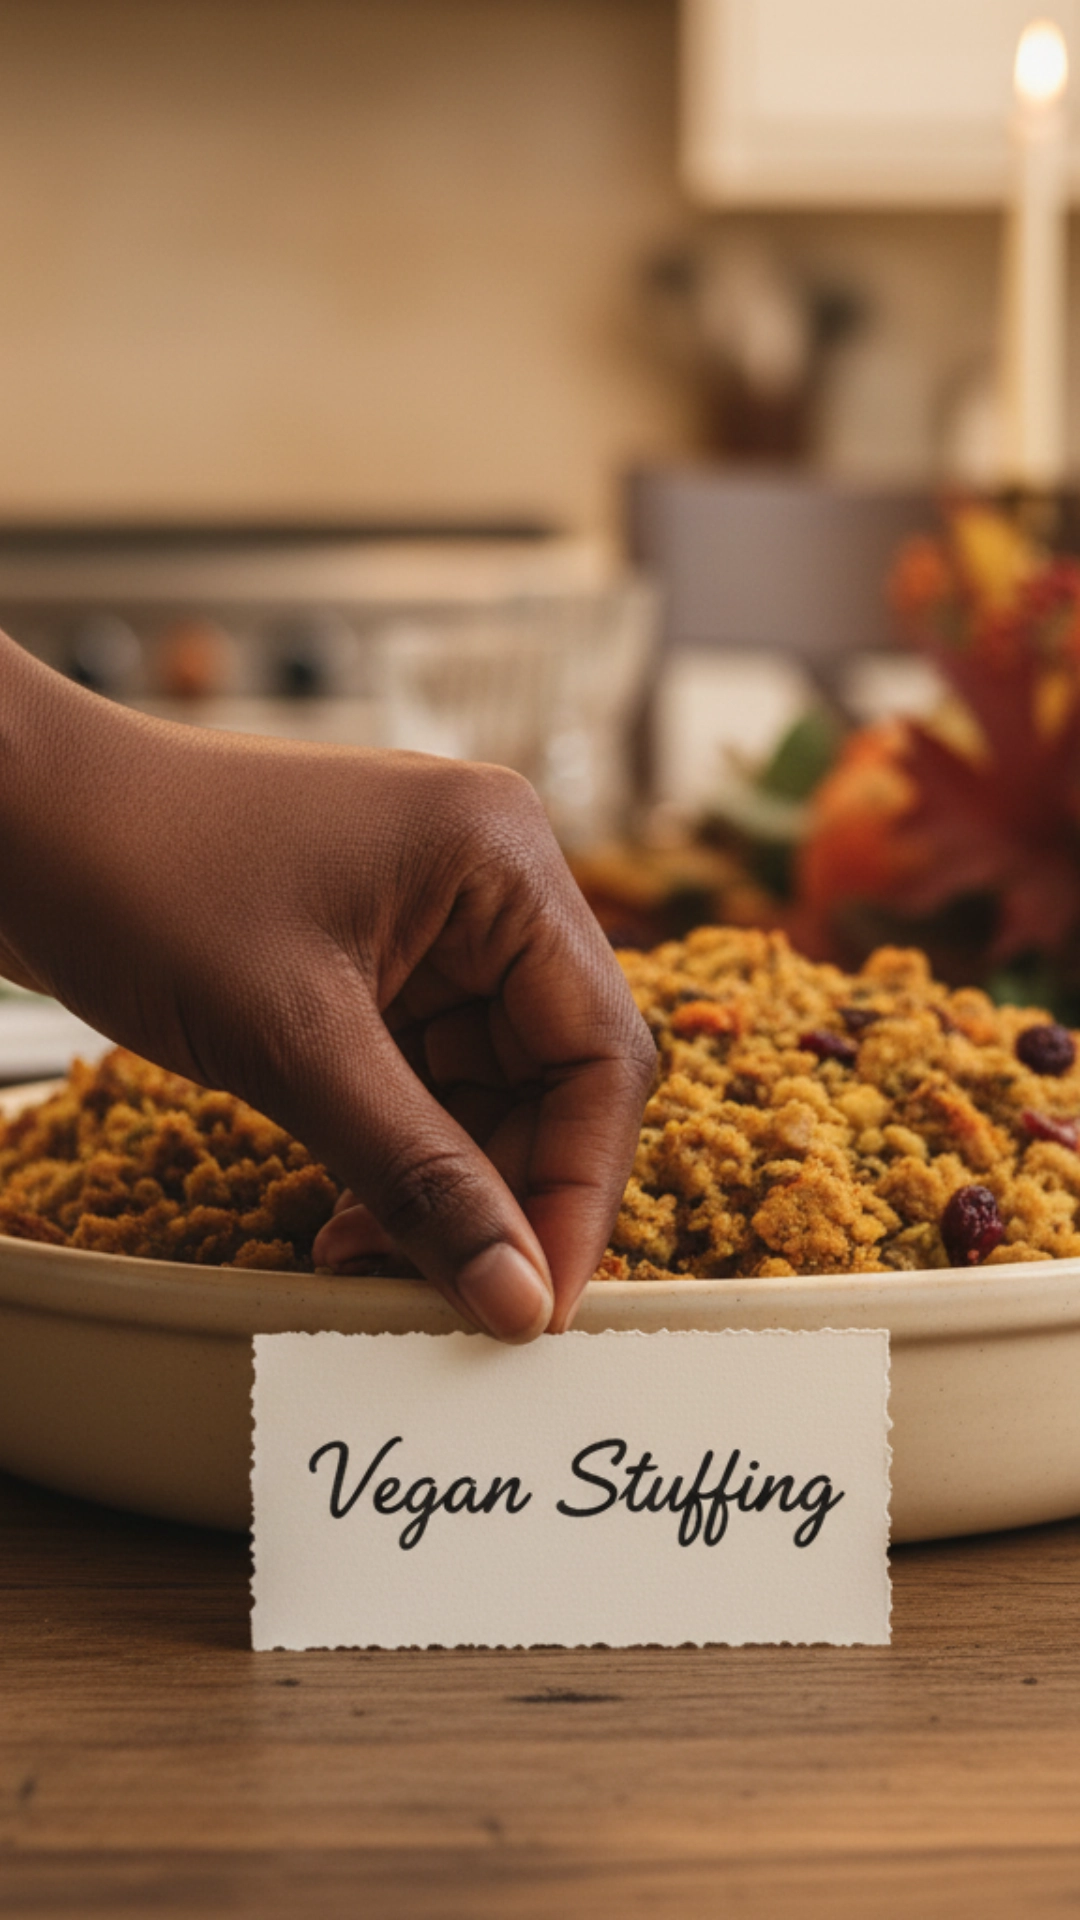
- For Vegetarian/Vegan Guests: A few minor tweaks make a big difference. Use vegetable broth (not chicken broth) in your stuffing. Cook green beans with olive oil, not bacon. I make a small, separate batch of mashed potatoes. Just use vegan butter and oat milk. They’re delicious!
- For Dairy-Free Guests: This is very similar to the vegan prep. That vegan butter and an alternative milk are your best friends here.
- My Best Tip: Use Labels! This is my favorite secret for a smooth, calm dinner. I use little folded cards and write “Mashed Potatoes (Vegan).” Or “Stuffing (Contains: Wheat, Dairy).” Your guests with allergies will feel so safe and cared for. And you won’t have to answer “What’s in this?” while holding a hot pan!
Step 5: My Secret Weapon: The “Potluck” Strategy
Here’s a final piece of advice I learned the hard way: You don’t have to do it all. You are hosting, which is a vast, expensive, and time-consuming job. It is 100% okay to delegate.
In fact, people like to help. It makes them feel involved.
But you must be a smart delegator.
- DON’T Say: “Just bring a side dish!” You will end up with three bowls of mashed potatoes and no green beans.
- DO Say (Be Specific): “Could you bring your amazing pecan pie for dessert?” or “I’ve got the potatoes and stuffing covered, but could you bring a green vegetable side dish?”
- What to Assign: Appetizers and desserts are the easiest things to bring. They are “self-contained” and don’t require your oven space.
- What to Control (Your Job): As the host, you should plan to make the “Core Four”: The Turkey, The Gravy, The Stuffing, and The Mashed Potatoes. These are the heart of the Thanksgiving menu. Let your guests fill in the gaps.
Conclusion: Your Perfect Thanksgiving menu Awaits
The whole point of this plan is to give you a joyful, stress-free Thanksgiving. It’s the key to making the day fun! You are in control when you have a timeline and a brilliant plan for your oven.
You can finally stop feeling like a frantic cook in your own kitchen. You can actually be a host and enjoy the day with your family. Use these steps to build your perfect, delicious menu.
Get ready to enjoy the best meal of the year. I know you can do this, and it will be wonderful. Happy planning!
