This post may contain affiliate links, which means I may receive a small commission should you decide to click that link and make a purchase. For more information please refer to the Terms & Conditions.
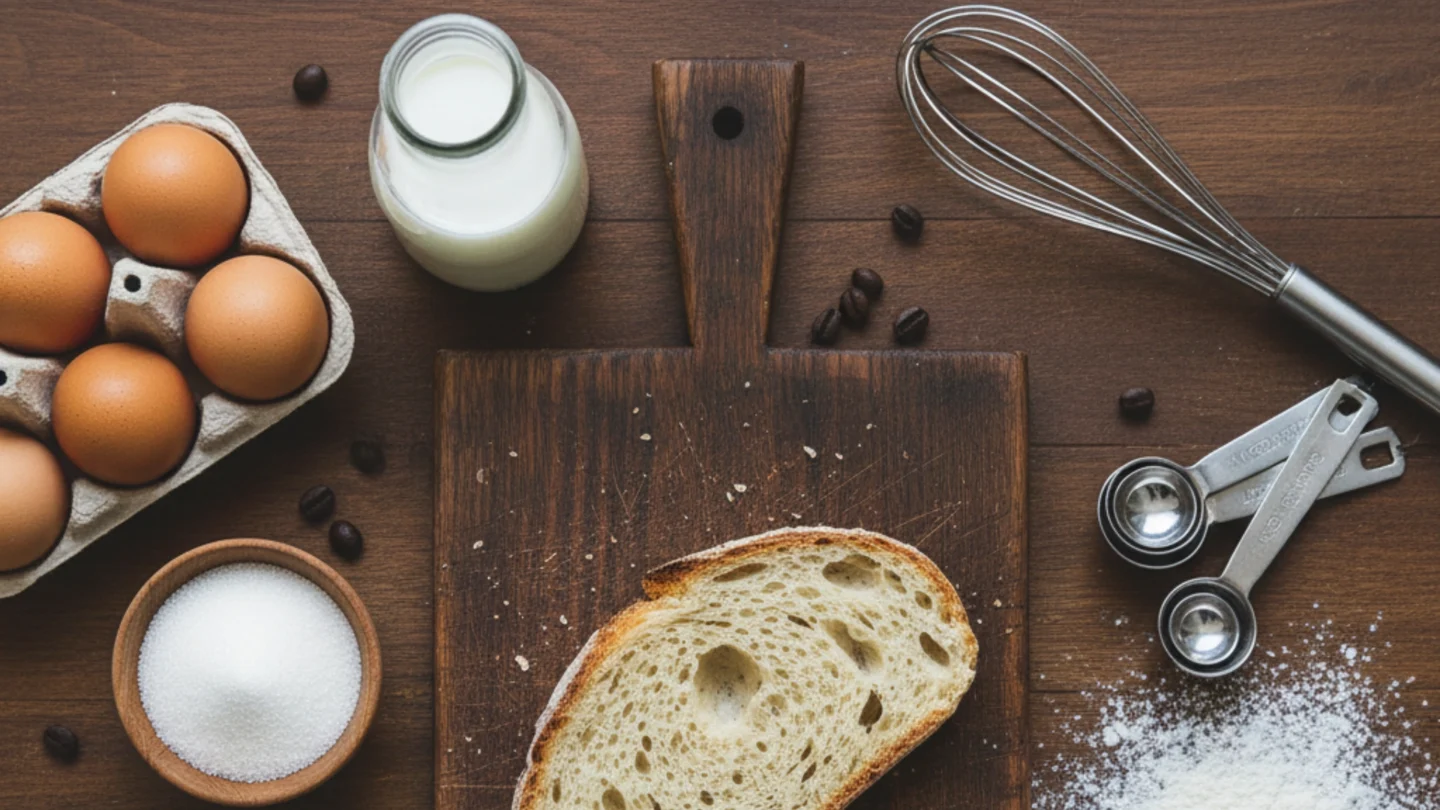
I’m so excited to share my ultimate guide to home baking essentials! You love the smell of fresh-baked cookies if you’re anything like me. That amazing aroma of bread wafting through your home is the best.
I’ve learned that having the right tools makes all the difference. It’s the secret to turning your baking dreams into a delicious reality. Let’s dive in and start your baking adventure with confidence!
How to Set Up Your Kitchen for Baking Success
Does starting a baking journey feel overwhelming? You might be wondering where to begin. The secret is to start with a few basic items.
Think of it like building a simple, solid foundation for a house. Once you have these basics, you can add more tools later on. You can grow your collection as you learn new, fun skills.
I always tell my friends to buy good-quality pieces that will last. It really does save you money and frustration in the long run. A kitchen with the right tools makes baking so much more fun!
Essential Measuring Tools
Accuracy is everything in baking. Unlike cooking, baking relies on precise ratios, where you can often adjust as you go. I’ve learned this the hard way! Getting your measurements right is the first step to a perfect bake.
- Measuring Cups (Dry Ingredients): You’ll need a set of nested measuring cups for flour, sugar, and other dry goods. Look for a set that includes 1/4 cup, 1/3 cup, 1/2 cup, and 1 cup. I find that stainless steel ones are durable and easy to clean.
- Measuring Spoons are crucial for measuring smaller ingredients like baking powder, baking soda, spices, and extracts. A set typically includes 1/4 teaspoon, 1/2 teaspoon, 1 teaspoon, and 1 tablespoon.
- Liquid Measuring Cups: These are different from dry measuring cups. They usually have a spout for easy pouring and side markings. A 2-cup or 4-cup capacity is a good starting point. I prefer glass ones because they don’t stain or retain odors.
- Kitchen Scale: A digital kitchen scale is a game-changer that takes your baking to the next level. Many professional bakers swear by weighing ingredients for ultimate precision, especially with flour. I love how it makes recipes so much more consistent.
Mixing and Prep Bowls
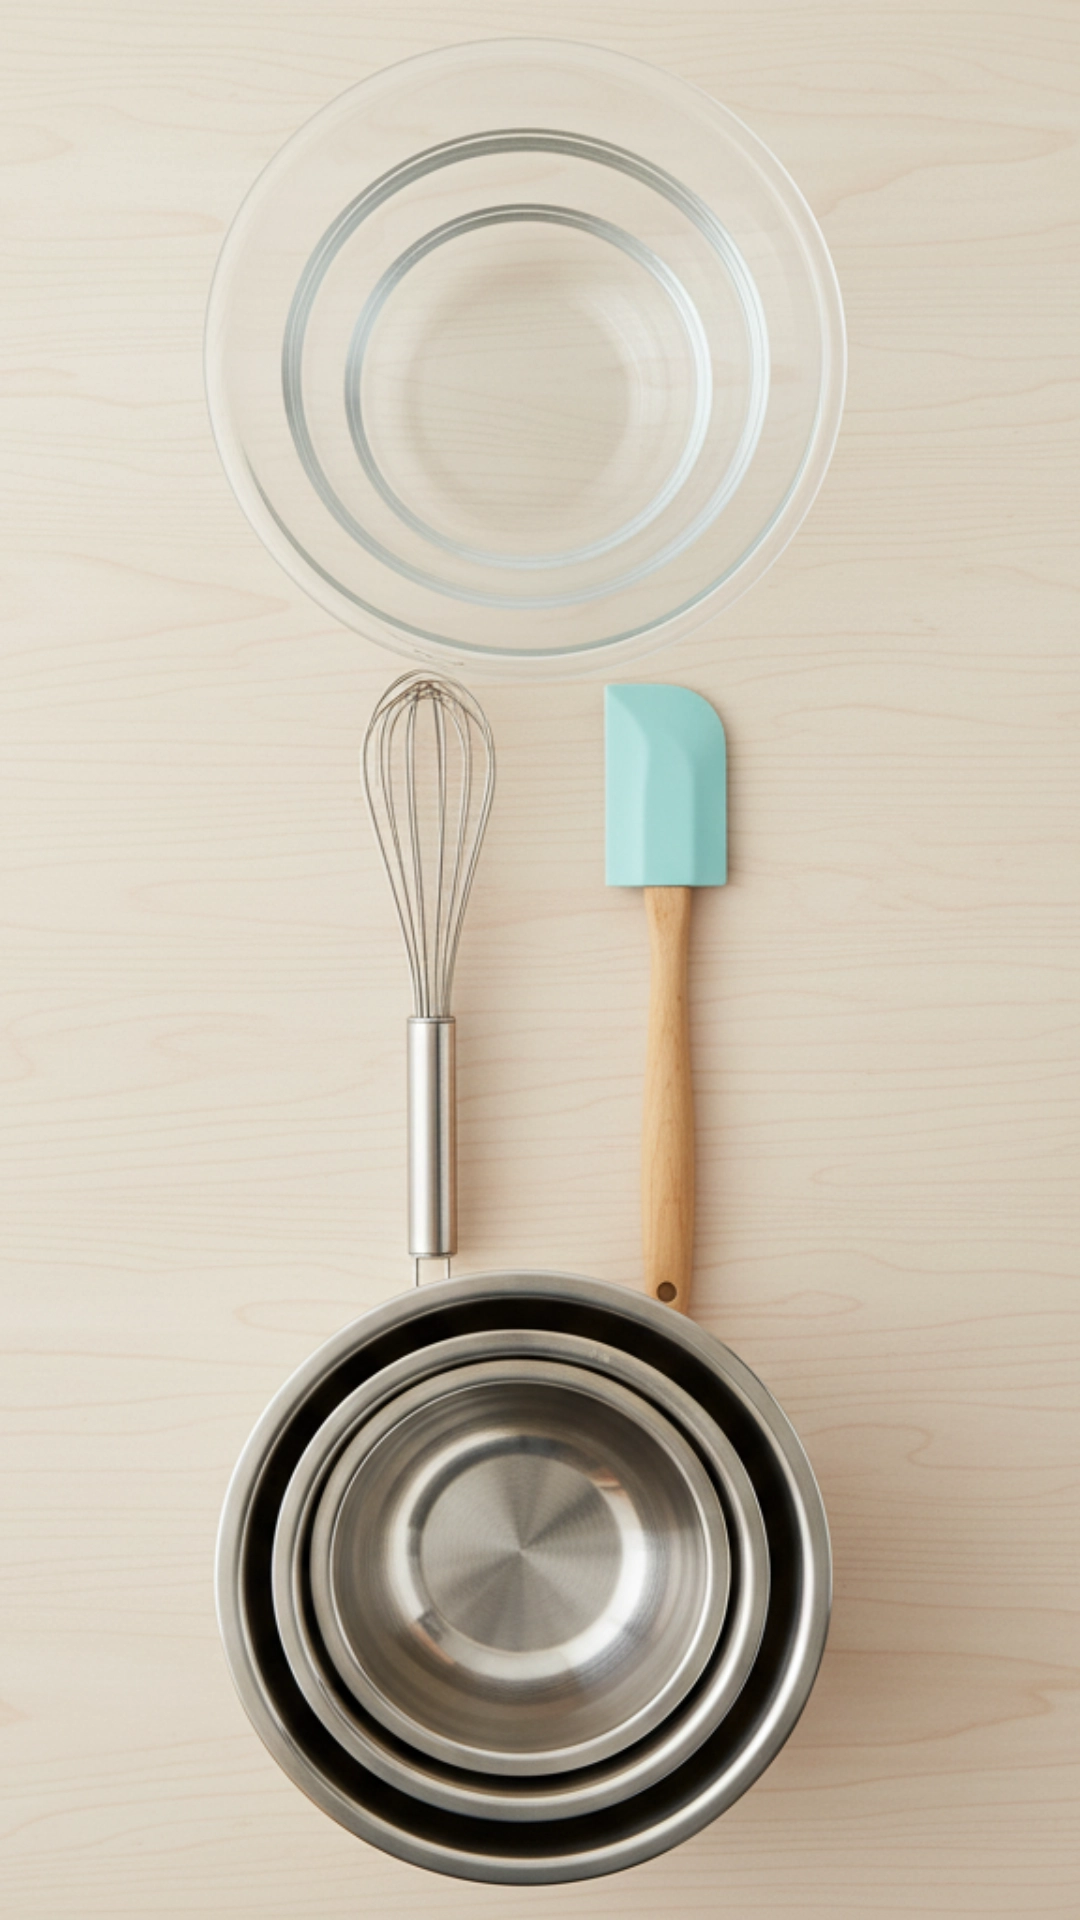
You’ll need a variety of bowls for mixing ingredients, melting butter, and holding prepped items. Having a good set makes the process so much smoother.
- Mixing Bowl Set: I recommend a set of at least three different-sized mixing bowls, ideally with non-slip bottoms. Stainless steel or glass bowls are excellent choices. They’re durable and don’t absorb flavors or odors. You’ll use these for everything from whisking eggs to combining dry ingredients.
- Small Prep Bowls (Ramekins): These are surprisingly handy for holding small amounts of pre-measured ingredients (mise en place). Having everything ready before I start mixing prevents me from making mistakes later.
Essential Baking Pans and Sheets
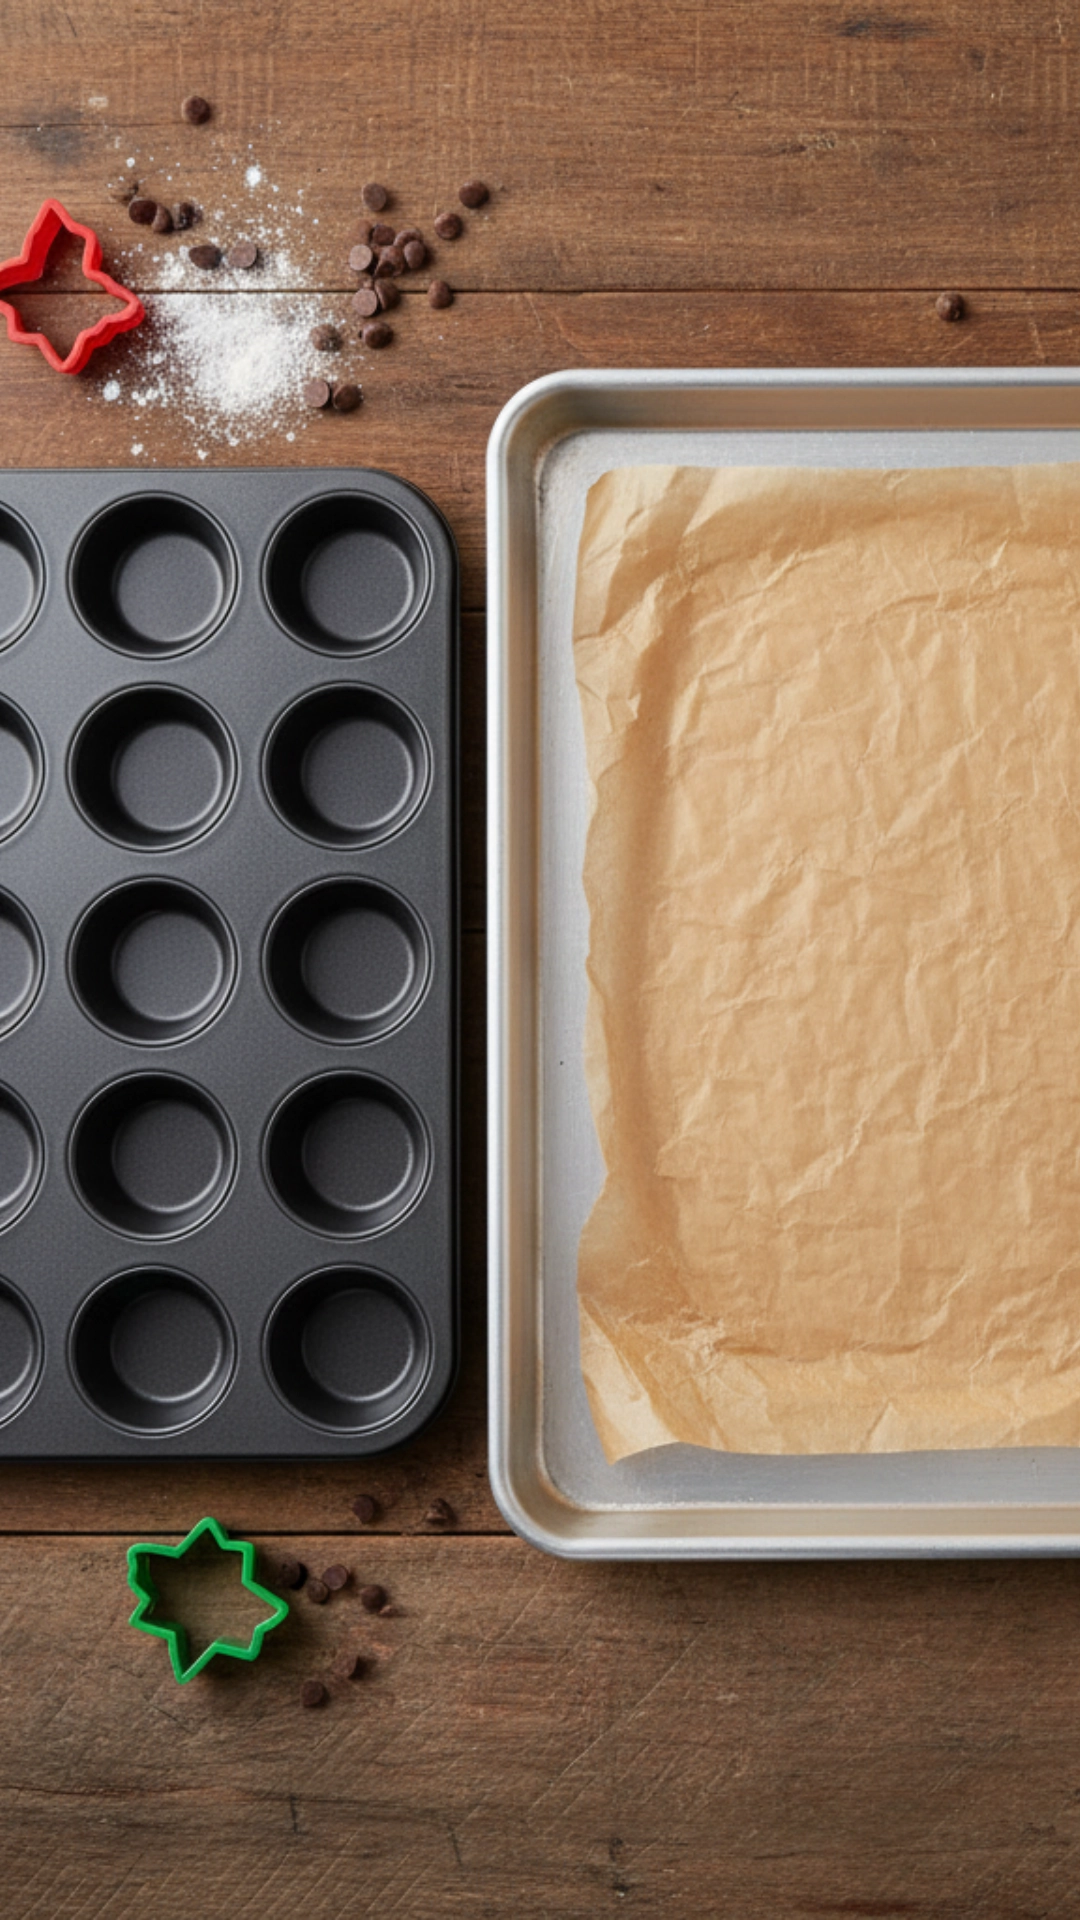
This is where your creations truly come to life! Having the right bakeware is crucial for even baking and easy removal.
- Baking Sheets (Half-Sheet Pans): You’ll want at least two good-quality half-sheet pans. These are versatile for cookies, roasted vegetables, and so much more. Look for heavy-gauge aluminum for even heat distribution. I always line mine with parchment paper or a silicone baking mat for easy cleanup.
- Muffin/Cupcake Pan: A standard 12-cup muffin tin is necessary for muffins, cupcakes, and savory treats. Non-stick is a good feature here.
- Round Cake Pans: If you love making cakes, two 8-inch or 9-inch round cake pans are ideal for layered cakes. Non-stick or anodized aluminum pans work wonderfully.
- Loaf Pan: This pan is perfect for quick, yeast, and meatloaf breads. It is a standard size of 8.5 x 4.5-inch or 9 x 5-inch.
- Square/Rectangular Baking Dish: An 8×8-inch square pan is excellent for brownies and smaller bar recipes, while a 9×13-inch rectangular pan is versatile for larger batches of bars, casseroles, and sheet cakes.
Mixing Tools and Utensils
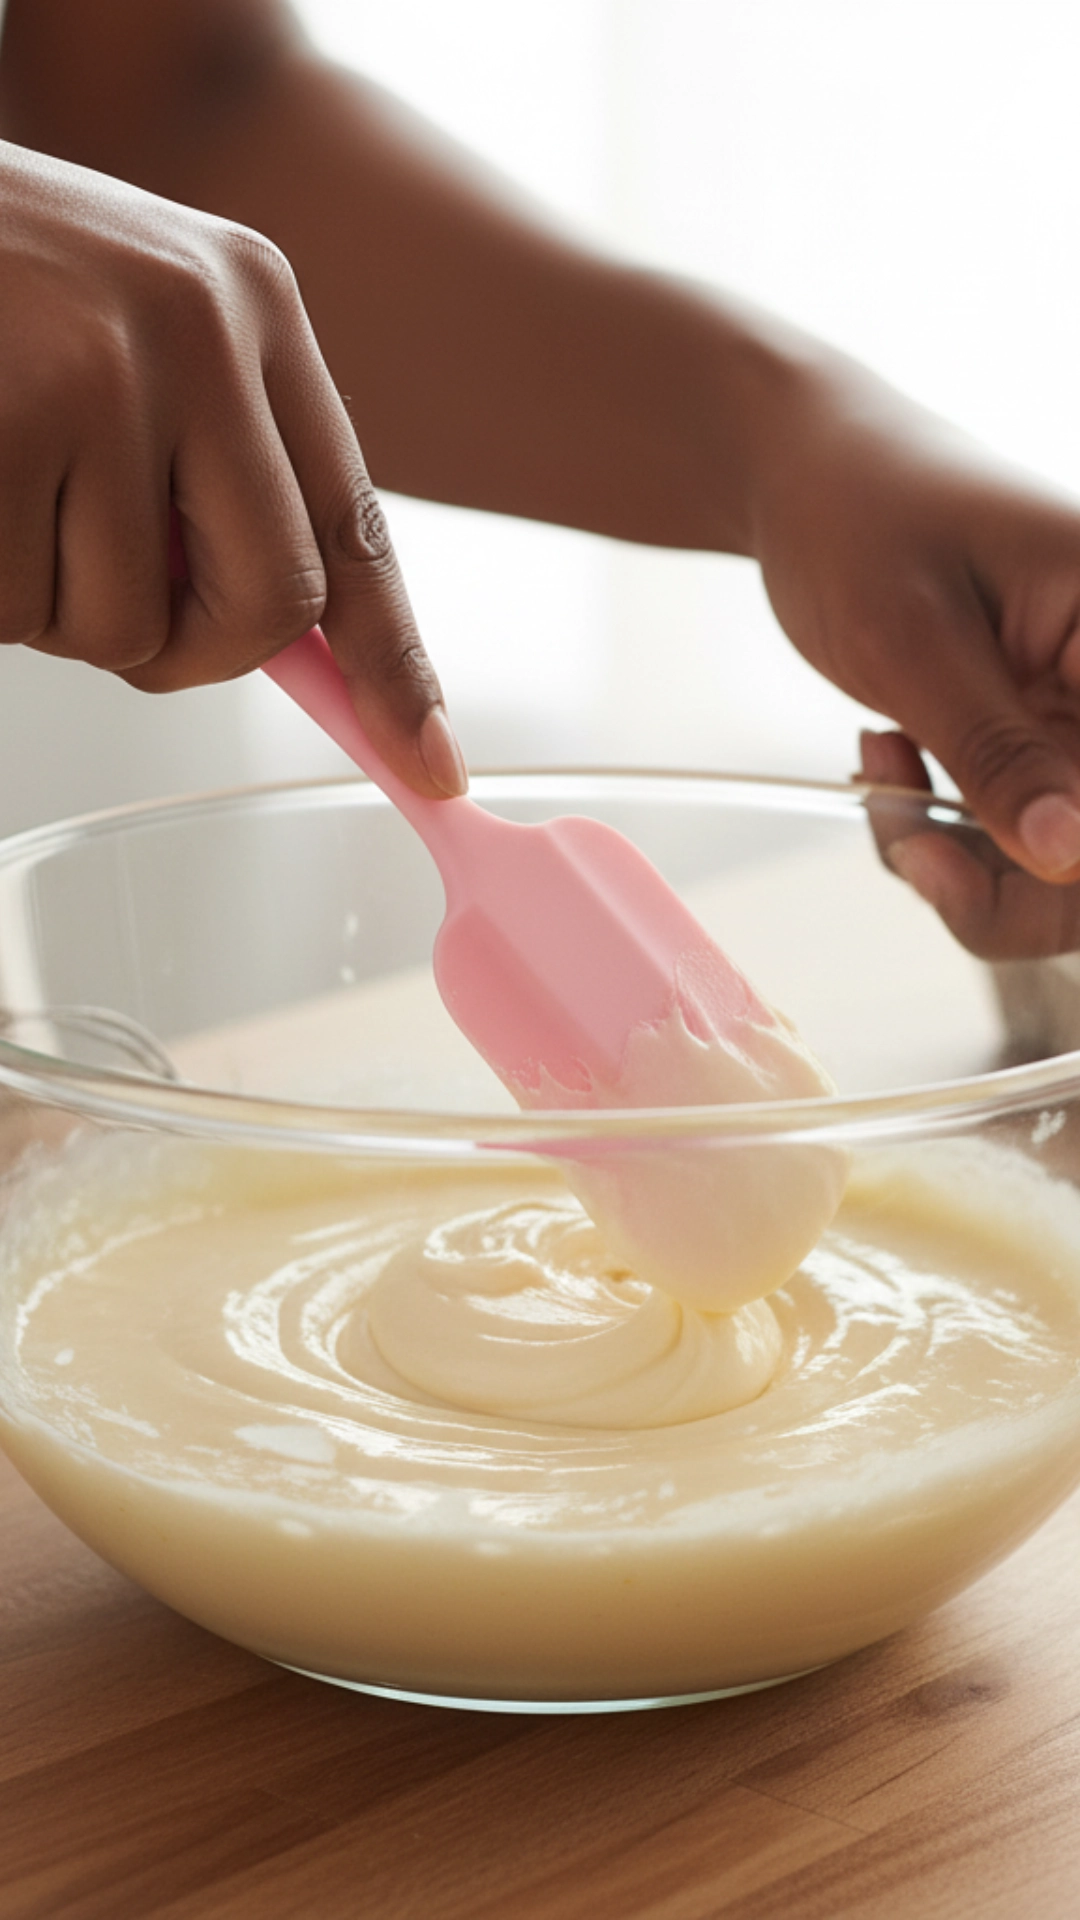
These are the tools you’ll use actively during the mixing process. They might seem simple, but each plays an important role.
- Whisks: A balloon whisk is essential for aerating eggs, mixing dry ingredients, and incorporating liquids smoothly. I keep a couple of different sizes on hand.
- Spatulas (Rubber/Silicone): You’ll need at least one or two heat-resistant silicone spatulas for scraping bowls, folding ingredients, and stirring. I’m obsessed with how well they clean the sides of the bowl.
- Wooden Spoons: Sturdy and heat-resistant, wooden spoons are great for mixing thicker batters or doughs.
- Bowls Scraper/Dough Scraper: This handy tool divides dough, cleans up your workspace, and scrapes sticky ingredients from bowls. I never knew how much I needed one until I got one!
- Sieves/Sifters: A fine-mesh sieve is excellent for sifting flour, cocoa powder, or powdered sugar, ensuring a smooth, lump-free texture in your baked goods.
- Rolling Pin: If you plan on making pies, cookies, or pastries, a good rolling pin is a must. French-style (tapered) or classic American-style (with handles) are great.
- Pastry Brush: This tool helps brush egg washes on crusts, butter on warm rolls, or syrup on cakes.
Cooling and Storage
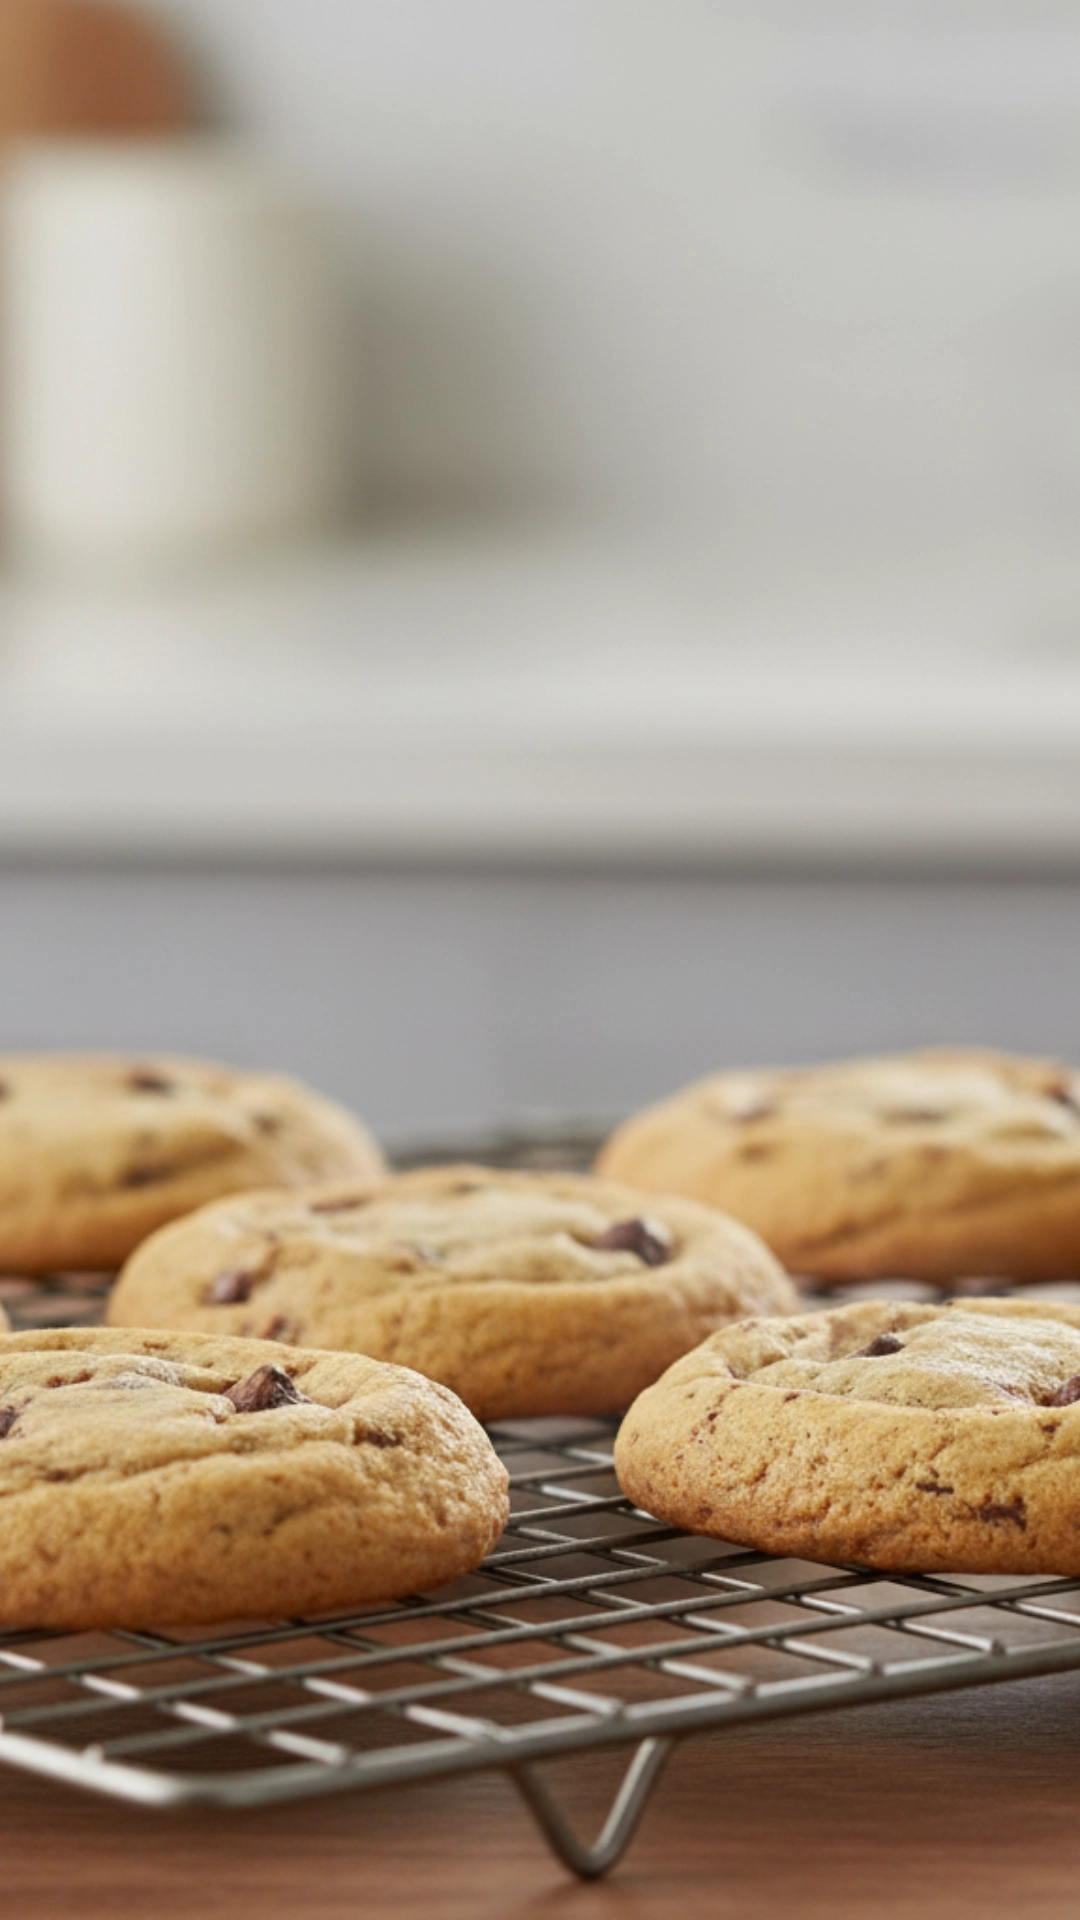
Remember the post-baking steps! Proper cooling is vital for texture, and good storage keeps your treats fresh.
- Wire Cooling Racks allow air to circulate around your baked goods, preventing them from becoming soggy. I always transfer my cookies and cakes to a cooling rack immediately after they leave the oven. You’ll want at least one, but two are even better for larger batches.
- Airtight Containers are great for storing cookies, brownies, and other treats to keep them fresh. I love how these containers keep everything delicious for longer.
Upgrading Your Home Baking Essentials
Once you have the basics down, consider additional tools to make your baking even more fun and professional. While not strictly necessary at first, these items really elevate the experience.
Electric Mixers
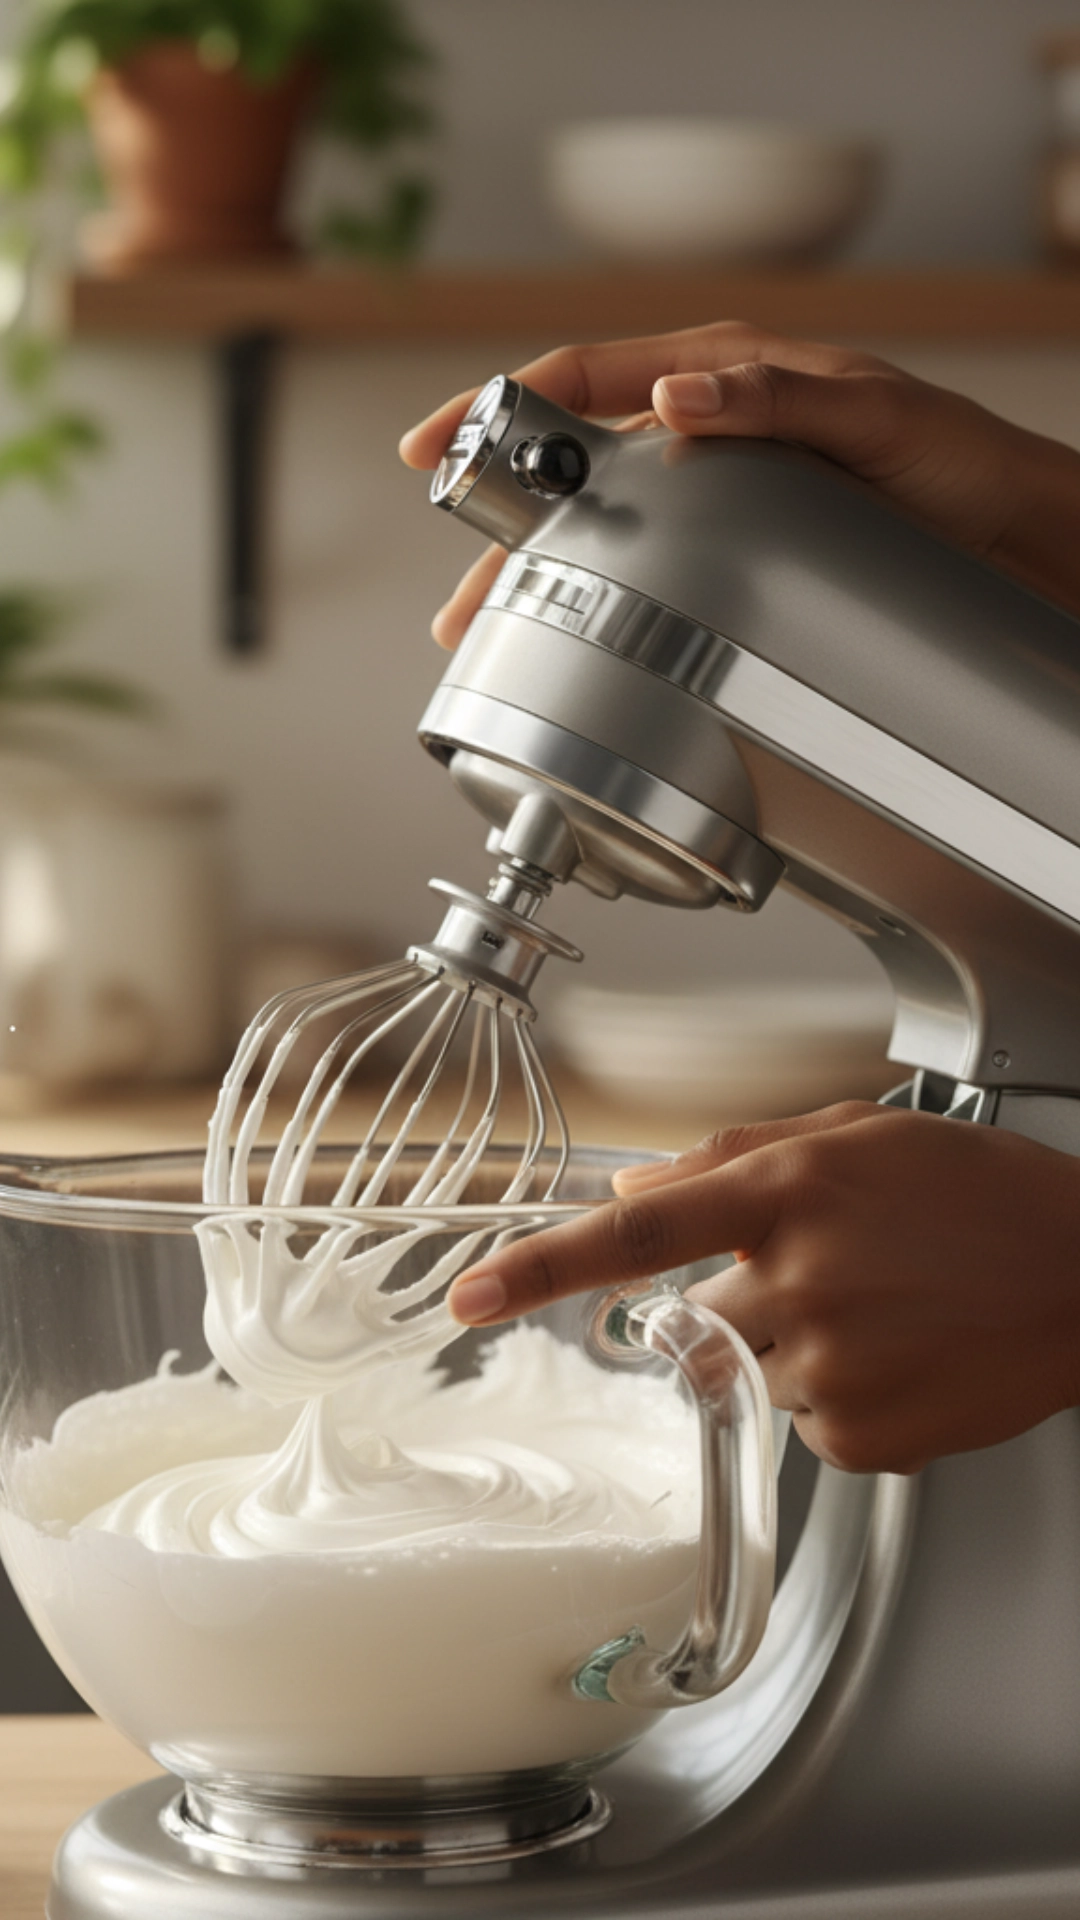
While you can do a lot by hand, an electric mixer saves a lot of arm work and produces consistent results, especially for whipped cream or meringue.
- Hand Mixer: This is a good starting point for electric mixing. It’s compact, affordable, and handles most tasks, such as whipping cream, mixing batters, and making frosting. I used a hand mixer for years before upgrading.
- Stand Mixer: This is the ultimate baking splurge, but it’s worth it if you bake frequently. A stand mixer frees up your hands and can easily handle heavy doughs. I’m obsessed with mine! It comes with a whisk, paddle, and dough hook attachment, making it incredibly versatile.
Specialized Baking Tools
These tools cater to specific baking projects and can simplify those tasks.
- Parchment Paper or Silicone Baking Mats: As I mentioned before, these are fantastic for non-stick baking and easy cleanup. While not tools in the traditional sense, they are essential additions. I always have a roll of parchment paper on hand.
- Oven Thermometer: Your oven’s internal thermometer might not be accurate. An inexpensive oven thermometer ensures your oven is at the correct temperature, vital for consistent baking. I found this out when my cookies were always burning!
- Pastry Blender: Great for cutting cold butter into flour when making pie crusts or biscuits.
- Cookie Scoops: These make portioning cookie dough (and muffin batter!) quick and even. They come in various sizes for different cookie sizes.
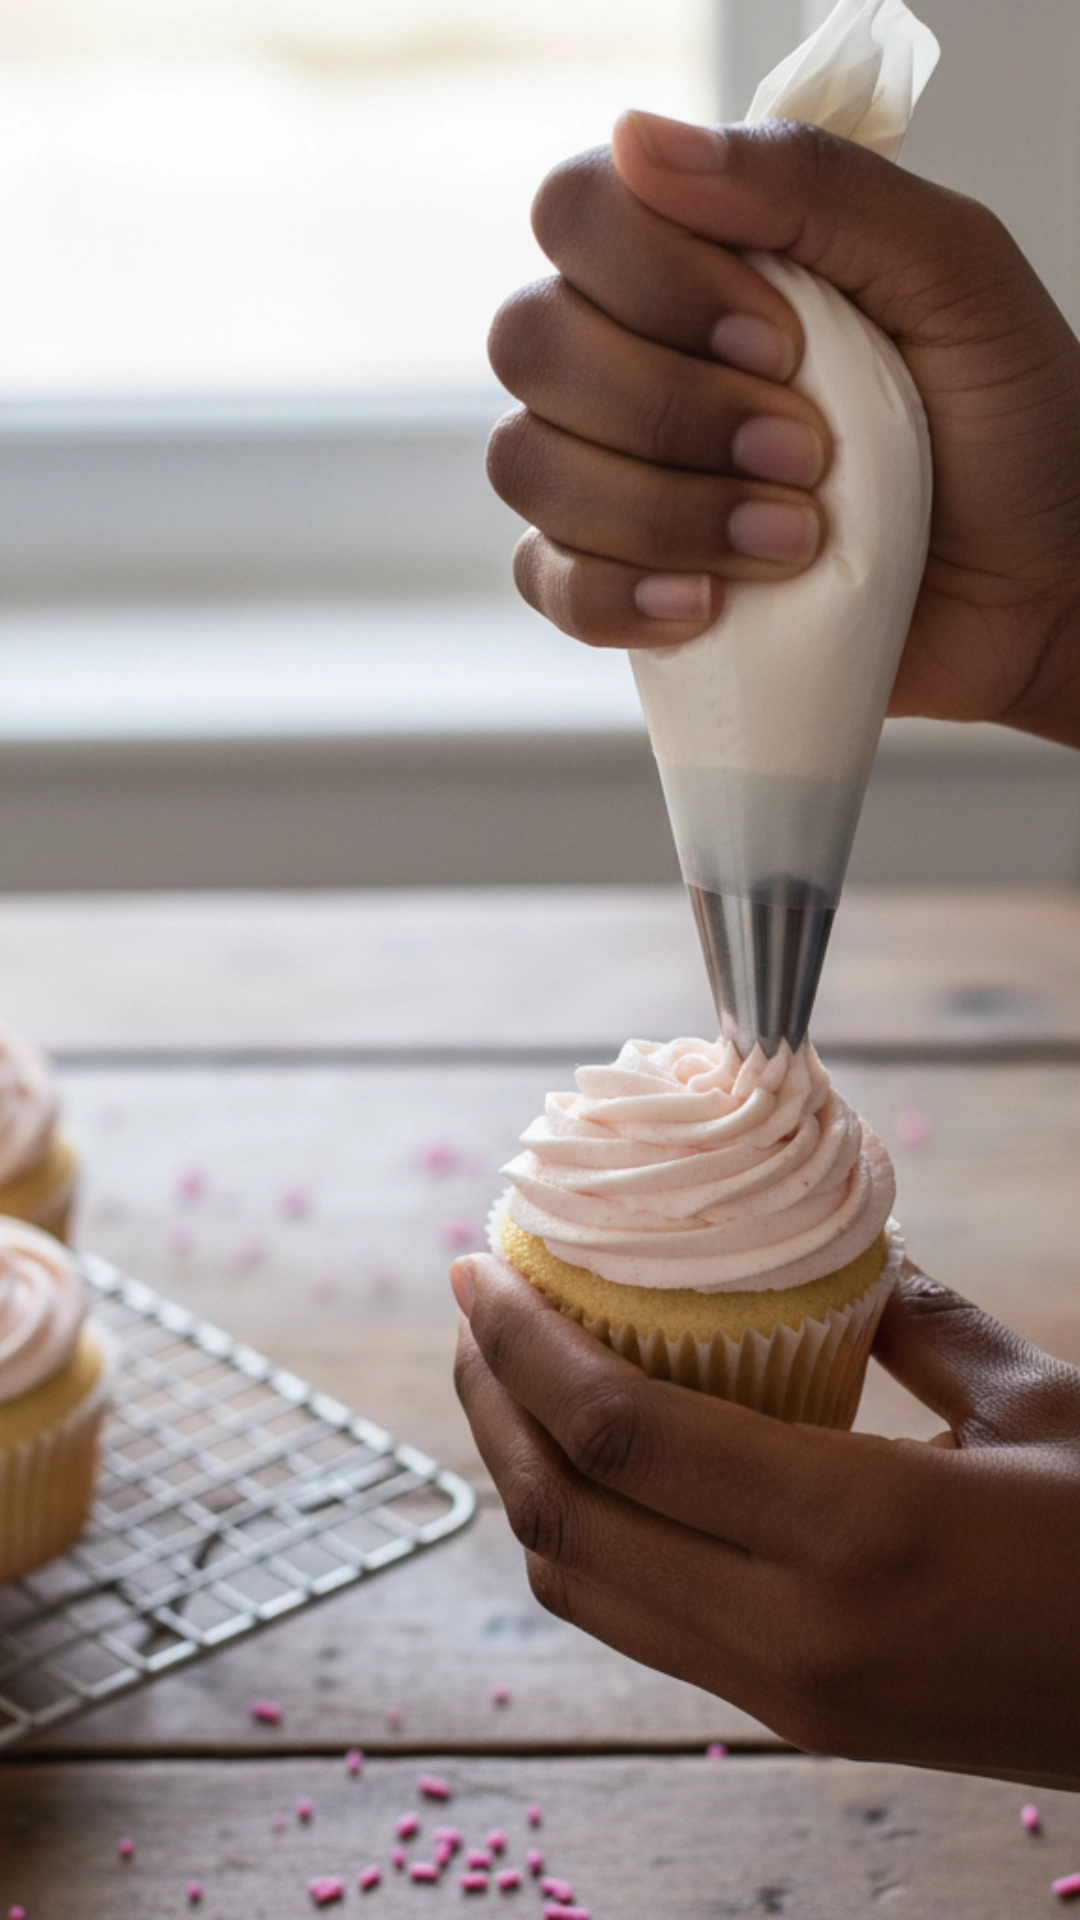
- Decorating Supplies: A basic set of piping bags and tips can be a fun addition if you enjoy decorating cakes and cupcakes. I love how they let me add a personal touch to my baked goods.
Step-by-Step: Organizing Your Baking Station
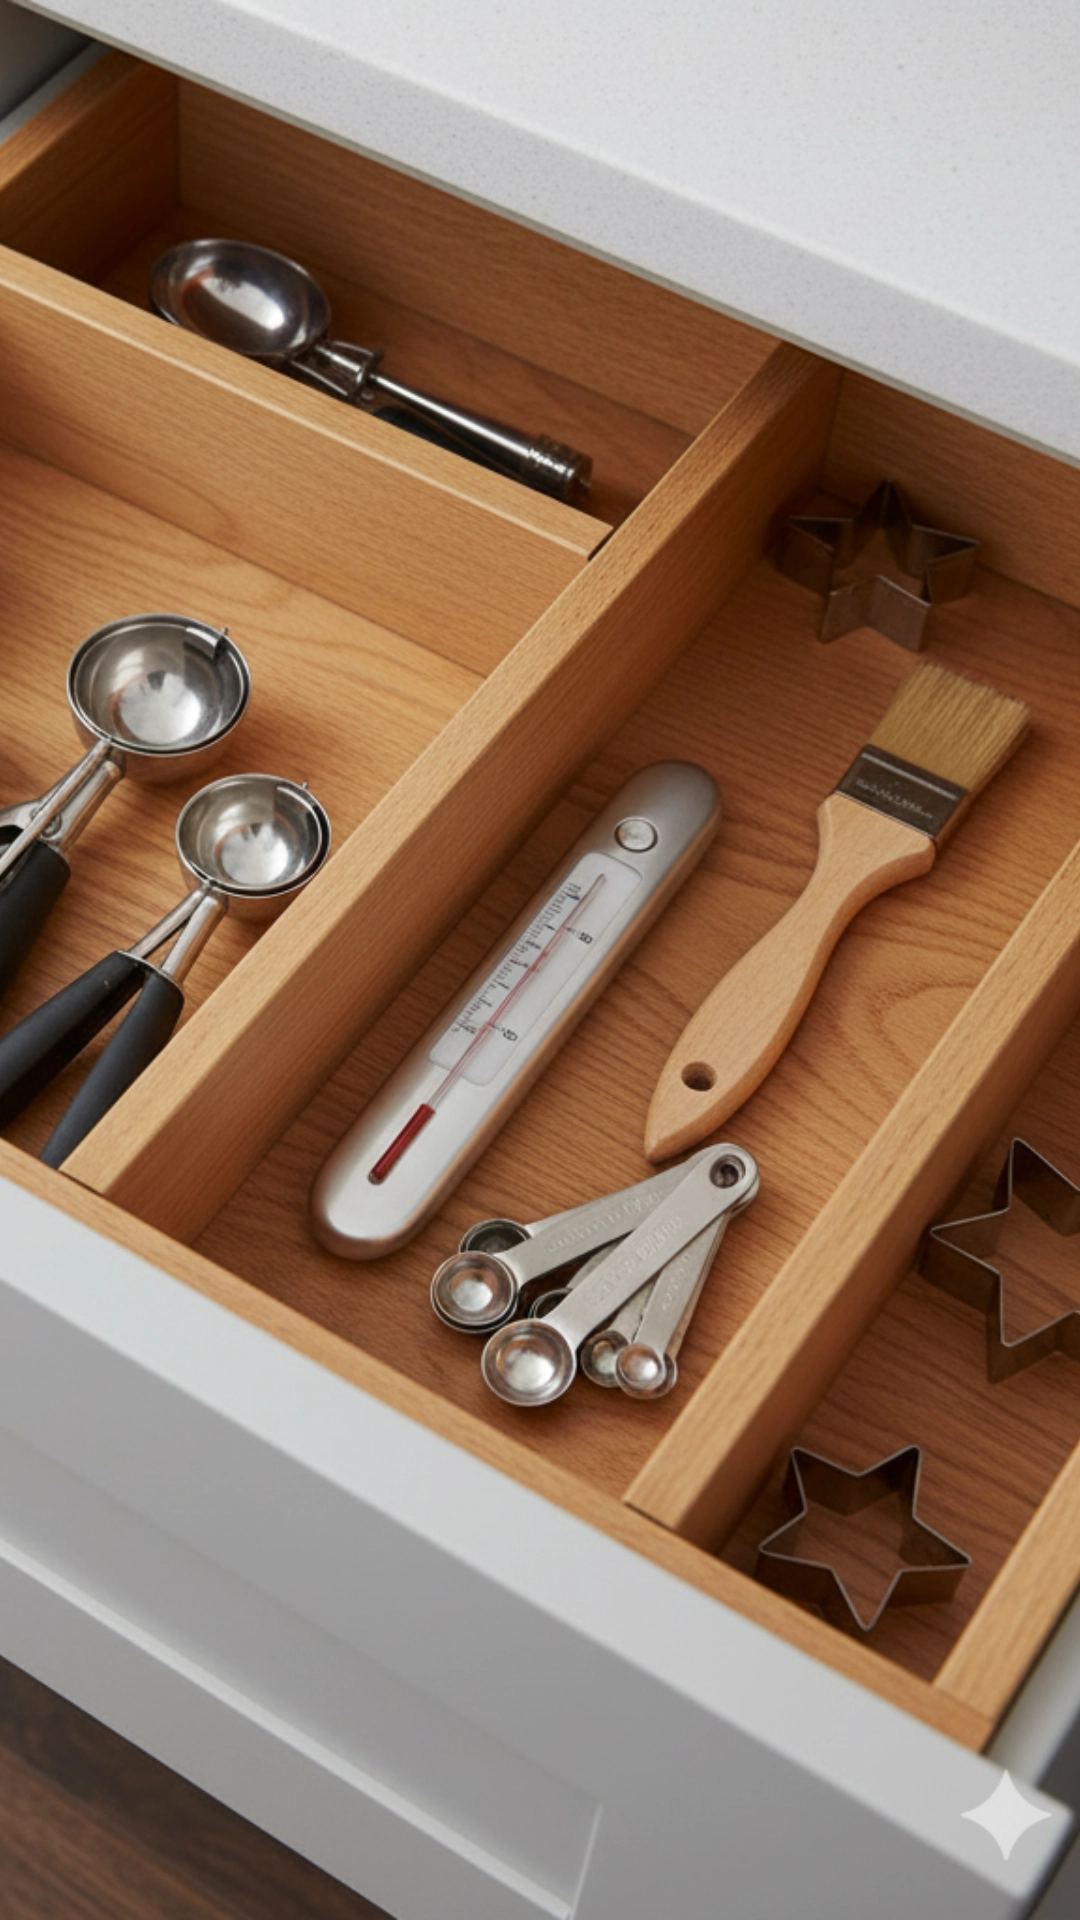
Now that you know what home baking essentials you need, let’s discuss how to organize them. A well-organized kitchen makes baking a pleasure, not a chore. I always feel more inspired when my baking station is neat.
Step 1: Declutter and Clean
Before you start organizing, remove everything from your cabinets and drawers. Clean the shelves and wipe down surfaces. Get rid of anything you haven’t used in a long time or that is broken. You’ll be surprised at how much space you gain!
Step 2: Group Similar Items
Start putting like items together. All your measuring tools are in one spot, all your mixing bowls are in another, and your baking pans are stacked neatly. This makes it easy to find what you need quickly. I like to keep my most-used items within easy reach.
Step 3: Utilize Vertical Space
Shelves, racks, and drawer dividers can maximize your storage. Use vertical pan organizers to keep baking sheets and cutting boards tidy. Stackable containers are great for bulk ingredients like flour and sugar. I love how much more I can fit when I think vertically.
Step 4: Create a Dedicated Baking Zone
If you have the space, designate a specific cupboard or drawer for your baking essentials. This keeps everything in one place, so you’re not hunting for a whisk when your batter is ready. I have a pull-out drawer dedicated to my baking tools, and it’s a lifesaver.
Step 5: Label Everything
Labels are your best friend for storing ingredients in storage containers. Label containers with the name of the ingredient and the purchase date. This helps you keep track of freshness and makes it easy to grab the right item. I always write the expiration date on my labels, too.
Tips for Successful Home Baking
Even with all the right home baking essentials, a few key tips can elevate your baking game. I’ve learned these through trial and error, and they’ve made a massive difference in my results.
- Read the Recipe Thoroughly: Before you even pull out an ingredient, read the entire recipe from start to finish. This helps you understand the steps and catch any special instructions. I always do this to avoid surprises.
- Preheat Your Oven: Don’t skip this step! An accurately preheated oven is crucial for even baking. Most recipes specify preheating, so give your oven enough time to reach the correct temperature. I always use my oven thermometer to double-check.
- Use Room Temperature Ingredients: Many baking recipes call for butter, eggs, and dairy to be at room temperature. This allows them to emulsify better, creating a smoother, more uniform batter. I usually take these out about 30 minutes to an hour before I start.
- Measure Accurately: As I mentioned earlier, precision is key. Use the correct measuring tools and techniques (e.g., leveling off dry ingredients). I love how precise a kitchen scale makes everything.
- Don’t Overmix: Overmixing can lead to tough cakes or chewy cookies. Mix just until ingredients are combined, especially once you add flour. This is a common mistake I used to make!
- Don’t Open the Oven Door Too Often: Resist the urge to peek! Opening the oven door frequently can cause temperature fluctuations, leading to uneven baking or sunken cakes.
- Always Cool Completely: Unless a recipe specifies otherwise, let your baked goods cool on a wire rack before frosting or storing. This prevents sogginess and helps them set properly.
- Have Fun! Baking should be an enjoyable experience. Don’t be afraid to experiment; don’t get discouraged if something doesn’t turn out perfectly the first time. I always remind myself that every bake is a learning experience.
My Favorite Home Baking Essentials You Didn’t Know You Needed
Beyond the basics, I’ve discovered a few items that have improved my baking experience. I want to share these because I think you’ll love them, too!
- Bench Scraper: This tool is incredibly versatile. I use it to scrape dough off my counter, divide sticky dough, and even clean up flour from my workspace. It’s a simple rectangle of metal or plastic with a handle, but it’s a game-changer.
- Offset Spatula: If you’re decorating cakes or spreading frosting, an offset spatula makes getting a smooth, even layer much easier. The offset handle keeps your knuckles out of the frosting. I’m obsessed with how perfectly smooth my frosting looks when I use one.
- Silicone Oven Mitts: These offer much better heat protection than fabric mitts and are easy to clean. I feel much safer grabbing hot pans with them.
- Timer with Multiple Settings: A good timer is essential, especially if multiple things are baking simultaneously. I love one that can track several times simultaneously, so I don’t burn anything!
- Pastry Wheel/Ravioli Cutter: A fluted pastry wheel gives a beautiful edge and cuts cleanly if you make homemade pie crusts or pastries. It’s a small detail, but I think it makes a big difference in presentation.
- Small Colander/Strainer: A small, fine-mesh colander or strainer is handy for rinsing pie berries or dusting powdered sugar over a cake.
Conclusion
I truly hope this guide to baking essentials has given you confidence. I want you to feel inspired to start baking in the kitchen! Having the right tools really does make all the difference.
Whether you’re a beginner or just upgrading your setup, each item contributes to creating delicious treats. Remember to organize your space and follow those key tips.
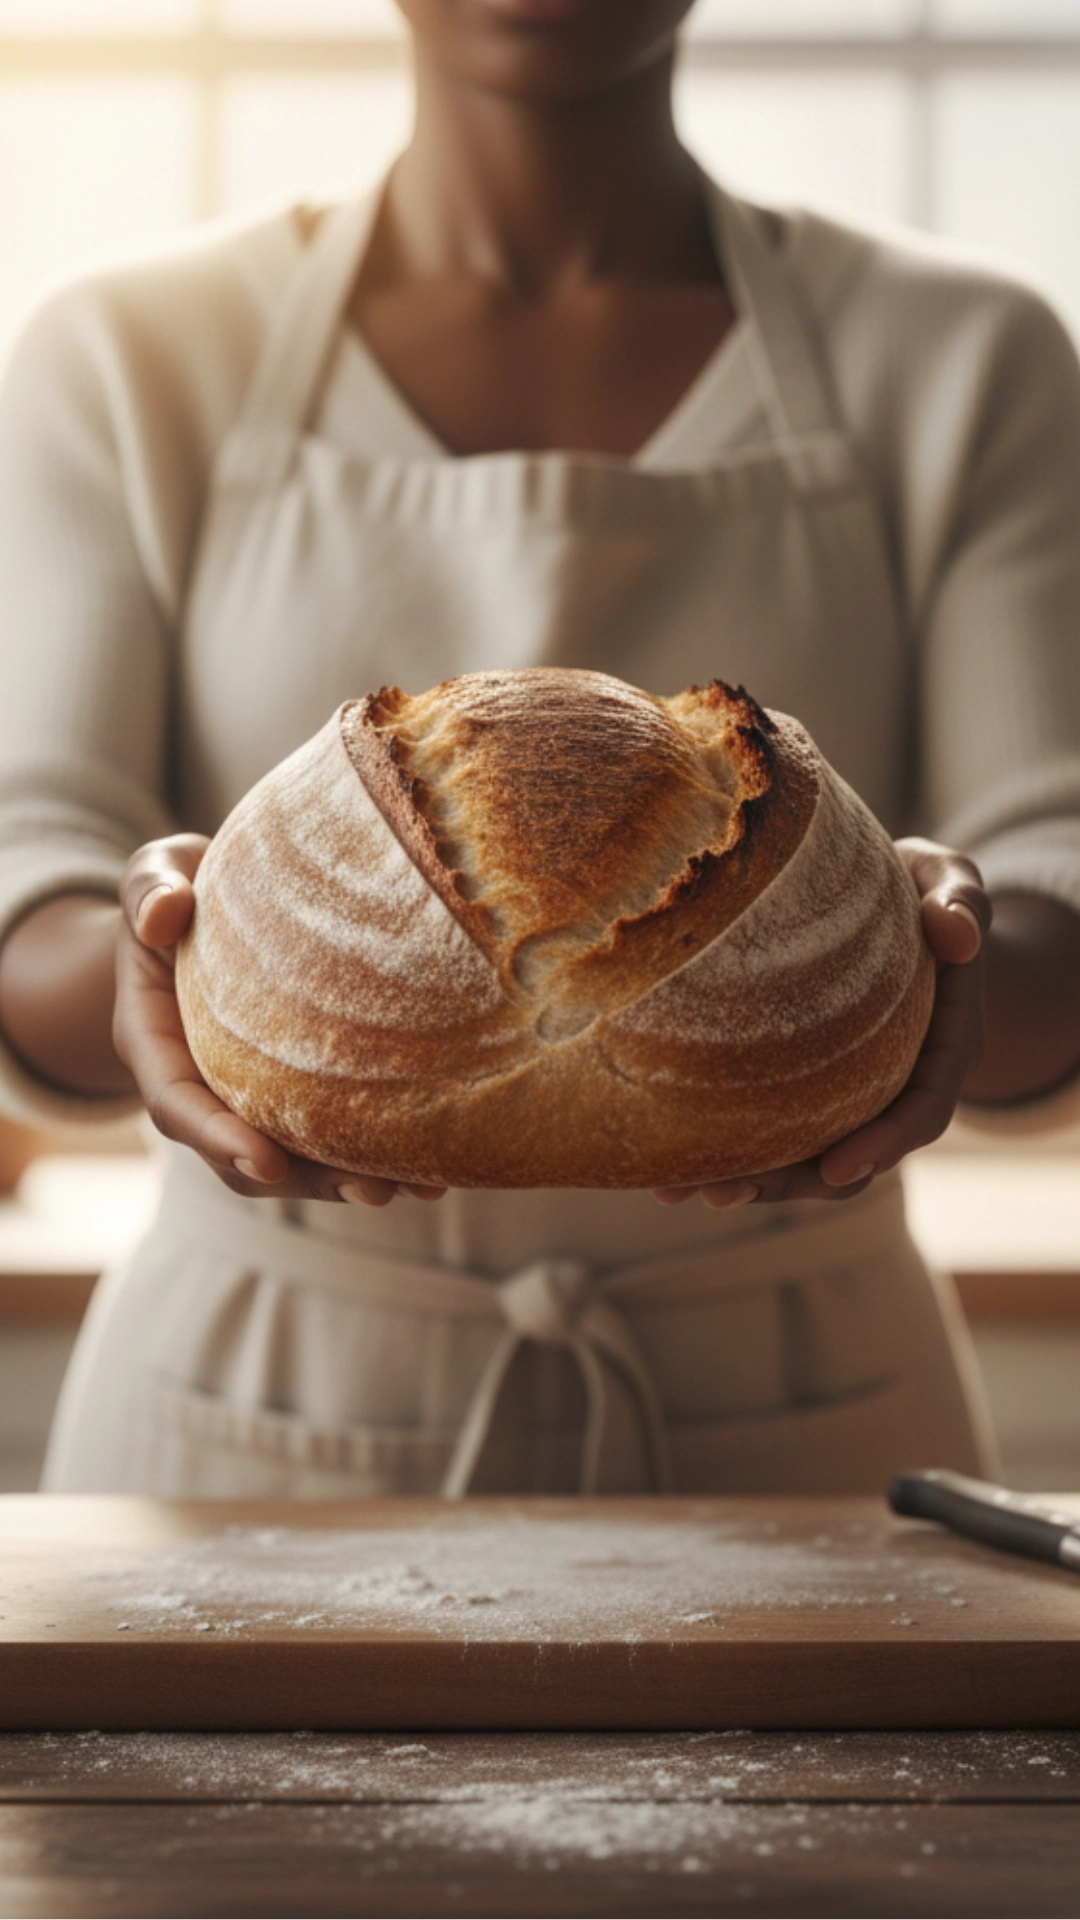
But most importantly, have fun with the process. You are going to love the rewarding feeling… Of pulling a warm, fragrant creation from your own oven. There’s nothing quite like it. Happy baking!

