This post may contain affiliate links, which means I may receive a small commission should you decide to click that link and make a purchase. For more information please refer to the Terms & Conditions.

Have you ever dreamed of bringing the “wow” cookie tray to the Christmas party? I know I did, but for years, my cookies looked awful. I’m talking blobs instead of reindeer and melted-looking snowmen.
I finally made it my mission to learn the secrets. And I discovered it’s not magic, it’s just a simple process. I’m so excited to share my entire playbook with you.
I’ll show you my no-fail dough that never spreads. We’ll also cover the basics of royal icing. You’ll soon have all the tips to make amazing Christmas cookies!
The Secret to Amazing Christmas Cookies (It’s Two Parts!)
Here’s the first thing you need to understand. A perfect Christmas cookie is a 50/50 partnership.
- The Cookie must taste delicious, but more importantly, it MUST hold its shape.
- The Icing: It must be smooth, easy to work with, and dry to a perfect, hard finish.
You cannot have one without the other. You can’t put beautiful icing on a cookie that has spread into a giant, puffy blob. And you can’t save a rock-hard, flavorless cookie with a bit of icing.
You must master both parts. I’ll show you how. Let’s start with the foundation.
Part 1: How to Bake Christmas Cookies That Don’t Spread

This is where I used to fail every single time. My cute little gingerbread men would go into the oven and look like big, round sumo wrestlers. The problem isn’t the oven; it’s the dough. Here is my iron-clad, step-by-step method for a perfect cut-out cookie every time.
Start with a “Cut-Out” Recipe
First, stop using your standard chocolate chip cookie recipe. Those are designed to be soft and spreadable. You need a specific “cut-out cookie” recipe, which has a different ratio of fat, sugar, and flour.
They also have very little, or sometimes no, leavening agents like baking powder or baking soda. Less leavening means less “puff and spread” in the oven.
The “Must-Have” Ingredients
You don’t need a lot of fancy stuff, but the quality of what you use matters.
- Real Butter: Do not use margarine or a butter-like spread. The water content is different and will make your cookies spread. Use real, unsalted butter.
- All-Purpose Flour: Just regular AP flour is perfect.
- Good Extract: This is where the flavor comes from. I love a mix of high-quality vanilla and a tiny splash of almond extract. You could also use peppermint or lemon.
Step-by-Step: Making the Perfect Dough
Follow these steps exactly. Do not skip them.
- Cream Butter & Sugar: Start with room-temperature butter. It should be soft enough to press a finger into, but not melted. Put your butter and sugar in a large bowl. Using an electric mixer, beat them on medium speed for about 3-4 minutes. You want it to look light and fluffy. This step whips air into the butter, which gives the cookie a nice texture.
- Add Your Egg & Extract: Add your egg (just one is usually enough) and your extract. Mix on low speed until just combined. Don’t overbeat this part.
- Combine Dry Ingredients: Whisk your flour and salt in a separate bowl. If your recipe calls for baking powder, whisk it in here, too. This ensures everything is evenly distributed.
- Combine Wet & Dry: Add your flour mixture to the butter mixture. Do this in two or three parts. Mix on the lowest possible speed. You only want to mix until the flour disappears.
- STOP MIXING! This is my biggest tip. When you see the last streak of flour vanish, turn the mixer off. Overmixing the flour develops gluten, which makes your cookies tough and springy. Tough, springy dough is more likely to shrink and spread.
The NON-NEGOTIABLE Step: Chilling the Dough
I know you want to start baking right away. I get it. But if you skip this step, your cookies will spread. I promise you.
The dough you just made is warm and soft, and the butter is pliable. If you roll it out now, it will be a sticky mess.
- Divide your dough into two equal discs.
- Wrap each disc tightly in plastic wrap.
- Place the discs in the refrigerator for at least two hours.
You can even make this dough two or three days in advance. Chilling the dough solidifies the fat (the butter). Solid fat takes much, much longer to melt in the oven. This means your cookie has time to “set” its shape before the butter melts and causes it to spread.
Rolling and Cutting Like a Pro
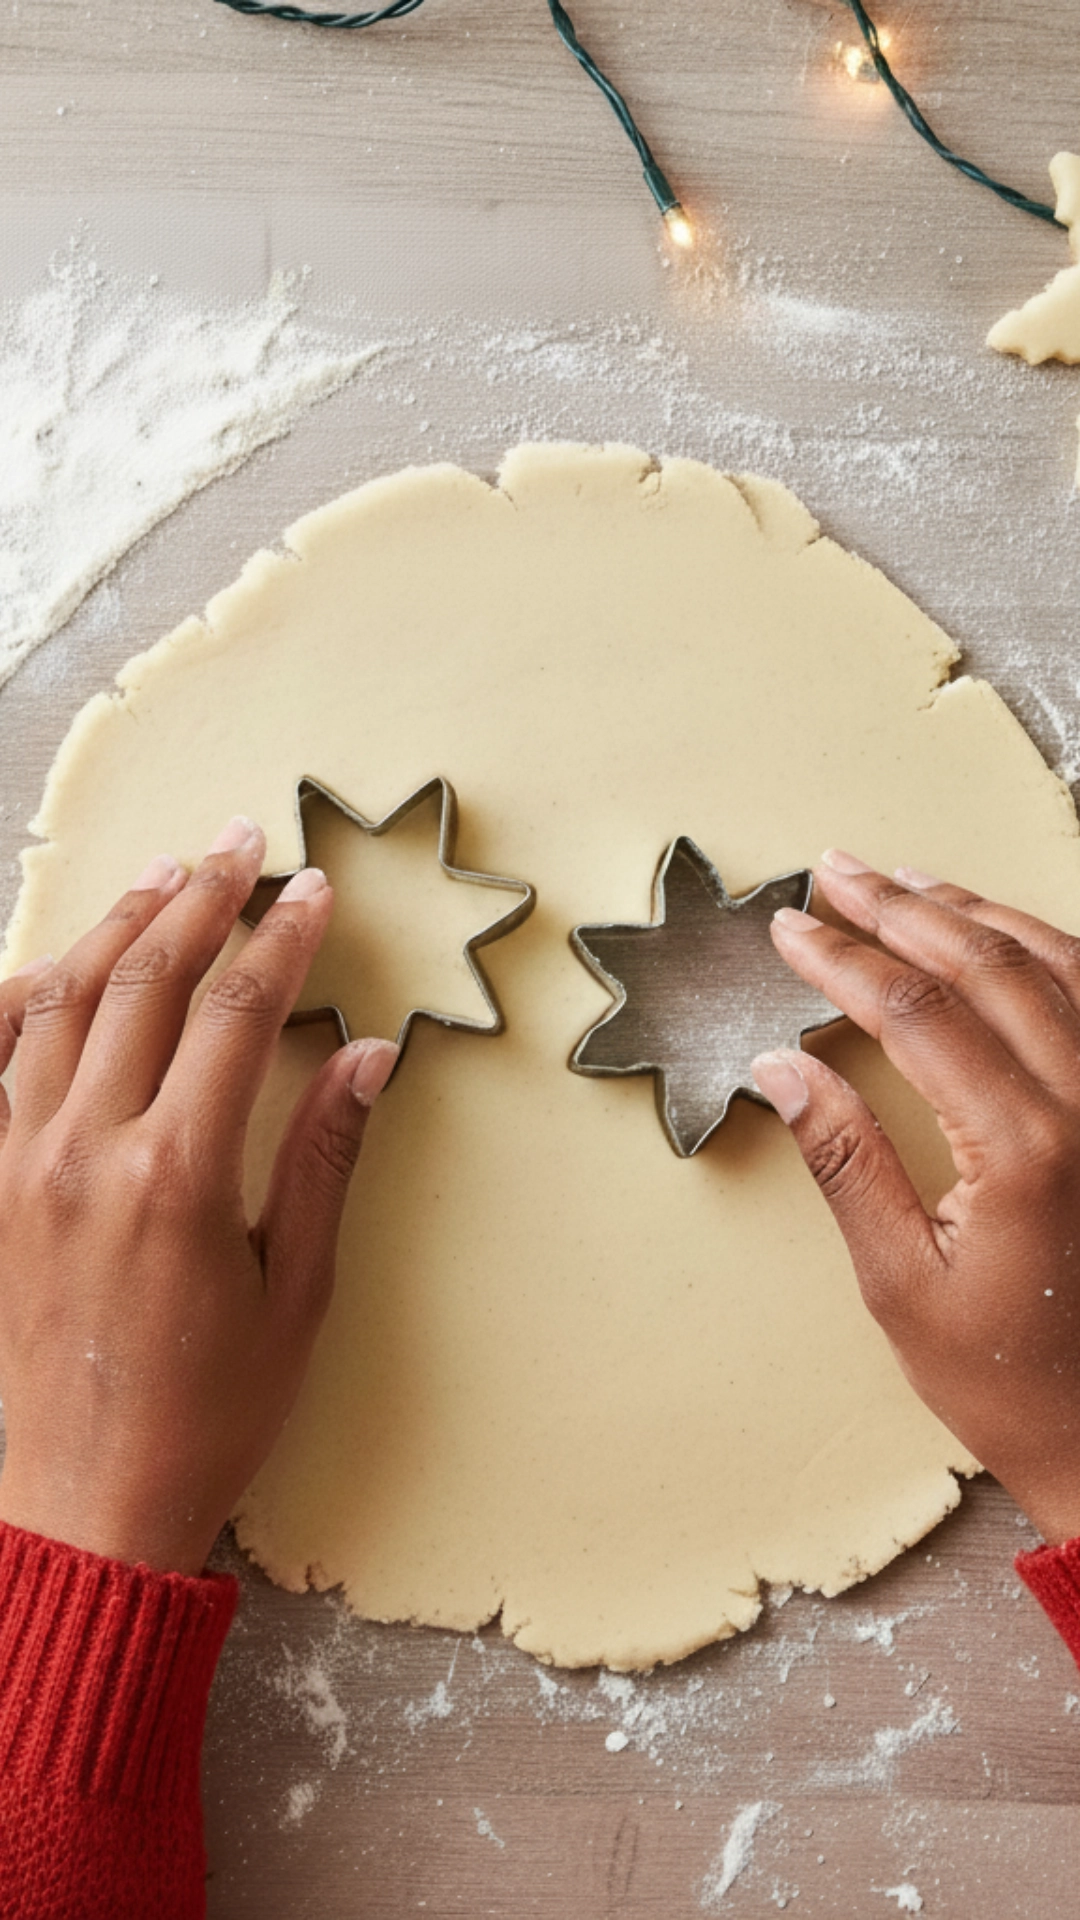
Okay, your dough is chilled and hard as a rock. Now what?
- Let one disc of dough sit on the counter for about 5-10 minutes. You want it just soft enough to roll, but still very cold.
- Lightly flour your counter or a large piece of parchment paper.
- Flour your rolling pin.
- Roll the dough out to an even thickness. 1/4-inch is the perfect thickness for a sturdy but not too-thick cookie. Try to roll evenly.
- Dip your cookie cutters in a little bowl of flour before every single cut. This gives you a clean, sharp edge and stops the dough from sticking.
- Cut your shapes as closely as possible to avoid re-rolling the dough too often.
- Place your cut-out shapes on a baking sheet lined with parchment paper.
The “Secret Weapon” Second Chill
This is the tip that changed my entire Christmas cookie game. I’m obsessed with this trick.
Once your baking sheet is full of cut-out cookies, put the entire sheet in the freezer—yes, the freezer.
Let it chill in there for 10-15 minutes.
This makes the dough shapes bone-chillingly cold. In this frozen state, they go into the hot oven, giving you the sharpest, most perfect edges you have ever seen. Your gingerbread men will have defined arms and legs, and your snowflakes will have sharp points.
Baking to Perfection
While your cookies are in the freezer, preheat your oven. Make sure it’s fully preheated.
- Bake one sheet at a time on the middle rack.
- Do NOT trust the baking time in the recipe. Every oven is different.
- Check your cookies about 2 minutes before the recipe says they’ll be done.
- You are not looking for golden brown. You are looking for a matte, dry top with hints of golden brown on the edges.
- The second you see that, take them out. Over-baking is what makes cut-out cookies hard and crumbly.
- Let the cookies cool on the hot baking sheet for 5 minutes. This lets them firm up.
- Move them to a wire rack to cool completely. And I mean 100% completely. Do not even think about putting icing on a cookie that is even slightly warm.
Part 2: Decorating Christmas Cookies That Look Stunning
You did it. You have a pile of perfectly shaped, delicious cookies. They are completely cool. Now, let’s make them beautiful.
We are going to use Royal Icing.
Don’t be scared. Royal icing is the secret to all those professional cookies. It dries hard and matte and looks so clean. It’s basically just powdered sugar, water, and meringue powder. I highly recommend using meringue powder (you can find it in craft or baking stores). It’s safer and more stable than using raw egg whites.
Your Decorating Toolkit
You don’t need a million fancy things. Here’s the basic kit I recommend:
- Piping Bags: Disposable ones are easiest.
- Piping Tips: You really only need two small round tips. A #1 tip (very tiny) and a #2 or #3 tip (a little bigger) will get you through most designs.
- Couplers: These little plastic things let you change your piping tip without using a whole new bag of icing.
- Gel Food Coloring: Do not use the liquid food coloring from the grocery store. It adds too much water and will mess up your icing consistency. Gel colors are super-concentrated and powerful.
- Toothpicks or a “Cookie Scribe”: A scribe is just a fancy needle tool. A simple toothpick works just fine.
- Squeeze Bottles: These are optional, but I find them so much easier for “flooding” cookies than a piping bag.
The Magic of Icing Consistencies
This is, without a doubt, the most challenging part of cookie decorating. But once you get it, you get it.
You will need two different icing consistency for most designs.
- Outline Icing (Stiff): This is your “dam.” It should have the consistency of toothpaste or soft-serve ice cream. When you pipe a line, it holds its shape perfectly.
- Flood Icing (Thin): This is your “filler.” It should be the consistency of shampoo or warm honey. You use it to fill in the cookie.
The “pro” way to test your flood icing is the “15-second rule.” Drizzle a spoonful of icing back into the bowl. It should take about 15 seconds for the line you drizzled to completely disappear and melt back into the rest of the icing.
If it disappears faster, it’s too thin (add more powdered sugar). If it takes longer, it’s too thick (add a tiny drop of water).
Step-by-Step: Your First Decorated Cookie
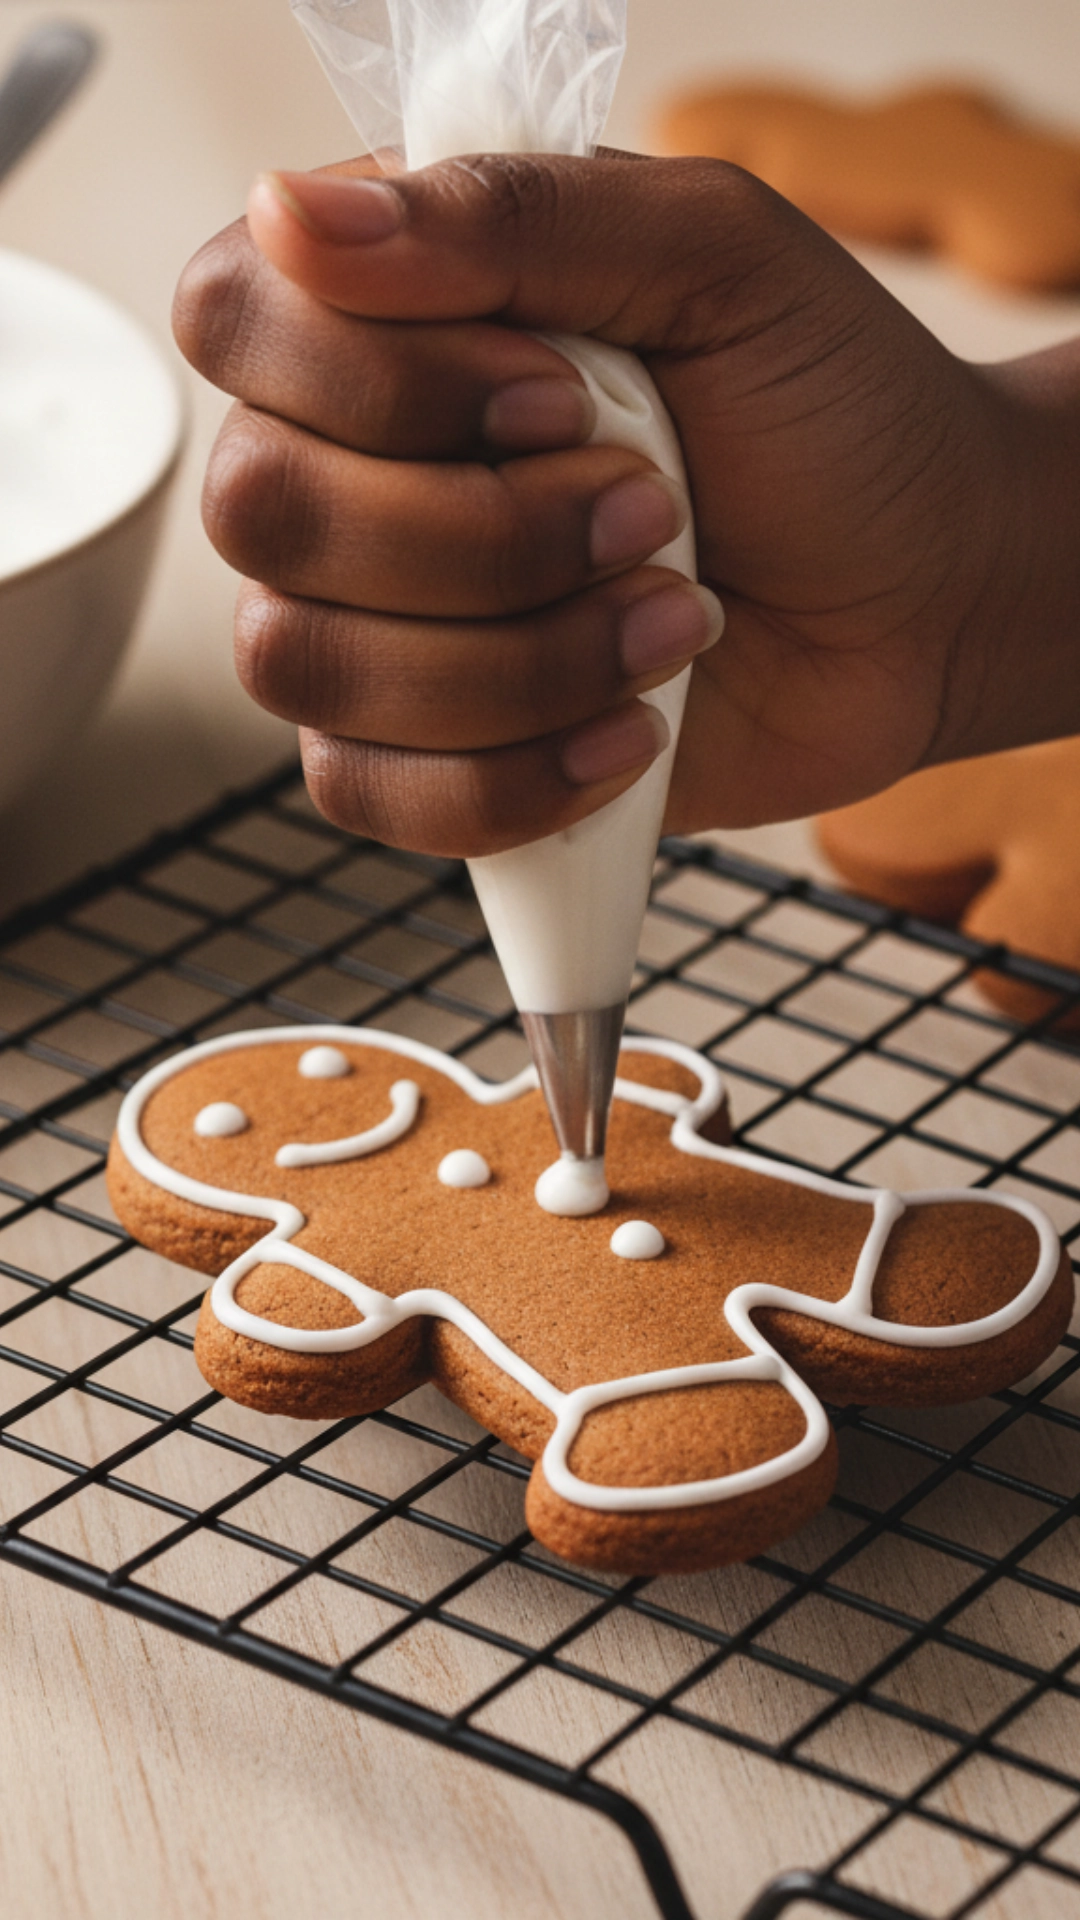
Let’s decorate a simple ornament cookie.
- Make Your Icing: Mix the meringue powder, powdered sugar, and a little water until stiff.
- Divide and Color: Split your stiff icing into bowls for each color you want. Let’s say we’re making red ornaments with white details. You’ll have one bowl for red and one for white.
- Create Consistencies:
- Red: Put 1/4 of your red icing in a piping bag with a #2 tip. This is your “Outline” icing. Now, take the remaining red icing and slowly add water, one drop at a time, until you get your 15-second “Flood” consistency. Put this in a squeeze bottle.
- White: Put your stiff white icing into a piping bag with a #1 tip. This will be for details later.
- Step 1: The Outline: Take your red “Outline” bag. Hold it about a half-inch above the cookie. Let the line of icing fall onto the cookie. Pipe a “dam” or a border around the edge of your ornament. Let this dry for about 15-20 minutes.
- Step 2: The Flood: Take your red “Flood” squeeze bottle. Fill in the area inside the dam you just piped. Don’t go to the edge; let the icing naturally spread.
- Step 3: Pop the Bubbles: Your flood icing will have little air bubbles. Take your toothpick and gently swirl the icing to the edges. Use the tip of the toothpick to pop any bubbles you see.
- Step 4: DRY. COMPLETELY. This is the other non-negotiable step. You MUST let this base layer of flood icing dry completely. Leave it on the counter for 6-8 hours or overnight. If you try to add details on top of wet icing, the colors will bleed and be a mess.
Step-by-Step: Adding the Details
Okay, it’s the next day (or 8 hours later). Your red flood icing is dry and hard.
Now, take your white “Outline” (stiff) icing. You can pipe anything!
- Write a name.
- Pipe little snowflakes.
- Pipe a simple “squiggle” across the top.
- Pipe dots around the border.
Because the base is dry, these details will sit right on top and look sharp and three-dimensional.
Easy Christmas Cookie Decorating Ideas for Beginners
You don’t have to be an artist. I’m certainly not! Here are some super-easy ways to make your cookies look amazing.
The Wet-on-Wet Technique
This sounds fancy, but it’s easy. This is when you add details while the flood icing is still wet.
- Polka Dots: Flood your cookie (Step 2 above). While the flood is still wet, immediately take another color of flood icing (not outline icing) and pipe little dots. The dots will magically sink into the base and dry perfectly flat.
- Chevrons/Hearts: Flood your cookie. While wet, pipes of another color run across it. Then, drag your toothpick through the lines, first one way, then the other. This creates a cool chevron pattern.
Sprinkles and Sanding Sugar

This is the easiest win. You can use sprinkles in two ways:
- Add them while your flood icing is still wet. They will stick as it dries.
- Let the cookie dry completely. Then, pipe a tiny detail (like the string on an ornament) and add sprinkles to that wet line of icing.
The “Drizzle”
Let your cookie flood and dry thoroughly. Then, take a bag of stiff “outline” icing and drizzle it back and forth over the cookie in a zig-zag pattern. It looks modern, it’s fast, and it’s so easy.
Solving the Most HATED Christmas Cookie Problems
Let’s troubleshoot. I’ve made all these mistakes, so you don’t have to.
- Problem: “My cookies spread into ugly blobs!”
- Solution: You didn’t chill your dough—I told you! Your dough was too warm, your butter was too soft, or your recipe had too much baking soda. Use my “double chill” method (chill the dough, then chill the cut-outs). It works.
- Problem: “My royal icing colors are bleeding into each other!”
- Solution: You were impatient. You didn’t let your base layer dry long enough before adding a detail next to it. Dark colors (like red and black) are famous for “bleeding” into lighter colors. You must let each section dry before piping another color next to it. Also, sometimes a fan can help dry them faster.
- Problem: “My icing is clumpy and clogs my piping tip.”
- Solution: You MUST sift your powdered sugar. I know it’s an annoying extra step, but those little sugar lumps will clog your tiny #1 tip every time. Sift it.
- Problem: “My cookies are rock hard.”
- Solution: You overbaked them. Remember, you want just a hint of brown on the edges. Take them out before they look “done.” They will continue to cook in the hot pan. Or, you overmixed your flour.
How to Store Your Beautiful Christmas Cookies
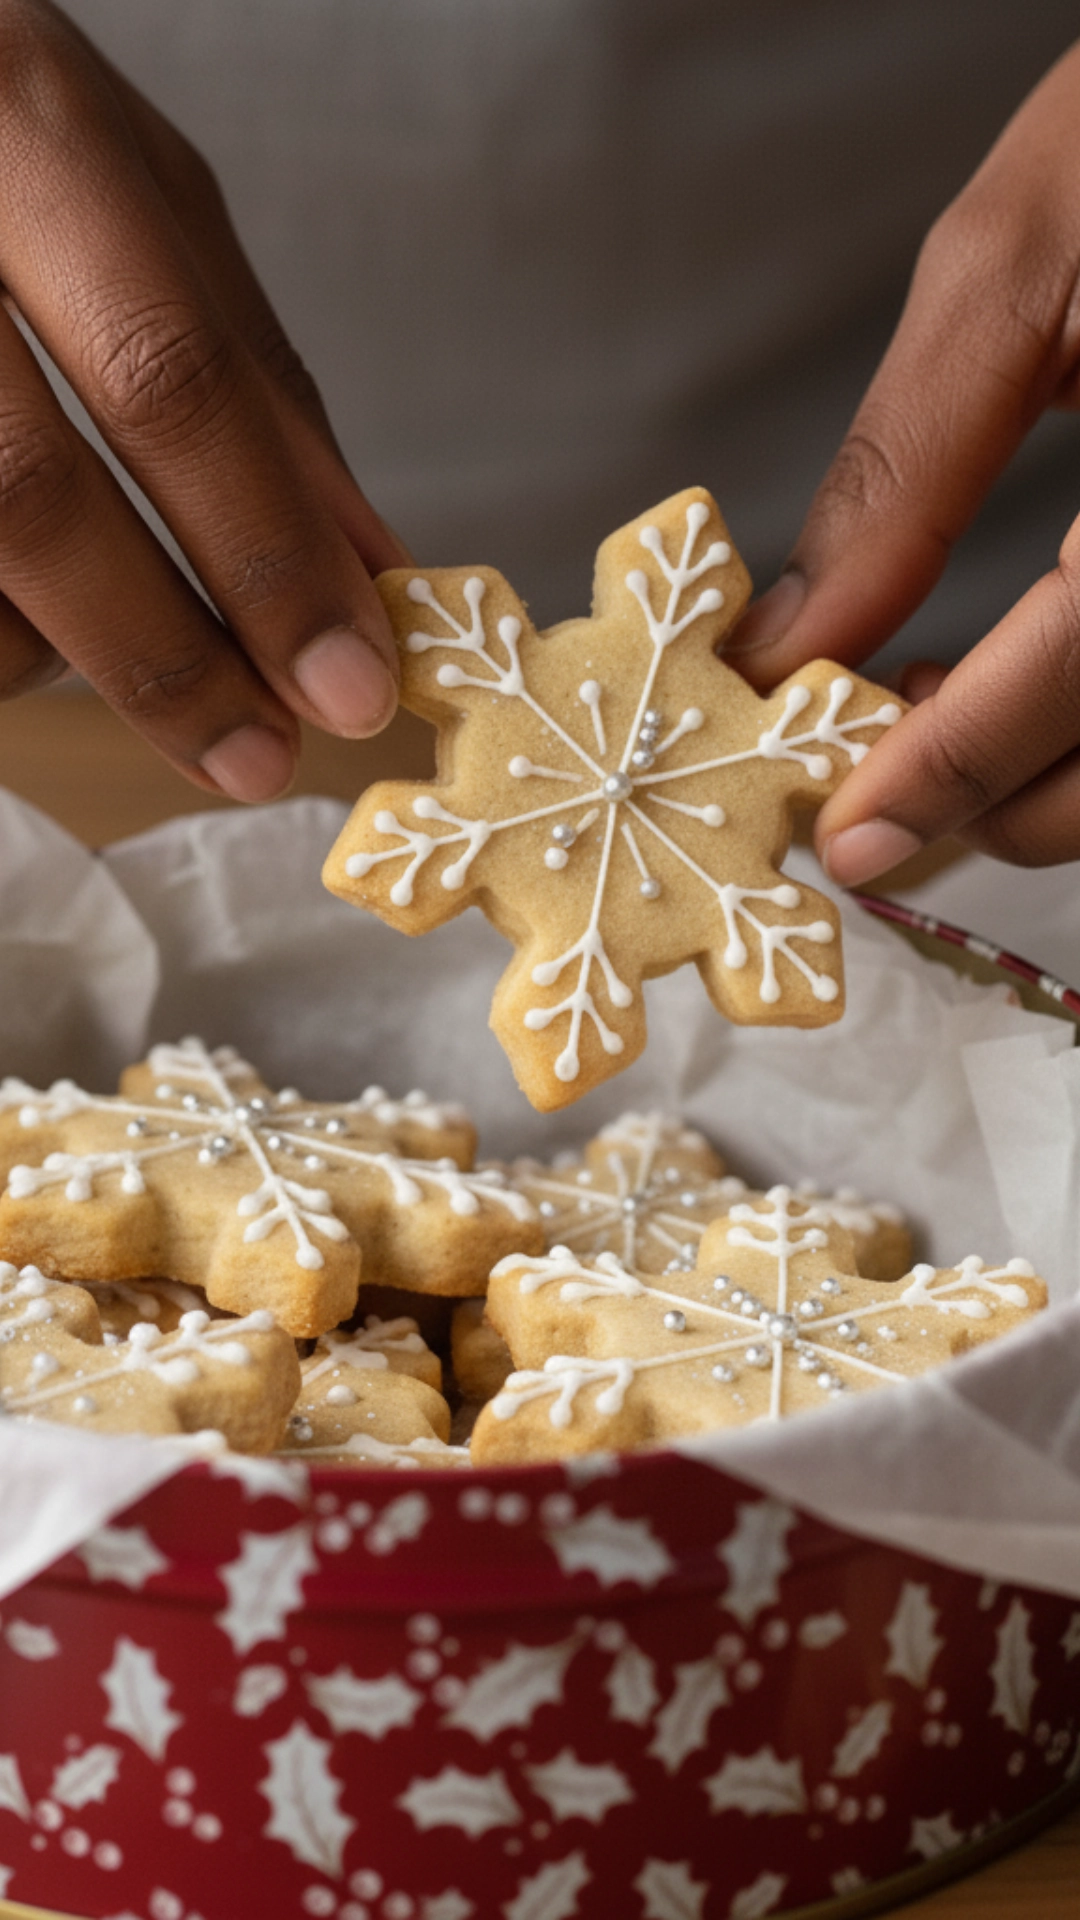
You just spent two days making these edible works of art. Don’t ruin them now.
- Let them dry. Your royal icing must be 1000% dry. I recommend waiting a full 24 hours after your last detail is piped.
- Airtight Container: Store them in an airtight container.
- Parchment Layers: Do NOT just pile them in. Place a single, flat layer of cookies. Cover with a sheet of parchment paper. Add another flat layer. Repeat.
- No Mixing! Do not store your crunchy, decorated Christmas cookies in the same container as your soft, chewy chocolate chip cookies. The moisture from the soft cookies will transfer and ruin the stiff, crisp icing on your decorated cookies, making them sticky and weird.
These cookies can be stored at room temperature for a week or frozen (after decorating and drying) for a few months.
You Can Absolutely Do This
Baking and decorating Christmas cookies doesn’t have to be that frustrating, nightmarish task you dread. It’s not a mystery. It’s just a set of steps.
You now have my entire playbook. You know the secret to a no-spread cookie (chill, chill, and chill again). You see the difference between outline and flood icing. And you know that patience (letting things dry) is your most important tool.
I’m so excited for you. This year, you’ll bring the “wow” tray. Your friends and family will be so impressed. Get your mixer, preheat your oven, and make beautiful Christmas cookies.
