This post may contain affiliate links, which means I may receive a small commission should you decide to click that link and make a purchase. For more information please refer to the Terms & Conditions.
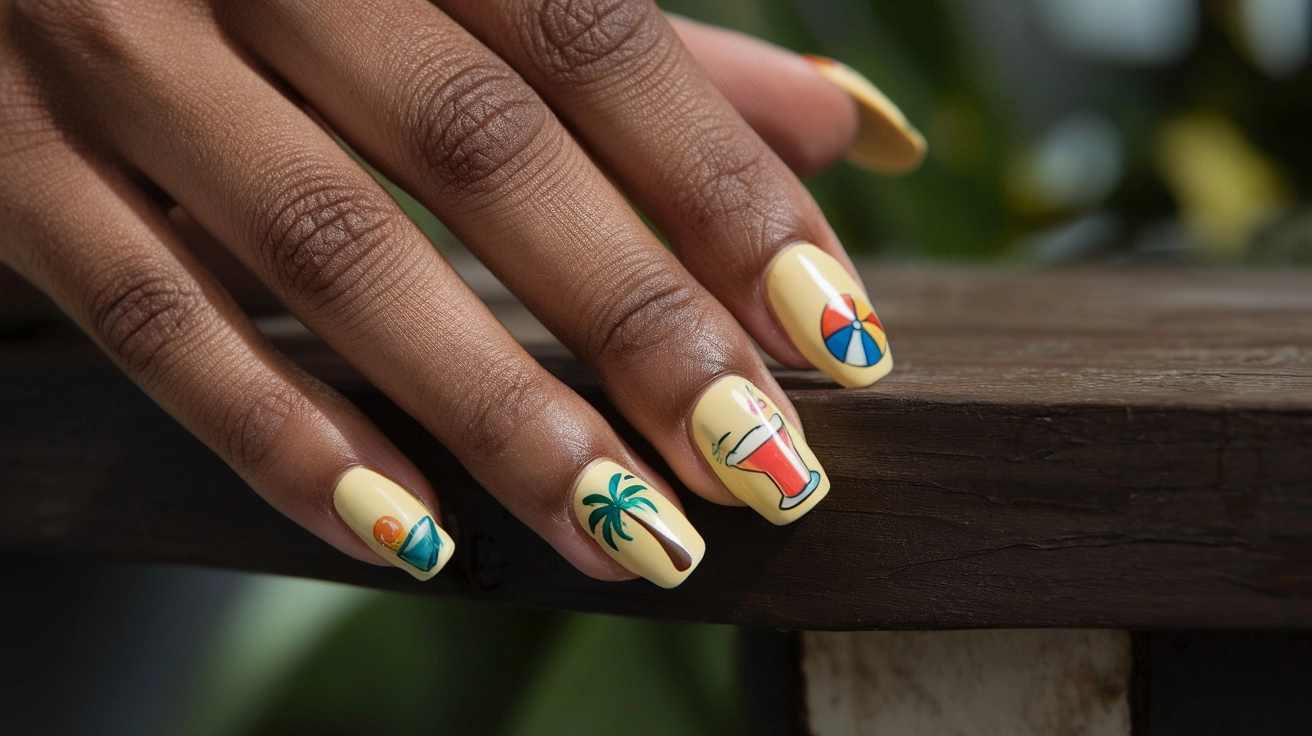
I believe that Butter Yellow Nails is a cheerful and playful way to brighten up my manicure! I love this sunny shade for adding a pop of color in any season, making it an ideal choice for anyone looking to try something fresh and fun. Here’s a quick step-by-step guide to help you achieve the perfect butter yellow nails:
Butter Yellow Nails for Different Skin Tones
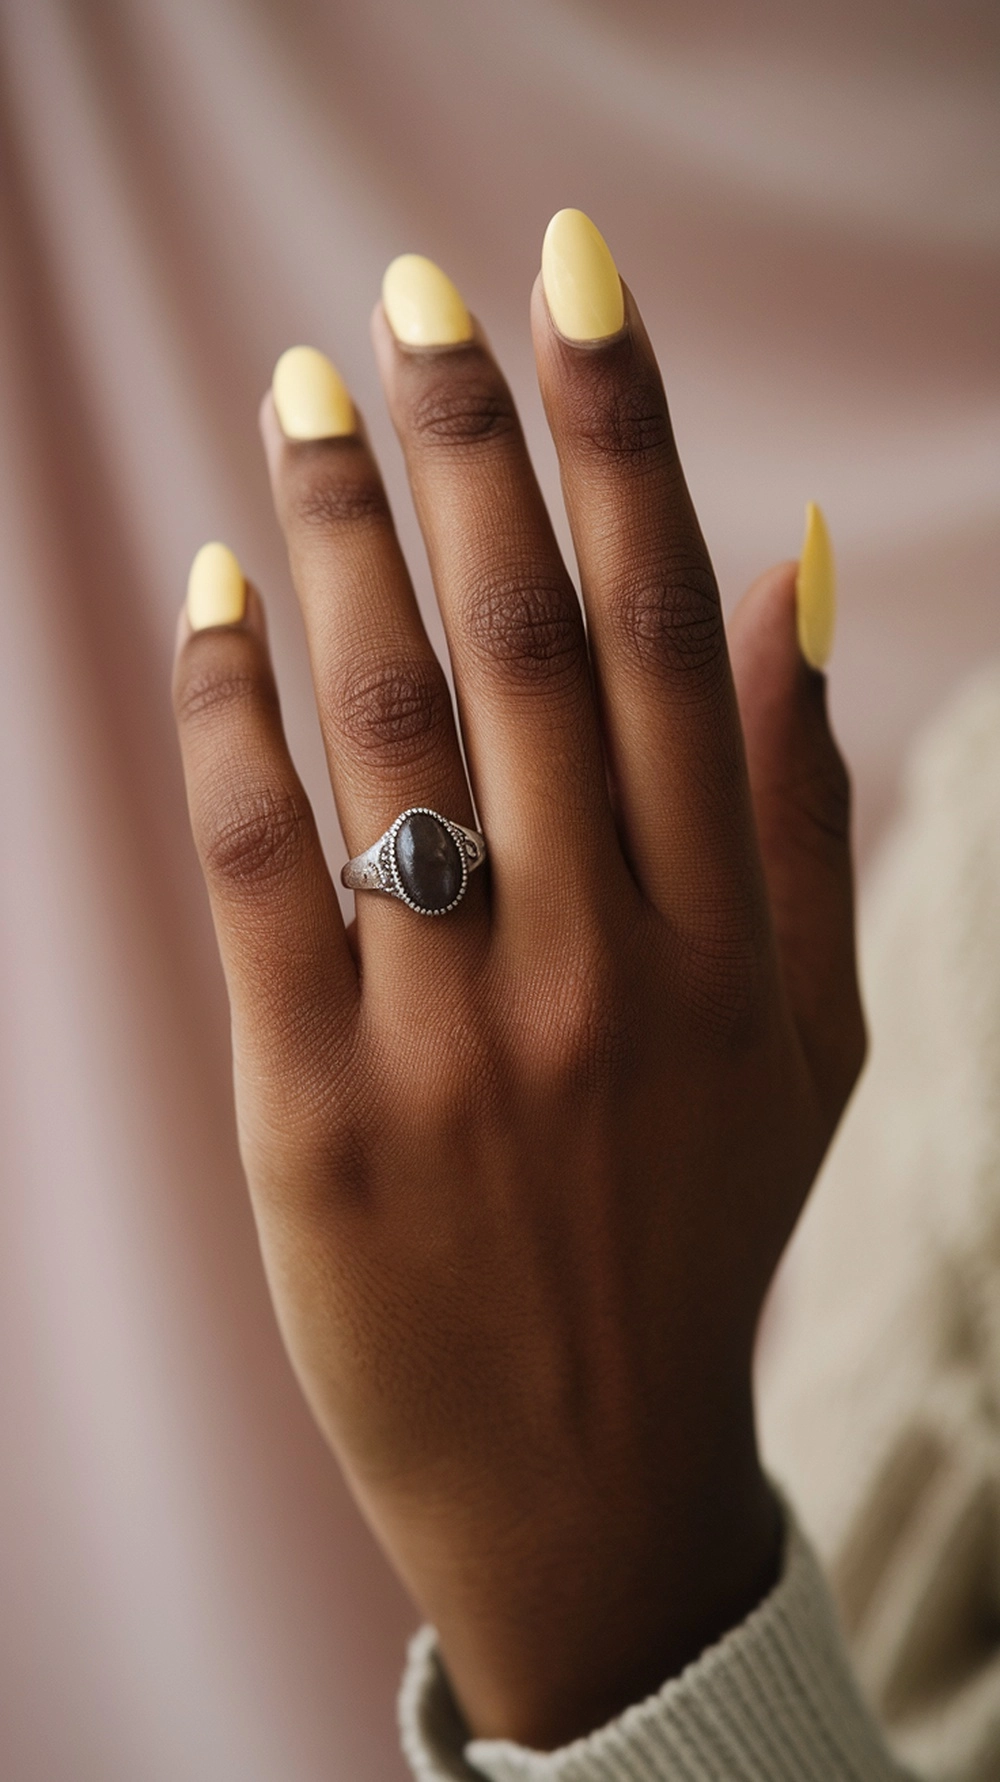
Butter yellow nails are charming and can brighten up any look. This soft, creamy shade complements a wide range of skin tones, making it a popular choice among nail enthusiasts. Whether you’re considering a pale yellow or a deeper buttermilk yellow, there’s a shade for everyone.
For lighter skin tones, buttery yellow can appear fresh and delicate. It’s an excellent option for a sunny day or a chic summer outing. Pair it with a simple white manicure or a few chrome accents for a stylish twist.
On medium skin tones, yellow nails can add a playful touch. Consider yellow nail ideas, such as rounded or almond shapes. These designs highlight the warmth in the skin, creating a beautiful contrast. Yellow nails, plain or with some fun nail art, can be a great way to express your personality.
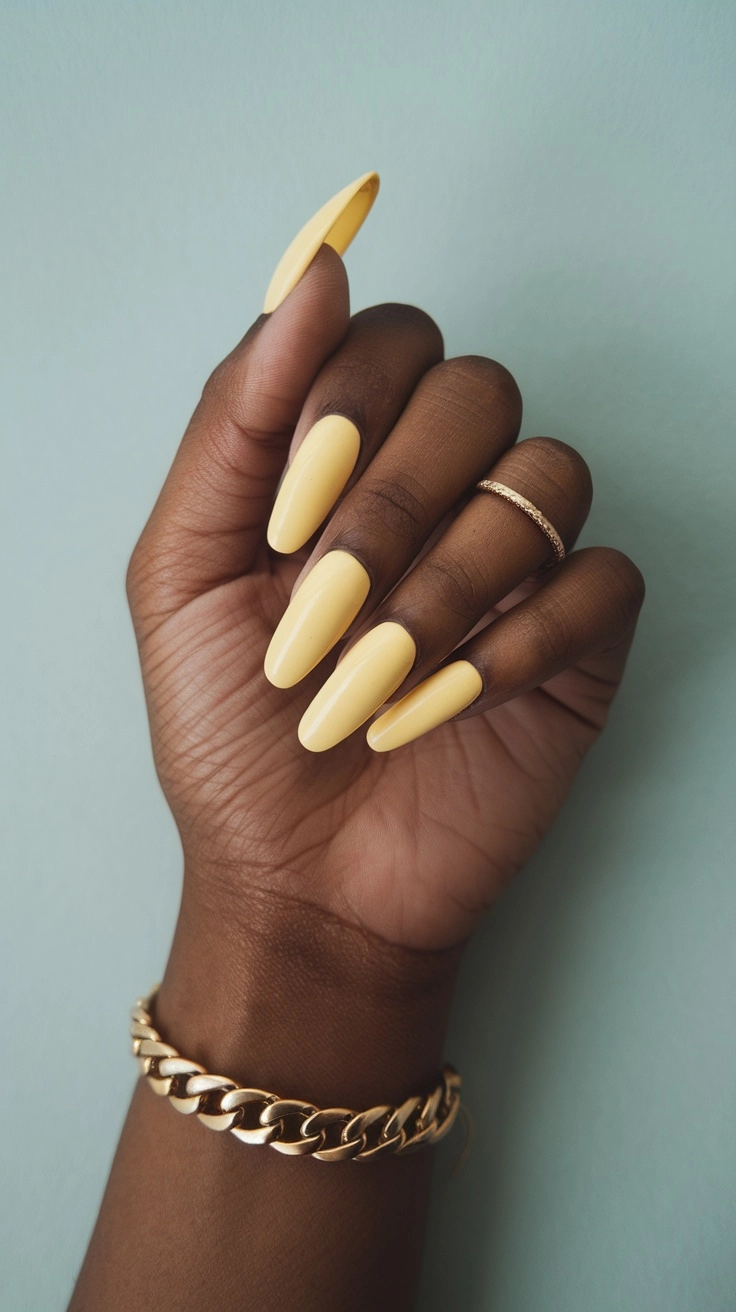
For deeper skin tones, butter yellow nails can be a striking choice. The shade pops beautifully, making fingers look elegant and polished. A yellow manicure can be accentuated with a dark ring or jewelry, just like in the image. This combination highlights the contrast, making the yellow stand out.
No matter your skin tone, achieving the perfect butter yellow nails is simple. Here’s a step-by-step guide:
1. Start with clean, trimmed nails. Push back cuticles gently.
2. Apply a base coat to protect your nails.
3. Choose your favorite buttery yellow polish. A brand like OPI often has great options.
4. Apply one thin coat and let it dry. Follow with a second coat for full coverage.
5. Finish with a top coat for shine and durability.
6. Enjoy your stunning, butter-yellow nails!
This shade is a perfect summer nail choice that can suit everyone. Try it out and let your nails shine!
Nail Care Tips for Butter Yellow Shades
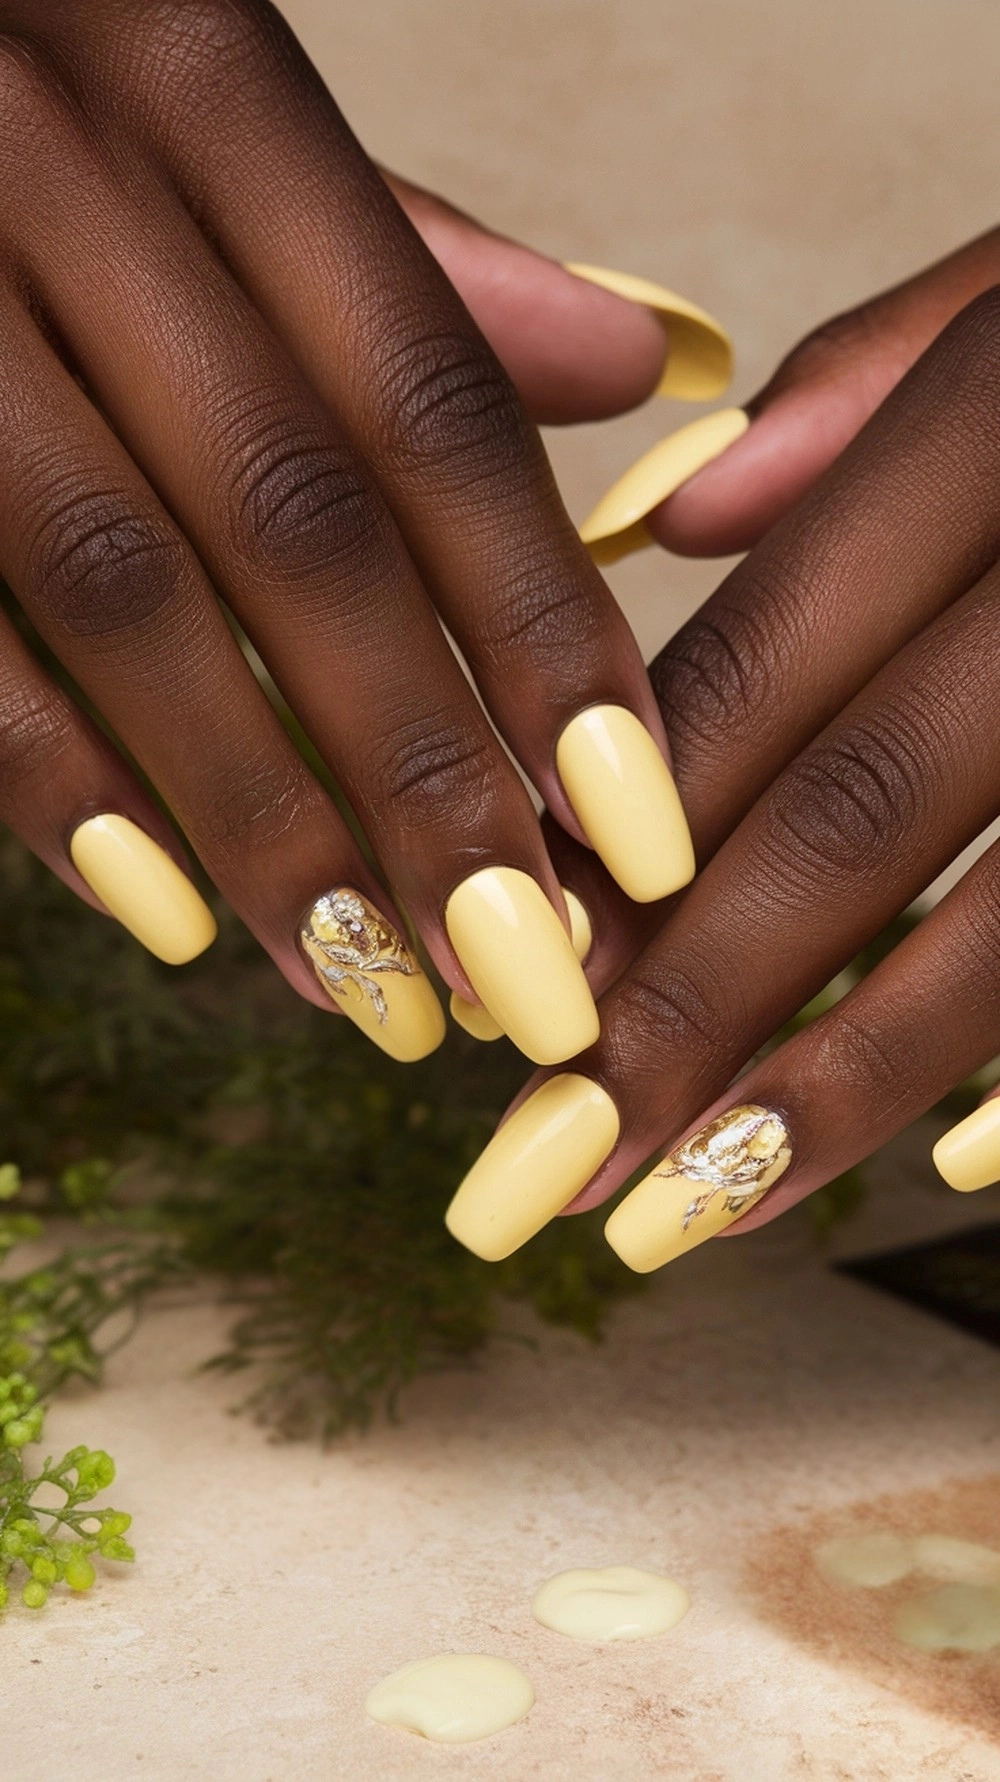
Butter yellow nails are a must-try for those who want to add a pop of brightness to their look. This cheerful shade is perfect for summer and adds a fun vibe to any outfit. Whether you go for a simple yellow manicure or add some nail art, this color is sure to turn heads.
To achieve that stunning butter yellow look, start with clean nails. Make sure to remove any old polish and gently push back your cuticles. A fresh base is key to a perfect manicure!
Next, apply a base coat to protect your nails. This step helps prevent staining and ensures your color goes on smoothly. For buttery yellow nails, find a shade that suits your style, from pale yellow to buttermilk yellow.
After your base coat is dry, it’s time for the color. Apply two thin layers of your chosen butter yellow polish. Thin layers help avoid streaks and give a polished finish. Let each coat dry completely before applying the next.
If you want to add a touch of style, consider incorporating nail art. Floral designs or even a chrome accent nail can elevate your butter yellow nails. Be sure to use a high-quality top coat to seal in your design and add shine.
Finish off your look by moisturizing your hands and cuticles. Using a nourishing cream will keep your skin hydrated and enhance the overall appearance of your nails. With these simple steps, you’ll have perfect summer nails that everyone will admire!
Perfect Butter Yellow Nail Designs
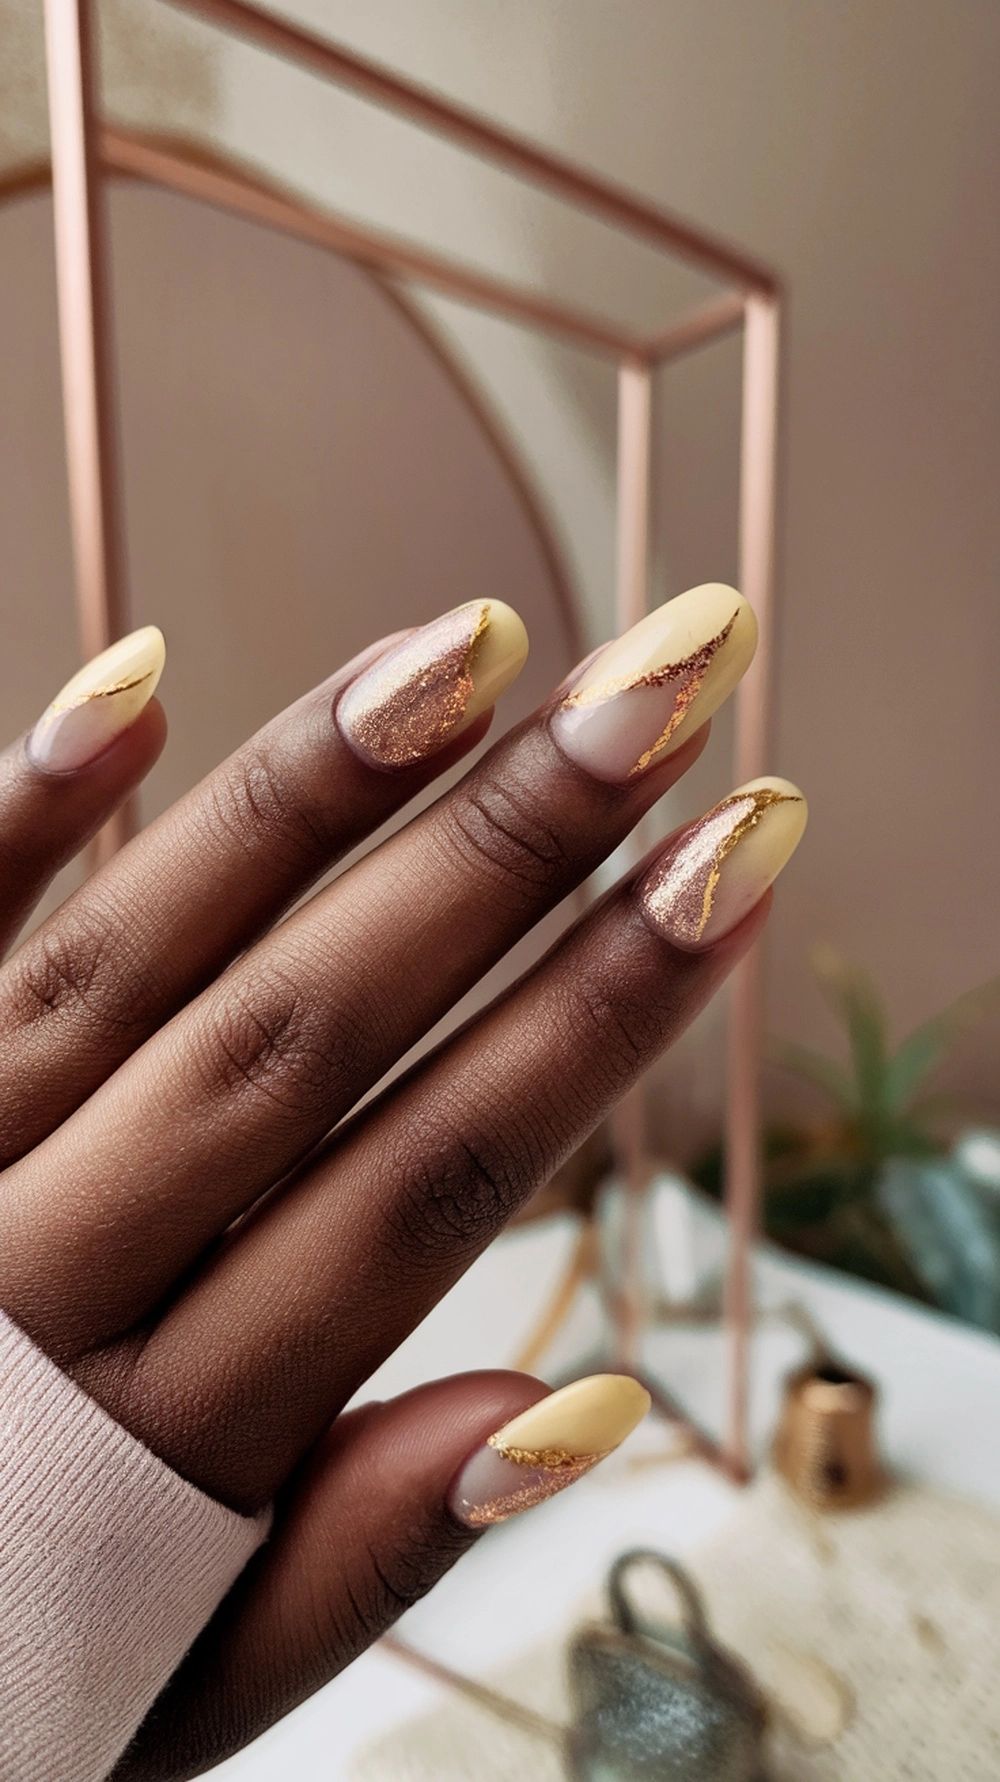
Butter yellow nails are a cheerful and trendy choice for any occasion. This beautiful shade, showcased in the image, offers a soft yet striking look. The combination of buttery yellow with glitter accents and a stylish design makes these nails truly stand out. Perfect for summer or any playful occasion, these nails are sure to brighten your day.
The design features an appealing mix of colors and textures. The pale yellow sets a lovely base, while the glitter adds a fun twist. Gold accents provide an elegant touch, making the overall look sophisticated yet playful. This is a fantastic example of how you can mix butter yellow nails with other elements to create a unique look.
If you’re inspired by this design, here’s a step-by-step guide to achieving perfect butter yellow nails:
- Prep Your Nails: Start by cleaning, trimming, and filing your nails to your preferred shape.
- Apply a Base Coat: Use a high-quality base coat to protect your nails from staining and to help your polish adhere more effectively.
- Choose Your Yellow: Pick a high-quality butter yellow polish. Apply one to two coats, allowing each coat to dry completely.
- Add Glitter: Once the yellow is dry, apply a glitter polish to specific areas or create a gradient effect. This adds sparkle and dimension.
- Use a Detailing Brush: For a more intricate design, use a detailing brush to add gold or chrome lines, creating a chic finish.
- Finish with a Top Coat: Seal it all in with a glossy top coat to enhance shine and prolong its lasting power.
With this guide, you’ll achieve stunning, buttery yellow nails that stand out. Enjoy experimenting with different styles, from baby yellow nails to pale yellow nails, and find what suits you best!
Butter Yellow Nails for Special Occasions
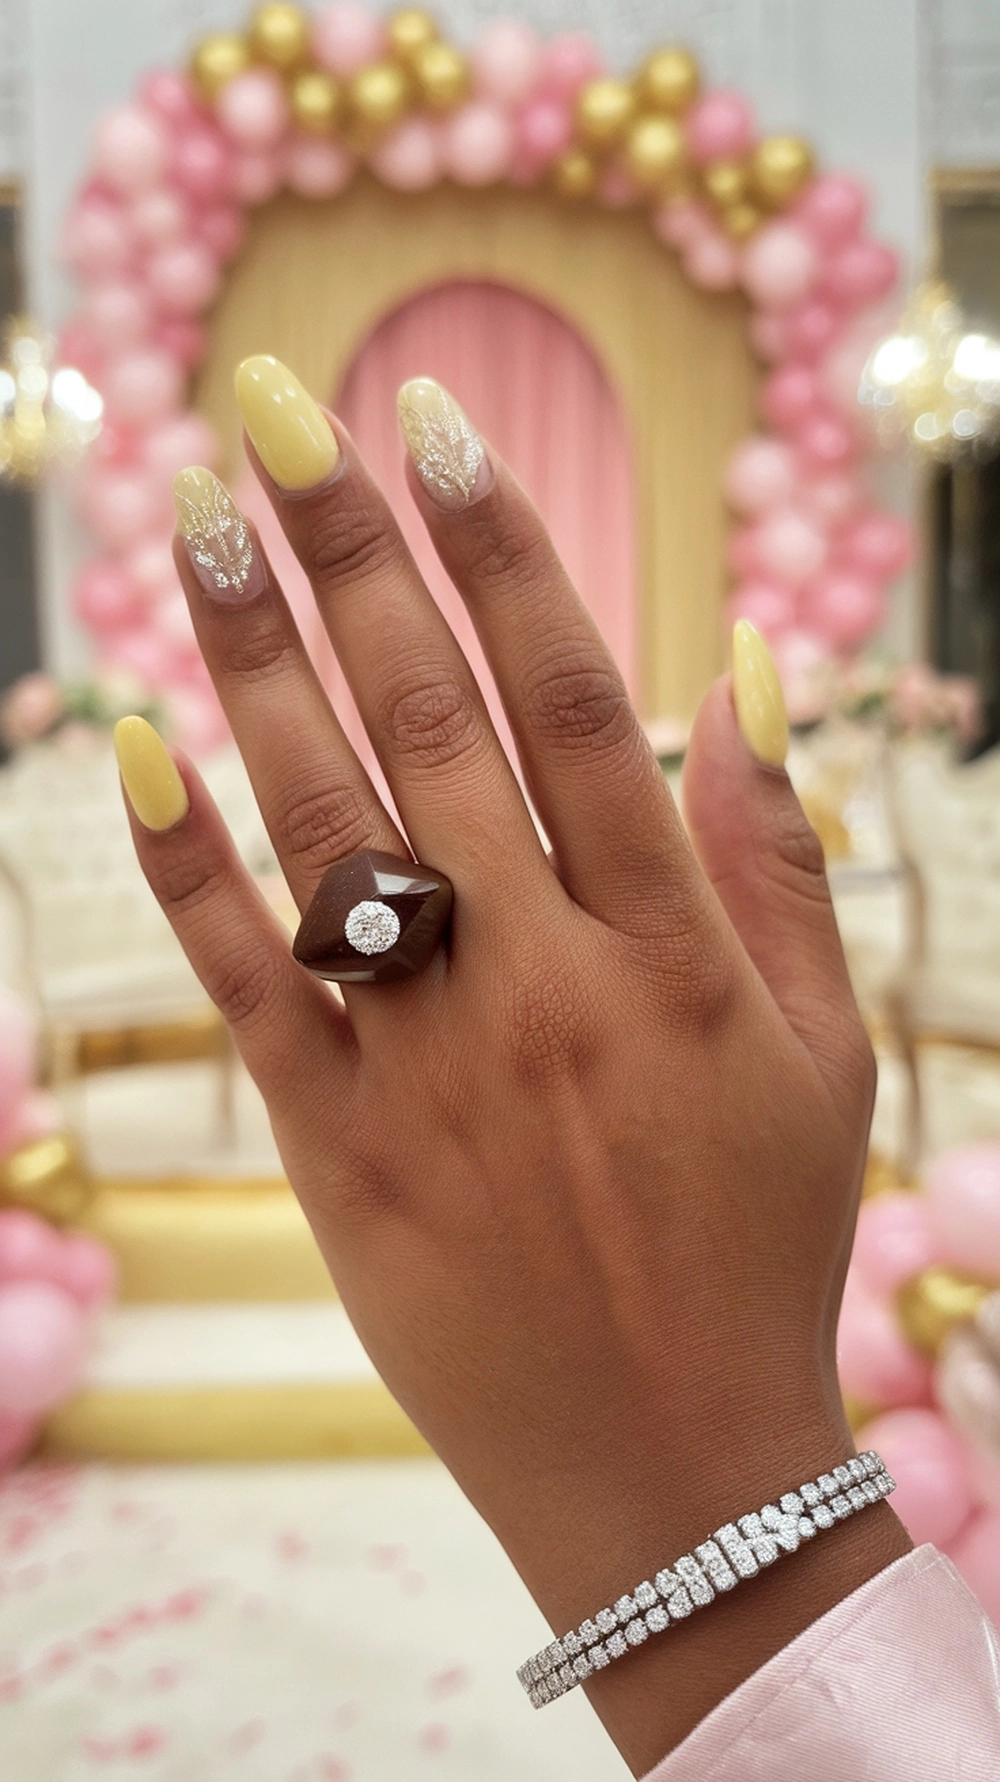
Butter yellow nails are perfect for special occasions. This soft and cheerful shade adds a touch of brightness to any outfit. Whether you’re attending a wedding, birthday party, or just celebrating a sunny day, this color brings warmth and joy.
In the image, you can see stunning, butter-yellow nails that stand out beautifully. The nails are almond-shaped, giving them a stylish and elegant look. With a mix of designs, including intricate nail art on some fingers, they truly shine. Paired with sparkling jewelry, these nails become a conversation starter!
To achieve the perfect butter yellow nails, follow this step-by-step guide:
- Prep Your Nails: Start by cleaning and trimming your nails. Push back the cuticles and buff the nail surface for a smooth finish.
- Base Coat: Apply a clear base coat to protect your nails and extend the color’s longevity.
- Choose Your Shade: Pick a butter yellow nail polish. For a softer look, consider milky yellow or buttermilk yellow nails.
- Apply the Color: Use two coats of your chosen polish for a vibrant finish, allowing each layer to dry completely.
- Nail Art (Optional): Add designs, such as floral patterns or chrome accents, to elevate your look.
- Top Coat: Seal your design with a clear top coat for shine and protection.
- Final Touches: Clean up any excess polish around your nails with a brush dipped in nail polish remover.
Once you’ve finished, admire your butter yellow nails! They are perfect for any special occasion, making you feel vibrant and fresh.
Butter Yellow for Every Season
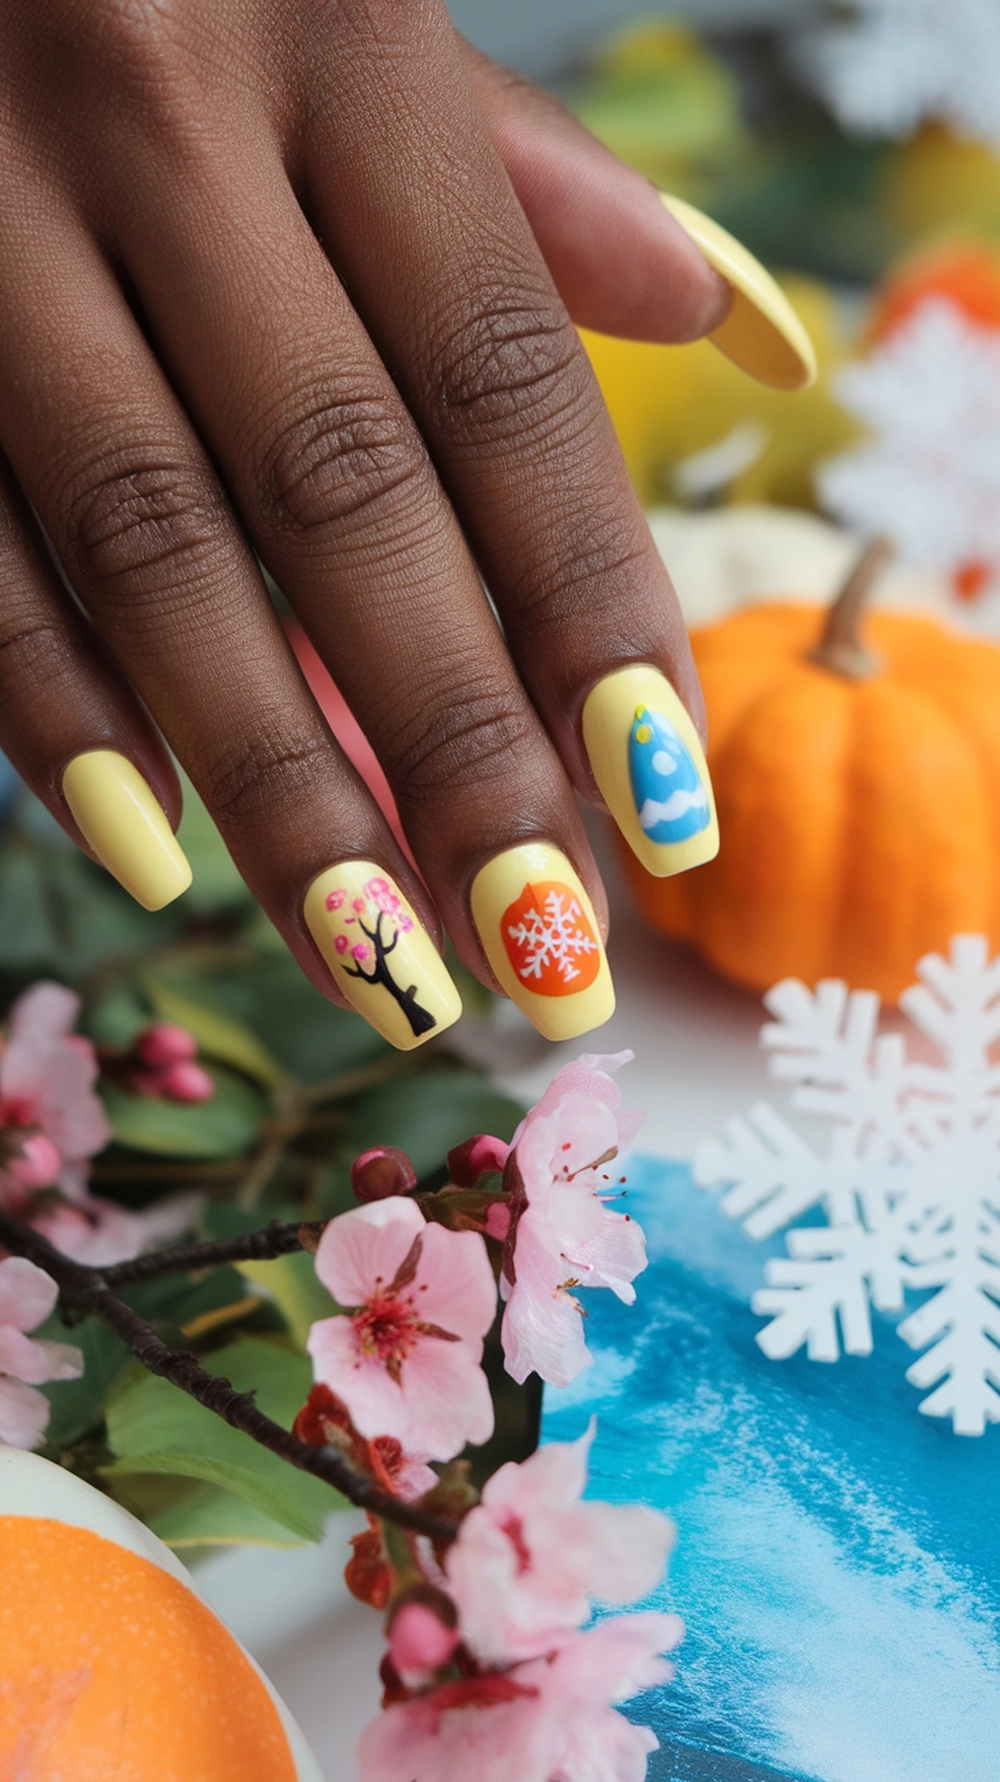
Butter yellow nails are a delightful choice for any time of the year. This soft, cheerful color brings a touch of warmth and sunshine, perfect for brightening up gray winter days or embracing the vibrancy of spring. The image showcases beautiful butter yellow nails, adorned with seasonal designs that reflect the changing times.
Each nail features unique decorations, such as blossoms and snowflakes, showcasing the versatility of butter yellow. Whether you’re going for a fun summer vibe or a cozy fall aesthetic, this color can adapt accordingly. From ‘Baby Yellow Nails’ to ‘Yellow Butter Nails,’ the options are endless.
If you want to achieve the perfect butter yellow nails, follow these simple steps:
- Prep Your Nails: Start by cleaning and shaping your nails. Ensure they are free from any old polish.
- Base Coat: Apply a clear base coat to protect your nails and help the polish adhere more effectively.
- Apply Butter Yellow Polish: Choose a high-quality butter yellow polish and apply a thin, even layer. Let it dry, then add a second coat for a richer color.
- Design It Up: Create fun designs or opt for a simple look. If you’d like to try ‘Pale Yellow Nails’ or ‘Buttermilk Yellow Nails,’ feel free to mix and match shades!
- Top Coat: Finish off with a high-gloss top coat to add shine and extend the life of your manicure.
With these steps, you can rock butter yellow nails all year round. Whether for a casual outing or a festive celebration, these nails are sure to make a statement!
DIY Butter Yellow Nail Art Techniques
Butter yellow nails are a fun and cheerful choice, perfect for any season. This bright, buttery hue adds a pop of color to your look, making your nails the center of attention. Whether you prefer a classic yellow manicure or something more creative, butter yellow can be adapted to fit your style.
In the image, you see someone experimenting with yellow nail art. The combination of brown and yellow creates an interesting contrast, highlighting the versatility of yellow. The touch of yellow polish and dots makes for a playful design that can brighten up anyone’s day.
Ready to achieve the perfect butter yellow nails? Here’s a step-by-step guide to help you get started:
- Prep Your Nails: Start by cleaning your nails and removing any old polish. Shape your nails using a file and gently push back your cuticles.
- Base Coat: Apply a clear base coat to protect your nails and help the polish adhere more effectively.
- Choose Your Yellow: Pick a buttery yellow shade that you love. Brands like OPI offer great options for a buttery finish.
- Apply the Yellow: Apply two coats of your chosen yellow polish for a vibrant look. Ensure each coat is allowed to dry completely.
- Add Details: Use a fine brush or dotting tool to create patterns or dots with a contrasting color, such as brown. This can enhance your yellow nails and add a unique touch.
- Top Coat: Finish with a clear top coat to seal your design and add a shine.
Try these techniques to create stunning butter yellow nails that stand out. Whether you opt for a simple yellow manicure or something intricate, the bright color is sure to be a hit!
The Allure of Butter Yellow Shades
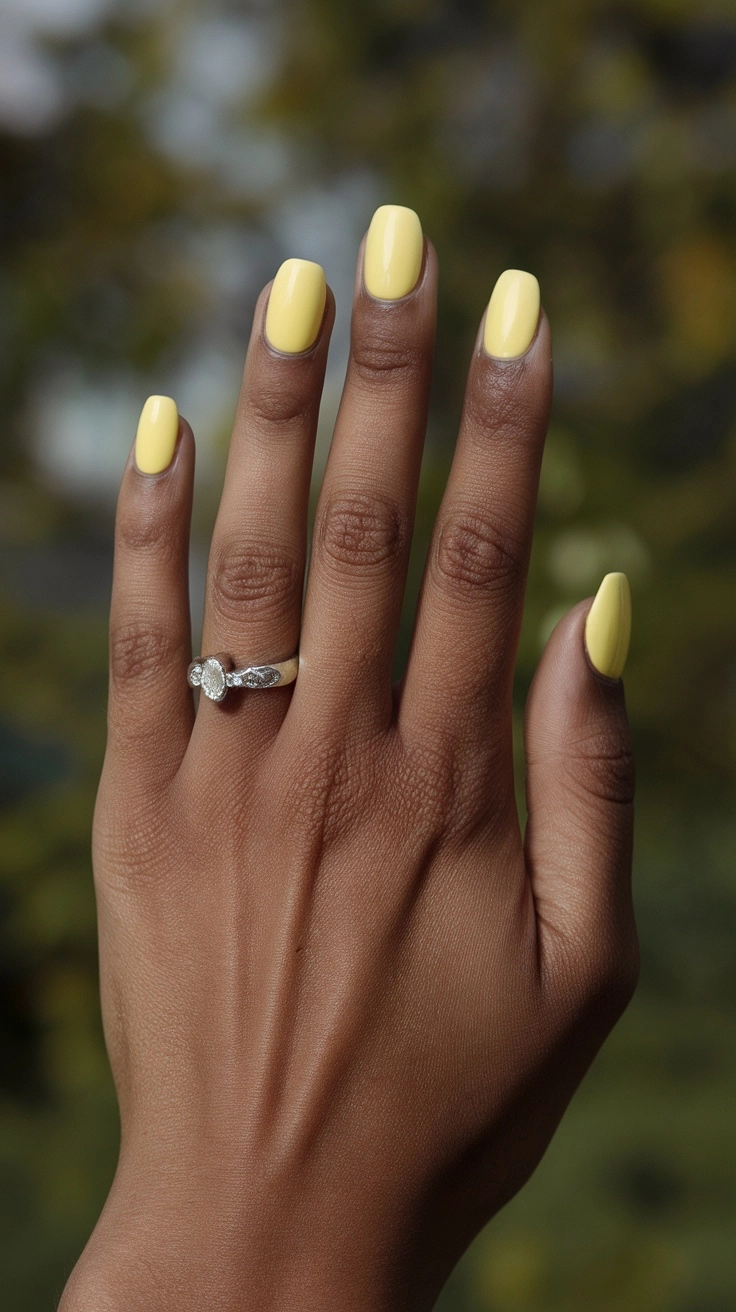
Butter yellow nails bring a cheerful vibe that’s hard to ignore. The soft, buttery tones look fresh and fun, making them perfect for any season. In the image, you can see beautiful butter yellow shades painted on well-manicured nails. The different hues of yellow capture the essence of sunny days, evoking a warm and inviting atmosphere.
The appeal of butter yellow extends beyond just its color. It pairs well with a variety of styles, from casual outfits to more polished looks. If you’re looking for fresh nail ideas, consider opting for butter yellow shades like ‘Buttermilk Yellow Nails’ or ‘Baby Yellow Nails.’ These colors can brighten up your day and complement your style effortlessly.
Achieving the perfect butter yellow nails is simpler than you might think. Here’s a quick step-by-step guide:
- Prep your nails: Start with clean, trimmed nails. Remove any old polish and push back your cuticles.
- Base coat: Apply a thin layer of base coat. This helps the polish adhere better and prevents staining.
- Choose your butter yellow: Select your favorite shade, such as ‘Buttery Yellow’ or ‘Pale Yellow Nails.’
- Apply polish: Use smooth strokes to apply the yellow polish. Two coats usually give the best coverage.
- Top coat: Finish with a shiny top coat to seal the color and add a glossy finish.
- Clean up: Use a small brush dipped in remover to gently clean any excess polish around your nails.
With these steps, you’ll have stunning butter yellow nails that stand out beautifully. Whether you prefer a round shape, almond style, or even a chrome manicure, these shades can transform your look. Go ahead and try some yellow nail ideas today!
Pairing Colors with Butter Yellow Nails
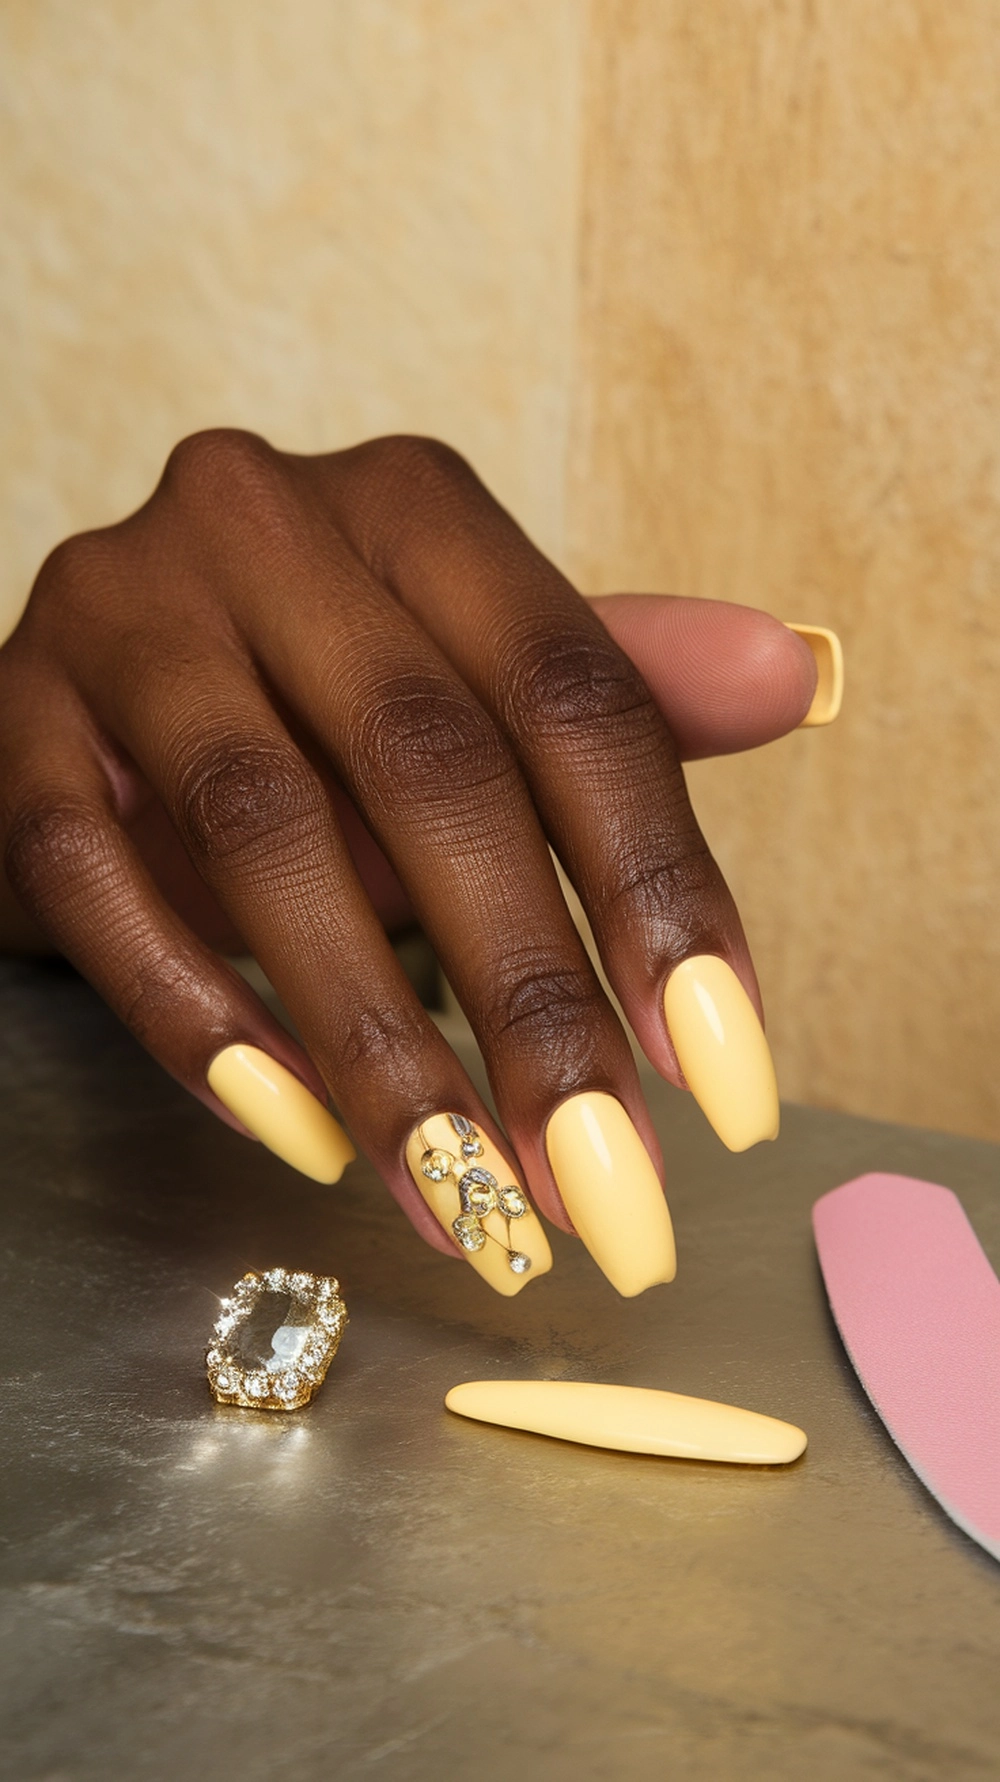
Butter yellow nails are a fun and cheerful choice for any season. This soft, buttery shade can add a touch of brightness to your look and works wonderfully with various colors. For a perfect summer vibe, think about pairing them with soft pastels or vibrant hues.
To achieve a stylish look, consider combining butter yellow with white for a fresh, clean aesthetic. This combination gives off a classic vibe. Alternatively, try pairing them with a light pink or lavender for a sweet and playful touch. These pastels complement the warmth of butter yellow beautifully, creating a harmonious look.
If you’re feeling bold, why not mix butter yellow with deep colors like navy or forest green? This contrast can make your nails pop and add a sophisticated flair to your overall style. For those who love a bit of sparkle, adding some gold or silver accents can elevate your butter yellow nails even further!
To achieve the perfect butter yellow nails, follow these steps:
- Start with clean nails. Remove any old polish and shape your nails using a file.
- Apply a base coat to protect your nails and ensure the polish adheres well.
- Choose a quality butter yellow nail polish. Apply the first coat and let it dry completely.
- Add a second coat for full opacity, then let it dry again.
- For an extra touch, consider adding nail art. You can use gems or create patterns that complement your butter yellow nails.
- Finish with a top coat to seal your design and provide shine.
Whether you go for a simple butter yellow look or mix it with other colors, these nails can be a delightful addition to your style!
Trendy Butter Yellow Nail Shapes
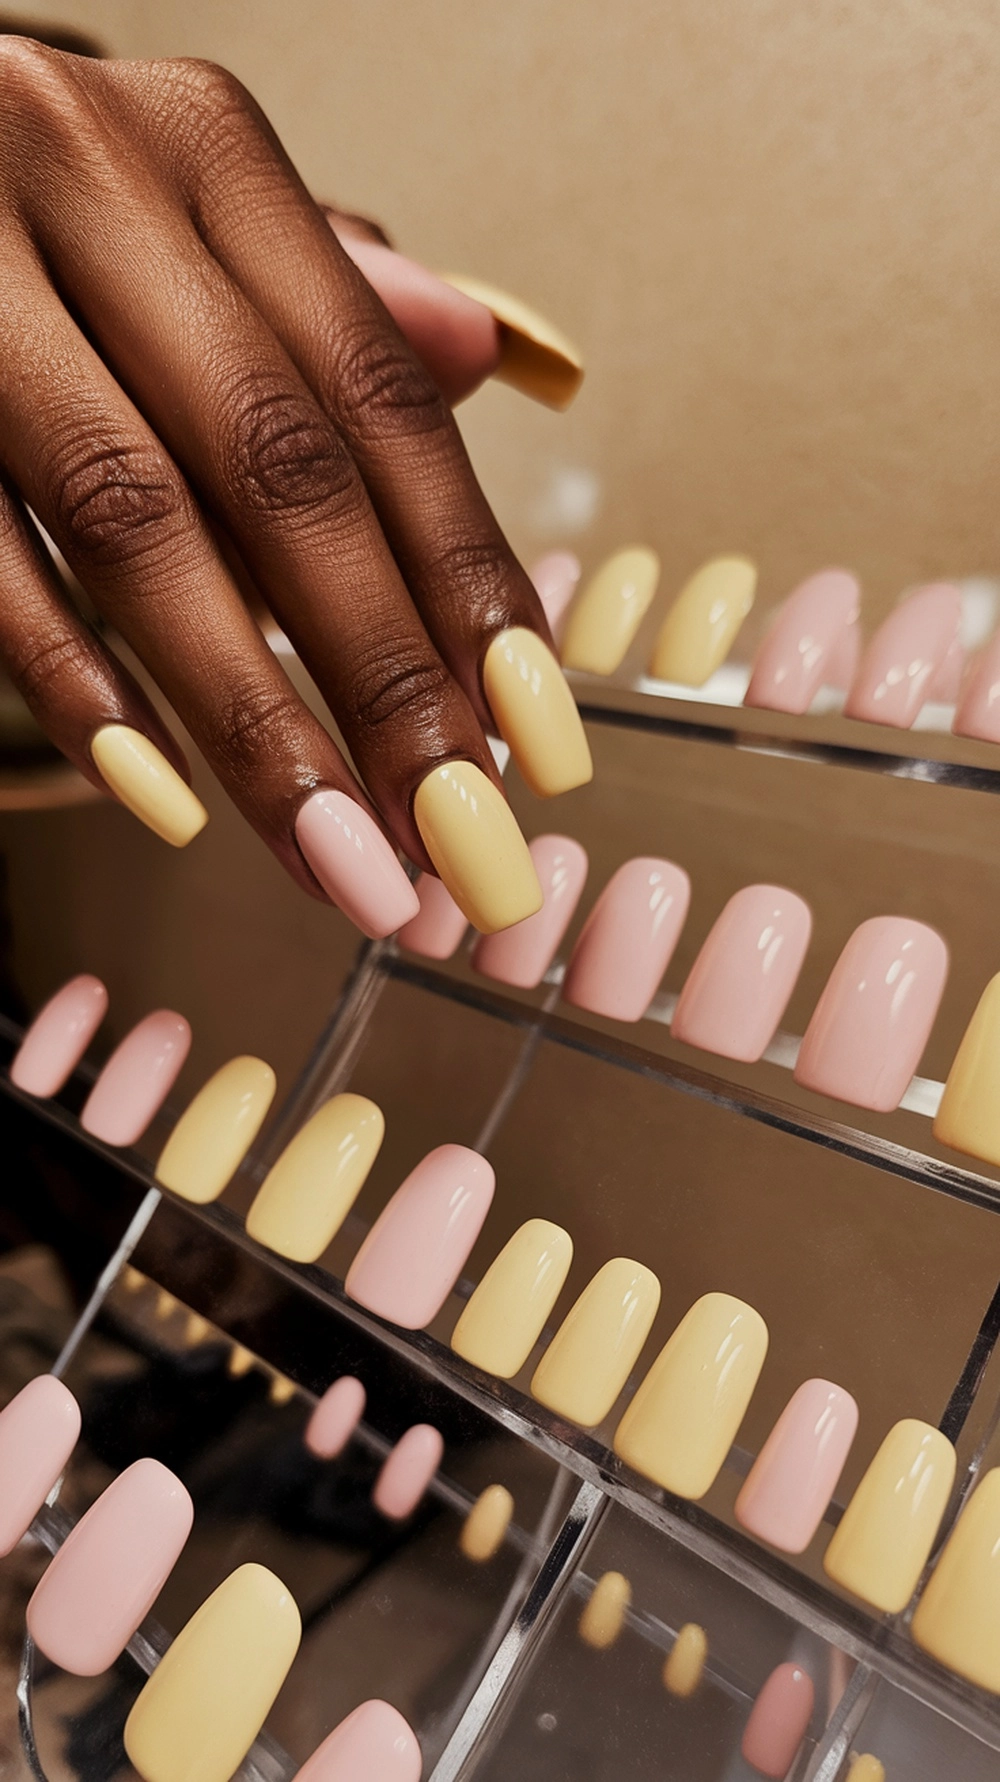
Butter yellow nails are a fresh take on nail art, offering a cheerful and soft appearance. This shade, often referred to as buttery yellow, is ideal for summer. The image showcases a hand with elegantly shaped yellow nails alongside other shades, revealing a fun color palette. The combination of butter yellow and delicate pink creates a playful vibe, making it an exciting option for those looking to experiment.
When it comes to shapes, butter yellow nails can shine in a variety of forms. From round to almond-shaped, each offers a unique style. Almond-shaped designs provide a sleek look, while round shapes convey a more casual and friendly vibe. Choosing the right shape can enhance the warm tone of the yellow, making it stand out beautifully.
To achieve the perfect butter yellow nails, here’s a simple step-by-step guide:
- Prep Your Nails: Start by cleaning your nails and pushing back your cuticles. This creates a clean base.
- File and Shape: Choose your preferred nail shape, such as almond or round, and file gently.
- Base Coat: Apply a clear base coat to protect your nails and ensure even color application.
- Yellow Polish: Use a buttery yellow polish. Apply two coats for a rich color, allowing each layer to dry completely.
- Top Coat: Seal it all with a glossy top coat for added shine and longevity.
- Finishing Touch: Clean up any excess polish around the nails with a brush dipped in nail polish remover.
With these steps, you can create stunning butter yellow nails that embody a perfect summer look. Whether you pair them with a white manicure or a chrome touch, the options are endless!
Butter Yellow Nails and Summer Vibes
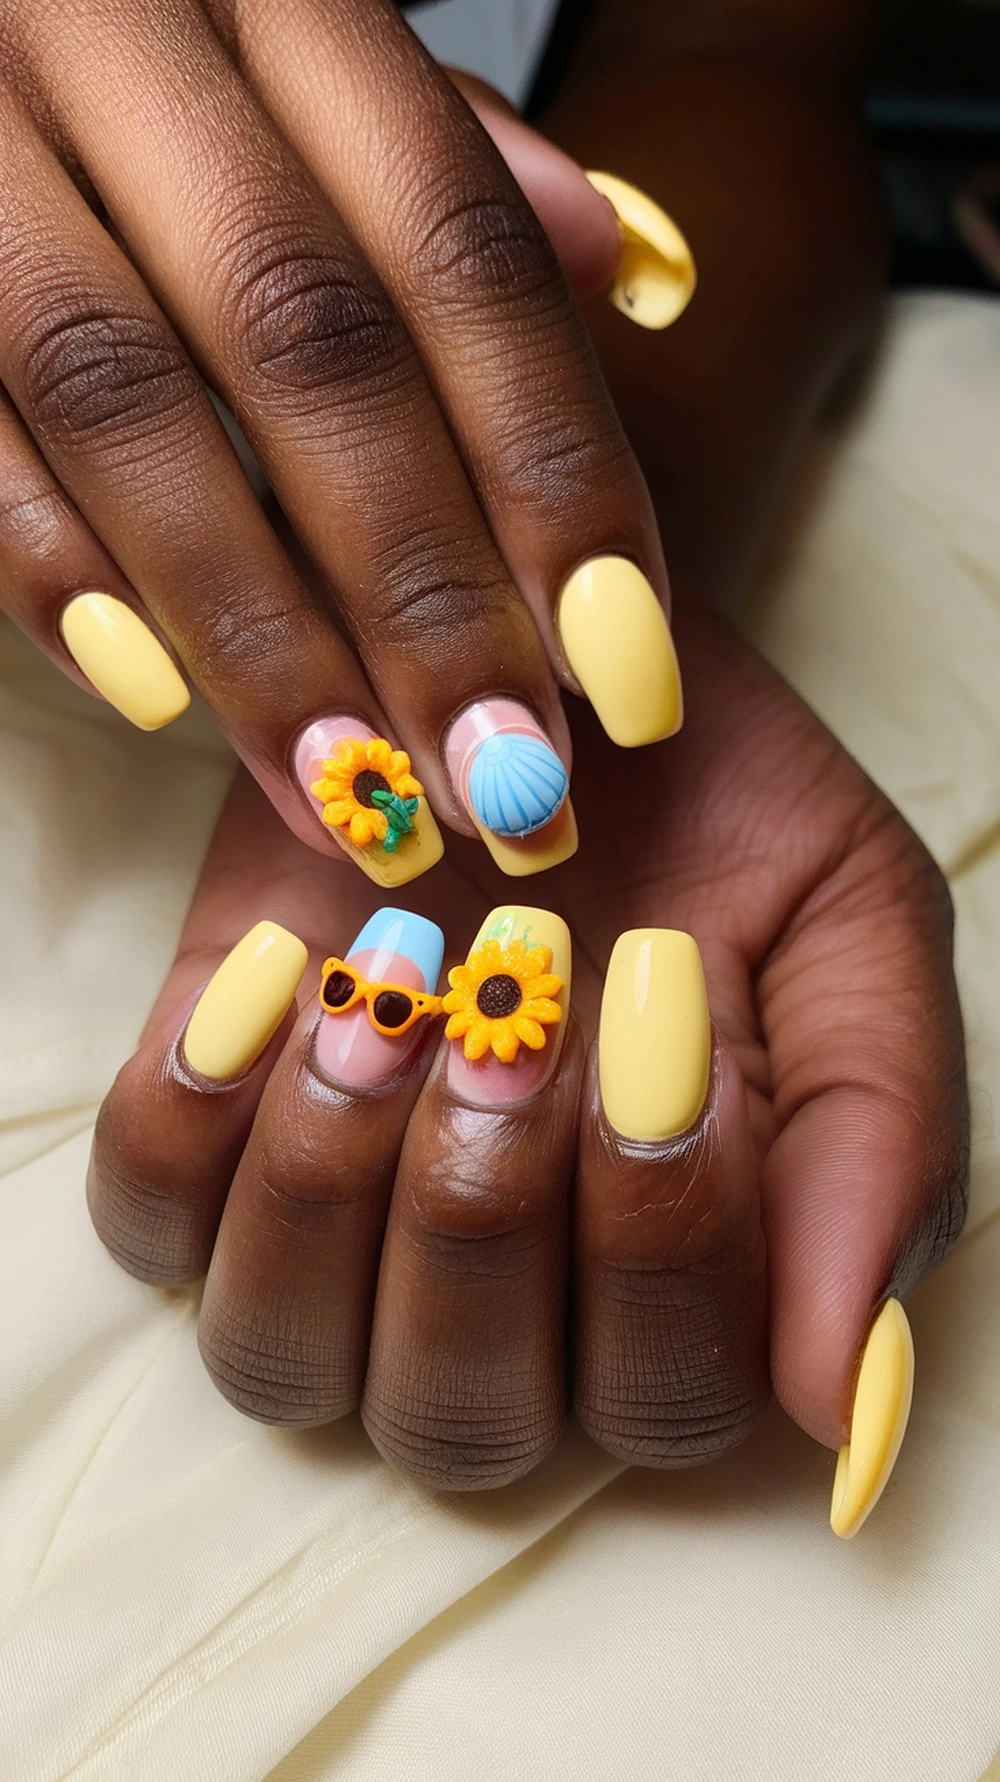
Butter yellow nails are the perfect way to welcome summer. This soft and cheerful color instantly brightens your look, making it ideal for sunny days. The image showcases a stunning butter yellow manicure, enhanced with cute decorative elements like sunflowers and sunglasses. These playful additions capture the essence of summer fun.
To achieve the perfect butter yellow nails, start with clean, trimmed nails. Apply a base coat to protect your nails. Then, paint on your buttery yellow polish, ensuring even coverage. If you want to add some flair, consider mixing in designs like round yellow nails or baby yellow nails with nail art. Once dry, seal everything in with a top coat for that glossy finish.
For more ideas, check out some yellow manicure ideas. Whether you prefer the classic yellow nails or opt for the vibrant buttermilk yellow, there’s a style for everyone. You might even want to try a chrome manicure for a trendy twist. There’s something about yellow nails that screams summer vibes!
The Psychology of Butter Yellow
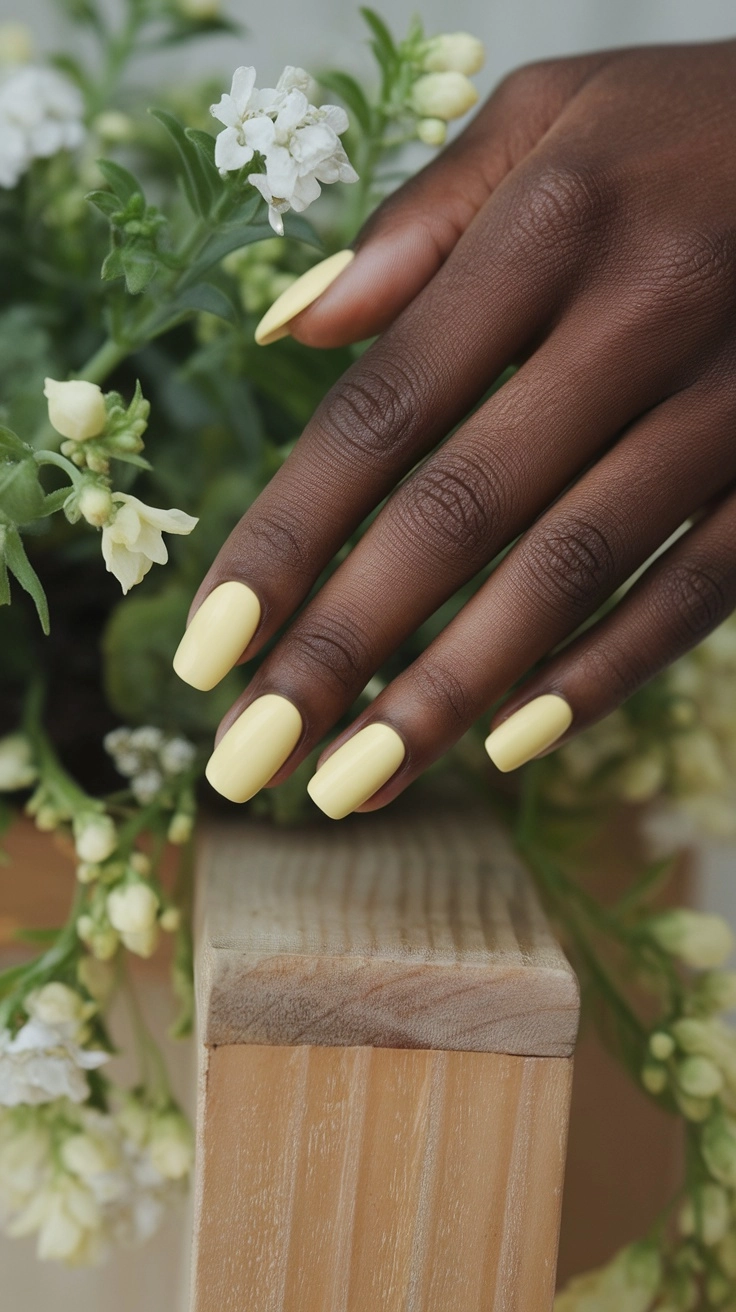
Butter yellow nails have a unique charm that instantly lifts your mood. The soft, warm tones of butter yellow can evoke feelings of happiness and positivity. It’s a color that feels like a gentle hug, reminding us of sunny days and carefree moments.
This color works perfectly for various nail shapes, whether you opt for the classic almond shape or round yellow nails. The playfulness of butter yellow shines through in designs like baby yellow nails or patterned options featuring floral accents. Such embellishments can reflect personal style while enhancing the cheerful vibe.
To achieve that perfect butter yellow look, follow these simple steps:
Step 1: Start with clean, manicured nails. A white base coat can help the yellow pop more, especially with pale yellow nails.
Step 2: Apply two coats of your chosen butter yellow nail polish. Brands like OPI offer great options for a buttery finish.
Step 3: For a fun twist, consider adding designs. Use a thin brush to paint small flowers or patterns on some nails, while keeping others plain with yellow nail polish.
Step 4: Seal your design with a clear top coat for shine and durability. A chrome manicure can also add a modern edge to your buttery yellow look.
Overall, butter yellow nails are not just a trend; they carry a psychological lift that can brighten your day. Whether you’re looking for a perfect summer nail style or experimenting with yellow manicure ideas, this cheerful color is a fantastic choice.
Nail Art Inspirations with Butter Yellow
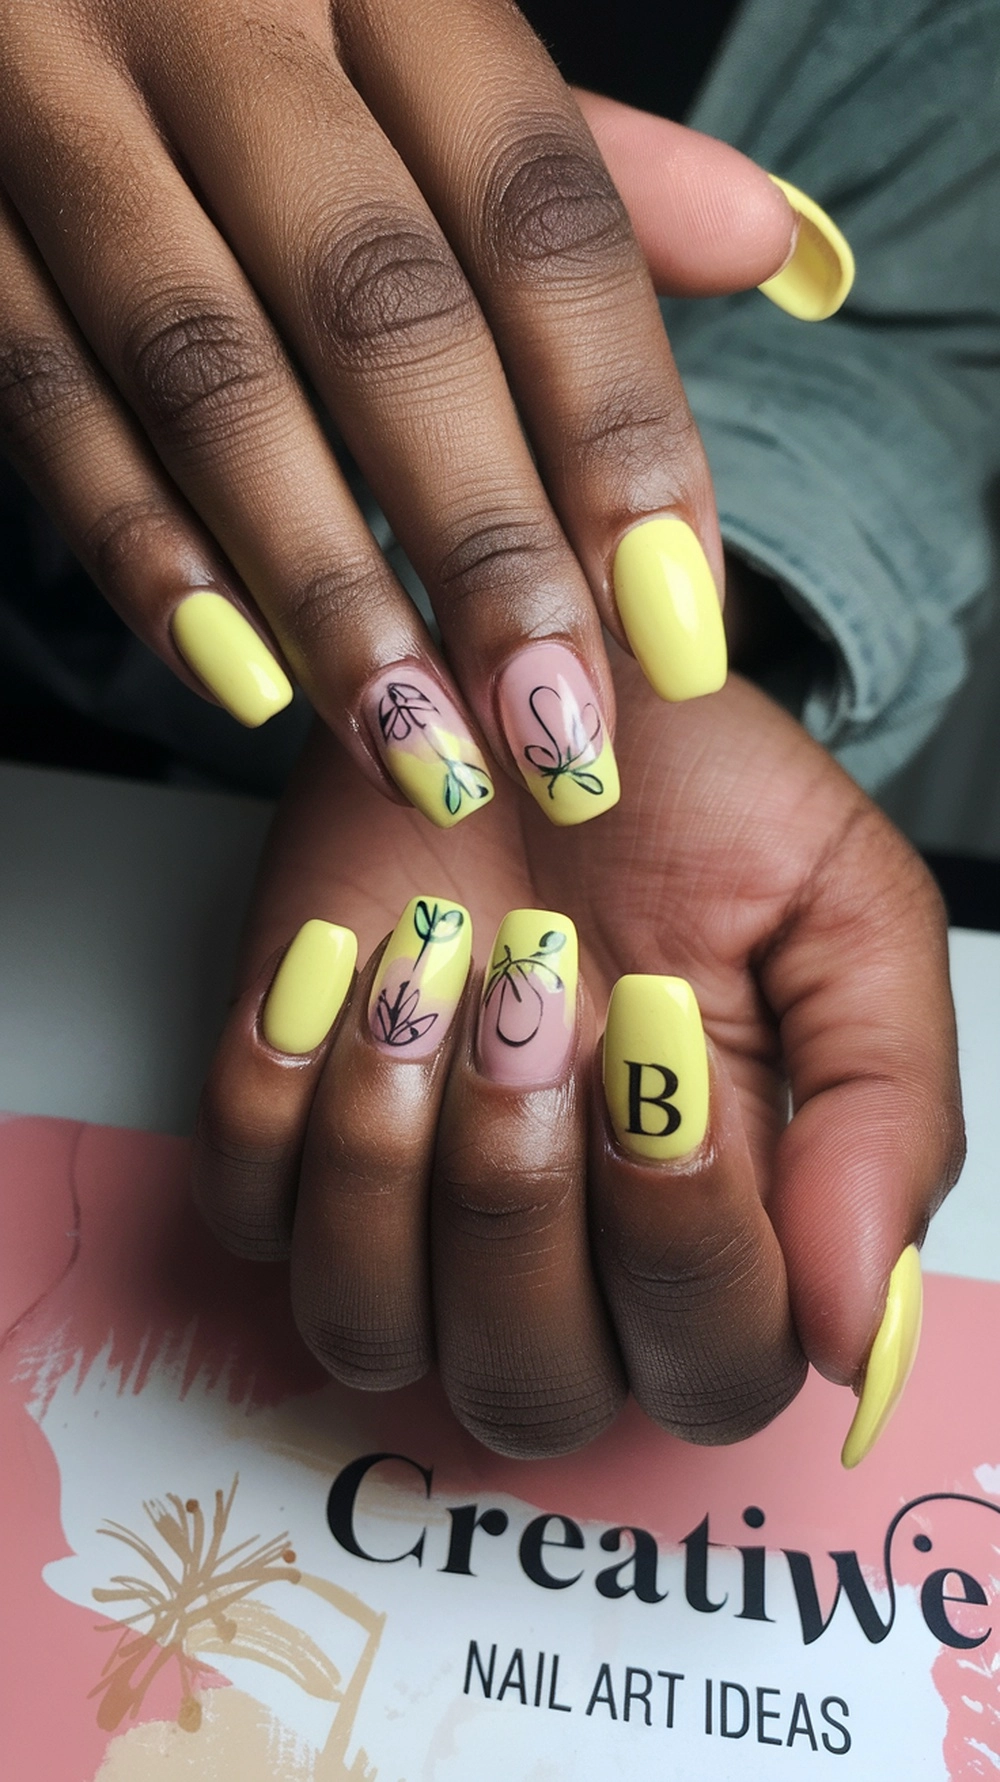
Butter yellow nails are a fun and cheerful choice for anyone looking to brighten up their look. This soft shade works wonderfully for summer, evoking images of sunny days and warm vibes. The image showcases a stunning set of butter-yellow nails, complemented by artistic designs featuring delicate flowers and playful letters. These designs add a unique touch, making your nails stand out.
To achieve perfect butter yellow nails, follow these simple steps:
1. Prep Your Nails: Start with clean, dry nails. Remove any old polish and push back your cuticles.
2. Apply Base Coat: Use a clear base coat to protect your nails from staining and to create a smooth surface.
3. Choose Your Color: Select a butter yellow polish. Opt for a shade like milky yellow or buttermilk yellow for a creamy effect.
4. Paint Your Nails: Apply two thin coats of the yellow polish for full coverage. Allow each coat to dry completely.
5. Add Designs: If you’d like, use a nail art brush or stickers to add floral patterns or letters. This is where you can get creative!
6. Finish with Top Coat: Seal your design with a glossy top coat for shine and protection.
These butter yellow nails can complement any outfit, making them perfect for casual outings or special events. Whether you prefer a simple yellow manicure or something trendier like a chrome manicure, the options are endless!
Maintaining Your Butter Yellow Manicure
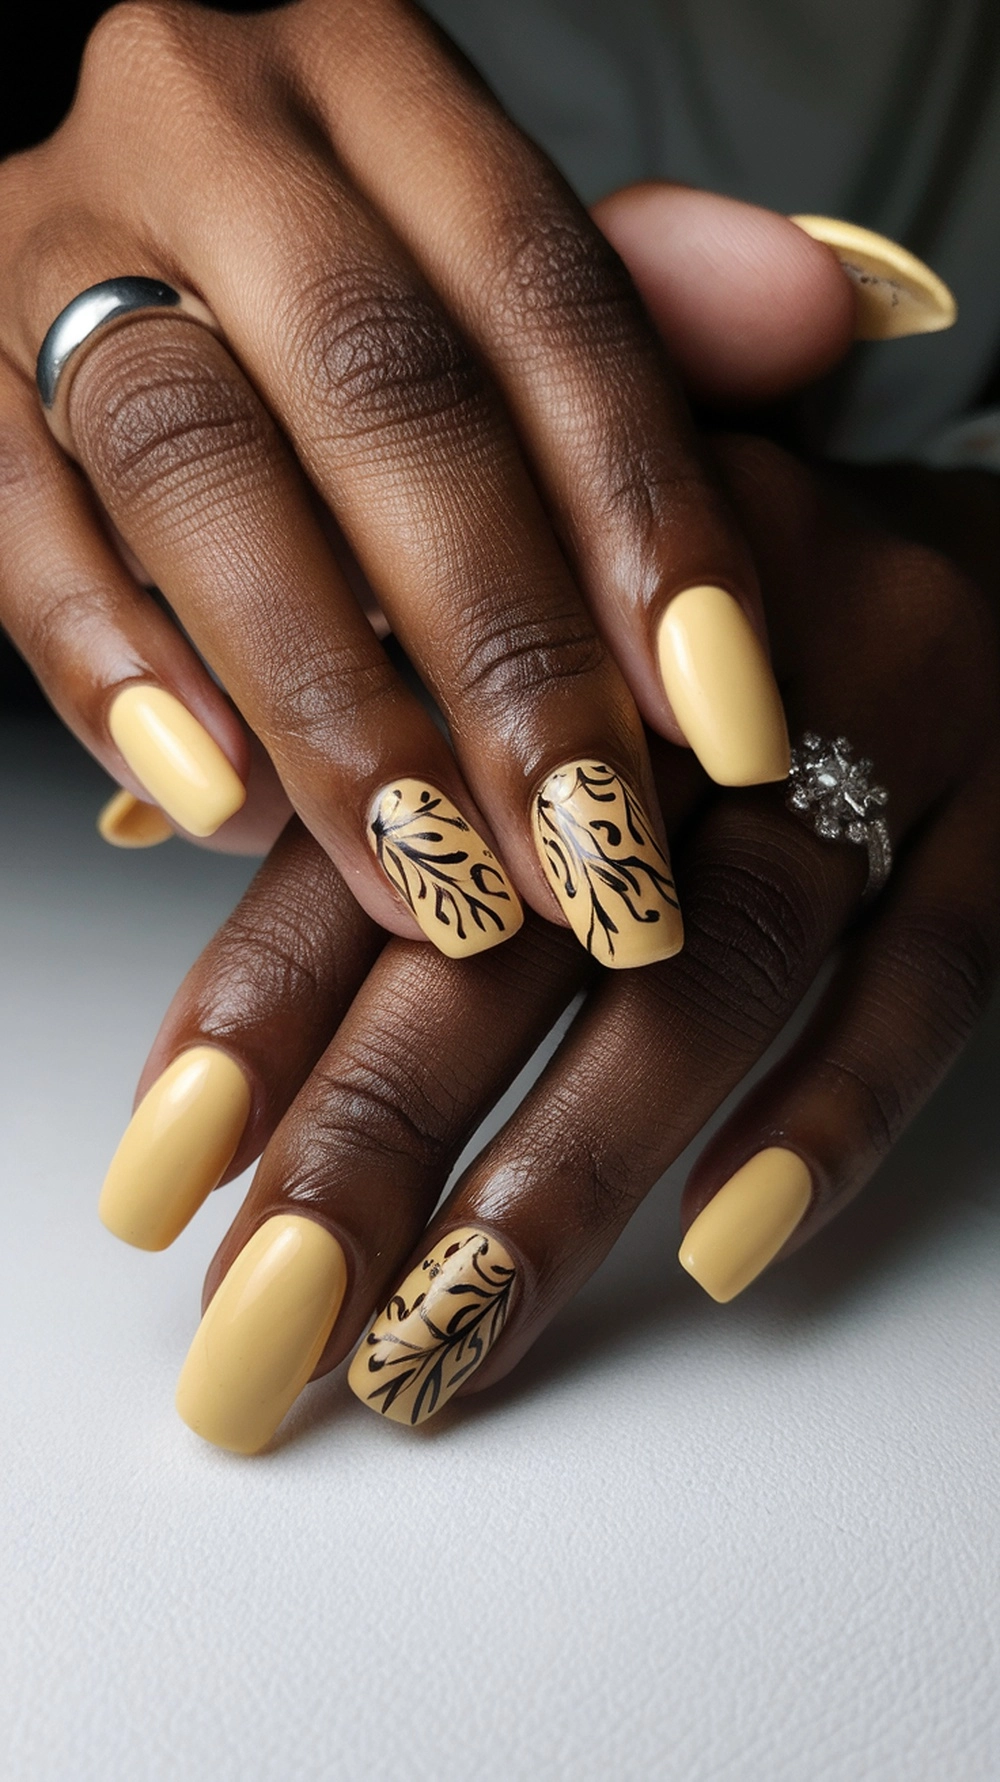
Butter yellow nails are a stunning choice for anyone wanting to brighten up their look. This color radiates warmth and joy, making it a perfect summer manicure. The image showcases beautifully manicured butter yellow nails, complemented by intricate black designs that add a touch of elegance. Whether you choose a simple yellow nail or something more elaborate, keeping them fresh is key.
To maintain your butter yellow nails, start with a solid base coat. This helps the polish adhere better and protects your nails from stains. Next, apply two coats of your favorite butter yellow polish. Opt for shades like buttermilk yellow or milky yellow for that lovely buttery look. For those who enjoy a bit of flair, consider adding designs or accents.
Once your nails are painted, seal the look with a top coat. This not only adds shine but also extends the life of your manicure. If you’re into nail art, you can create fun patterns with contrasting colors, such as black, which can elevate your butter yellow nails to a whole new level. Regular touch-ups are essential to keep your yellow manicure looking fresh.
Texture and Finish: Butter Yellow Variations
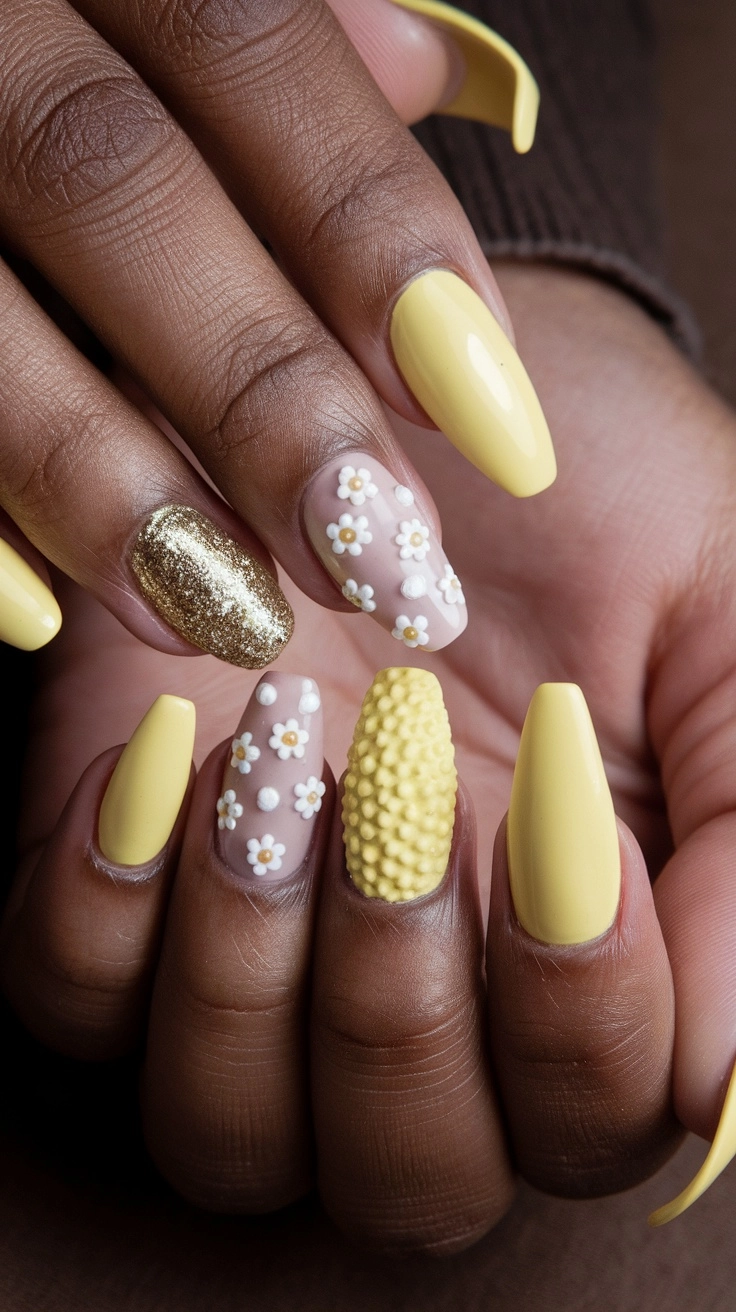
Butter-yellow nails are the perfect blend of fun and chic. This soft, creamy shade brings a touch of brightness without being too overpowering. The image showcases various butter yellow nail polish bottles, highlighting the diversity within this delightful hue.
When it comes to texture and finish, butter yellow nails can range from glossy to matte. A glossy topcoat enhances the shine, making the color pop, while a matte finish gives a more understated, sophisticated vibe. You’ll find that butter yellow nails are versatile for any occasion!
For those looking to try something unique, consider a chrome manicure with butter yellow polish. It adds a reflective shine that’s perfect for summer outings. You might also explore variations like buttermilk yellow nails or milky yellow nails for an even softer look.
For a fun design, round yellow nails look fabulous paired with simple nail art. Consider using dots or stripes in contrasting colors to make your yellow manicure truly stand out. Baby yellow nails can also bring a playful touch to your style.
Here’s a step-by-step guide to achieving perfect butter yellow nails:
- Start with clean, dry nails. Remove any old polish and gently push back cuticles.
- Apply a base coat to protect your nails and enhance the polish’s adhesion.
- Choose your favorite butter yellow polish. Apply the first coat and let it dry completely.
- Add a second coat for full coverage and a more vibrant look. Allow this coat to dry as well.
- Finish with a top coat for added shine and durability. This step is key for a long-lasting finish!
For those searching for yellow nail ideas, don’t shy away from mixing colors. Pairing butter yellow with white for a fresh look or using contrasting tones can elevate your yellow manicure.
Seasonal Butter Yellow Nail Trends
Butter yellow nails are the perfect way to welcome the warmth of the seasons. This soft, cheerful shade brings a fresh vibe to any look. With the subtle charm of butter yellow, your nails can radiate positivity and style.
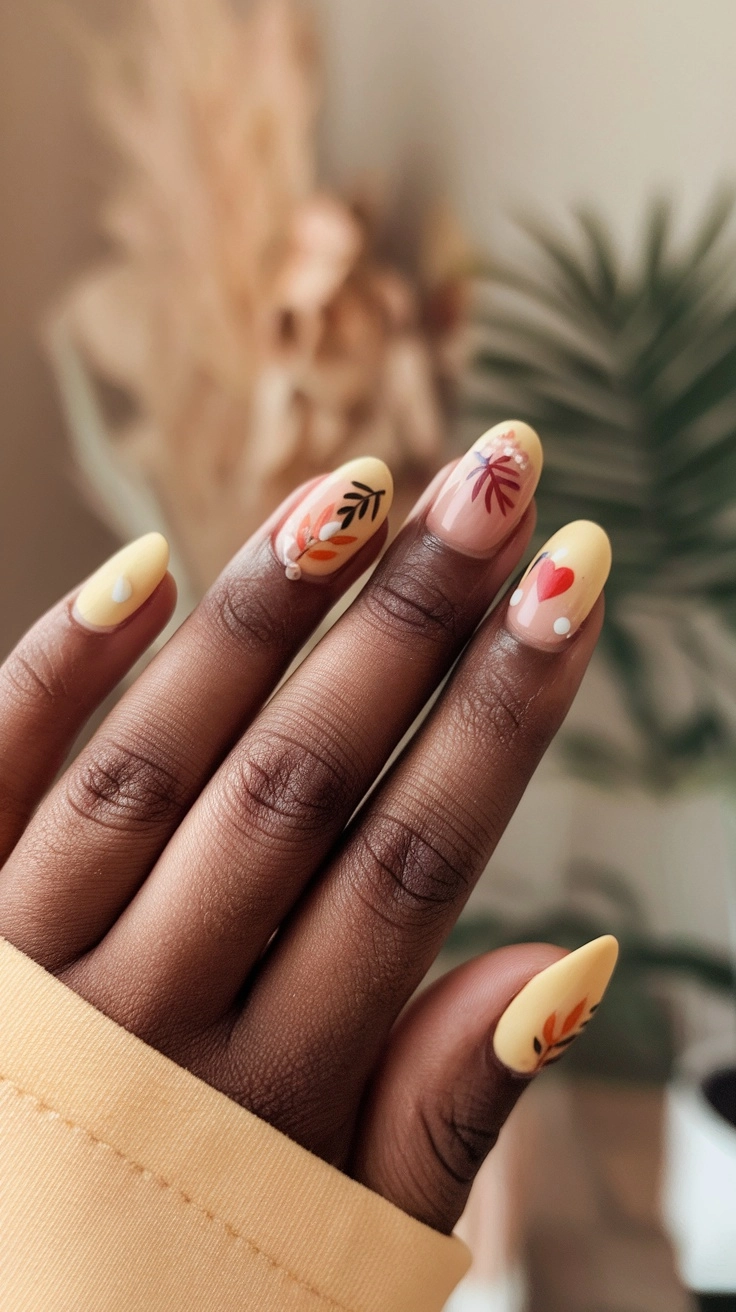
The image showcases a beautiful set of butter yellow nails adorned with delicate floral designs. The combination of pale yellow and intricate patterns is ideal for both casual outings and festive occasions. These nails embody a joyful spirit, making them a must-try trend.
To achieve the perfect butter yellow nails, follow these simple steps:
Step 1: Begin with clean, dry nails. Remove any old polish and shape your nails to your desired length and style.
Step 2: Apply a base coat to protect your nails and ensure the polish adheres well.
Step 3: Select a high-quality, butter-yellow polish. Apply two coats for an even finish, allowing each coat to dry thoroughly in between.
Step 4: Add your favorite floral designs using a fine brush or nail stickers. A mix of colors can help create a spring vibe.
Step 5: Seal your design with a top coat to add shine and durability. This step ensures your Yellow Manicure lasts longer.
Whether you opt for a minimalist look with just butter yellow or add some fun designs with Milky Yellow Nails or Buttermilk Yellow Nails, there’s a style for everyone. Enjoy experimenting with Yellow Nail Ideas this season!
Iconic Butter Yellow Nail Trends Over the Years

Butter yellow nails have been a fun and cheerful choice in nail art, often bringing a pop of brightness to any look. This soft, warm shade is reminiscent of sunny days and can be a perfect addition to summer styles. The image features a beautifully painted hand with butter-yellow nails against a timeline graphic, adding a unique contrast that highlights the nails’ playful nature.
Over the years, this shade has evolved with various trends. From round to almond-shaped, each style offers a distinct vibe. Whether you go for a classic yellow manicure or try out some chrome effects, there’s a butter yellow look for everyone. Pale yellow nails can feel subtle and chic, while bolder butter yellow nails can make a statement.
To achieve the perfect butter yellow nails, follow these simple steps:
- Start with clean, trimmed nails. Push back cuticles and file to your desired shape.
- Apply a base coat to protect your nails and enhance the polish’s longevity.
- Choose your favorite butter yellow polish. OPI offers excellent options for a buttery finish.
- Apply two coats of the yellow polish for even coverage, allowing each coat to dry completely.
- Finish with a top coat to add shine and protection.
- For a fun twist, try adding some yellow nail ideas, such as a white manicure design or milky yellow accents.
Butter yellow nails, whether you go for a simple plain yellow look or a more elaborate design like buttery yellow with chrome accents, are sure to brighten up your day!
With this simple guide, you’ll have the perfect butter yellow nails in no time. Whether you opt for buttery yellow or pale yellow nails, you’re bound to make a statement. Get creative and enjoy your stunning new look!

