This post may contain affiliate links, which means I may receive a small commission should you decide to click that link and make a purchase. For more information please refer to the Terms & Conditions.

I’m excited to share this guide with you! Learning to bake pumpkins for pie will change your cooking forever.
Turning a whole, fresh pumpkin into homemade pumpkin puree is magical. My first try was a bit scary, but it’s easy once you know how. Store-bought cans will soon be forgotten.
Fresh pumpkin baking makes your dishes smooth and tasty. Your pies and breads will taste like they’re from a restaurant.
Whole pumpkins might seem scary, but I’ll guide you through the process. You’ll learn how to pick the right pumpkin and store it properly, and soon, you’ll make creamy, delicious puree in your kitchen.
Are you ready to be a fall baking star? Let’s start this easy method together!
Choosing the Right Pumpkin for Baking
Not every pumpkin is right for baking. I’ve seen people pick the biggest pumpkin, thinking it’s the best. But those big ones can make your pie watery and stringy.
The secret to great pumpkin puree is picking the right one. Sugar pumpkins are perfect for baking. I always look for them during pumpkin season.
Best Pumpkin Types for Perfect Pie
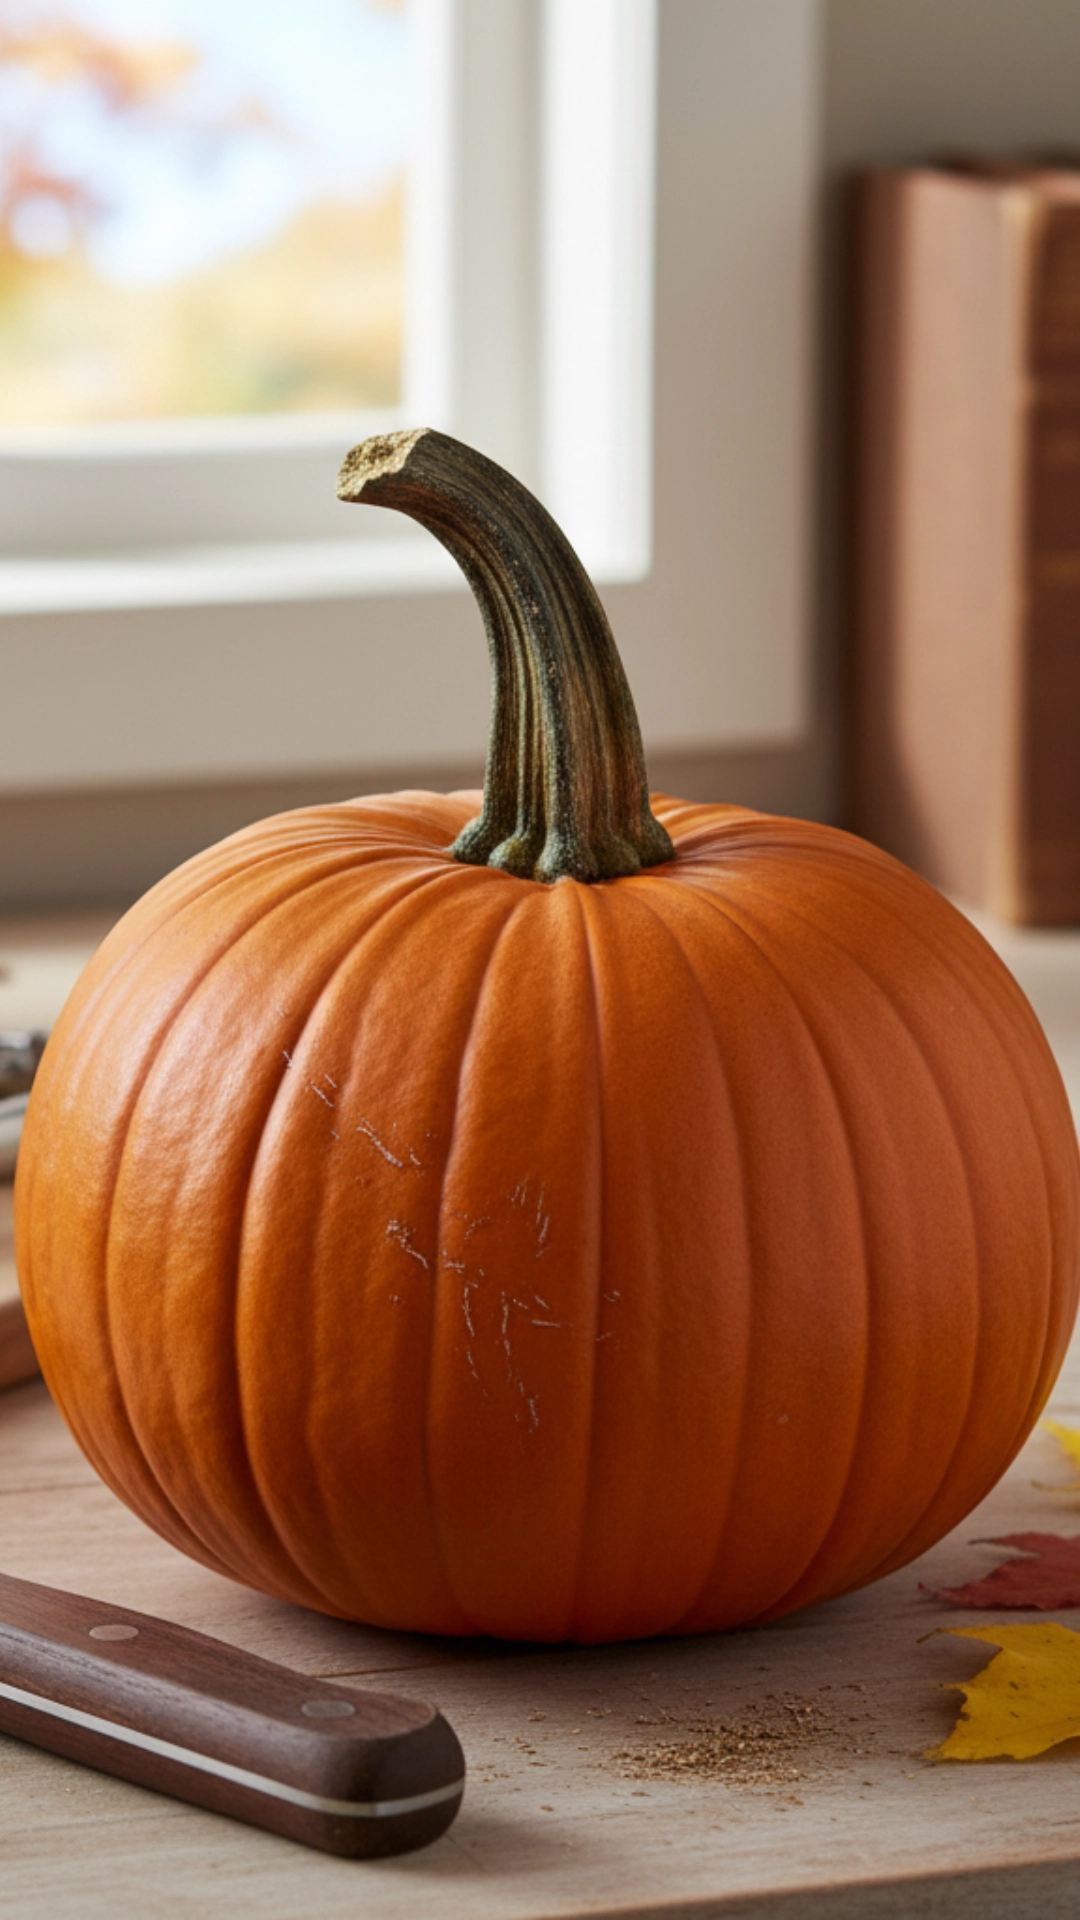
Pie pumpkins are made for eating, not for decoration. They are smaller, weighing 2 to 8 pounds. Their flesh is dense and sweet, making perfect puree.
Here are my top picks for baking pumpkins:
- Sugar Pie Pumpkins – The classic choice with rich, sweet flavor
- Cinderella Pumpkins – Flat and wide with excellent taste
- Fairytale Pumpkins – Deeply ribbed with intense flavor
- Baby Bear Pumpkins – Small but mighty in sweetness
- New England Pie Pumpkins – Traditional variety with consistent results
What to Look for When Selecting
When picking pumpkin varieties, I use a straightforward method. First, check if the pumpkin feels heavy. This means it’s dense and not dry.
Look for a deep orange color without soft spots or blemishes. The skin should be firm and matte, not shiny. A firm, dry stem is a sign of freshness.
My favorite trick is to tap the pumpkin. A good pumpkin sounds hollow, like a ripe watermelon. If it sounds dull or feels squishy, keep looking!
Preparing Your Pumpkin for Baking

The secret to amazing pumpkin dishes starts with how you handle your fresh pumpkin. Proper pumpkin preparation sets the foundation for everything that follows in your fall baking journey. I’ve learned that taking time with this step makes the process smoother and more enjoyable.
When I started working with whole pumpkins, I felt overwhelmed by their size and rugged exterior. But once you break down the process into simple steps, it becomes second nature. The key is having the right approach and not rushing through any part of the preparation.
Cleaning and Cutting the Pumpkin
Start your pumpkin preparation by washing it thoroughly under cool running water. I like scrubbing the surface gently with a clean brush to remove dirt or debris. Pat it completely dry with paper towels before you begin cutting.
Now comes the part that intimidates many people – cutting pumpkins safely and effectively. Use your largest, sharpest knife for this job. Place the pumpkin on a stable cutting board and insert the knife at the top, near the stem.
Cut straight down through the center, working slowly and steadily. Don’t worry if it takes a few minutes – rushing leads to accidents. Once you’ve made it halfway through, flip the pumpkin and complete the cut from the other side.

Removing Seeds and Strings
When you halve your pumpkin, you’ll see the cavity filled with seeds and stringy pulp. This is where an ice cream scoop or large spoon becomes your best friend. I prefer using an ice cream scoop because it makes quick work of the job.
Scrape out all the pumpkin seeds and stringy material from both halves. Don’t throw those seeds away! When seasoned and baked, they make incredible roasted snacks. I always save mine for a healthy treat later.
Keep scraping until you can see clean, orange flesh around the cavity. Some stubborn strings might cling to the walls, but a thorough scraping will get them all. The cleaner you get the cavity, the better your final results.
Prepping the Flesh for Cooking
Once your pumpkin halves are clean, you have two options for the final prep step: leave them as halves or cut them into smaller wedges. I personally recommend cutting into wedges for better results.
Smaller pieces cook more evenly and are much easier to handle when hot from the oven. Depending on the size of your pumpkin, cut each half into 3-4 wedges. Each piece should be roughly the same thickness for even cooking.
Your pumpkin pieces are now ready for the oven! This careful preparation ensures that your fall baking projects will have the best possible foundation. The time you spend on proper prep always pays off in your dishes’ final taste and texture.
Baking Techniques for Pumpkins
Let’s explore how to bake pumpkin for pie. I’ve tried many methods and found the best ones. The right technique makes a big difference in taste and texture.
When you bake pumpkins for pie, you want that sweet flavor. I’ll show you how to get it right every time.
Roasting vs. Steaming
Roasting pumpkins is the best choice! Steaming is okay, but roasting gives better flavor.
Roasting makes the pumpkin sweet and caramelized, adding a depth of flavor you can’t get from steaming. Steaming makes it taste bland and watery.
Roasting pulls out moisture and makes the pumpkin sweeter. This is perfect for pie filling or puree that tastes like autumn!
Ideal Baking Temperatures and Times
The best pumpkin baking temperature is 400°F. I’ve tried different temperatures, and 400°F is the best.
At 400°F, the pumpkin cooks evenly without burning. Put the pumpkin pieces cut-side down on a parchment-lined baking sheet. This helps it steam in its own juices.
Baking time is 45 to 60 minutes, depending on size. Smaller pieces take 45 minutes, and bigger ones take an hour. It’s done when a fork slides through easily.
Using Foil for Enhanced Baking
My secret for perfect oven baking is using foil! I cover the pumpkin with foil for 30 to 40 minutes.
This foil method is fantastic. It steams the pumpkin evenly from the inside out. Then, I remove the foil for the last 15 to 20 minutes.
Those final minutes let the surface caramelize, resulting in tender flesh and golden edges. This method ensures that your pumpkin is always perfect for pie.
Making Pumpkin Puree from Baked Pumpkins
Now it’s time to turn your baked pumpkins into smooth puree! This makes pies and desserts irresistible. It’s rewarding to see your hard work pay off.
When your pumpkins cool down, it’s time to make homemade pumpkin puree. The flesh should come off the skin easily. This means you’ve done a great job!

Blending the Baked Flesh
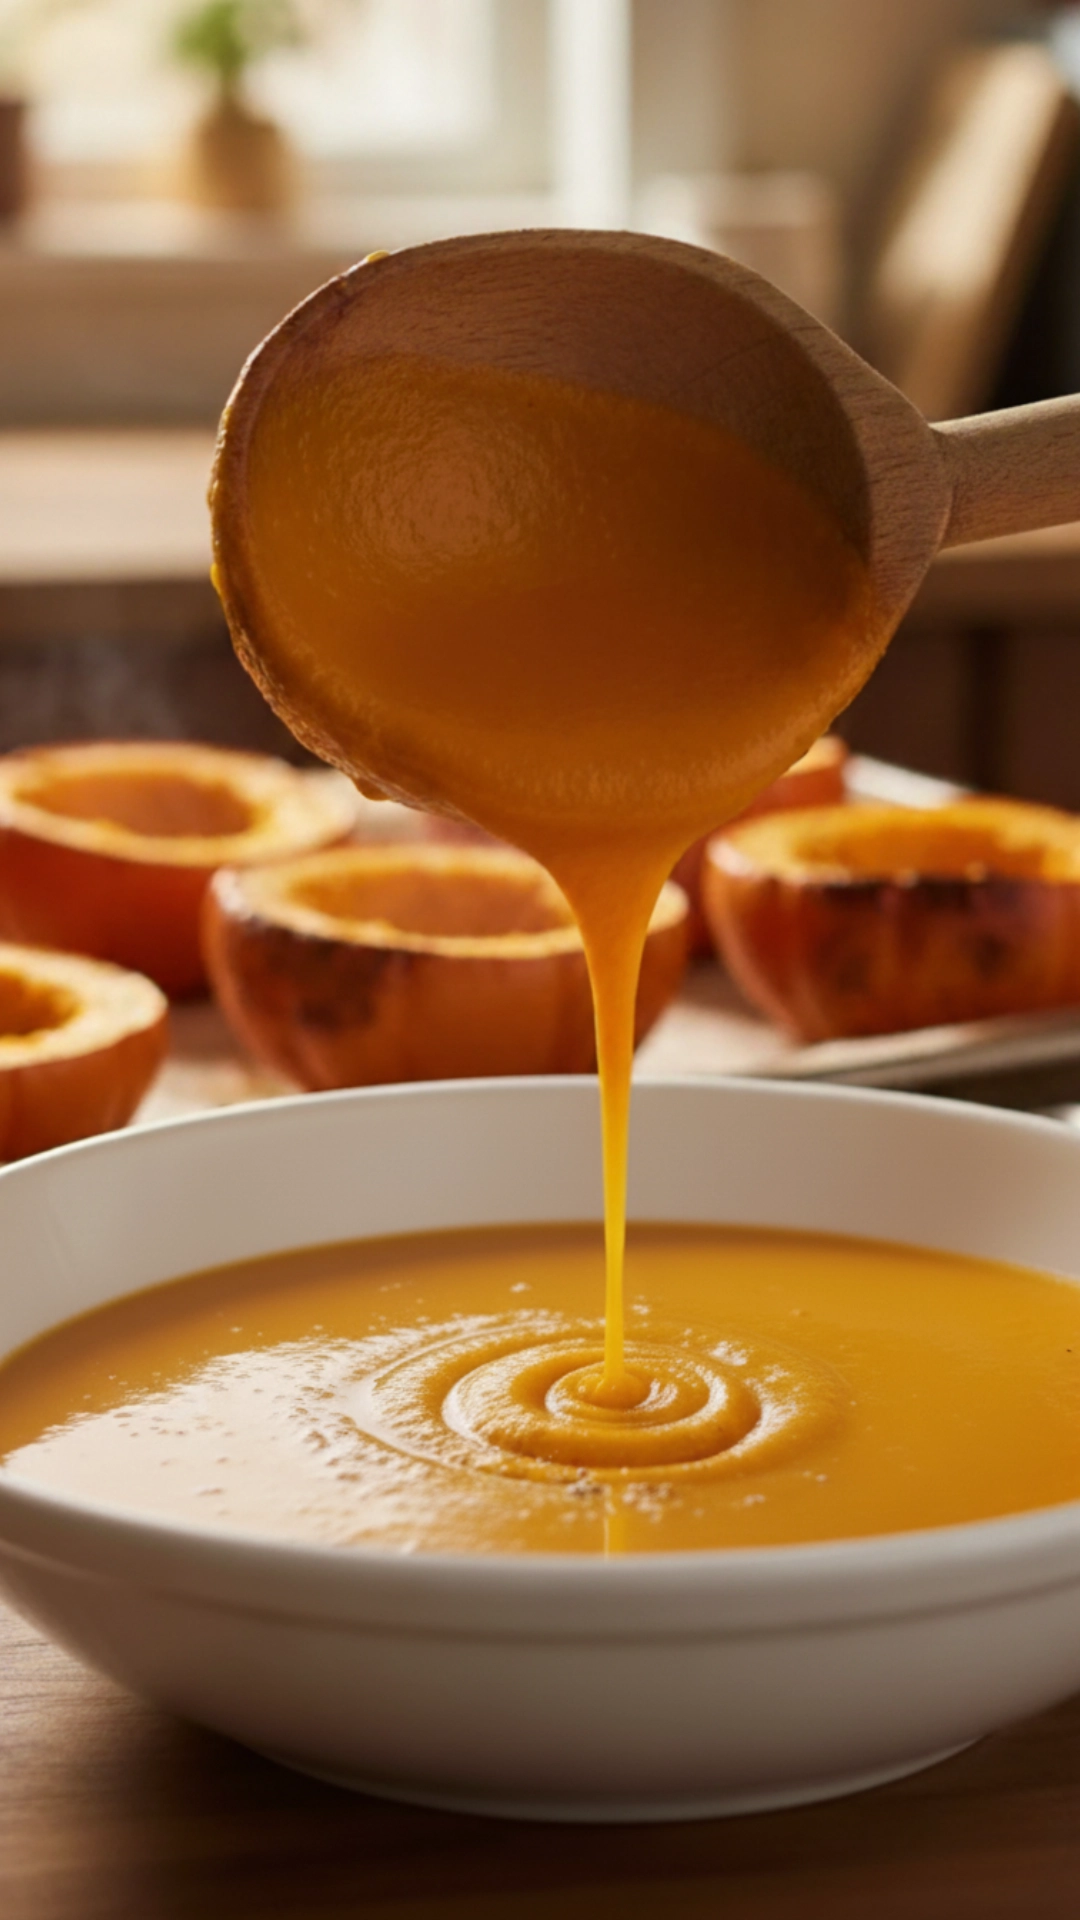
I always use my food processor for smooth pumpkin puree. It gives the best results. Just scoop the flesh into the processor and pulse until smooth.
A blender works well, too. Start with short pulses, then blend continuously. Add water if it’s too thick. This makes the perfect texture.
Be patient during blending. Proper blending is key to the best results. You want no lumps in your pumpkin.
Straining for a Smooth Texture
My secret for top-notch results is straining the puree. This trick removes any fibrous bits. It makes your puree smooth.
Press the puree through a fine-mesh sieve gently—don’t force it. This creates a smooth pumpkin puree that is perfect for any recipe.
Straining also lets you check the texture. If it’s too thick, add a bit of water. If too thin, cook it down.
Storing Your Pumpkin Puree
Proper storage keeps your puree fresh. I store mine in freezer-safe containers or ice cube trays. This makes measuring easy later.
Fresh puree lasts a week in the fridge. It can be frozen for up to six months. Label everything with dates for easy tracking.
Ice cube trays are great for portion control. Each cube is about two tablespoons. Once frozen, store them in freezer bags. Having ready-to-use puree makes baking fun!
Flavoring Your Pumpkin Puree
Your freshly made pumpkin puree is like a blank canvas. It’s ready for the perfect flavor combinations. Adding the right spices and ingredients can make your fall baking special. I keep most of my puree plain for flexibility, but I love making small flavored batches for specific uses.
The key to successful pumpkin flavoring is starting simple and building up. You can always add more seasoning, but you can’t remove it once it’s mixed in!
Spices That Pair Well with Pumpkin
The classic pumpkin spice blend is your best friend. It includes cinnamon, nutmeg, ginger, and cloves, each adding something special.
Cinnamon adds warmth and sweetness, nutmeg provides a subtle, nutty depth, ginger brings a gentle heat that awakens your taste buds, and cloves offer an aromatic punch that makes everything smell like autumn.
But don’t stop there! I love experimenting with cardamom for an exotic twist. It adds a floral, slightly citrusy note. A tiny pinch of allspice works beautifully, especially in savory applications.
Adding Sweeteners or Other Ingredients
When it comes to sweetening your puree, natural options work best. Maple syrup is my go-to choice because it perfectly complements pumpkin’s earthy flavor. Brown sugar adds molasses notes that enhance the autumn feel.
Vanilla extract is another game-changer. Just a teaspoon per cup of puree adds incredible warmth and depth. For something different, try a splash of bourbon or rum extract.
Here’s my practical approach: keep 80% of your puree plain and flavor small portions as needed. This gives you maximum flexibility for different recipes. Start with light seasoning and taste as you go. Your fall baking adventures will thank you for this thoughtful preparation!
Creative Ways to Use Pumpkin Puree

Making your own pumpkin puree opens up a world of possibilities. It tastes better than store-bought versions. I enjoy trying out new recipes with this versatile ingredient.
Once you taste homemade puree, you’ll want to use it in everything. It’s sweet and creamy, perfect for both sweet and savory dishes.
Classic Pie Perfection
Homemade pumpkin pie recipes are unmatched. They have a richer flavor and a more vibrant color than canned pies. It’s a game-changer.
Homemade puree makes the filling silky smooth. It’s moist, just right for the perfect texture. After trying this, you’ll never go back to store-bought.
For a 9-inch pie, use about 1¾ cups of puree. It should be smooth and thick. Your homemade version will get it just right.
Beyond Traditional Treats
Pumpkin desserts go way beyond pie. I love adding it to muffins, breads, and pancakes. It makes them incredibly tender.
For fall baking, try substituting some oil or butter with pumpkin puree. It’s healthier and tastes amazing. For a surprise, try it in chocolate chip muffins.
Pumpkin cheesecake is a showstopper—the sweetness of the puree pairs well with cream cheese. I also make pumpkin bread pudding and cinnamon rolls.
Surprising Savory Applications
Savory pumpkin dishes are surprisingly tasty. I use puree in creamy pasta sauces and risottos. It adds a sweet touch to spicy flavors.
Pumpkin soup is a classic, but try it in curry dishes too. It adds depth and richness. I also mix it into mac and cheese for a healthier version.
Try pumpkin gnocchi or savory tarts with caramelized onions and sage for something unique. The possibilities are endless when you think outside the dessert box!
Common Mistakes to Avoid When Baking Pumpkins
Let me save you from the frustrating mistakes that can ruin your pumpkin baking adventure! I’ve been there – standing in my kitchen with a disappointing batch of watery, flavorless puree. These pumpkin baking mistakes are common but can be avoided.
Most people make the same handful of errors when they bake pumpkins for pie. Knowing these pitfalls will help you achieve pumpkin perfection every time.
Overbaking or Undercooking
Getting the timing right is key to perfect pumpkins. I learned this the hard way! Undercooking leaves you with hard, flavorless flesh.
On the flip side, overbaking turns your pumpkin into a mushy, watery mess. The sweet spot is when a fork slides in easily, but the flesh still holds its shape. Depending on your pumpkin’s size, this usually takes 45-60 minutes at 400°F.
Here’s my foolproof test: the pumpkin should feel tender when pressed gently, and the skin should start to wrinkle slightly. If you can easily pierce it with a fork but it doesn’t fall apart, you’ve hit the perfect doneness!
Using the Wrong Type of Pumpkin
This mistake breaks my heart every time I hear about it! Using carving pumpkins instead of pie pumpkins is like trying to make apple pie with decorative apples – it just doesn’t work. Carving pumpkins are bred for size and hollow interiors, not flavor.
Pie pumpkins are smaller, denser, and packed with natural sweetness. They have thicker walls and less water content, which means better flavor and texture in your final puree. Sugar pumpkins, cheese pumpkins, and butternut squash are all excellent choices.
When shopping, look for pumpkins that feel heavy for their size. This indicates dense, flavorful flesh rather than watery disappointment.
Skipping the Prep Steps
I get it – you’re excited to start baking, and prep work feels tedious. But trust me, these baking tips will save you so much frustration later! Skipping the cleaning step and trying to puree pumpkin with strings still attached creates a fibrous, unpleasant texture that no blending can fix.
Take the time to clean out all the seeds and stringy pulp properly. Use a sturdy spoon or ice cream scoop to scrape everything out thoroughly. Your future self will thank you when you’re making silky smooth puree!
Also, please don’t try to cut raw pumpkin into tiny pieces – it’s dangerous and completely unnecessary. Large wedges or halves work perfectly and are much safer to handle. These small details make all the difference in your final result!
Tools and Equipment Needed for Baking
You don’t need fancy gadgets to bake perfect pumpkin pies at home. Most people already have the essential kitchen equipment they need. The trick is knowing which tools really help.
Here are the tools that will make baking pumpkins easy and fun. These baking essentials focus on safety, efficiency, and getting great results.
Must-Have Kitchen Tools
A sharp chef’s knife is at the top of my list of pumpkin baking tools. Pumpkin skin is tough, and a dull knife is dangerous. Always keep your knife sharp.
Your cutting board should be sturdy and big enough for a whole pumpkin. Place a damp towel underneath to stop it from slipping. Safety is key!
A large spoon or ice cream scoop makes removing seeds easy. I like the ice cream scoop because it’s curved, so it can reach all the pulp and strings.
A food processor makes the smoothest puree, but a regular blender works well, too. Just blend in smaller batches.
A fine-mesh sieve makes your puree smooth like in a restaurant. This step really improves your pie’s texture.
Best Baking Dishes and Accessories
Any rimmed baking sheet is great for roasting pie pumpkins. I prefer half-sheet pans because they fit most home ovens and prevent juices from dripping onto the oven floor.
Parchment paper is a lifesaver for cleanup. It prevents sticking and makes washing dishes easy. I always use it when baking pumpkins!
Aluminum foil is useful in pumpkin baking. You can use it to cover your pumpkin for gentle steaming or to cover the top if it’s browning too fast.
The beauty of pumpkin baking is its simplicity. You probably already have most of these tools. Kitchen equipment for pumpkin baking doesn’t have to be fancy or expensive. It just needs to work well and keep you safe.
Having sharp, clean tools makes a big difference. Your pumpkins will turn out perfect in texture and flavor!
Time-Saving Tips for Baking Pumpkins
I’ve found ways to make pumpkin baking quick and easy. It’s not about rushing. It’s about doing things right. This way, you can enjoy efficient baking and have yummy treats all fall.
Think of pumpkin prep as a smart move for later. Spend one afternoon making puree for the whole season. It saves time and money, and you always have great ingredients.
Batch Baking for Future Use
When pumpkins are cheap, I buy lots and bake them all at once. Your oven can handle many pumpkins at once, so it’s a smart way to use energy.
I fit three to four medium pumpkins on two baking sheets. While they roast, I prepare my containers and food processor. This way, I use every minute wisely.
Freezing puree in ice cube trays is a great trick. Each cube is about two tablespoons, perfect for recipes. It helps with portion control and cuts down on waste.
Think about how much puree your family will use. If you bake pumpkin bread weekly, plan your batch sizes. This way, you won’t run out or have too much.
Quick Cleanup Techniques
Start cleaning before you cook for a quick cleanup. These pumpkin prep tips will save you a lot of time and effort.
- Line all baking sheets with parchment paper for easy cleanup
- Keep a compost bowl nearby while working to collect scraps immediately
- Use a large cutting board with raised edges to contain mess
- Prepare a sink of warm, soapy water before starting
- Clean tools immediately after use to prevent sticky buildup
Cleaning as you go makes a big difference. Rinse your spoon right after scooping seeds. Clean your cutting board before putting pumpkins in the oven.
The secret to efficient baking is being prepared and organized. Set up your space well, and cleaning will be easy. Your future self will be grateful for these steps in your fall baking.
How to Store and Reheat Baked Pumpkins
Properly storing your baked pumpkins ensures you can enjoy them long after harvest season. Proper storage techniques are key. They make all the difference between fresh-tasting puree and something that’s lost its magic. Here are my favorite pumpkin storage tips, which have kept my homemade puree delicious for months!
Best Storage Methods for Freshness
I keep my pumpkin puree in the fridge in airtight containers for short-term storage. Glass containers are best because they don’t absorb odors or stains like plastic can. Your puree will stay fresh for up to one week this way.
When I’m storing pumpkin puree for longer, freezing is my go-to method. I portion the puree into recipe-sized amounts – usually 1 cup or 2 cups. This makes it super convenient when I want to whip up a quick pie or soup later!
Heavy-duty freezer bags or freezer-safe containers work perfectly for this. Don’t forget to label everything with the date and amount – trust me, you’ll thank yourself later! Frozen pumpkin puree keeps beautifully for up to six months without losing quality.
Here are my essential storage steps:
- Cool the puree completely before storing
- Use airtight containers to prevent freezer burn
- Leave some headspace in containers for expansion
- Store in portion sizes you’ll actually use
Reheating Tips for Texture Preservation
When you’re ready to use frozen puree, thaw it overnight in the fridge. Sometimes, thawed puree can be a bit watery, but don’t worry! Just stir it well or give it a quick whir in the food processor to restore that smooth texture.
I use a gentle approach to reheating pumpkins that are still in pieces. Set your oven to 300°F and warm the pieces until they are heated. Low and slow is the key here—you don’t want to dry out all that beautiful moisture you preserved during baking.
If you’re reheating pumpkin puree directly, try these methods:
- Microwave in 30-second intervals, stirring between each
- Warm gently in a saucepan over low heat
- Add to recipes while still cold – it’ll warm up during cooking
The secret to successful reheating pumpkins is maintaining that perfect texture you worked so hard to achieve. With these storage and reheating techniques, you’ll have delicious pumpkin ready whenever inspiration strikes!
Final Thoughts on Baking Pumpkins for Pie
I hope this guide has helped you feel ready to make amazing fall treats. Turning a whole pumpkin into puree is very rewarding.
Making the Most of Your Baking Experience
Remember, practice makes perfect when baking pumpkins for pie. Each time, you’ll get better at knowing when it’s done. The smell of roasting pumpkin is amazing.
Try different spice mixes to find your favorite. Your homemade puree will taste better than store-bought.
Encouragement for First-Time Bakers
Don’t worry if you’re new to this. Every expert started somewhere. Your first try might surprise you with how good it is.
Enjoy the process. Making a pumpkin into something tasty is very fulfilling. Your baking journey is just starting, and I think you’ll love it.
Happy baking, and enjoy every part of your pumpkin journey!
