This post may contain affiliate links, which means I may receive a small commission should you decide to click that link and make a purchase. For more information please refer to the Terms & Conditions.
Spring Nails at Home: Your Guide to Perfect Manicures
Okay, as the weather warms up and everything starts blooming, it feels like the perfect time for a little refresh, right? Pretty spring nails are such a fun way to capture that energy!
You don’t need to be a pro to get gorgeous nails. With a few simple steps, a little waiting (it’s worth it!), and my easy tips, you’ll see how much fun and creativity you can have.
Let’s dive into some fresh nail ideas that’ll make you smile!
Getting Ready for Your Spring Nail Makeover
Before we discuss all those lovely, colorful spring nail ideas, getting your little nail station ready is crucial for great results. Think of it like getting your art supplies all set!
A good spring manicure starts even before you pick up that polish. If you have the right tools and do a little prep work, you can get those salon-quality nails that show off your style and all the fresh vibes of spring.
Essential Tools and Supplies for DIY Manicures
You know what? Having a good nail kit is the first step towards getting great at-home manicures, as we’re discussing.
It might seem simple, but quality tools make a big difference in how your nails look. It’s like having good brushes when you’re painting—they just help you get a smoother, better finish!
To begin, you’ll need these essential manicure tools:
- Quality nail clippers and scissors
- Nail files in various grits
- Buffer block for smoothing nail surfaces
- Cuticle pusher and nippers
- Base coat to protect nails
- Top coat for shine and longevity
- Spring-appropriate polish colors
- Cuticle oil and hand cream
- Nail polish remover (acetone-free preferred)
- Cotton pads or lint-free wipes
If you want to do more elaborate spring designs, add these special items:
- Dotting tools for precise details
- Fine-tipped brushes for intricate art
- Striping tape for clean lines
- Nail stickers and decals for quick designs
- Small container for water marbling
You don’t have to spend a lot to get beautiful spring nails. Many good tools are available at different prices. Here’s a look at budget-friendly options and investment pieces:
Invest in tools you use, like sound files and cuticle tools. Save on things you’ll replace often, like cotton pads or seasonal polish.
Preparing Your Nails for the Perfect Application
You know what makes a spring manicure pop and last longer? It’s not just the polish. It’s all in the prep work. Trust me, skipping these little steps can make even the cutest colors look a bit off.
Start by cleaning your nails. Remove any old polish with a gentle remover, I like the acetone-free kind. Then wash your hands well. Oils and leftover residue can keep polish from sticking.
Next, shape your nails however you like. I love soft shapes like rounded tips or a classic square this season. When filing, go in one direction only. That back-and-forth motion can weaken your nails.
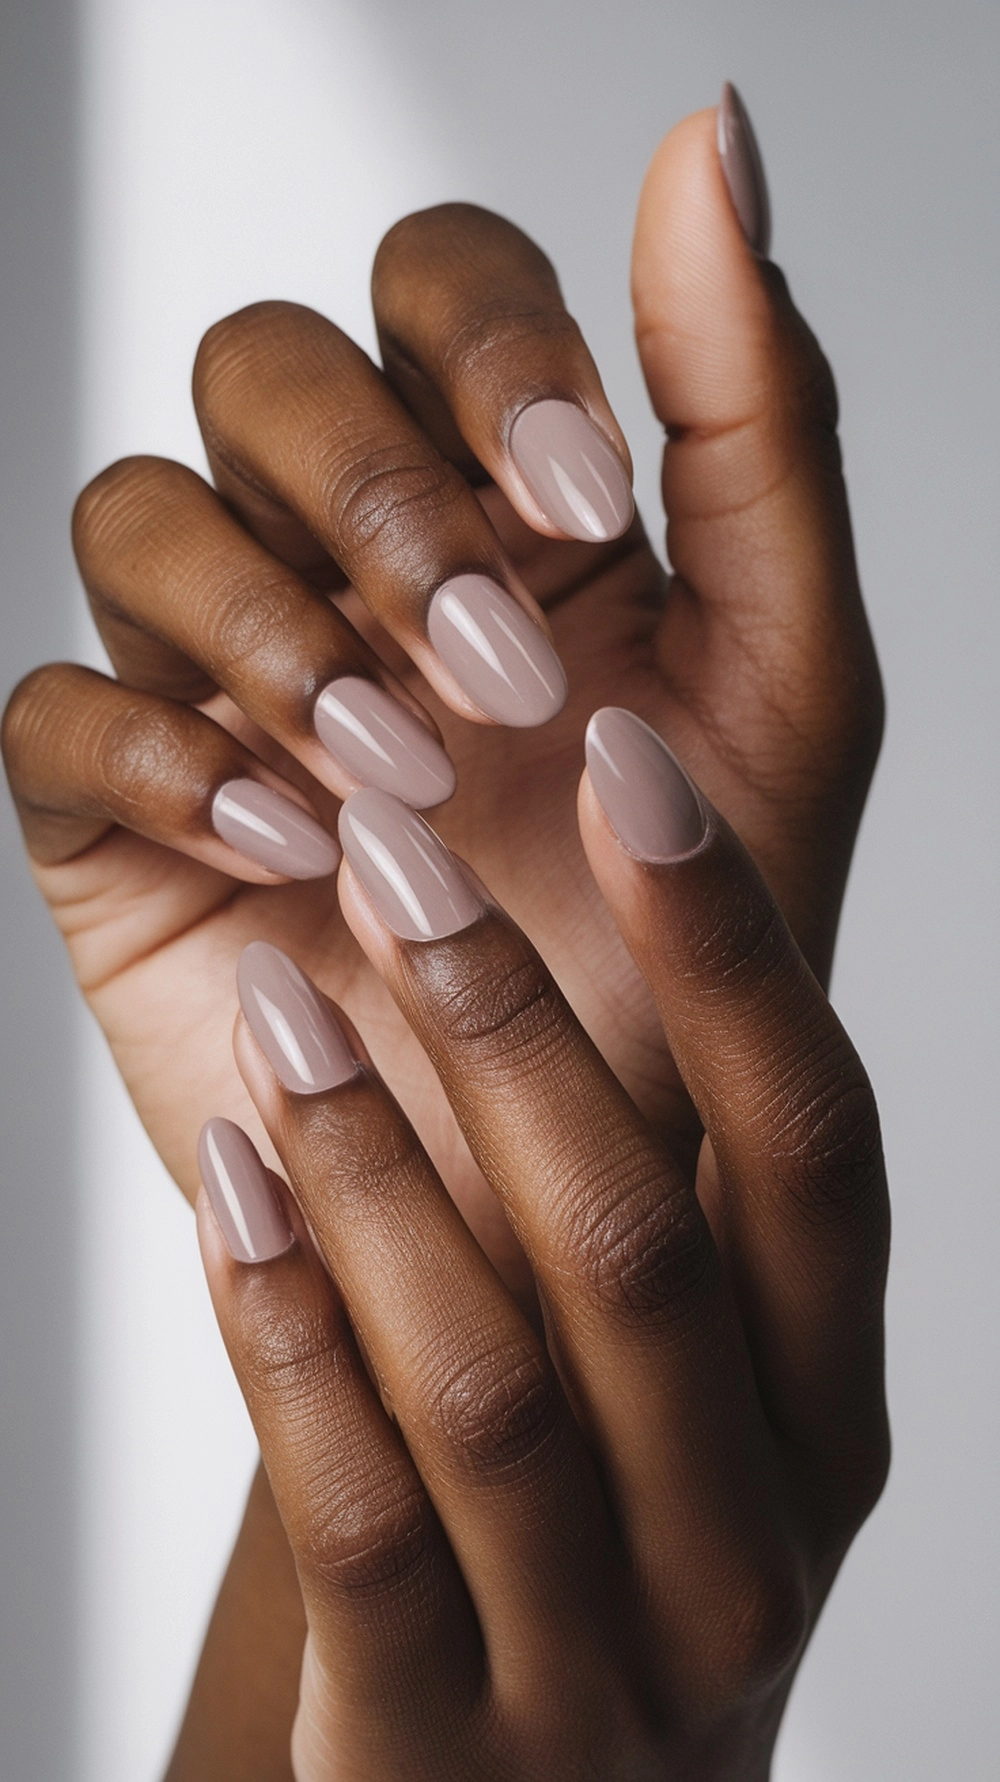
Let’s talk cuticles! Soak your fingertips in warm water for a few minutes to soften them. Then, apply cuticle remover and gently push your cuticles back with a wooden stick or rubber tool. Be gentle; there is no need to force it. If you have hangnails, trim only the dry bits to avoid cutting live skin and causing infection.
Next, lightly buff the surface of your nails. This helps your polish apply smoothly and last longer. A few gentle swipes are all you need.
Many people miss this step: wipe each nail with a lint-free pad and some nail polish remover or rubbing alcohol. This clears away oils and dust, ensuring your polish sticks better.
If your nails are weak or damaged, take a break and use a strengthening treatment for a week or two. Your nails will thank you.
These extra prep steps make a big difference. A good base equals a longer-lasting, prettier manicure.
Spring Nails: Top Trends and Color Palettes
As flowers bloom and the weather warms up, it’s the perfect time to freshen up your nails for spring, right?
The nail polish aisle is full of vibrant spring colors that feel fresh and exciting. This year’s trends are all about soft, dreamy shades and bold, bright pops of color that stand out.
When picking your perfect spring shade, consider how it matches your style.
What’s incredible is that many popular nail colors also appear in fashion and home decor, so everything feels fresh and on-trend. What colors are you drawn to? I’m curious!
Pastel Perfection: This Season’s Must-Have Shades
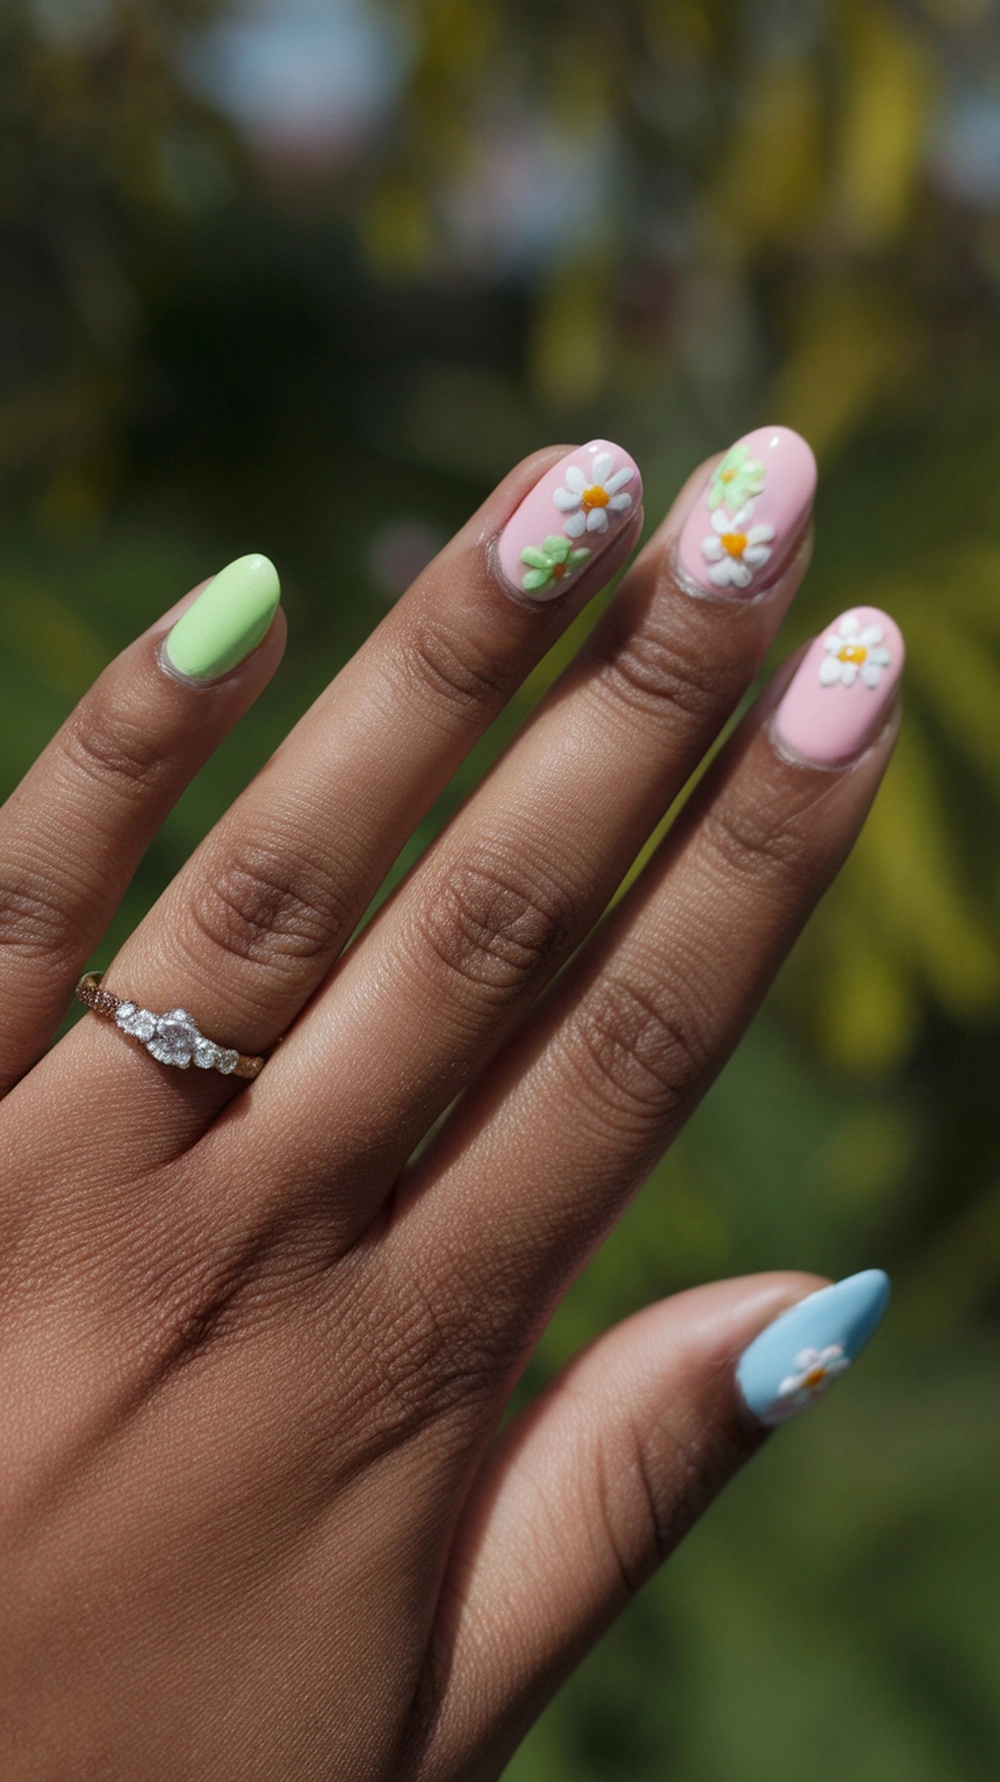
When the weather warms up, I always choose pastel colors. They feel refreshed after months of dark, cozy shades.
Lavender is a classic favorite. It reminds me of blooming flowers and flatters every skin tone. It pops on deeper skin and adds a delicate touch to lighter tones.
Mint green is another go-to for me. It’s like wearing spring! It especially enhances warm or olive undertones, bringing out that natural glow.
Baby blue reminds me of clear skies. It’s calming and pretty, and it looks best on fair to medium skin. A brighter version works for deeper tones.
Soft pink is timeless. It always feels sweet and polished, whether ballet pink or a peachy blush.
Here’s a tip: start with a white base coat when using pastels. It helps the color pop and keeps everything looking clean. A matte top coat gives a modern twist, while glossy finishes add a dreamy effect.
Bold and Bright: Statement Colors for Spring
While pastels are charming, sometimes you want your nails to pop. This spring is full of bold, fun colors, and I’m all about trying shades that feel fresh and lively.
If you’re craving brightness, coral is the way to go. It’s a mix of pink and orange, reminding me of sunshine and beach days. It lifts your mood and looks fantastic on everyone.
Sunshine yellow is another favorite. Bold, happy, and spring-like, this color stands out. I especially love it on deeper skin—it creates a stunning contrast.
For something unexpected, try a bright green like lime or chartreuse. These colors are like fresh spring leaves. Use green as an accent nail with soft neutrals to keep it subtle.
Ready to mix it up? Bold shades are the way to go. Have fun and try something new. Your nails are the perfect place to play with color.
| Color Family | Popular Shades | Best For | Pairs Well With |
|---|---|---|---|
| Pastels | Lavender, Mint, Baby Blue, Soft Pink | Everyday wear, Office, Bridal | White clothing, Floral prints, Denim |
| Bold Brights | Coral, Sunshine Yellow, Vibrant Green | Weekends, Vacations, Festivals | Neutral outfits, Bohemian styles, Minimalist jewelry |
| Transitional | Peach, Aqua, Lilac | Versatile wear, Changing seasons | Both warm and cool-toned wardrobes |
When applying bold colors, take your time. These shades can show every bump or streak, so go for thin, even coats and focus on your cuticle area. It makes all the difference.
Short to medium nails work best with bold colors. I prefer a soft square or gentle round shape, which lets the color shine without feeling too heavy.
One of my favorite things about this spring is mixing pastels with bold shades. Try a bright coral accent next to soft lavender or alternate baby blue with sunshine yellow. It’s like spring is at your fingertips!
Whether you like soft and pretty or bold and confident, this season’s spring colors offer endless ways to show off your style. Just have fun and wear what makes you feel great!
Mastering Basic Spring Nail Techniques
Salon-quality spring nails start with three key techniques. Trendy nail art looks great on social media, but the basics make it professional. Learning these basics improves your manicure’s look and makes it last longer. Let’s explore the essential techniques for stunning spring nail art.
Creating the Perfect Base
A great manicure begins with preparation. Think of your nails as a canvas. A smooth surface makes your artwork shine. After soaking your cuticles in warm water, gently push back your cuticles with a wooden stick.
This creates a clean edge without cutting risks. Essential steps for a perfect base:
- File your nails in one direction only to prevent splitting and peeling
- Buff the nail surface lightly to remove ridges and create adhesion
- Clean nails with polish remover to eliminate oils, even on bare nails
- Apply a thin, even layer of base coat, avoiding the cuticles
When applying the base coat, leave a small margin around the edges. This prevents polish from touching skin and lifting early. A ridge-filling base coat enhances the look for light spring colors.
Don’t shake the base coat bottle. Shaking introduces air bubbles. For streaks, use thinner coats and let them dry thoroughly.
Applying Even Color Coats
Color application is crucial for your spring manicure. I use the three-stroke method: one down the middle, then on either side. This method ensures even coverage without pooling.
For pastel shades, use less polish on your brush. Wipe one side against the bottle’s neck for a thin coat. Thin layers dry faster and avoid bubbles.
For sheer spring colors, apply thin coats. This prevents uneven patches. Tips for perfect color application:
- Hold the brush at a 45-degree angle to the nail
- Start about 1/8 inch away from the cuticle and gently push back
- Allow 2-3 minutes between coats for proper drying
- Cap the free edge by running polish along the tip to prevent chipping
For sheer jelly finishes, build color gradually. These formulas are layered for depth, perfect for spring.
Sealing Your Design with Top Coat
The top coat is your manicure’s best friend. It protects, adds shine, and extends wear. For detailed spring designs, use a thin regular top coat followed by a quick-dry.
When applying a top coat over art, use a light touch. Load your brush moderately and let it flow over the design. This preserves details while protecting.
For activities that might harm your nails, try these top coat options:
- Gel-effect top coats for extended wear and a plump, glossy finish
- Matte top coats for a modern twist on pastel spring colors
- Quick-dry formulas containing silicone for busy schedules
- Strengthening top coats with added keratin for weak or damaged nails
Seal the free edge of your nails with top coat. This prevents water from seeping under when washing hands or doing dishes and extends the life of your manicure.
Apply a thicker top coat around textured elements like rhinestones or dried flowers. Build up to cover them entirely. This creates a smooth surface that won’t catch on clothing while keeping the dimensional effect.
Even the best top coat needs to be reapplied every 2-3 days to keep your manicure looking fresh. With these basics mastered, you can confidently explore spring nail art!
Step-by-Step Floral Nail Art Tutorials
Turn your nails into a garden with these floral nail art tutorials. Floral designs are great for spring and add nature’s beauty to your nails. Don’t worry if you’re new to nail art. These tutorials are easy for everyone, and remember, handcrafted flowers are beautiful, no matter how they look!
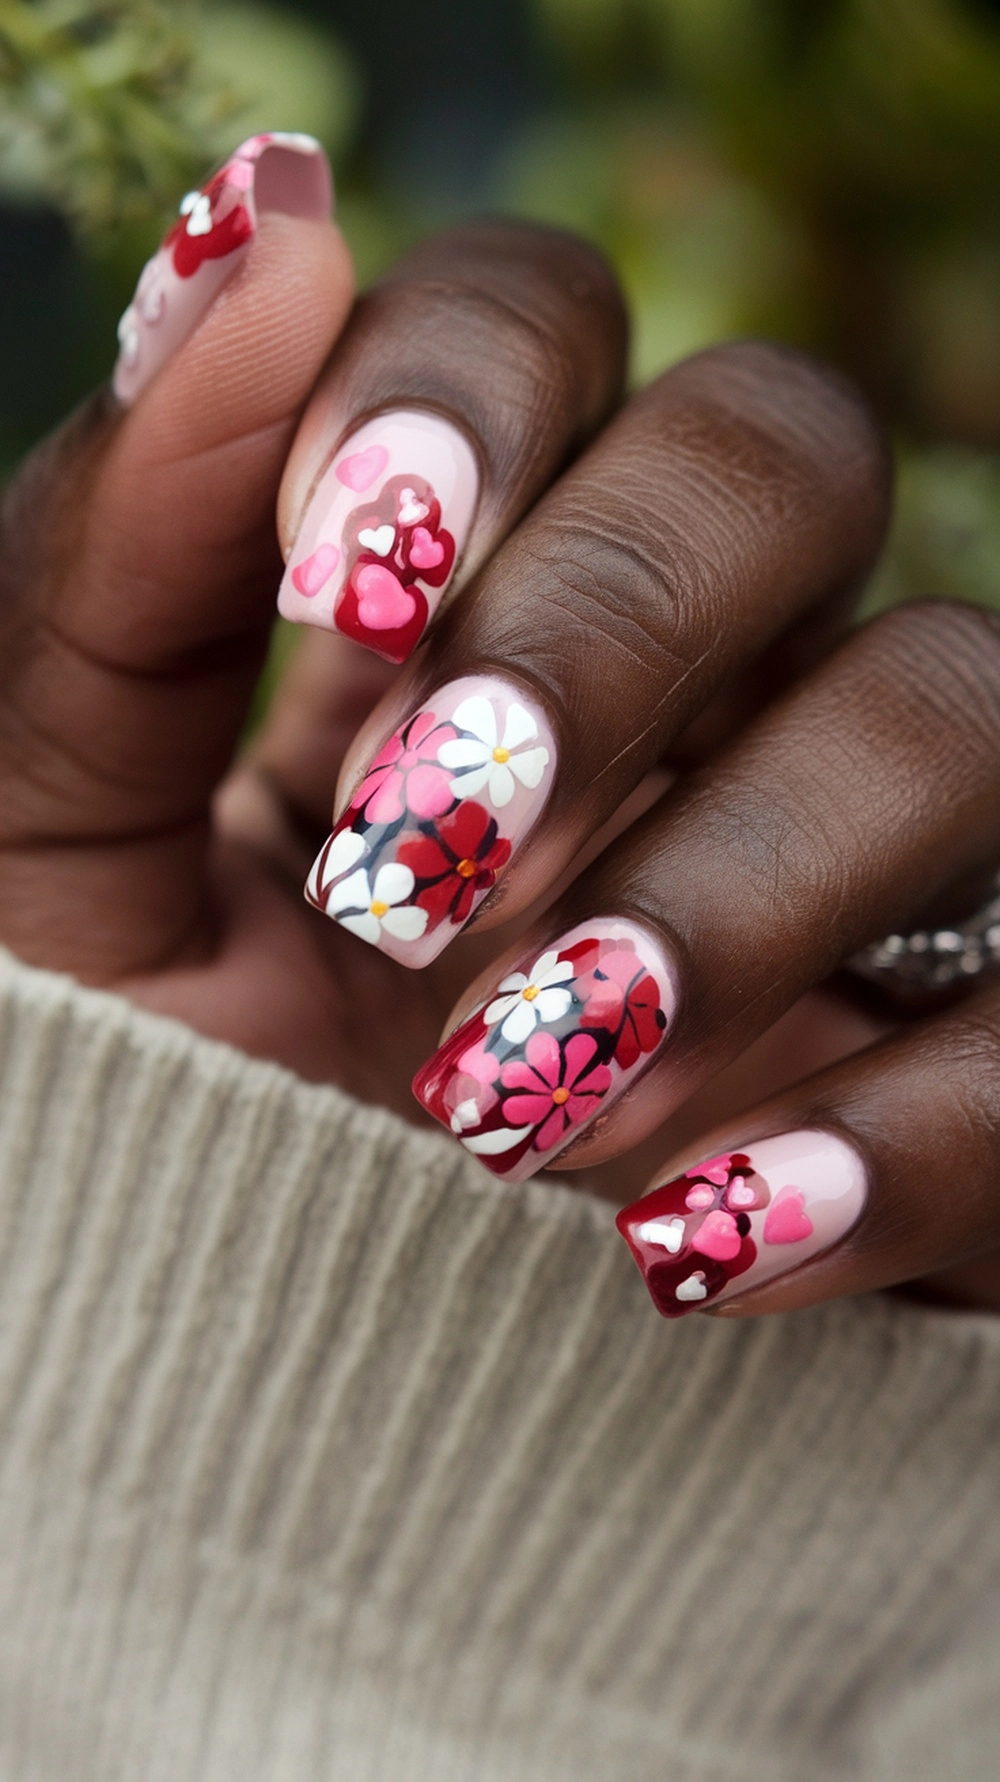
Easy Daisy Design for Beginners
Daisies are simple yet charming to create at home. They’re perfect for beginners, needing just a few tools and a steady hand.
To start, you’ll need:
- White nail polish for the petals
- Yellow or gold polish for the center
- A base coat and top coat
- A dotting tool (or a toothpick in a pinch)
- A small nail art brush (optional)
Here’s how to make your daisy design:
- Prepare your nails with a base coat and your chosen background color. Light pink, baby blue, or mint green are great for spring.
- Create the center dot with yellow polish and your dotting tool. Place it a bit off-center for a natural look.
- Add the petals by dipping your dotting tool in white polish. Make small oval shapes around the yellow center. Start with five petals, then add more if you want.
- Let your design dry completely before sealing with a top coat to prevent smudging.
For fun, try different daisy sizes on each nail. Or, place a big daisy on your ring finger with solid colors on the others. You can also play with petal colors for a twist on this classic design.
Cherry Blossom Nail Art Tutorial
Cherry blossoms symbolize spring and make for a delicate, sophisticated nail design. This tutorial needs a bit more precision but creates stunning results that capture spring’s beauty.
Here’s what you’ll need:
- Light blue or pale pink polish for the background
- Brown or black polish for the branches
- Pink polish in two shades (light and medium) for the blossoms
- White polish for highlights
- A thin nail art brush
- A dotting tool
Follow these steps to create your cherry blossom design:
- Apply your base color and let it dry completely. A pale blue mimics the spring sky, while light pink is softer.
- Using your nail art brush and brown polish, create thin branches. Draw a main branch diagonally across the nail, then add smaller offshoots. Keep your hand relaxed for natural-looking lines.
- Add blossom centers by placing small dots of darker pink along the branches using your dotting tool.
- Use lighter pink to create petals around each center dot. Use the tip of your dotting tool to make five small, slightly rounded petals around each center.
- Add dimension with tiny white dots at the center of some blossoms or as highlights on petals.
- Seal your artwork with a clear top coat once completely dry.
Okay, so for realistic cherry blossoms, don’t make them all perfect! Some are open, some are still buds. Mix up the size and where you put them for a natural look.
For an easy version, do the flowers without branches. Put clusters of pink dots on a light background and add little white touches.
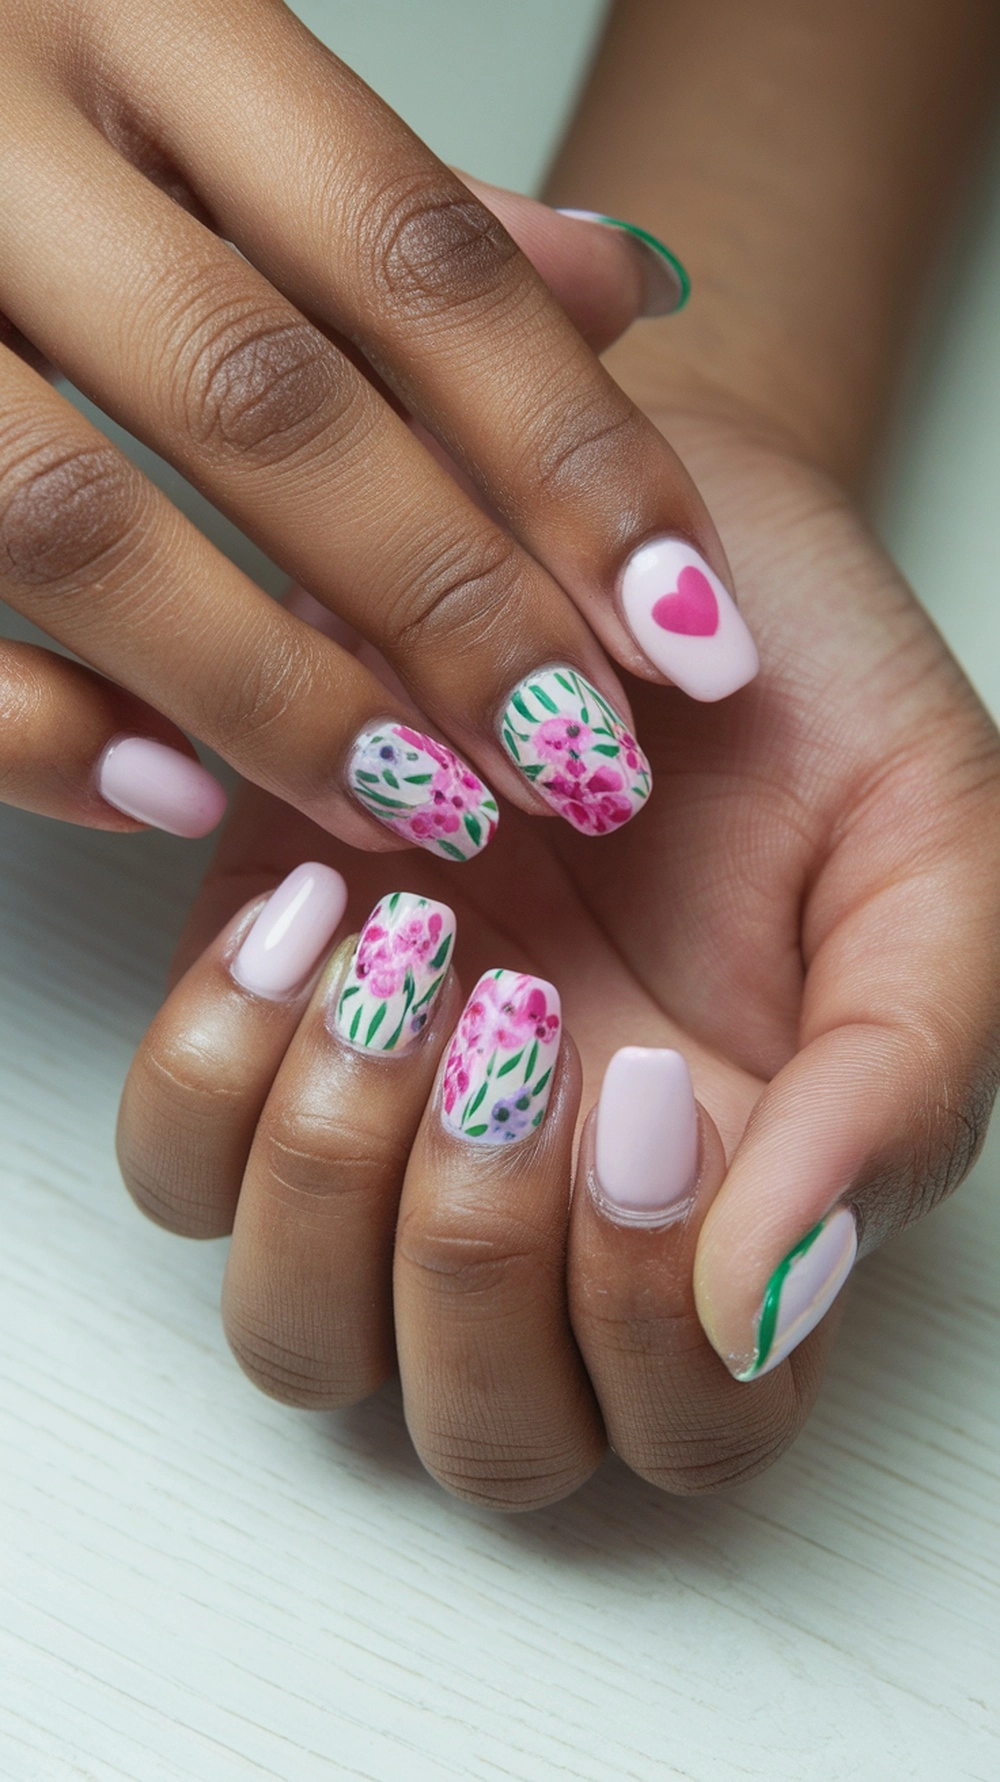
You can change these flower ideas to fit your style! Try different colors – like lavender daisies on white or cherry blossoms on black- for a cool contrast. You can also play with where you put them, maybe a whole garden on one nail or just a few flowers spread out.
Just remember, nail art takes practice! Mess up? No biggie! Just wipe it off and try again. The fun part is that each little petal shows off your creativity, blooming!
Easter-Inspired Nail Art Ideas
Make your nails festive for Easter with cute designs. Easter nails are perfect for playing with pastel colors and spring motifs. They’re great for family gatherings or spring brunches, showing off your creativity.
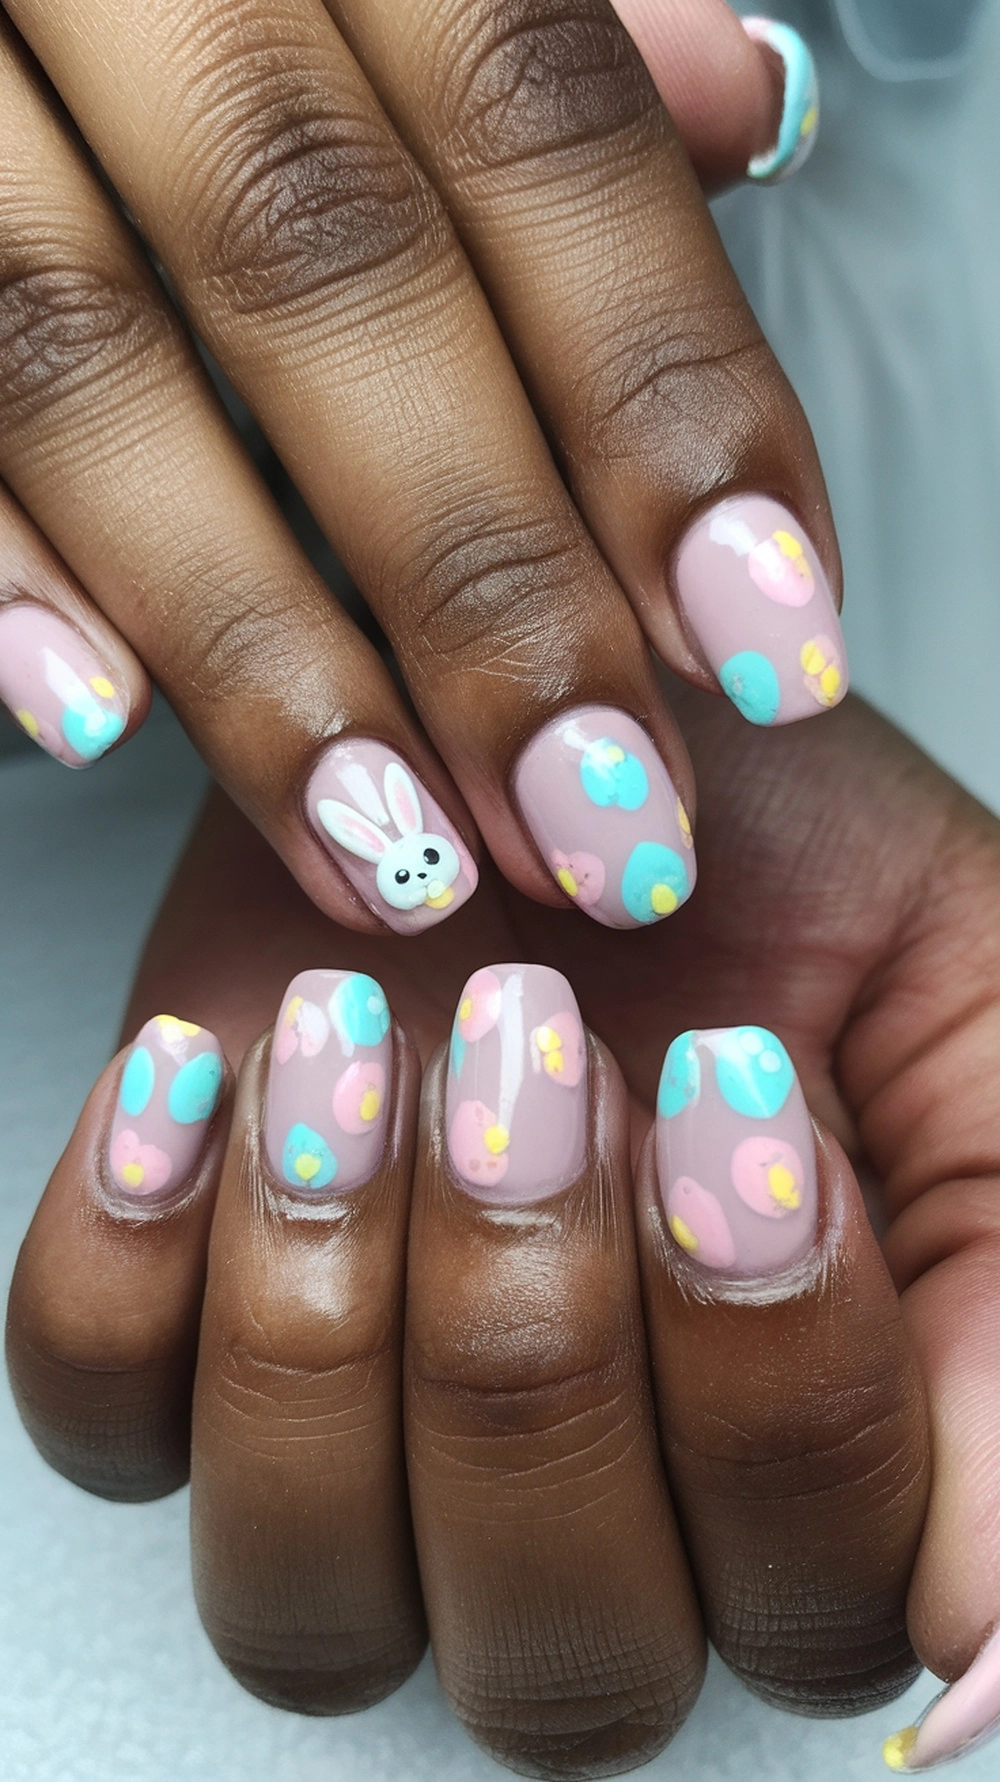
Cute Bunny and Egg Designs
Bunnies and eggs are classic Easter symbols for nail art. With patience and the right tools, even beginners can make these designs.
For a bunny face design, follow these steps:
- Apply a pastel base color (baby pink or light blue works wonderfully)
- Use a dotting tool to create a white circle for the bunny’s face
- Add two smaller white dots above for ears
- Once dry, use a fine detail brush to draw tiny pink noses and whiskers
- Finish with black dots for eyes
Try bunny silhouettes against a pastel background for a striking look. The contrast between the white bunny shape and colorful background creates an eye-catching effect perfect for Easter celebrations.
For more experience, 3D bunny ears make a statement. Use building gel to create raised ears on accent nails. Shape the gel with a thin brush, cure under a UV lamp, and then paint with white polish and pink details.
Easter egg designs offer endless creative possibilities. My favorite technique involves:
- Painting each nail a different pastel shade
- Using a thin brush to add zigzags, dots, or tiny flowers
- Adding miniature cross patterns to mimic decorated eggs
- Sealing with a glossy top coat for a polished finish
Pastel Patterns Perfect for Easter Celebrations
Pastel patterns are great for Easter nails that capture the holiday spirit. These designs evoke Easter without being too obvious, making them perfect for spring.
Pastel color blocking creates a modern look. Use nail tape to section off areas, then apply different pastel shades. The clean lines and soft colors create a sophisticated yet festive appearance that works beautifully for Easter brunches.
Speckled designs reminiscent of robin’s eggs make for delicate, nature-inspired Easter nails. To create this look:
- Apply a light blue or mint green base
- Dip a small brush in brown or black polish
- Flick the bristles toward your nail to create tiny speckles
- Keep the pattern random for a natural appearance
Alright, so spring plaid in those soft yellows, pinks, and blues is super cute for Easter nails! I think it looks sweet as accent nails on your thumbs and ring fingers, with a solid color on the others.
If you’re just starting out, I think simple bunny accent nails on your ring fingers with a pretty pastel on the rest is a great idea. It’s easy but still Easter-y!
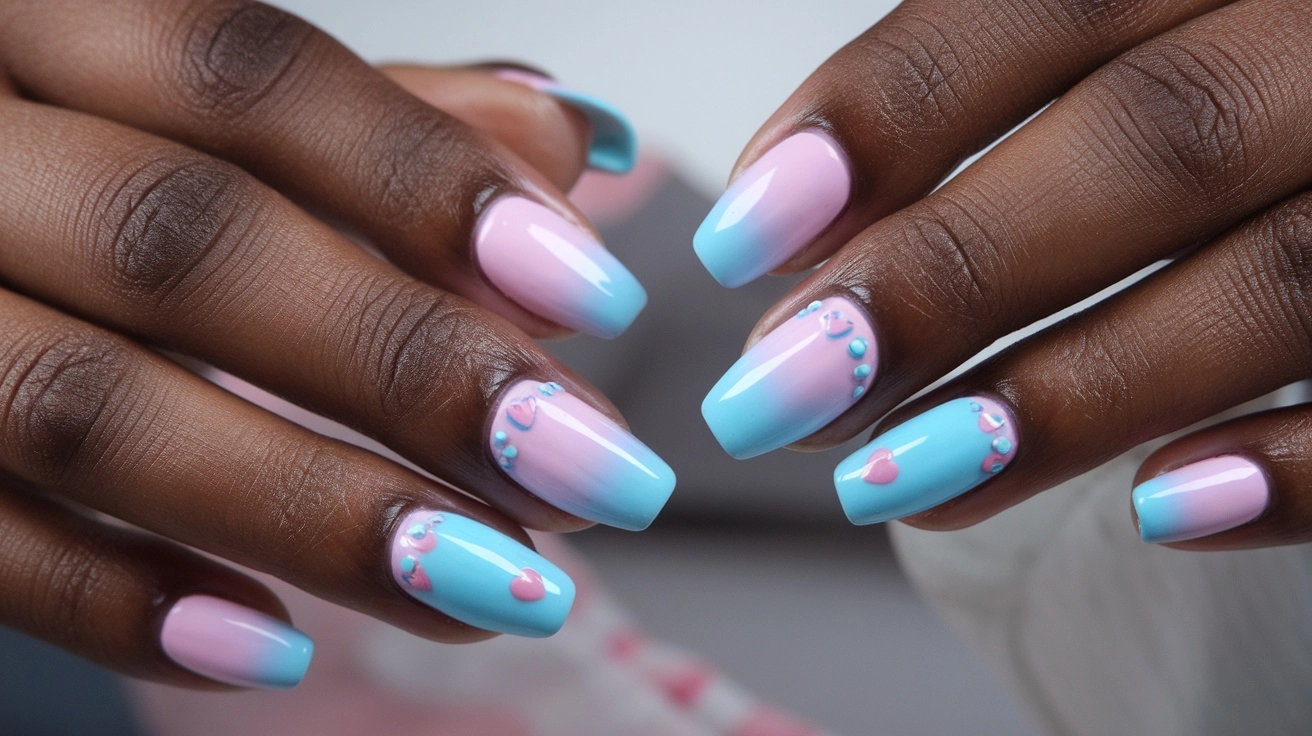
If you’ve done nail art for a bit, you could try a complete set with pastel backgrounds that fade into each other, little bunny shapes on some nails, and decorated eggs on others, all in colors that look good together. That’s one of my faves!
Whether you’re with family, at church, or having brunch with friends, these Easter nail designs are such a fun and stylish way to celebrate and show off your personality. Which one do you think sounds like fun?
Creating Beautiful Ombre Spring Nails
Ombre nails are all the rage for spring. They bring a vibrant energy to your nails. This technique blends colors to add depth and dimension.
Ombre nails are not just pretty. They work on any nail length or shape, making them very versatile.
Ombre nails mix colors in a way that looks intentional. You can choose from subtle or bold looks, making them perfect for spring.
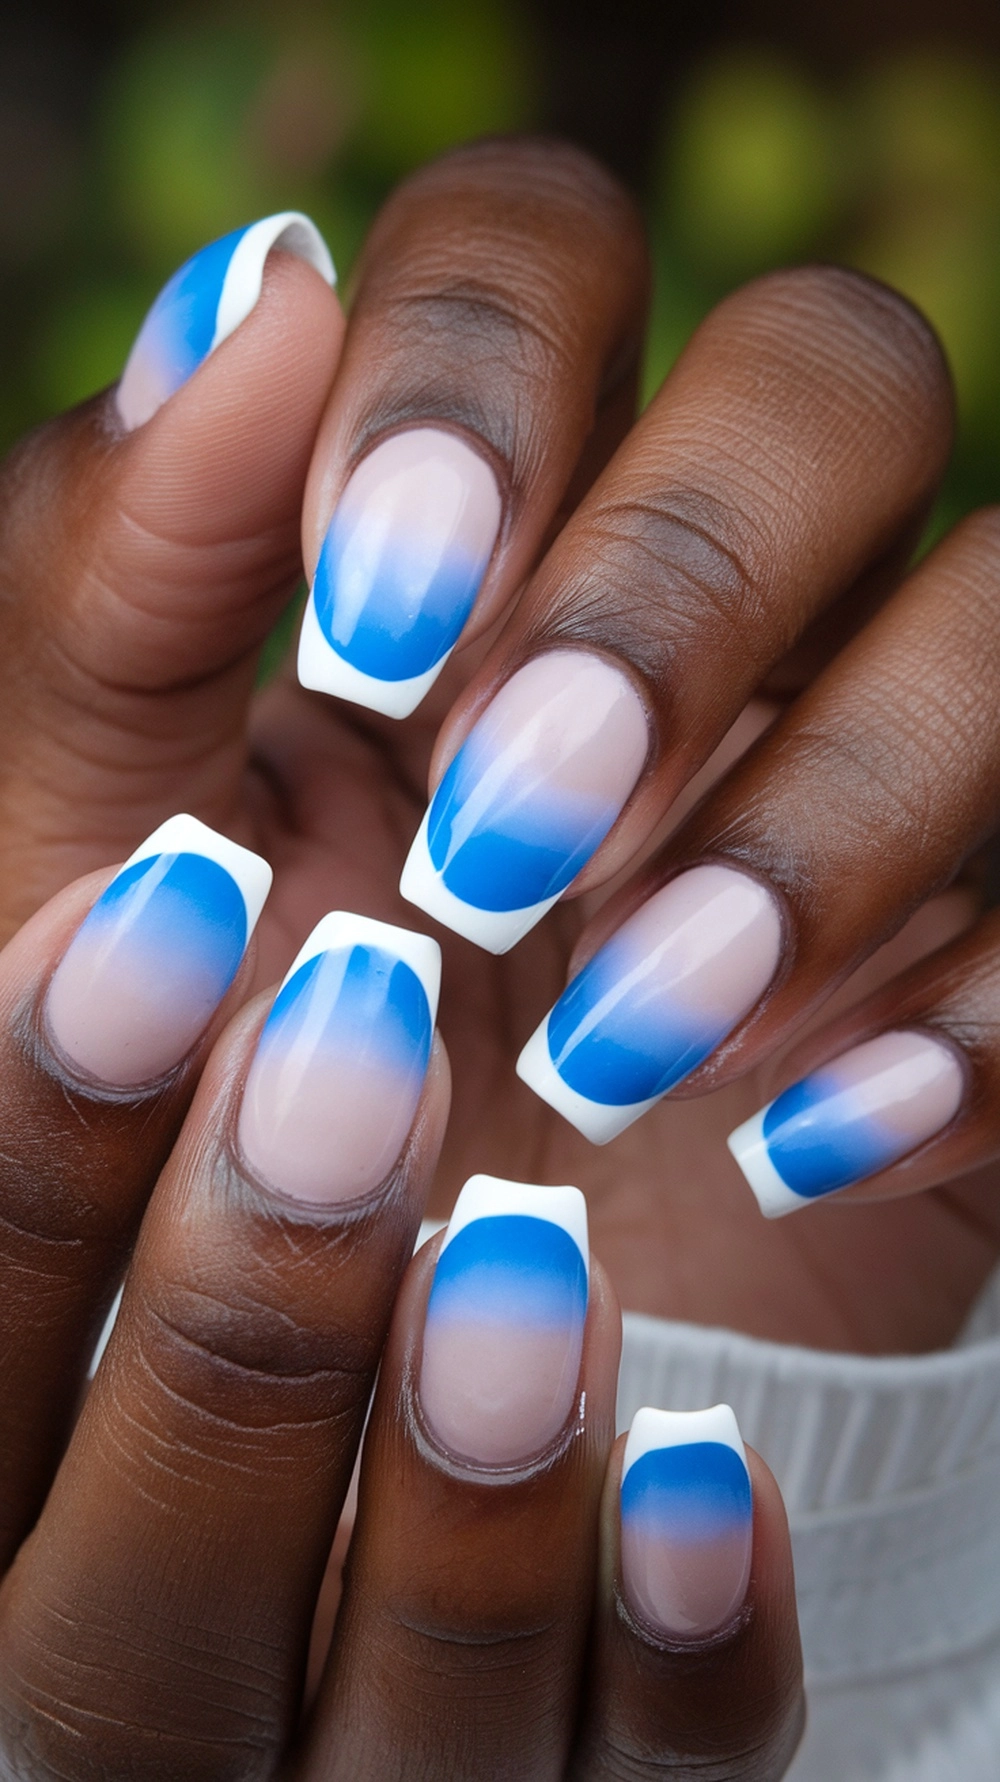
Step-by-Step Gradient Technique
Okay, so getting that cool ombre look might seem a little tricky at first, but I think it’s pretty easy with a bit of practice! Here are the basics of two ways I like to do it:
Sponge Method: I start by dabbing polish onto a sponge and then gently pressing it onto my nail, moving from the tip to the base. I do this several times, letting it dry a little in between to build up the color.
Brush Blending: I first paint my nail with the lightest color for this one. Then, I add the second color just at the tip and use a brush to blend them where they meet gently.
When picking colors, I think it looks best when you choose shades that go well together, either next to each other on the color wheel for a smoother look or opposite each other if you want something bolder!
I’ve learned some quick tips: if you’re getting harsh lines, try using a bit more polish or blending more. And if the colors look muddy, ensure that the first layer is dehydrated before you add the next one!
Sunset and Sunrise Ombre Inspirations
Spring mornings and evenings are colorful! For a spring morning ombre, I love pale yellow, peach, and coral.
A lavender sunset ombre is great for evenings: lilac to purple with pink in the middle like a setting sun!
Another favorite is a meadow gradient: mint green to sage, like spring grass.
Try a spring rainbow ombre with turquoise, magenta, and yellow for a bold look. It’s perfect for longer nails.
I think vertical gradients look good on short nails, while longer nails can rock horizontal or diagonal ones. Square nails show off clean lines, and curved nails like almond or stiletto look lovely with gradients too.
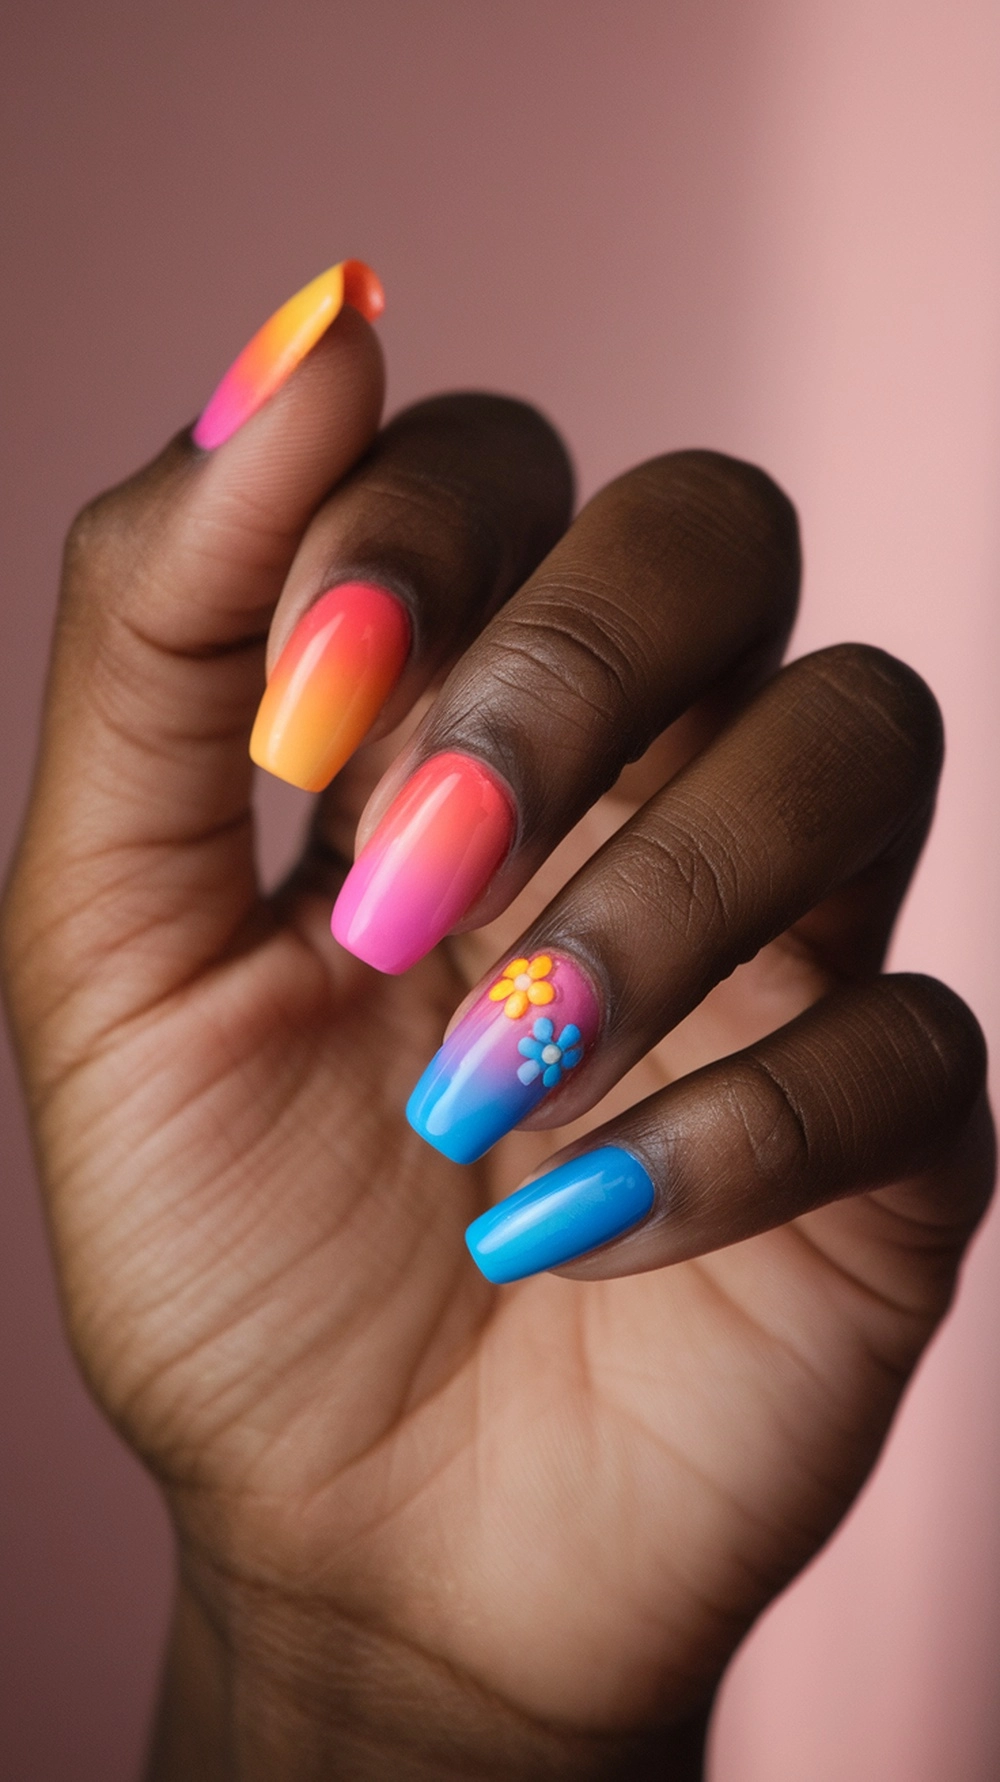
Adding nail art that matches your ombre can make them even better! It just adds a little extra something.
Ombre nails are perfect for spring. You can wear them casually or dress them up, and they show off your style and the season’s beauty.
Using Nail Stickers and Decals for Quick Spring Designs
Nail stickers and decals are a big help for quick spring nail art. They’re perfect for those who don’t feel confident painting. These stickers give a professional look and are much faster to apply than painting.
They come in many patterns, like flowers and Easter designs. Both pros and hobbyists use them, making them a great tool for any nail art project.
Applying Nail Stickers Like a Pro
Getting nail stickers to stick right is key. Start with clean nails or a dry base coat. This helps them last longer without peeling.
Use tweezers to handle stickers for better control. This stops oils from your skin from messing with the adhesive. Place the sticker on your nail, then press from the middle out to eliminate air bubbles.
For stickers that go over your nail, wait until they stick well. Then, file off the extra carefully. Always use a top coat to seal your design and make it last.
There are different types of nail stickers. Here’s how to apply each:
| Sticker Type | Application Method | Best For | Longevity |
|---|---|---|---|
| Water decals | Soak in water, slide onto nail | Detailed designs, gradients | 5-7 days with top coat |
| Adhesive stickers | Peel and place directly | Quick application, beginners | 3-5 days with top coat |
| Full nail wraps | Align with cuticle, stretch to fit | Complete coverage, complex patterns | 7-10 days with top coat |
| Gel stickers | Apply to tacky gel layer, cure | Maximum durability | 2-3 weeks when properly cured |
When buying nail stickers, look for quality. Good stickers are thin and blend well with your nail. They also have sa trong adhesive that won’t harm your nails when removed.
Creating Custom Looks with Multiple Elements
Mixing nail stickers with polish is a fun way to get unique nails! I like pastel bases with a few floral stickers for a pretty spring look.
Try a gradient with butterfly stickers for a cool effect. A sheer pink with cherry blossoms and tiny pearls is also elegant.
You can cut and combine stickers to make them your own. Sometimes, one sticker on a neutral nail significantly impacts and can last longer. I think stickers are an excellent tool for quick, professional-looking spring nails!
Spring Nail Accessories and Embellishments
Make your spring nail art pop with the right accessories and embellishments. Adding depth and shine to your nails is key as the weather gets warmer. A few special touches can turn a simple manicure into a showstopper that shows off your style.
Adding Rhinestones and Pearls to Your Manicure
Rhinestones, pearls, and studs add texture and interest to spring nail designs. These nail accessories sparkle and move with the light on your fingers. To use them, you’ll need special tools and techniques.
For a temporary look, use nail glue. It’s excellent for beginners. Apply glue, place your embellishment with a wax pencil or tweezers, and you’re done.
For a longer-lasting look, use gel. Apply gel top coat, place your embellishment, and cure it under a UV or LED lamp. This method keeps your design in place all day.
Here are some ways to use these elements:
- Delicate pearl accents along the cuticle for a sophisticated look
- Colorful rhinestones in floral patterns for a festive design
- A single statement gem on each accent nail for elegance
- Tiny studs outlining a French tip for a modern twist
Use a wax pencil for precision. It helps you place tiny rhinestones easily. Fine-tipped tweezers work best for larger elements.
Working with Glitter and Metallic Accents
Glitter and metallic accents capture the magic of spring sunshine. These nail accessories add depth and can change the look of your manicure.
Glitter comes in different types:
- Fine glitter for a subtle sparkle
- Chunky glitter for a bold statement
- Holographic glitter for a rainbow effect
Okay, so I love full glitter for a dramatic nail look, use 2-3 coats.
A glitter gradient is so springy! Sponge glitter onto the tips, fading down.
Metallic foils and chrome powders add a modern touch. Foils need a sticky base; chrome works over gel.
I think balance is key with these, maybe just 1-2 accent nails.
I like metallic combos with pastels, like rose gold, pink, silver, and lavender glam, but still spring!
The right nail embellishment, whether pearls or holographic glitter, really finishes your nail art’s story and makes it special. You’ll find lots of ways to use them! What are your favorites?
Maintaining Your Spring Manicure
After getting your spring manicure just right, keeping it up is key. With the proper care, your spring designs can last longer than you think. Let’s see how to keep your manicure looking fresh all season.
Daily Care Tips for Longer-Lasting Results
Daily care is key for a lasting spring manicure – like tending a garden. I always wear gloves for dishes, cleaning, and gardening to prevent cuts from water and chemicals.
Cuticle oil daily keeps my cuticles hydrated and helps my manicure last. I try to limit long water soaks and always dry my hands well.
A fresh top coat every 2-3 days refreshes shine and protects my spring nails. Quick-dry formulas are my go-to.
Quick Fixes for Chips and Wear
Even with care, chips happen, but you don’t always need to restart.
For minor chips, I do a “spot repair”: tiny polish dot, 30-second wait, gentle tap to blend, then top coat. Almost invisible!
My favorite trick for hiding chips is strategic glitter – a tip gradient or accent nail over the damage. It hides flaws and looks fresh.
I touch up if less than 30% is damaged; otherwise, I might do a new accent or a complete redo.
I keep small bottles of my spring colors handy. Nail art pens or thin brushes make touch-ups easy, especially for spring florals.
Remember, 5 minutes of daily care can add up to a week to your manicure! These simple fixes help you enjoy your spring nail art longer.
Conclusion: Showing Off Your Beautiful Spring Nails
You’ve done it! You’ve created stunning spring nails that showcase the season’s fresh vibe. Your nail art is more than beauty; it’s a way to express yourself.
Seeing a new manicure can lift your mood. Try pairing your floral nails with a sundress or pastel accessories. These details make you look complete and stylish.
Seasonal beauty routines, like new nail art, are excellent self-care. Even on busy days, your cheerful design can make you smile.
With practice, you’ll find your spring nail style. You might mix daisy designs with gradients or add rhinestones to Easter patterns.
I hope this guide made you feel confident creating beautiful spring nails at home. Your fingers are now ready to bloom with the season!
