This post may contain affiliate links, which means I may receive a small commission should you decide to click that link and make a purchase. For more information please refer to the Terms & Conditions.

I think Homemade Christmas Fudge is the one treat I cannot live without during the holidays. Seriously, I’m obsessed with it. For years, I was too scared to make my own.
I thought it was this super complicated candy-making thing that only grandmas knew how to do. I pictured thermometers, double boilers, and lots of stress. I was so wrong.
I finally decided to tackle it, and let me tell you, it’s a game-changer. That first time I made a perfectly creamy chocolate fudge, I felt like a kitchen superstar. The store-bought stuff doesn’t compare. It’s either too hard or too grainy. My recipe? It’s perfect.
I’m writing this blog because I want you to feel that same incredible success. I love sharing what I’ve learned. I’ll walk you through everything. I mean everything. We’ll cover both the straightforward approach and the more traditional method.
I’ll share my personal tips on how to avoid the common fudge-making mistakes I made at the beginning. By the end of this, you’ll be a master at making your own Homemade Christmas Fudge. Let’s get started.
Why Most Homemade Fudge Fails (And How to Win)
Before we even touch a spoon, let’s talk about the two big fudge fears. This is the most crucial part. If you understand why fudge fails, you’ll know how to prevent it.
- The Grainy Fudge Problem: This is the most common complaint. You take a bite, and it feels sandy or sugary instead of smooth. This occurs when the sugar crystals in your mixture form too early or become too large. The sugar didn’t dissolve properly, or you started stirring the mix while it was cooling. I’ll show you exactly when to stir and, more importantly, when not to.
- The “It Won’t Set” Problem: This is heartbreaking. You have a pan of chocolate soup that never turns into fudge. This is almost always a temperature problem. The mixture didn’t get hot enough for a long enough period. We will cover how to nail the temperature, both with and without a thermometer.
I want you to know that both of these problems are completely fixable. I’ve made both mistakes, and I’ve saved the batch. I’m here to ensure you achieve that perfect, creamy chocolate fudge on your first try.
The “Can’t-Fail” Easy Homemade Fudge Recipe
This is the recipe I give to all my friends who are nervous about candy making. I love this method because it’s almost impossible to mess up. It uses sweetened condensed milk, which eliminates the guesswork of dissolving sugar. It’s rich, dependable, and fast.
Your Simple Ingredients

You don’t need a long list for this easy homemade fudge.
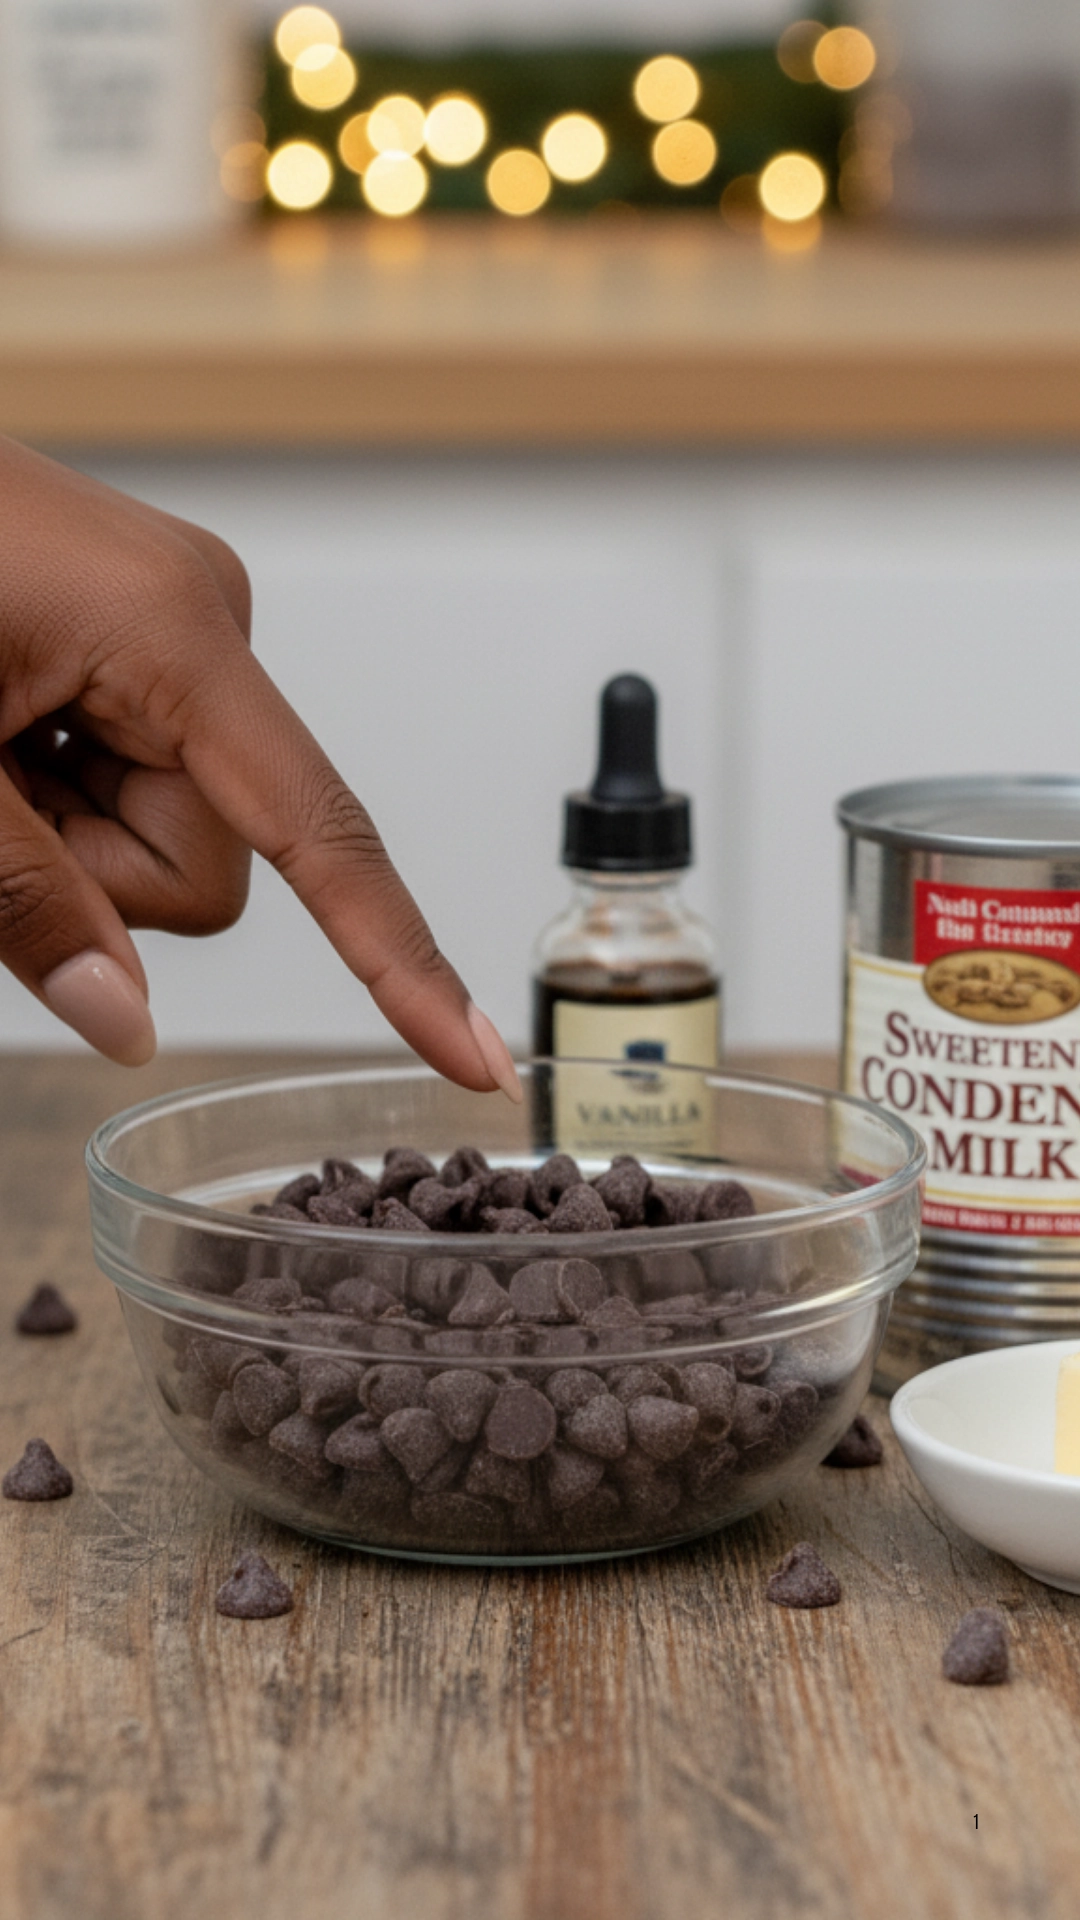
- One 14-ounce can of sweetened condensed milk
- 12-14 ounces of good-quality chocolate chips (I prefer semi-sweet)
- 1/4 cup (half a stick) of unsalted butter, cut into pieces
- 1 teaspoon of vanilla extract
- A pinch of salt (this balances the sweetness)
Step-by-Step: The Easy Way
Follow these steps exactly, and you’ll have perfectly set fudge in your fridge in no time.
Step 1: Prepare Your Pan. This is a step people skip, and I beg you not to. Get an 8×8-inch square baking pan. Line it with parchment paper, leaving some paper hanging over the sides like “handles.” This is my secret weapon. It lets you lift the entire block of fudge out later for easy cutting. You can lightly grease the paper if you want, but I find it’s not always needed.
Step 2: Choose Your Melting Method. You have two options here. I personally prefer the stovetop, but the microwave works too.
- For the Stovetop (My Favorite): Combine the chocolate chips, sweetened condensed milk, and butter in a medium, heavy-bottomed saucepan. A heavy pot is essential because it distributes heat evenly, preventing the chocolate from burning on the bottom. Heat this mixture over medium-low heat.
- For the Microwave: In a large, microwave-safe bowl, combine the chocolate chips, condensed milk, and butter—microwave in 30-second bursts. Stir well after every burst. It might seem slow, but this stops the chocolate from seizing up and getting ruined.
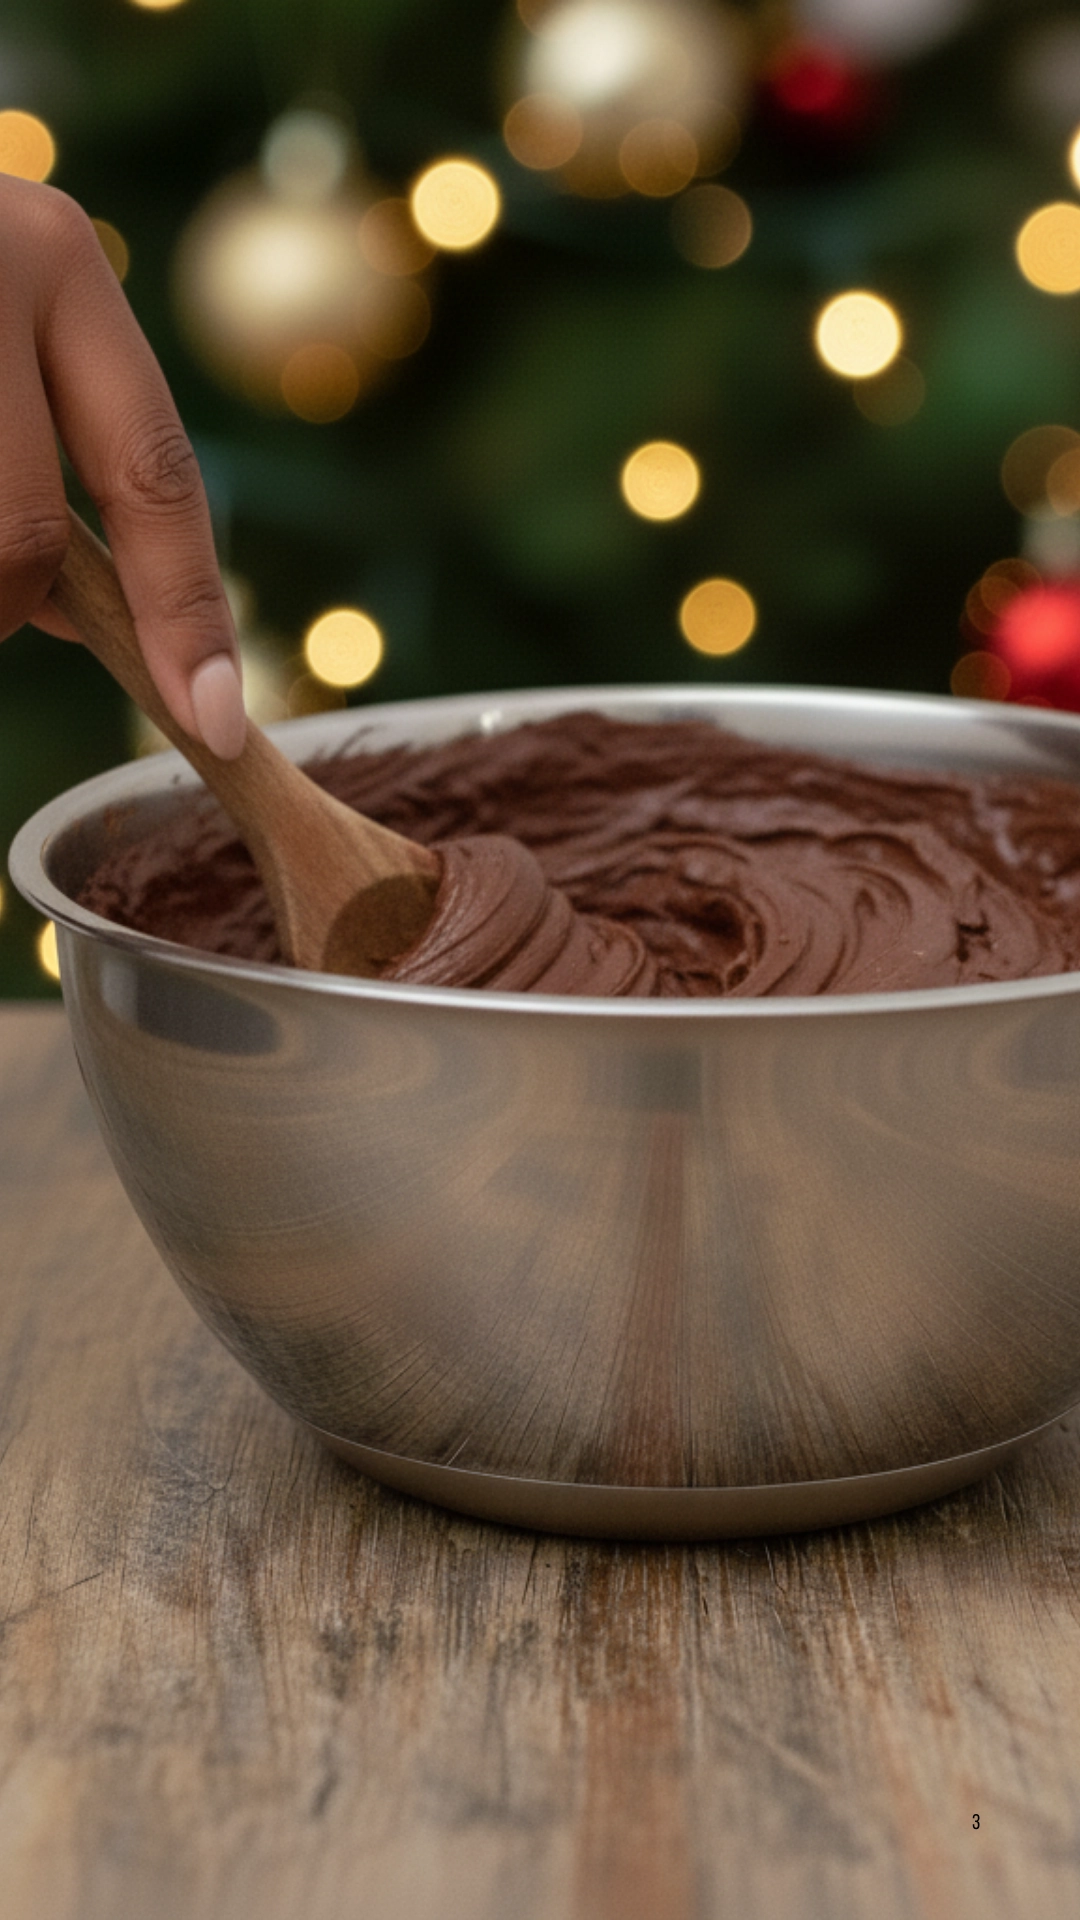
Step 3: Stir, Stir, Stir. If you are on the stovetop, you must stir constantly. Do not walk away. You are just melting everything together until it’s smooth and combined. This should only take about 5-7 minutes. You are not “cooking” it like traditional fudge. You are just melting.
Once it’s all melted and glossy, remove it from the heat immediately.
Step 4: Add the Flavor. This is when you add your vanilla extract and the pinch of salt. Stir them in quickly until they are thoroughly mixed. The mixture will be very thick at this point.
Step 5: Pour and Spread Quickly pour the thick fudge mixture into your prepared 8×8 pan. It will be sticky. You’ll need a spatula (I like to grease mine lightly) to spread it into an even layer, pushing it into the corners.
Step 6: Let It Chill. This is the hard part: waiting. Cover the pan with plastic wrap and refrigerate it. It needs to be set for at least 2-4 hours, or even overnight. I know it’s tempting, but don’t cut it early.
Step 7: Cut and Serve. Once the fudge is completely firm, use the parchment paper “handles” I mentioned earlier. Lift the entire block of fudge right out of the pan and onto a cutting board.
Take a large, sharp knife. Run it under hot water, wipe it dry, and then make your cuts. The hot knife will glide smoothly through the fudge, giving you beautiful, clean edges. I like to cut mine into small one-inch squares. This fudge is rich!
Mastering Traditional Homemade Christmas Fudge (The Real Deal)
Okay, now for the main event. This is the Homemade Christmas Fudge that I’m genuinely obsessed with. This is the “grandma” method. It doesn’t use condensed milk. It creates its own creamy base from sugar, butter, and milk.
Yes, it’s more technical. Yes, you really need a candy thermometer. But I promise you, the flavor and texture are on a whole new level. It’s softer, melt-in-your-mouth, and you feel like a true artisan. You can do this.
What You Need: Tools of the Trade
- A Heavy-Bottomed Pot: This is non-negotiable. A thin pot will have hot spots, scorch your sugar, and ruin the fudge. You need something thick that heats evenly.
- A Candy Thermometer: Don’t try to guess. I’ve tried the “cold water test,” and it’s stressful and unreliable. A simple candy thermometer that clips to the side of your pot is your best friend. It is the key to success.
- An 8×8 Pan: Just like before, line it with parchment paper and set it aside. You need this ready before you start.
- A Wooden Spoon: Great for stirring.
- A Mixer (Optional but helpful): You can beat the fudge by hand, but a stand mixer or hand mixer saves your arm.
The Classic Ingredients
- 2 cups of granulated sugar
- 1/2 cup (1 stick) of unsalted butter, cut up
- 2/3 cup of evaporated milk (do NOT use sweetened condensed milk)
- 1/2 cup of unsweetened cocoa powder
- 1 teaspoon of vanilla extract
- Pinch of salt
- Optional: 1 cup of mini marshmallows or a 7-ounce jar of marshmallow creme. (This is a classic add-in that I love. It acts as “insurance” to keep the fudge extra creamy and prevent graininess. I highly recommend it if this is your first time.)
The Critical Step-by-Step Process

Read all these steps before you begin. The process moves fast, and you need to know what’s next.
Step 1: Combine and Dissolve. In your heavy-bottomed pot, combine the sugar, cocoa powder, butter, and evaporated milk. Turn the heat to medium.
Stir this mixture constantly while it heats up. Your only goal right now is to melt the butter and completely dissolve the sugar before it comes to a boil. You can feel it. If you rub a tiny bit between your fingers (be careful!), it should feel smooth, not sandy.
Step 2: The Boil (And When to STOP Stirring) Once the sugar is dissolved and the mixture is smooth, bring it to a rolling boil. A rolling boil cannot be stirred down.
This is the most critical moment. Once it hits that rolling boil, STOP STIRRING. COMPLETELY.
Attach your candy thermometer to the side of the pot, making sure the bulb is submerged in the mixture but not touching the bottom of the pot.
Step 3: Cook to the Soft-Ball Stage. Let the mixture boil, undisturbed. Do not stir it. Do not scrape the sides. Just let it bubble. You are watching that thermometer like a hawk.
You need the temperature to reach 234°F (112°C). This is referred to as the “soft-ball stage.”
- What this means: At this temperature, the perfect amount of water has evaporated, resulting in the ideal sugar concentration. If you drop a bit of ice into cold water, it will form a soft ball.
- If you undercook it (e.g., at 230°F): Your fudge will be too soft and may not set properly.
- If you overcook it (e.g., 240°F): Your fudge will be hard, dry, and crumbly.
That 234°F mark is your magic number. It usually takes about 10-15 minutes of boiling to reach that point.
Step 4: The Cooling Phase (The Hardest Part) As soon as your thermometer hits 234°F, turn off the heat. Carefully remove the pot from the hot burner and set it on a cool burner or a trivet.
Remove the candy thermometer. DO NOT STIR. DO NOT SCRAPE. DO NOT EVEN LOOK AT IT FUNNY.
This is where grainy fudge is born. If you stir it while it’s this hot, the sugar crystals will crash together and form large, sandy grains.
You must let the fudge cool, undisturbed, until it reaches about 110°F (43°C). This will take approximately 30-45 minutes. You can rest the thermometer on top to take a reading. The mixture will look glossy.
Step 5: Add Flavor and BEAT Once the fudge has cooled to 110°F, it’s time for the magic.
Add your vanilla extract and the salt. (If you are using the optional marshmallows or marshmallow creme, add them now.)
Now, you must beat the fudge. You are doing the opposite of what you just did. You need to stir it vigorously to create sugar crystals, but because the mixture is cool, they will be micro-fine. This is what gives fudge its unique, creamy, melt-in-your-mouth texture.
- By Hand: Use your wooden spoon and stir. And stir. And stir. Your arm will get tired. Keep going.
- With a Mixer: Use a stand mixer with the paddle attachment or a hand mixer on the lowest speed setting.
Step 6: Know When to Stop. You will see the fudge transform. It will transition from being dark, glossy, and thin to a lighter color, thicker, and matte. It will start to “lose its sheen.”
This usually takes 5-10 minutes of beating. The moment you see it thicken and lose that wet shine, you are done. If you beat it for too long, it will harden in the bowl.
Step 7: Pour and Set Working quickly, pour the thickened fudge into your prepared 8×8 pan. Spread it out with a spatula. It should hold its shape more than the easy recipe.
Now, let it set. This traditional fudge is best set at room temperature. Just leave it on the counter for 3-4 hours or overnight. You can put it in the fridge, but I find that the room-temperature method yields a better texture.
Once firm, use your parchment handles, lift it out, and cut it with a hot, clean knife. You just made traditional Homemade Christmas Fudge.
The Ultimate Fudge Troubleshooting Guide
I’ve been there. You did everything right, and it still went wrong. Let’s fix it.
“Help! My Fudge is Grainy!”
- Why it happened: You probably stirred it while it was boiling or cooling (Steps 2-4 of the traditional recipe). Alternatively, you may not have allowed the sugar to dissolve in Step 1 fully.
- How to Fix It: Don’t discard it! Scrape the entire grainy mess back into your pot. Add about 1/2 cup of water and 1 tablespoon of corn syrup (if available) or just the water.
- Re-melt it slowly over low heat, stirring until all the graininess is gone and the sugar is 100% dissolved.
- Now, start the process over. Please bring it to a boil, stop stirring, and cook it back to 234°F. This time, let it cool properly before beating!
“My Fudge Won’t Set! It’s Soup!”
- Why it happened: You didn’t cook it to the right temperature. You pulled it off the heat too soon (it didn’t reach 234°F).
- How to Fix It: This is a straightforward solution. Scrape it all back into the pot.
- Please put it back on the heat. Please bring it back to a boil, stirring until the liquid is again smooth.
- Now, attach your thermometer and boil it (without stirring!) until it actually reaches 234°F.
- Then, cool and beat as the recipe directs. It will set perfectly the second time.
“My Fudge is Rock-Hard and Crumbly!”
- Why it happened: You overcooked it. You let the temperature go past 234°F, maybe to 240°F or 245°F. Too much water evaporated, leaving a hard, sugary candy.
- How to Fix It: This is the same fix as grainy fudge. Scrape it back into the pot.
- Add 1/2 cup of water to help re-dissolve the hard sugar.
- Melt it down slowly, stirring to ensure it dissolves completely.
- Re-boil (no stirring) to 234°F exactly.
- Cool, beat, and pour.
Fun Homemade Christmas Fudge Variations
Once you have the basic recipe down, you can have a lot of fun. I love making a few different kinds for my holiday cookie trays.
- Peppermint Fudge: This is my holiday favorite. After you are done beating the fudge (right before you pour it), stir in 1 teaspoon of peppermint extract and 1/2 cup of crushed candy canes. Sprinkle more on top.
- White Chocolate Fudge: For the easy recipe, swap the semi-sweet chips for white chocolate chips. Add 1/2 cup of dried cranberries and 1/2 cup of chopped pistachios for a beautiful “Christmas Confetti” fudge.
- Peanut Butter Fudge: This is divine. For the easy recipe, add 1 cup of creamy peanut butter along with the chocolate chips and condensed milk. For the traditional recipe, beat in 1 cup of peanut butter along with the vanilla.
- Rocky Road Fudge: Right before you pour the fudge into the pan, fold in 2 cups of mini marshmallows and 1 cup of toasted walnuts or almonds.
- Walnut Fudge: A classic. Just stir in 1 cup of toasted, chopped walnuts right before you pour the fudge into the pan.
How to Store Homemade Fudge (So It Stays Fresh)
You’ve made this beautiful Homemade Christmas Fudge, now you need to protect it. Fudge’s worst enemies are air and heat.
- At Room Temperature: This is my preferred method. Cut your fudge into squares. Please place them in a single layer in an airtight container. I like to put a piece of wax paper or parchment paper between each layer to prevent sticking. It will last for 1-2 weeks in a cool, dark place (like a pantry, not on the counter in the sun).
- In the Refrigerator: Store it in the fridge in an airtight container. It will last for 2 to 3 weeks. However, I find the fridge can dry it out a bit.
- In the Freezer: Yes! Fudge freezes beautifully. This is what I do when I make it in early December. Wrap the entire block of fudge (before cutting) in plastic wrap, then in foil. Please place it in a freezer-safe zip-top bag. It will last for 2-3 months. To thaw, let it sit in the fridge (still wrapped) overnight, then bring it to room temperature before cutting.
Making Your Fudge the Perfect Christmas Gift

I think Homemade Christmas Fudge is the best possible holiday gift. It’s personal, it’s delicious, and it’s so much better than anything you can buy.
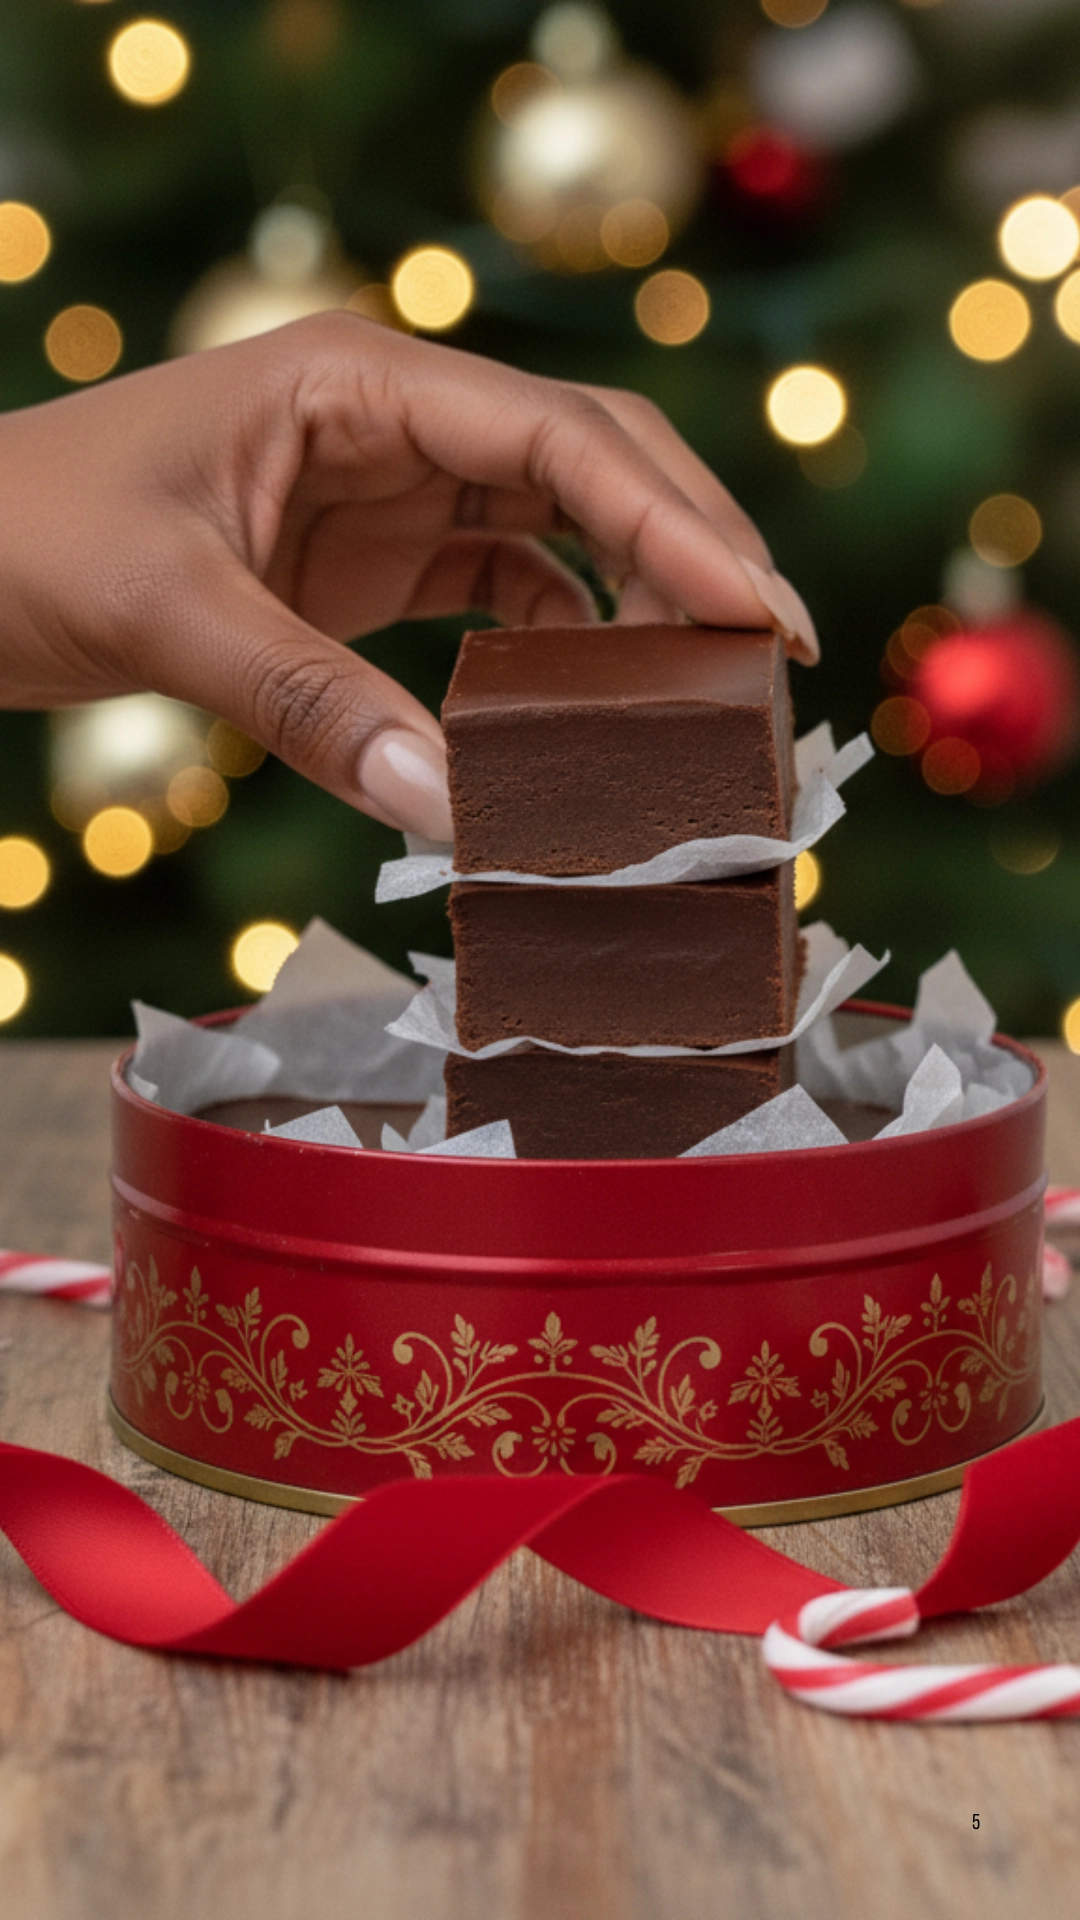
I love to get small, festive tins or cardboard bakery boxes.
- Cut your fudge into neat, small squares.
- Line the tin or box with festive parchment paper.
- Place the fudge in layers, separated by more parchment or wax paper.
- You can also use mini cupcake liners for each piece of fudge. It looks so professional.
- Tie the box with a beautiful ribbon, add a tag, and you’re done.
I love watching people’s faces when I tell them I made it myself.
My Final Thoughts on Fudge
I really hope this guide helps you make the most amazing Homemade Christmas Fudge this year. I’m so passionate about this because it’s more than just candy. It’s about creating something special and sharing it. I love seeing the look on my family’s faces when they take that first bite.
Don’t be scared to try the traditional method. I know the thermometer and the cooling phase seem intimidating, but I’ve walked you through every step. Once you get it right, you’ll feel like a total pro. I believe you can do it.
Just follow the steps, pay attention to the temperatures, and trust the process. Happy fudge making!
