This post may contain affiliate links, which means I may receive a small commission should you decide to click that link and make a purchase. For more information please refer to the Terms & Conditions.
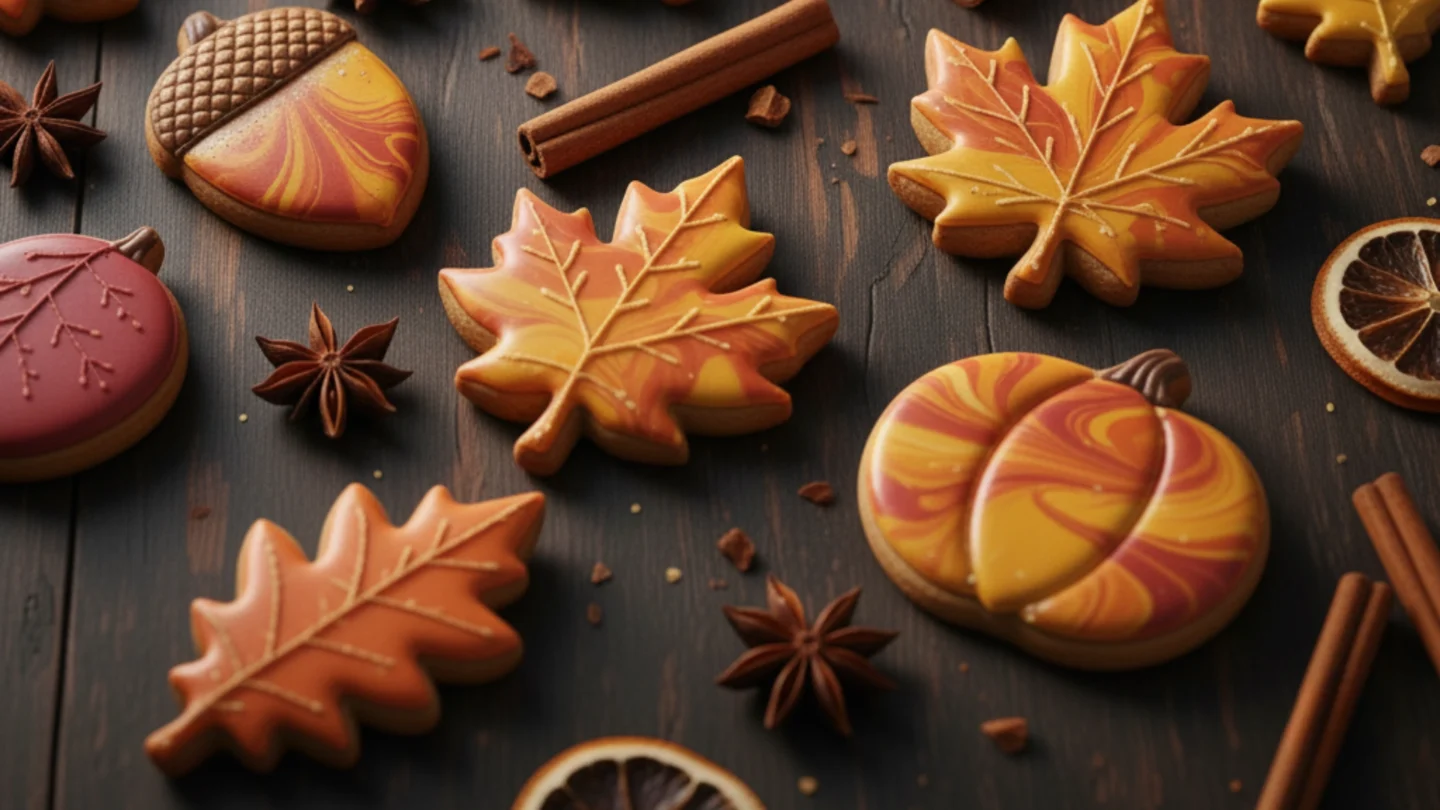
Does anyone else get obsessed entirely with baking fall cookies? For me, the smell of cinnamon is the true scent of the season. It just makes the whole house feel so hot and inviting.
But my journey to the perfect cookie was a little frustrating. I tried so many recipes that ended in hard or tasteless cookies. I’m so excited to share the good news: the search is finally over!
I’ve finally landed on a no-fail recipe I can’t wait to share. I’ll show you all my secrets for the perfect dough and easy decorating. My goal is for you to feel confident and have fun while baking.
Let’s make the best fall cookies you’ve ever tasted, together!
The Secret to Perfect Fall Cookies
Before we grab a mixing bowl, I want to share three golden rules with you. Think of these as my most important, non-negotiable baking secrets. They’re the foundation to take your fall cookies from good to incredible.
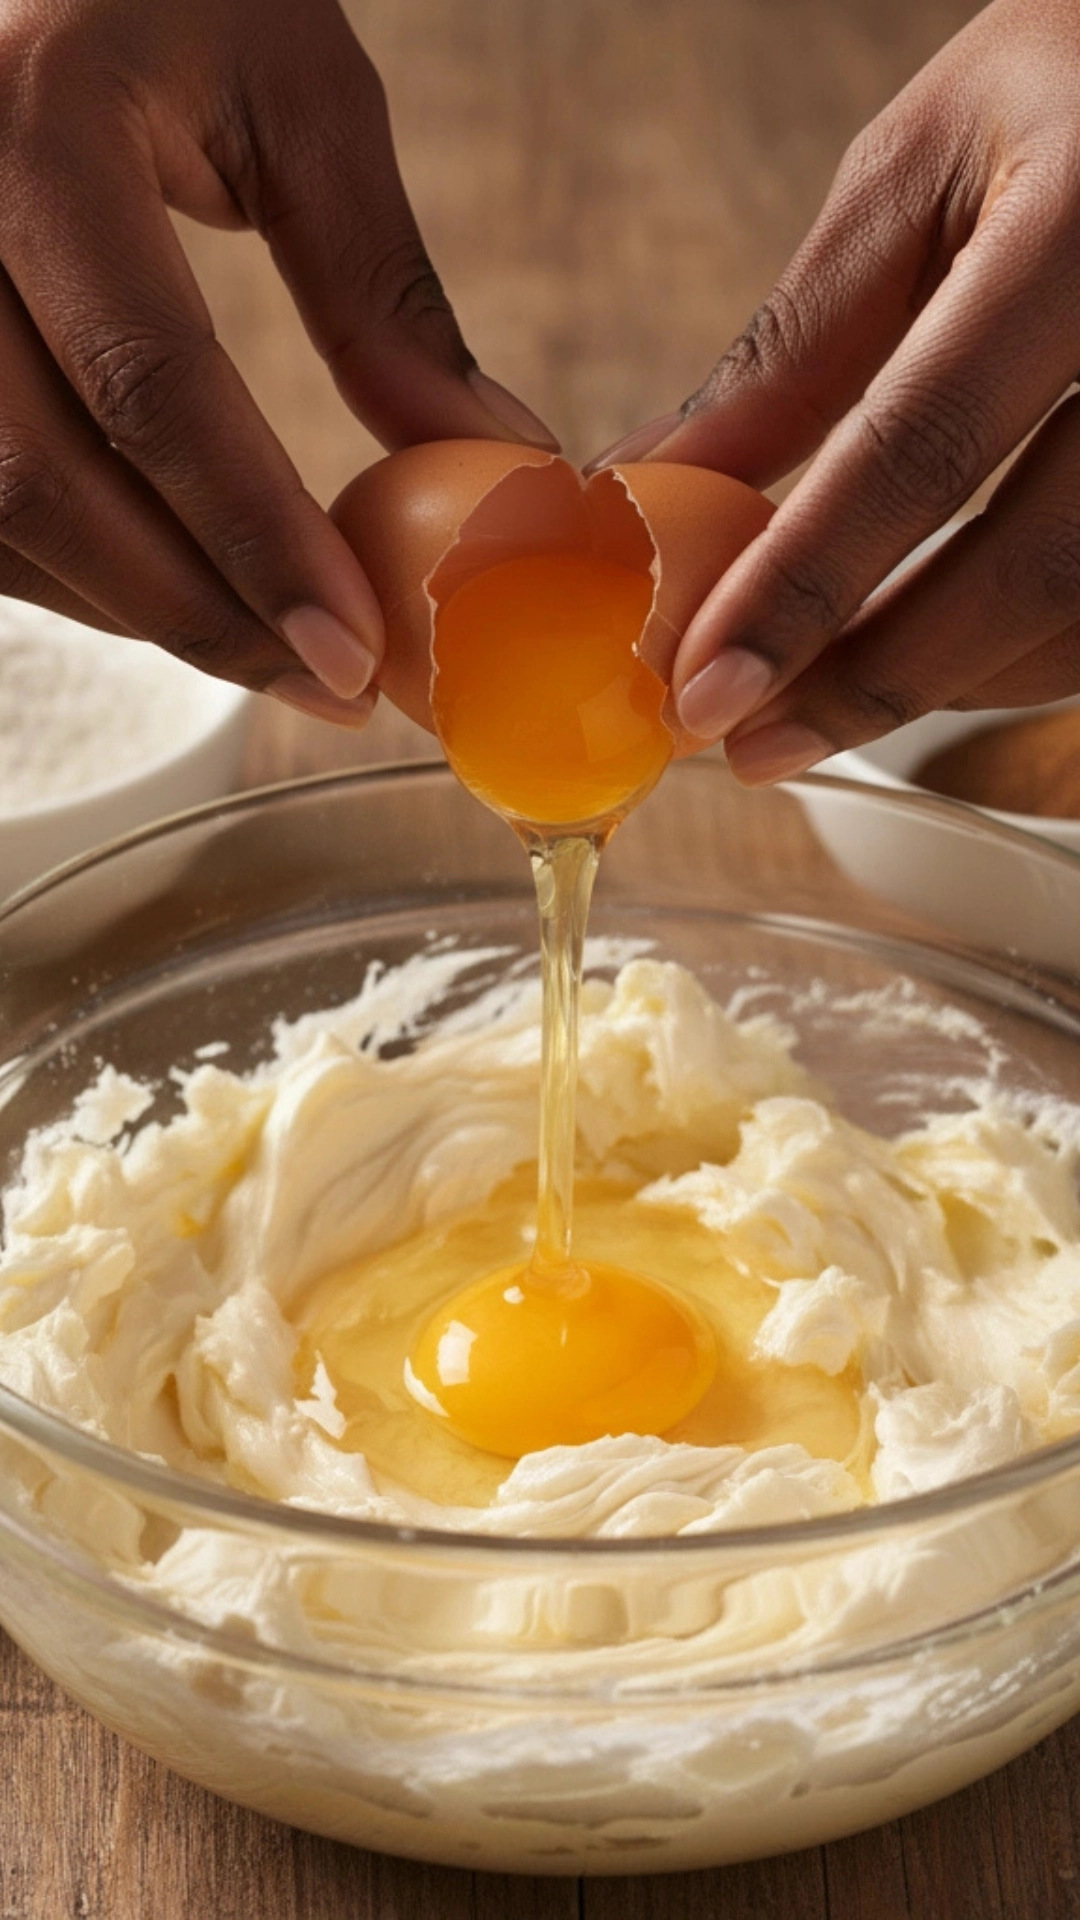
1. Always Use Room-Temperature Ingredients. You always see “room-temperature butter and eggs” in recipes for a good reason! It’s not just a suggestion; it’s super important for the final texture of your cookies. Cold ingredients don’t mix as smoothly into a happy dough.
Why it matters: Room-temperature butter whips up light and fluffy with sugar, creating tiny air pockets that make your cookies wonderfully tender. A room-temperature egg mixes perfectly, creating a smooth, uniform dough.
2. Don’t Overmix Your Flour. This is probably the number one reason cookies can sometimes turn out tough. Once you add the flour, your new goal is to mix as little as possible. Seriously, be as gentle as you can with this step.
Why it matters: Mixing too much makes the flour’s gluten strong and tough. That’s great for chewy bread, but not for the soft, delicate cookies we want. Just mix until you can’t see any more streaks of flour, then stop!
3. Seriously, Chill Your Dough! I know, I know… You want cookies right now! But chilling the dough is the most critical step for perfect cut-out cookies. It’s the secret to cookies that don’t spread into blobs.
Why it matters: Chilling makes the butter in the dough really cold and hard. This cold butter melts much, much more slowly in the hot oven. That means your cookies will hold their pretty shapes perfectly. Please, please, please do not skip this step!
The Ultimate Fall Spice Sugar Cookie Recipe
This is it! This is my go-to recipe for delicious fall cookies that hold their shape and taste like autumn in a bite. The dough is a dream, and the subtle spice blend is right.
My Signature Fall Spice Blend
Instead of a simple cinnamon cookie, I use a balanced blend of warm spices to create a deeper, more authentic autumn flavor. Here is the combination I use for this recipe:
| Spice | Amount | Purpose |
| Ground Cinnamon | 1 tsp | Provides a warm, sweet, classic base. |
| Ground Ginger | 1/2 tsp | Adds a hint of zesty warmth and spice. |
| Ground Nutmeg | 1/4 tsp | Brings a nutty and slightly sweet note. |
| Ground Cloves | A pinch | Adds a deep, aromatic, and intense flavor. |
Ingredients You’ll Need:
- For the Cookies:
- 350g all-purpose flour
- 1/2 tsp baking powder
- 1/4 tsp salt
- The whole “Signature Fall Spice Blend” from the table above
- 225g unsalted butter, at room temperature
- 200g granulated sugar
- 1 large egg, at room temperature
- 1 tsp vanilla extract
- For the Simple Royal Icing:
- 250g powdered sugar, sifted
- 15ml meringue powder
- 60ml warm water (you may need a little more or less)
- 1/2 tsp clear vanilla extract
- Gel food coloring (in fall colors like orange, red, yellow, and brown)
Step-by-Step Baking Instructions:
Follow these steps carefully; you’ll have the perfect canvas for your decorating ideas. This is the fun part, where everything starts to come together.
- Combine Dry Ingredients: In a medium bowl, whisk together the flour, baking powder, salt, and all the spices from the spice blend table. Whisking them first ensures that every cookie is evenly distributed for consistent flavor.
- Cream Butter and Sugar: In a large bowl, beat the room-temperature butter and granulated sugar together on medium-high speed for about 3-4 minutes. The mixture should become light, pale, and fluffy.
- Add Egg and Vanilla: Add the room temperature egg and vanilla extract. Beat on medium speed until thoroughly combined, scraping down the sides of the bowl with a spatula to ensure it’s all incorporated.
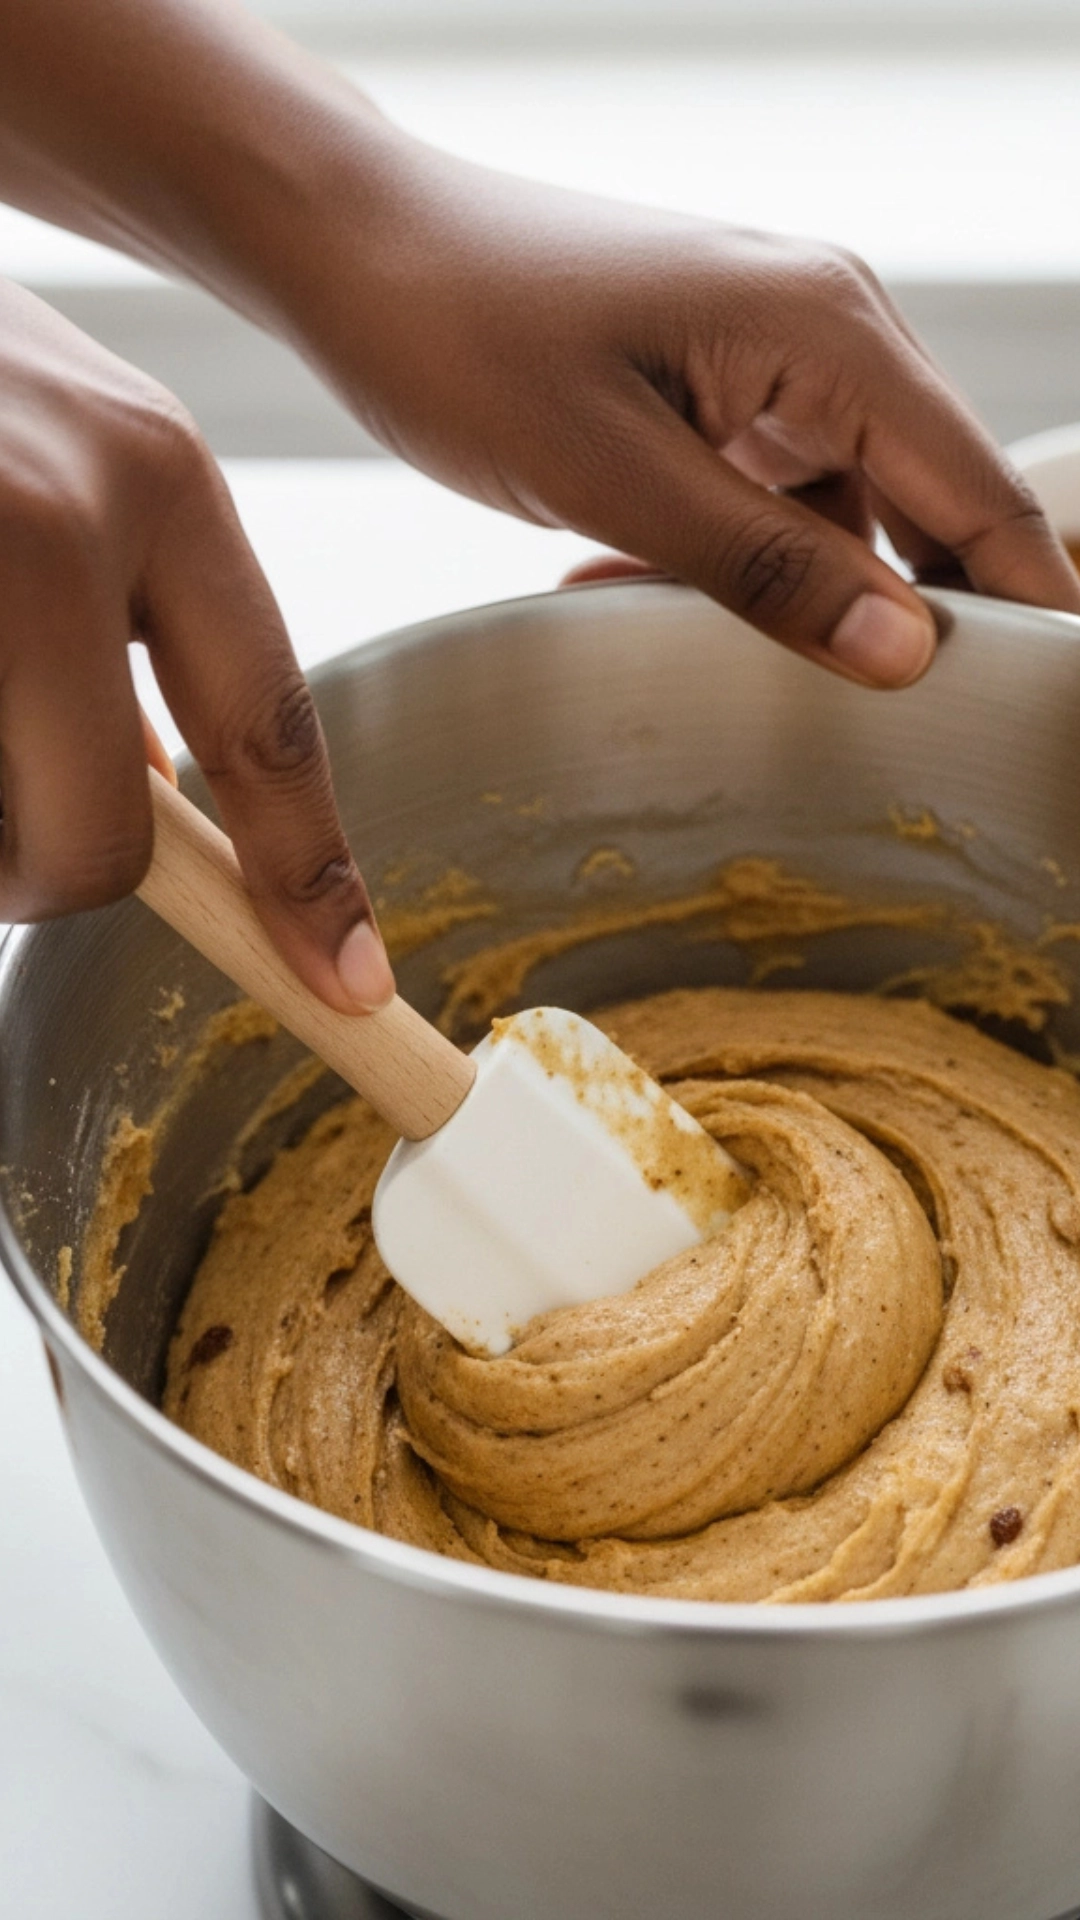
- Combine Wet and Dry: Turn your mixer to its lowest speed. Slowly add the flour mixture in three separate additions. Mix only until there are no more visible streaks of flour.
- Divide and Chill: Turn the soft dough out onto a clean surface. Divide it, flatten each half into a 1-inch thick disc, and wrap each disc tightly in plastic wrap. Refrigerate for at least 2 hours, or overnight for best results.
- Preheat and Prepare: Preheat your oven to 175∘°C (350∘°F) when ready to bake. Line two large baking sheets with parchment paper to prevent sticking.
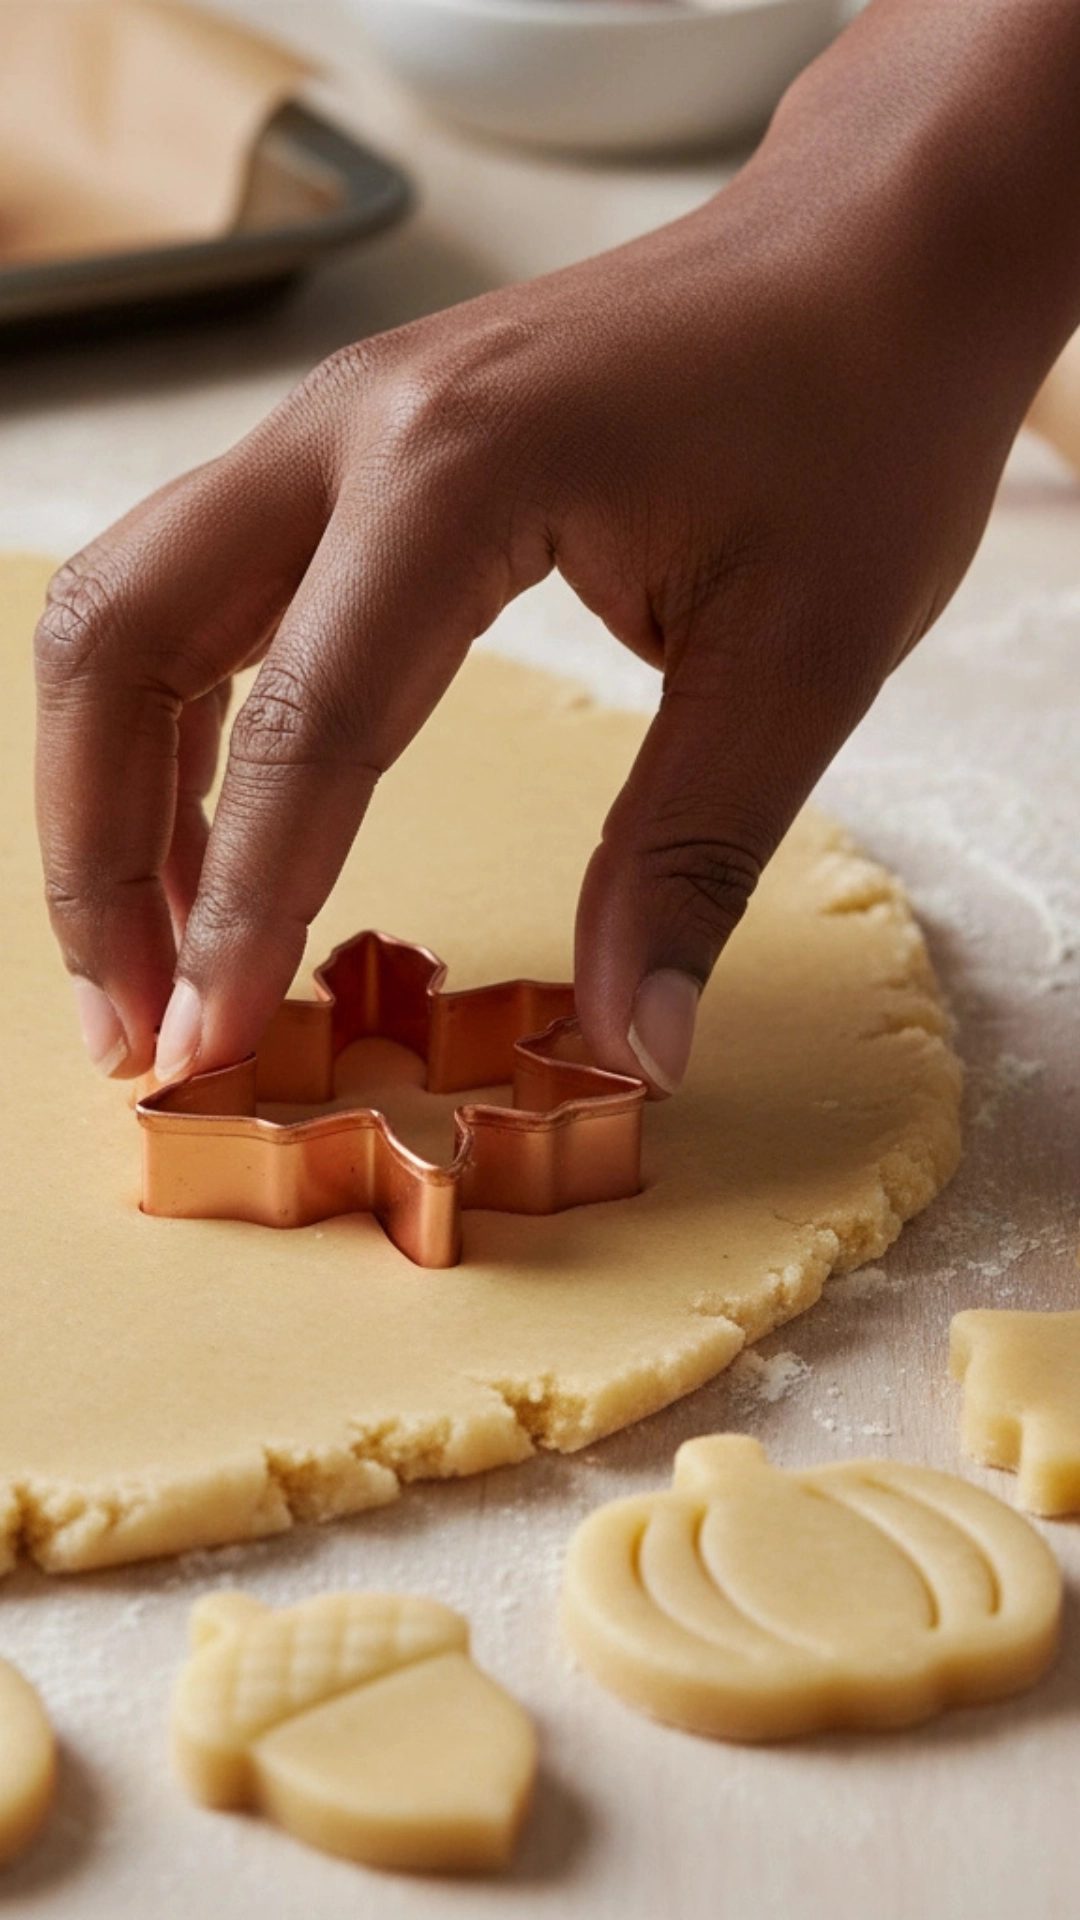
- Roll and Cut: Lightly flour your work surface and rolling pin. Take one disc of dough from the refrigerator. Roll it out to an even 6mm (1/4 inch) thickness. Use your favorite fall-themed cookie cutters (leaves, pumpkins, acorns) to cut your shapes.
- Bake: Place the cut-out cookies on your prepared baking sheets, leaving about 5cm (2 inches) of space between them. Bake for 10-12 minutes until the edges turn golden brown.
- Cool Completely: Let the cookies cool on the baking sheet for 5 minutes before transferring them to a wire rack to cool completely. They must be 100% cool before decorating.
Let’s Decorate! Easy Fall Cookie Decorating Ideas
This is where you can let your creativity shine! Don’t be intimidated by cookie decorating. First, prepare your royal icing by beating the powdered sugar, meringue powder, water, and vanilla until glossy and stiff. Then, you’ll need to create different consistencies for different tasks.
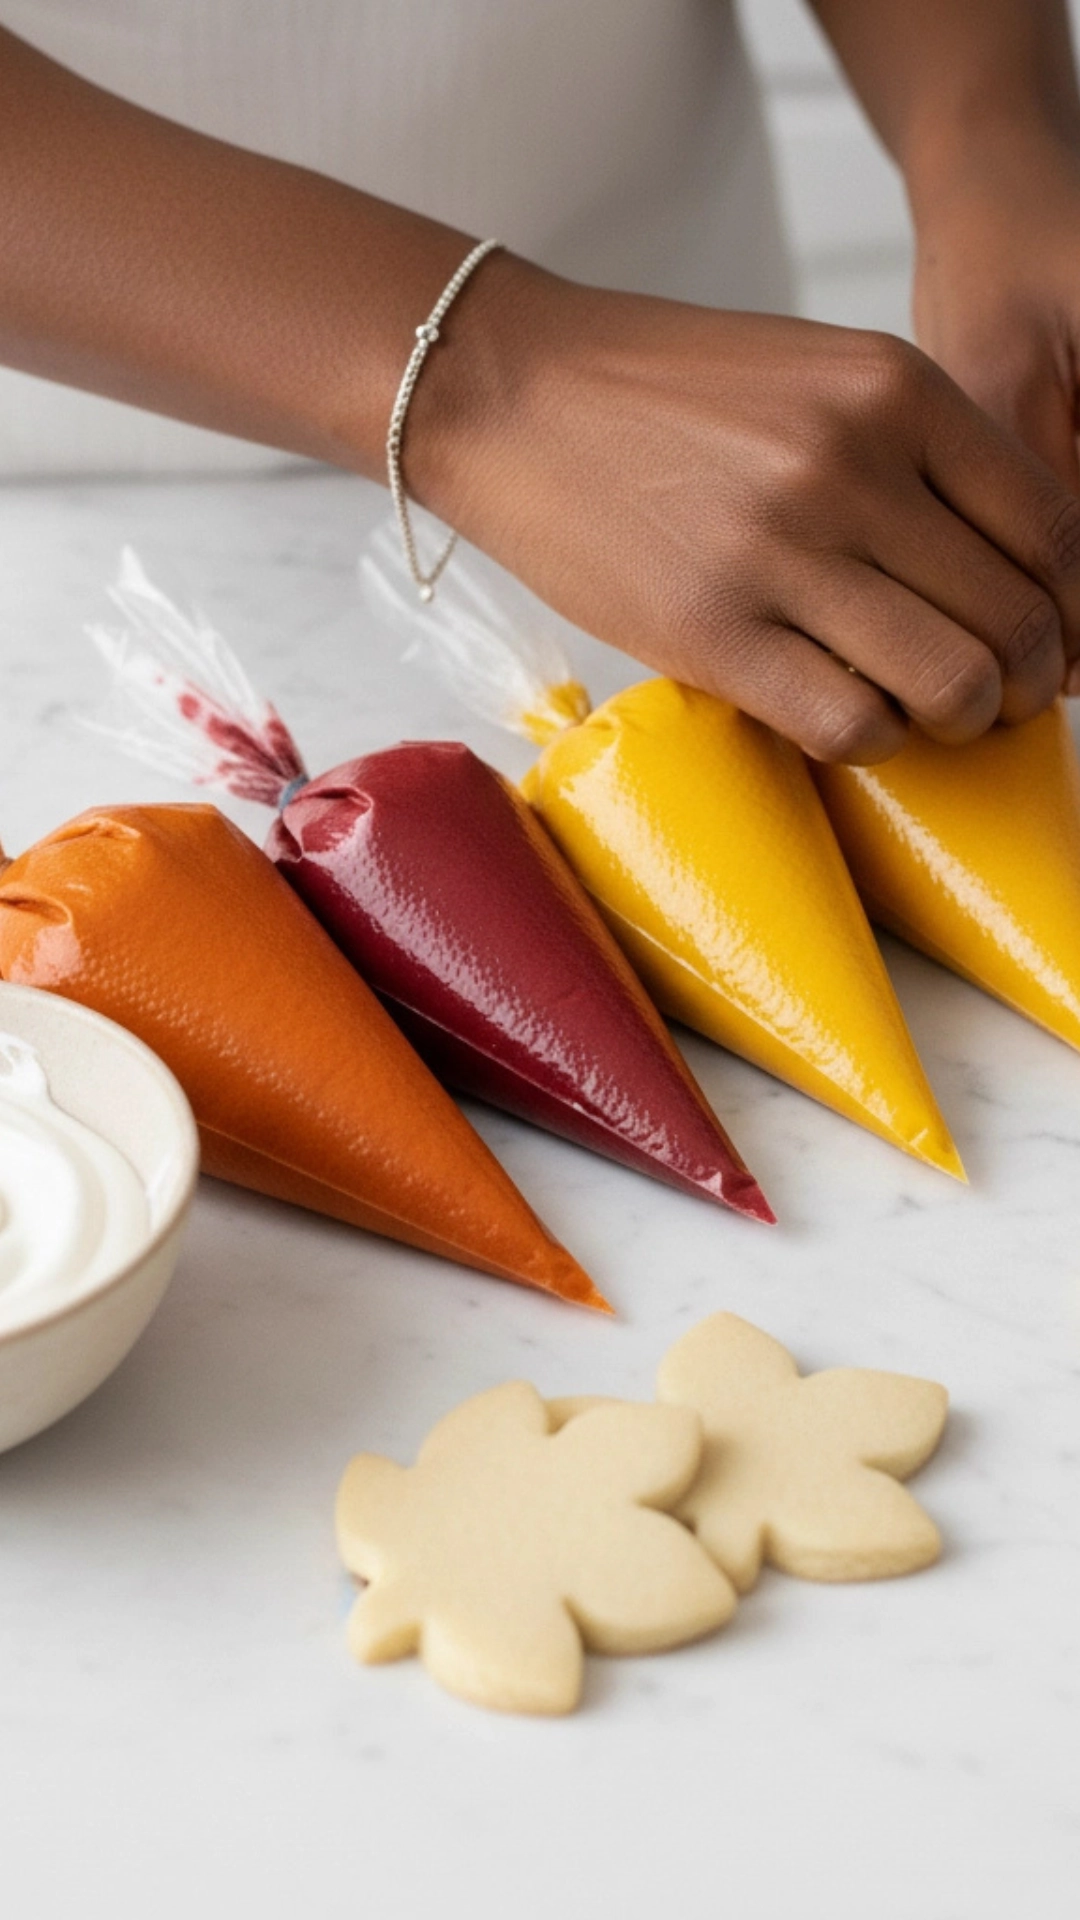
Royal Icing Consistency Guide
| Consistency | Feels Like… | 15-Second Rule Test* | Primary Use |
| Piping | Toothpaste | A drizzled line will hold its shape and not disappear. | Outlining cookies, creating dams, fine details. |
| Flood | Honey or Shampoo | A drizzled line will smooth out and disappear in ~15 sec. | Filling in (flooding) the outlined areas. |
| Stiff | Stiff Peak | Holds a sharp peak when you lift the beater. | Piping details like flowers or firm textures. |
*The “15-Second Rule” is a test where you run a knife through the icing in the bowl. It should take about 15 seconds for the line to disappear for a good flood consistency.
Step-by-Step Decorating Techniques for Beginners
Here are three easy methods to make your fall cookies look stunning.
Technique 1: Simple Flooding & Sprinkles
- Outline: Use your piping icing to outline the edge of the cookie.
- Flood: Use your flood icing in the same color to fill the inside of the outline.
- Decorate: While the icing is wet, add fall-themed sprinkles. Let the cookies dry completely (6-8 hours).
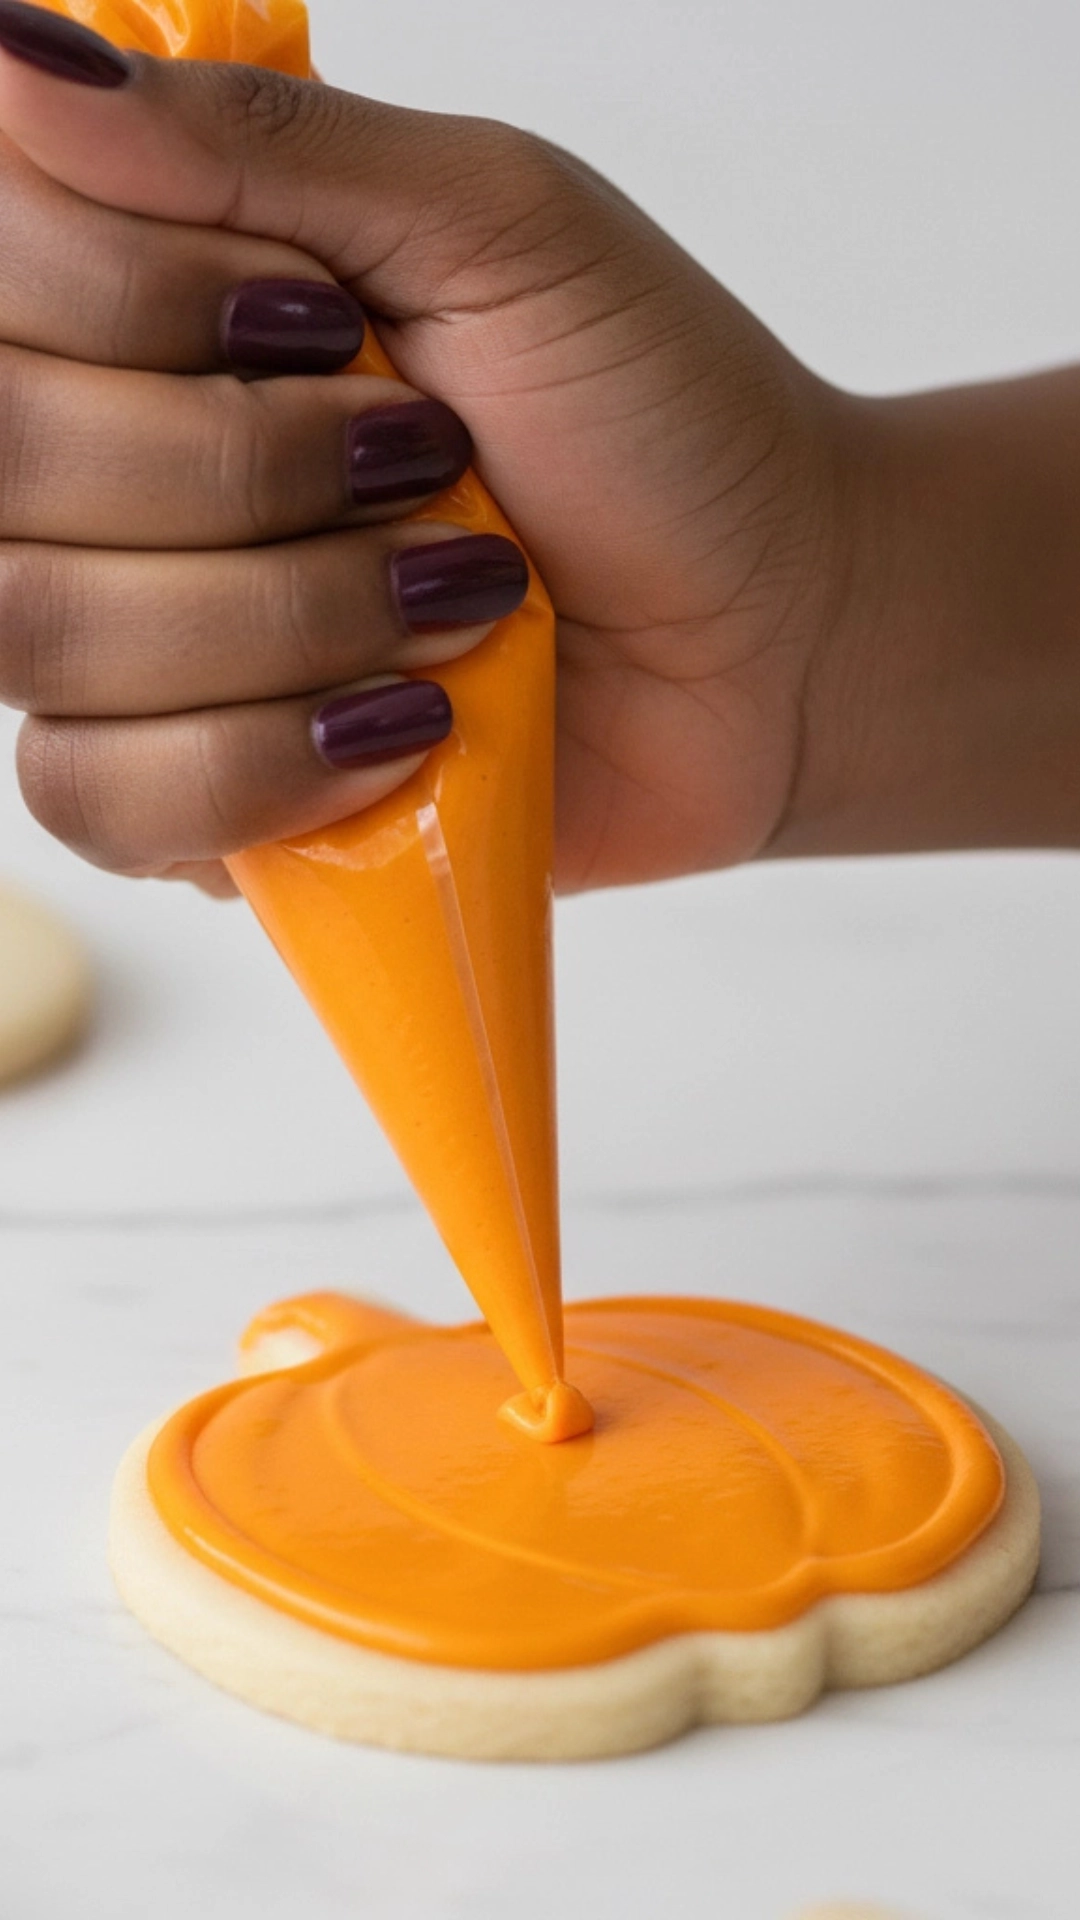
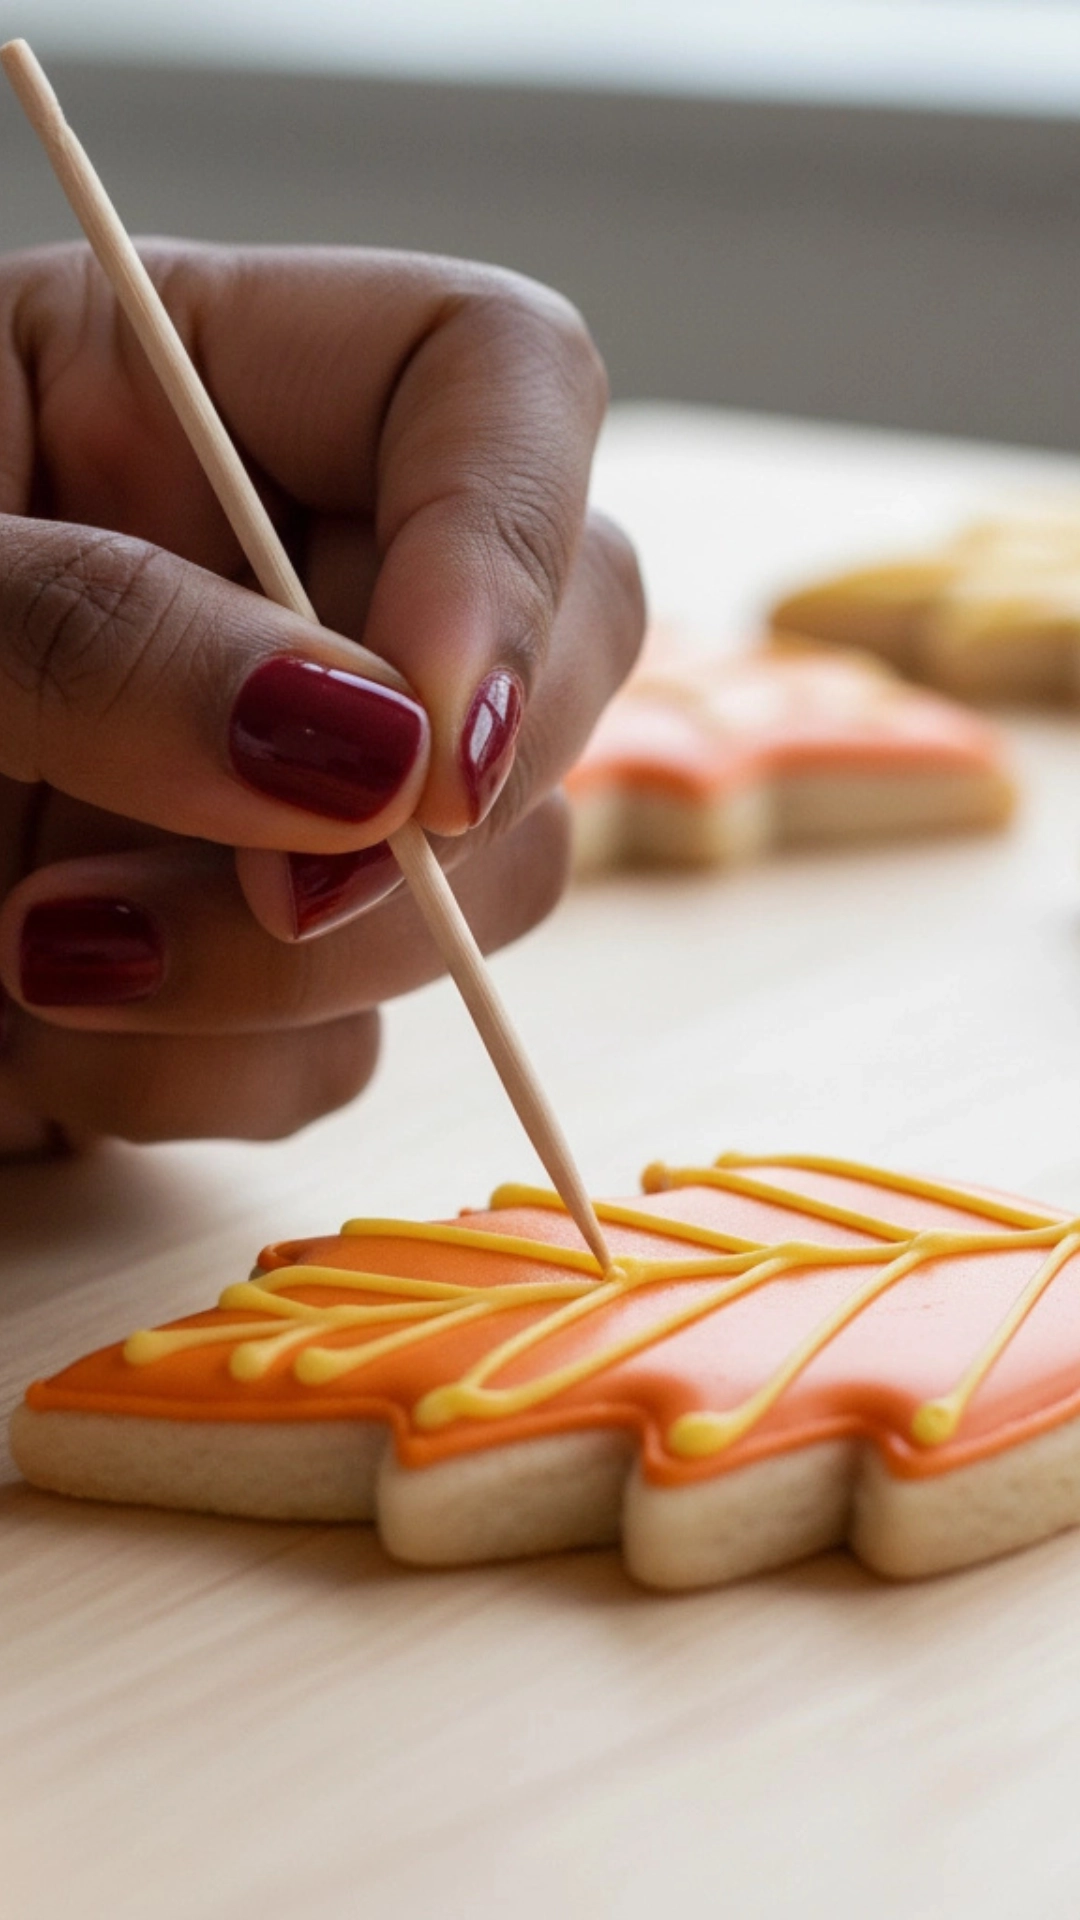
Technique 2: The Wet-on-Wet Technique (Leaf Veins)
- Flood the Base: Outline and flood your leaf-shaped cookie with a base color (e.g., golden yellow).
- Add Veins: While the base is still wet, immediately pipe thin lines of a contrasting color (e.g., deep red) across the leaf.
- Create the Design: Gently drag a toothpick through the lines in one direction to create a feathered, realistic leaf vein effect.
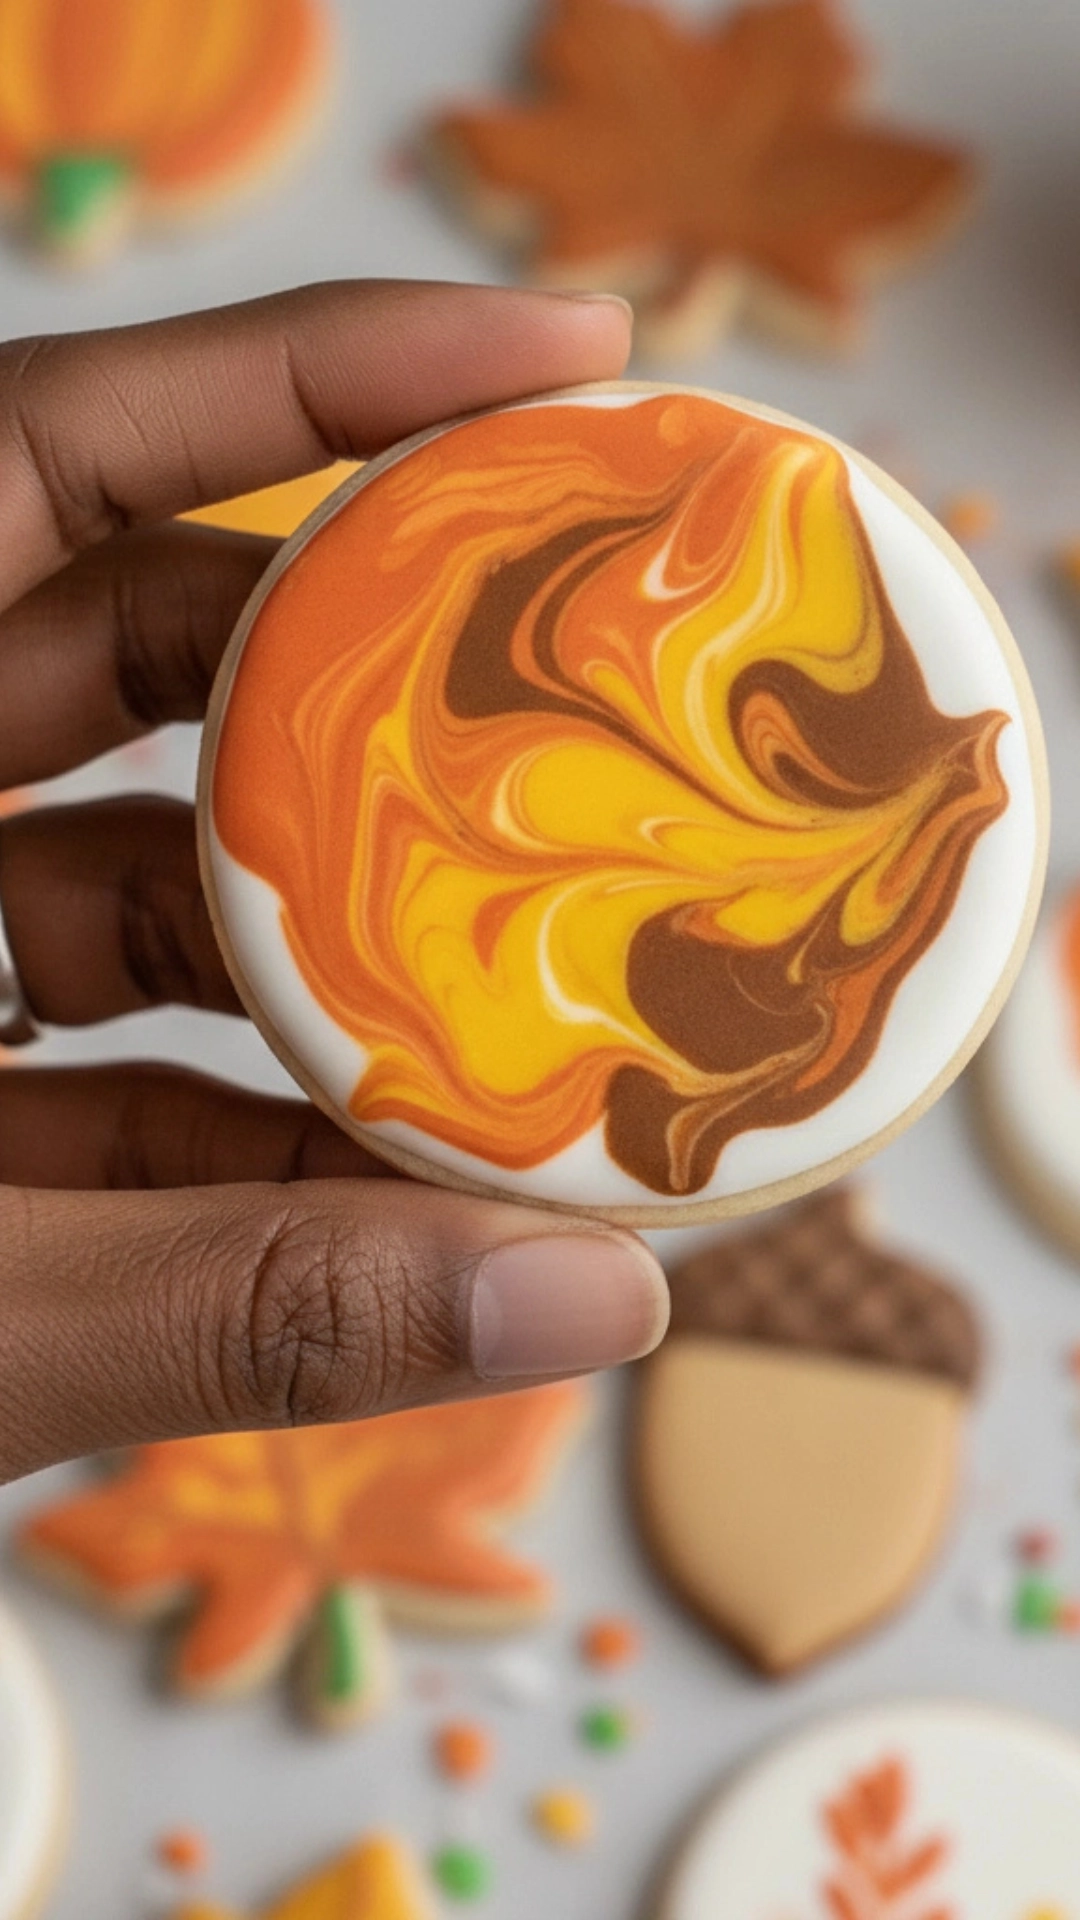
Technique 3: Marbled Fall Cookies
- Flood the Base: Outline and flood your cookie in a base color (e.g., pale orange).
- Drop Colors: While the base is wet, quickly drop small dots of 2-3 other fall colors on top.
- Create the Marble: Gently swirl and drag a toothpick through the dots to create a beautiful marbled pattern.
Fall Color Palette Inspiration
Create a gorgeous fall palette with just a few primary gel colors.
- Burnt Orange: Start with orange gel coloring + a tiny dot of red or brown.
- Mustard Yellow: Use lemon yellow gel coloring + a minuscule dot of orange or brown.
- Deep Burgundy: Use red gel coloring + a tiny touch of black or brown.
- Forest Green: Use green gel coloring + a small dot of black to deepen the shade.
- Chocolate Brown: Perfect on its own for acorn stems or marbled accents.
Tips, Tricks, and Troubleshooting
Here are a few extra pointers and solutions to common problems to guarantee your fall cookies are a success.
Common Cookie Problems & Solutions
| The Problem | The Simple Fix |
| This happens when a dark color seeps into a light one. Let the base flood icing dry for at least an hour before piping dark details. Or, ensure your icing isn’t too thin. | My cookies are complex and challenging. |
| You likely overmixed the flour. Mix only until the flour is just combined. Also, ensure you don’t overbake them; pull them out when the edges are barely golden. | If the mixture is too thin, add sifted powdered sugar, one tablespoon at a time. If it is too thick, add water, 1/4 teaspoon at a time, until you reach the desired consistency. |
| My royal icing is too thin/thick. | This happens when a dark color seeps into a light one. Let the base flood icing dry for at least an hour before piping dark details. Or, ensure your icing isn’t too thin. |
| My icing colors are bleeding. | This happens when a dark color seeps into a light one. Let the base flood icing dry for at least an hour before piping dark details. Or, ensure your icing isn’t too thin. |
More Tips for Success
- Use an Oven Thermometer: Many home ovens are inaccurate. An inexpensive oven thermometer ensures you’re baking at the correct temperature.
- Roll Dough Between Parchment: If your dough is sticky, roll it between two sheets of paper. It’s a mess-free way to get a perfectly even thickness.
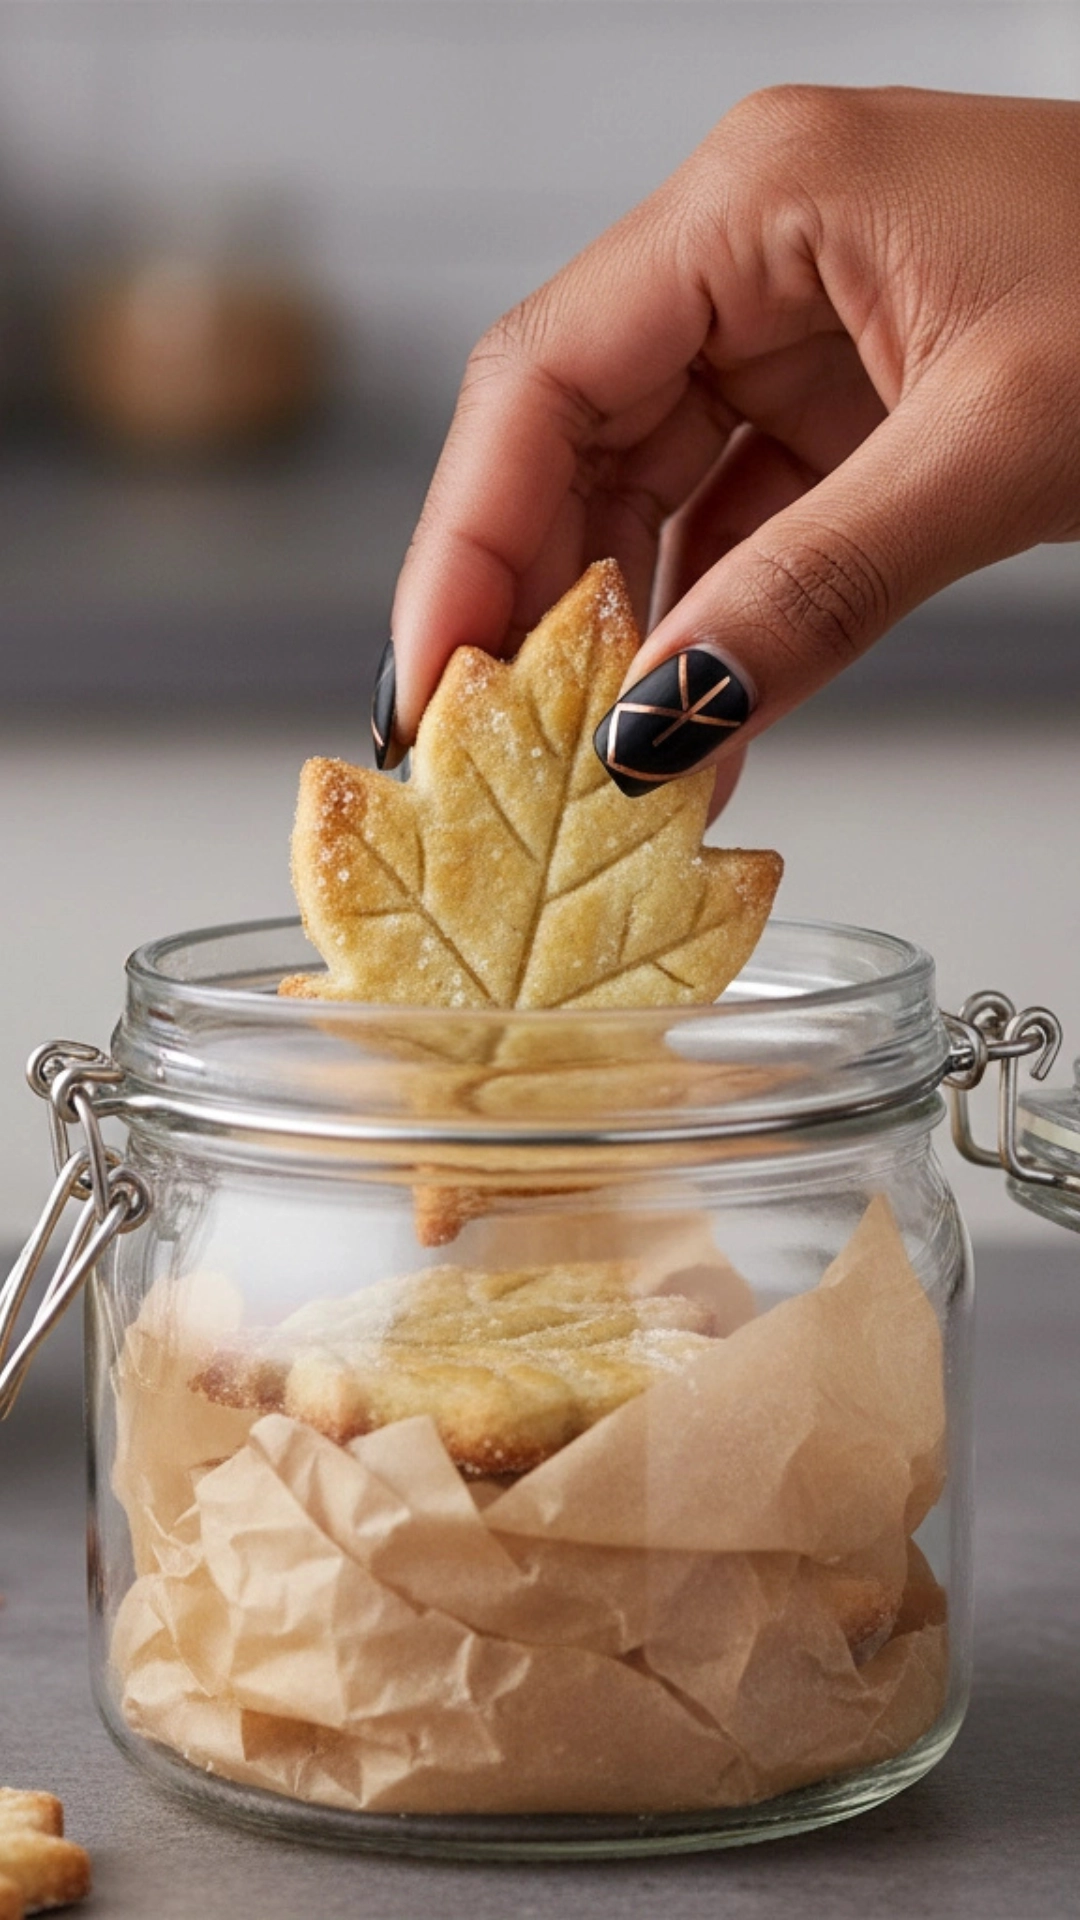
- Store Cookies Properly: Once the royal icing is completely hard (allow at least 8 hours), store your cookies in an airtight container at room temperature for up to a week. Place parchment paper between layers to protect the designs.
To sum up, the key to amazing fall cookies is following a few basic rules.
- Master the Basics: Use room temperature ingredients, don’t overmix, and always chill your dough.
- Have Fun with Flavor: Don’t be afraid to use a good blend of fall spices.
- Embrace Simple Decorating: You don’t need to be a professional artist to create beautiful cookies.
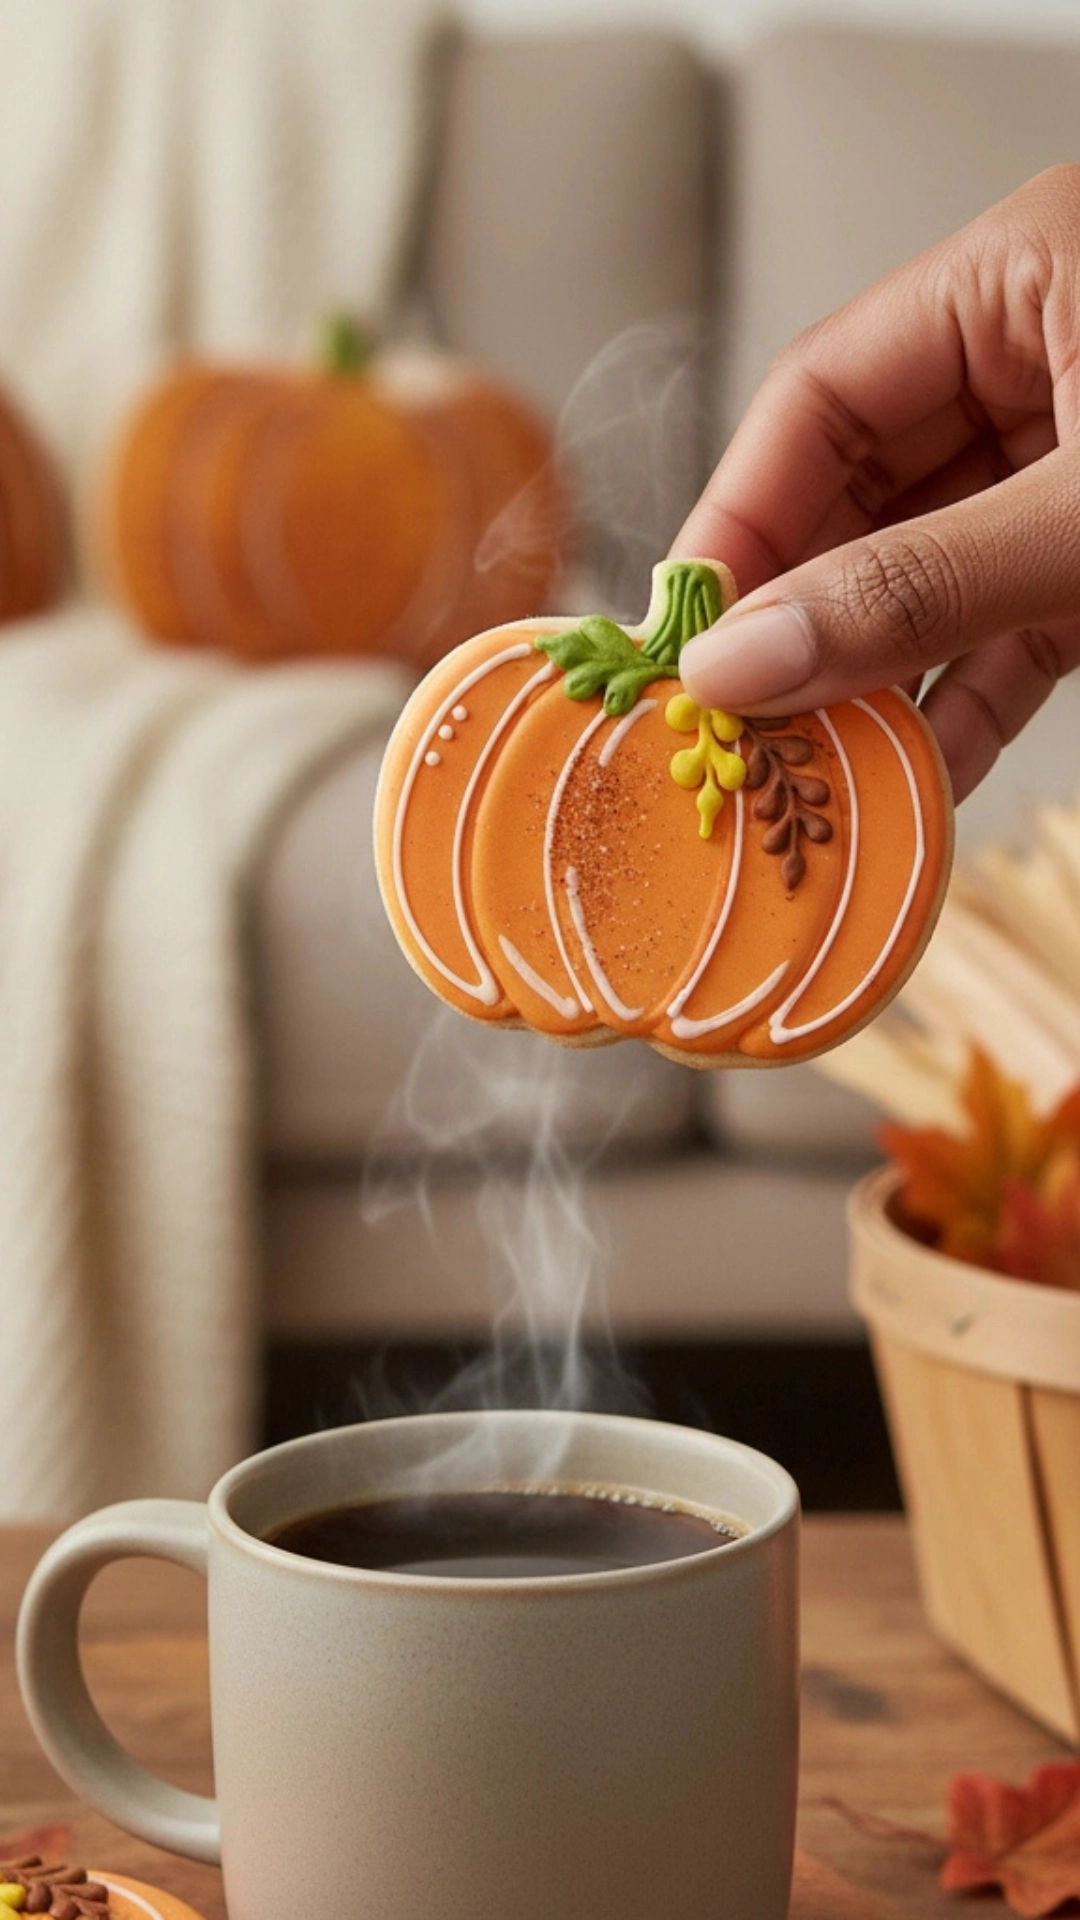
Baking these fall cookies should be a joyful and relaxing process. Put on some music, enjoy the delicious smells filling your home, and have fun creating something beautiful and tasty. These are perfect for sharing with family, giving as gifts, or enjoying a warm cup of coffee on a crisp autumn day.
Happy baking!
