This post may contain affiliate links, which means I may receive a small commission should you decide to click that link and make a purchase. For more information please refer to the Terms & Conditions.
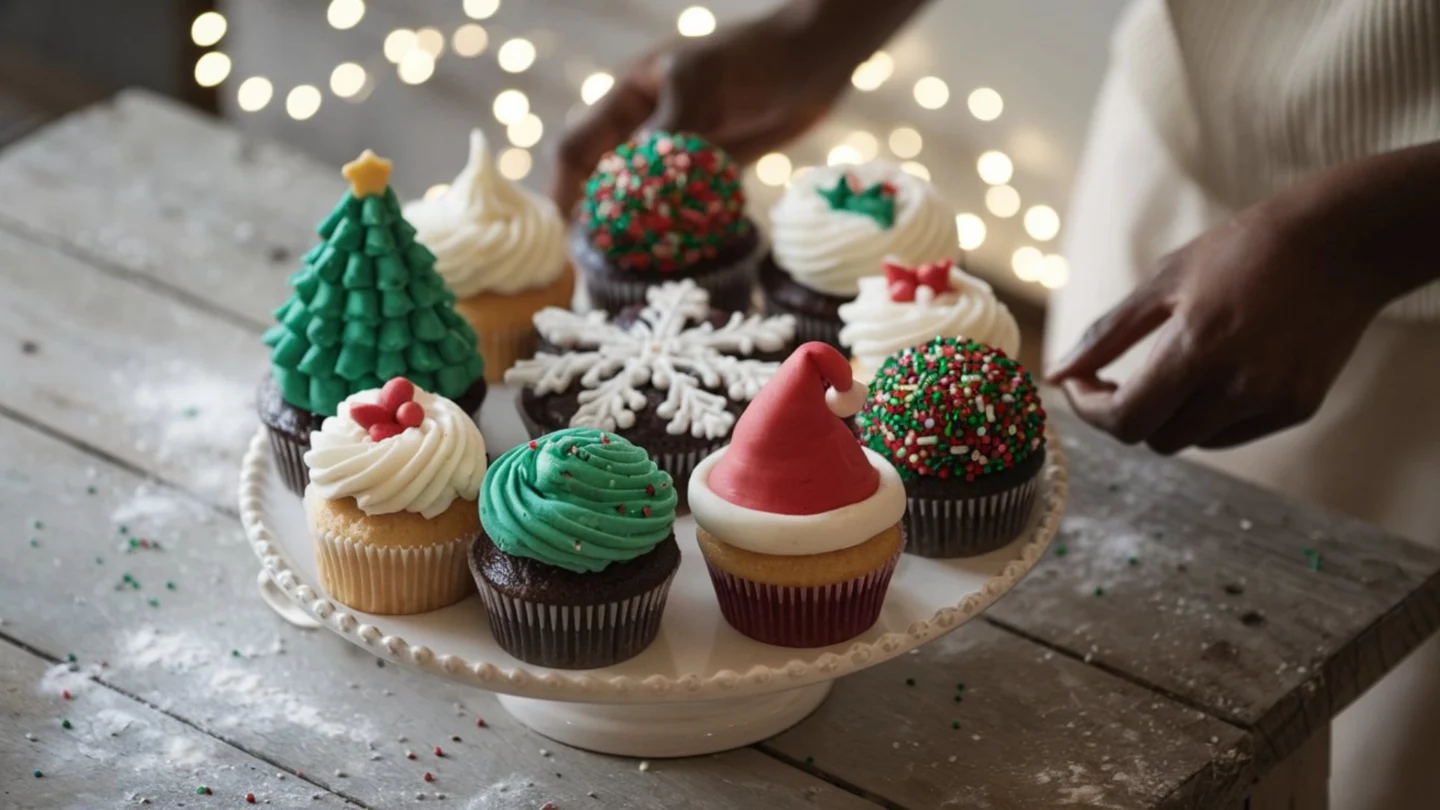
I can’t get enough of the holidays. For me, that means endless baking. The smell of vanilla and spice is pure magic. But I know how it feels when your hard work doesn’t quite look right.
My festive Christmas cupcakes used to look a little sad. They tasted good but had zero “wow” factor for the Christmas party. I spent years figuring out the secrets to perfect holiday cupcakes. I finally cracked the code to pro-level decorating, which is actually easy.
I wanted to share everything I’ve learned with you today. I’ll walk you through the entire process, from a fluffy base to easy step-by-step techniques. You don’t need to be a professional baker for this; you need my tricks and guidance.
We are done making boring holiday treats. This year, your Christmas desserts will absolutely steal the show. Let’s get into it!
Why Your Festive Christmas Cupcakes Matter
Your holiday table deserves something truly special. For me, festive cupcakes are more than just dessert. They are a beautiful part of the celebration. I love that they bring personal, homemade magic to my gatherings. I show everyone how much I care when I bring out that platter.
Think about it: anyone can buy a box of cookies. But we are going to create tiny, edible works of art. I love controlling the flavors, the ingredients, and the fun. My goal in this guide is to give you the power to make your baking truly memorable.
I’ll show you the best simple recipes and four stunning decorating ideas, step-by-step.
Before You Bake: Your Cupcake Toolkit
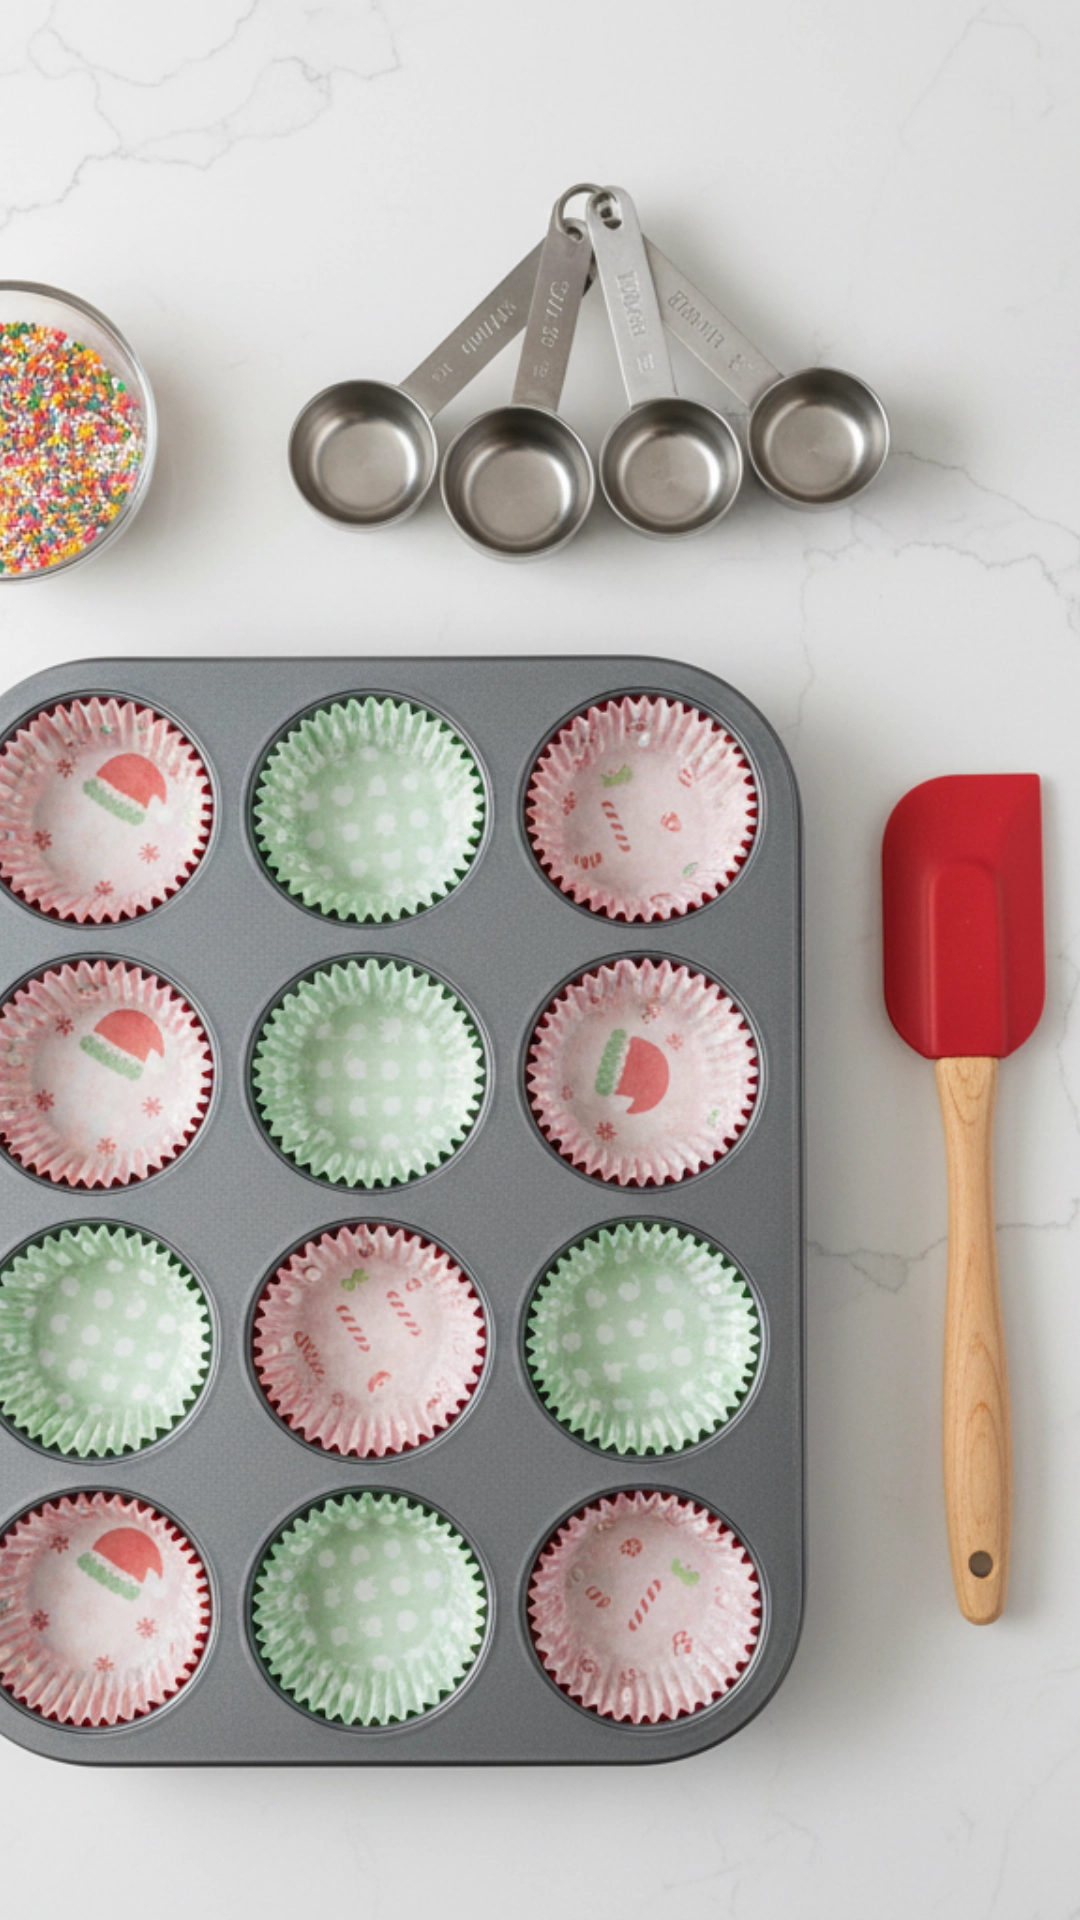
Before you start mixing, let’s get your station ready. Having the right tools makes the entire process smooth and fun. You don’t need a lot of fancy equipment, but a few basics are key.
Essential Baking Tools:
- Muffin Tin (12-cup): This is your foundation. A standard metal tin is perfect.
- Cupcake Liners: Get festive! Red, green, gold, or patterns with snowflakes or trees. These are the “clothes” for your cupcakes.
- Mixing Bowls: You’ll want at least one large bowl for dry ingredients and one medium bowl for wet ingredients.
- Whisk: This is for mixing your dry ingredients perfectly. It helps make the cupcakes light and airy.
- Electric Mixer (Hand or Stand): While you can mix by hand, an electric mixer makes your life much easier. It’s the secret to fluffy frosting and a smooth batter.
- Rubber Spatula: Use this to scrape the sides of the bowl. You want to ensure every bit of goodness gets into the batter.
- Measuring Cups and Spoons: Baking is a science. Accurate measurements are essential for the best results.
- Ice Cream Scoop: This is my number one secret weapon! A medium-sized scoop is the perfect tool for filling your cupcake liners. It guarantees every single cupcake is the same size.
- Wire Cooling Rack: You must cool your cupcakes completely before frosting. A wire rack lets air flow all around them, allowing them to cool quickly and evenly.
Essential Decorating Tools:
- Piping Bags: These hold your frosting. You can use reusable silicone ones or disposable plastic ones.
- Piping Tips: You don’t need a huge set. To start, get these three:
- A Large Star Tip (like a 1M or 2D) is for gorgeous swirls and textures.
- A Small Round Tip (like a #3 or #4): This is for writing or drawing fine details, like snowflake arms.
- A large round tip (like a 2A) is excellent for smooth, modern-looking frosting blobs or for making the Santa hat base.
- Offset Spatula: A small one is perfect. It helps you spread a smooth, flat base layer of frosting before you pipe.
- Food Coloring: I highly recommend gel food coloring. You only need a tiny drop to get bright, beautiful colors, while liquid coloring can water down your frosting.
- Sprinkles: This is the fun part! Get a holiday mix, some sanding sugar for sparkle, and maybe some edible pearls.
The Perfect Holiday Cupcake Base Recipes

You can’t have amazing Festive Christmas Cupcakes without a delicious, moist base. I’m giving you two classic options. Choose the one that you love the most. The most important tip for both recipes is to use room-temperature ingredients. Set your eggs, butter, and milk on the counter for about an hour before you start. This makes your cupcakes incredibly light and fluffy.
Recipe 1: The Classic Vanilla Bean Cupcake
This is my go-to recipe. It’s light and airy, and it’s a perfect canvas for any frosting flavor.
You Will Need:
- 1 1/2 cups all-purpose flour
- 1 1/2 teaspoons baking powder
- 1/4 teaspoon salt
- 1/2 cup unsalted butter, at room temperature
- 1 cup granulated sugar
- 2 large eggs, at room temperature
- 1 teaspoon vanilla extract (use the good stuff!)
- 1/2 cup milk (whole milk is best), at room temperature
Step-by-Step Instructions:
- Get Ready: Preheat your oven to 350°F (175°C). Place your festive paper liners into your 12-cup muffin tin.
- Mix Dry Stuff: In a medium bowl, whisk together the flour, baking powder, and salt. This is called sifting, and it breaks up any lumps. Set this bowl aside.
- Cream Butter and Sugar: In your large bowl, use an electric mixer to beat the room-temperature butter and sugar together on medium-high speed for about 3-4 minutes. You want the mixture to look very pale, light, and fluffy. This step whips air into the batter, which is key.
- Add Eggs: Add your room-temperature eggs, one at a time. Beat well after adding the first egg before you add the second. Scrape down the sides of the bowl with your spatula.
- Add Vanilla: Beat in the vanilla extract until it’s just combined. Your kitchen should start smelling amazing right about now.
- Combine Wet and Dry: Now, you will alternate adding the dry mixture and the milk. Start with the dry. Add about one-third of the flour mixture and mix at low speed until combined.
- Add Milk: Mix half of the milk at low speed until combined.
- Repeat: Add another one-third of the flour and mix. Add the last half of the milk and mix. Add the very last bit of flour and mix only until you no longer see white streaks.
- DO NOT OVERMIX! This is the most important rule. If you mix too much, your cupcakes will be tough and dense. A few small lumps are totally fine.
- Fill the Liners: Use your ice cream scoop to fill each cupcake liner. You want them to be about 2/3 full. This is the perfect amount to get a nice, gentle dome.
- Bake: Bake for 18-22 minutes.
- Check for Doneness: At 18 minutes, gently press the top of a cupcake. If it springs back, it’s done. You can also insert a toothpick into the center. If it comes out clean, they are ready.
- Cool: Let the cupcakes cool in the muffin tin for about 5 minutes. Then, move them to a wire rack to cool completely. Before thinking about frosting them, wait until they are 100% cool. Warm cupcakes will melt your frosting into a sad puddle.
Recipe 2: The Rich Red Velvet Cupcake
For something a bit more dramatic, red velvet is a holiday favorite. The deep red color is perfect for Festive Christmas Cupcakes.
You Will Need:
- 1 1/2 cups all-purpose flour
- 1 tablespoon unsweetened cocoa powder
- 1/2 teaspoon salt
- 1/2 cup unsalted butter, at room temperature
- 1 cup granulated sugar
- 2 large eggs, at room temperature
- 1 teaspoon vanilla extract
- 1/2 cup buttermilk (this is key for the tang), at room temperature
- 1 tablespoon red gel food coloring (yes, that much!)
- 1/2 teaspoon baking soda
- 1 teaspoon white vinegar
Step-by-Step Instructions:
- Get Ready: Preheat your oven to 350°F (175°C). Line your muffin tin with liners.
- Mix Dry Stuff: In a medium bowl, whisk together the flour, cocoa powder, and salt. Set it aside.
- Cream Butter and Sugar: Like the vanilla recipe, beat your room-temperature butter and sugar in a large bowl with an electric mixer for 3-4 minutes until pale and fluffy.
- Add Eggs and Vanilla: Add the eggs one at a time, beating well after each. Then, mix in the vanilla extract.
- Make the Red Slurry: Whisk together the room-temperature buttermilk and the red gel food coloring in a small, separate bowl. It will be shockingly red.
- Combine: Just like before, you will alternate adding the dry mix and the wet red mix to your butter/sugar bowl. Start with 1/3 of the dry, mix on low. Add 1/2 of the red buttermilk and mix. Add 1/3 of the dry, mix. Add the last 1/2 of the red buttermilk and mix. Add the last 1/3 of the dry, and mix only until combined.
- The Science Trick: Add the baking soda to a tiny bowl. Pour the white vinegar over it. It will fizz! Immediately add this fizzing mixture to your cupcake batter and mix it gently for a few seconds. This reaction gives the cupcakes their classic velvety lift.
- Fill and Bake: Use your scoop to fill the liners 2/3 full. Bake for 18-22 minutes.
- Check and Cool: Use the toothpick test. Let them cool in the pan for 5 minutes, then move them to a wire rack to cool completely.
The Ultimate Christmas Buttercream Frosting
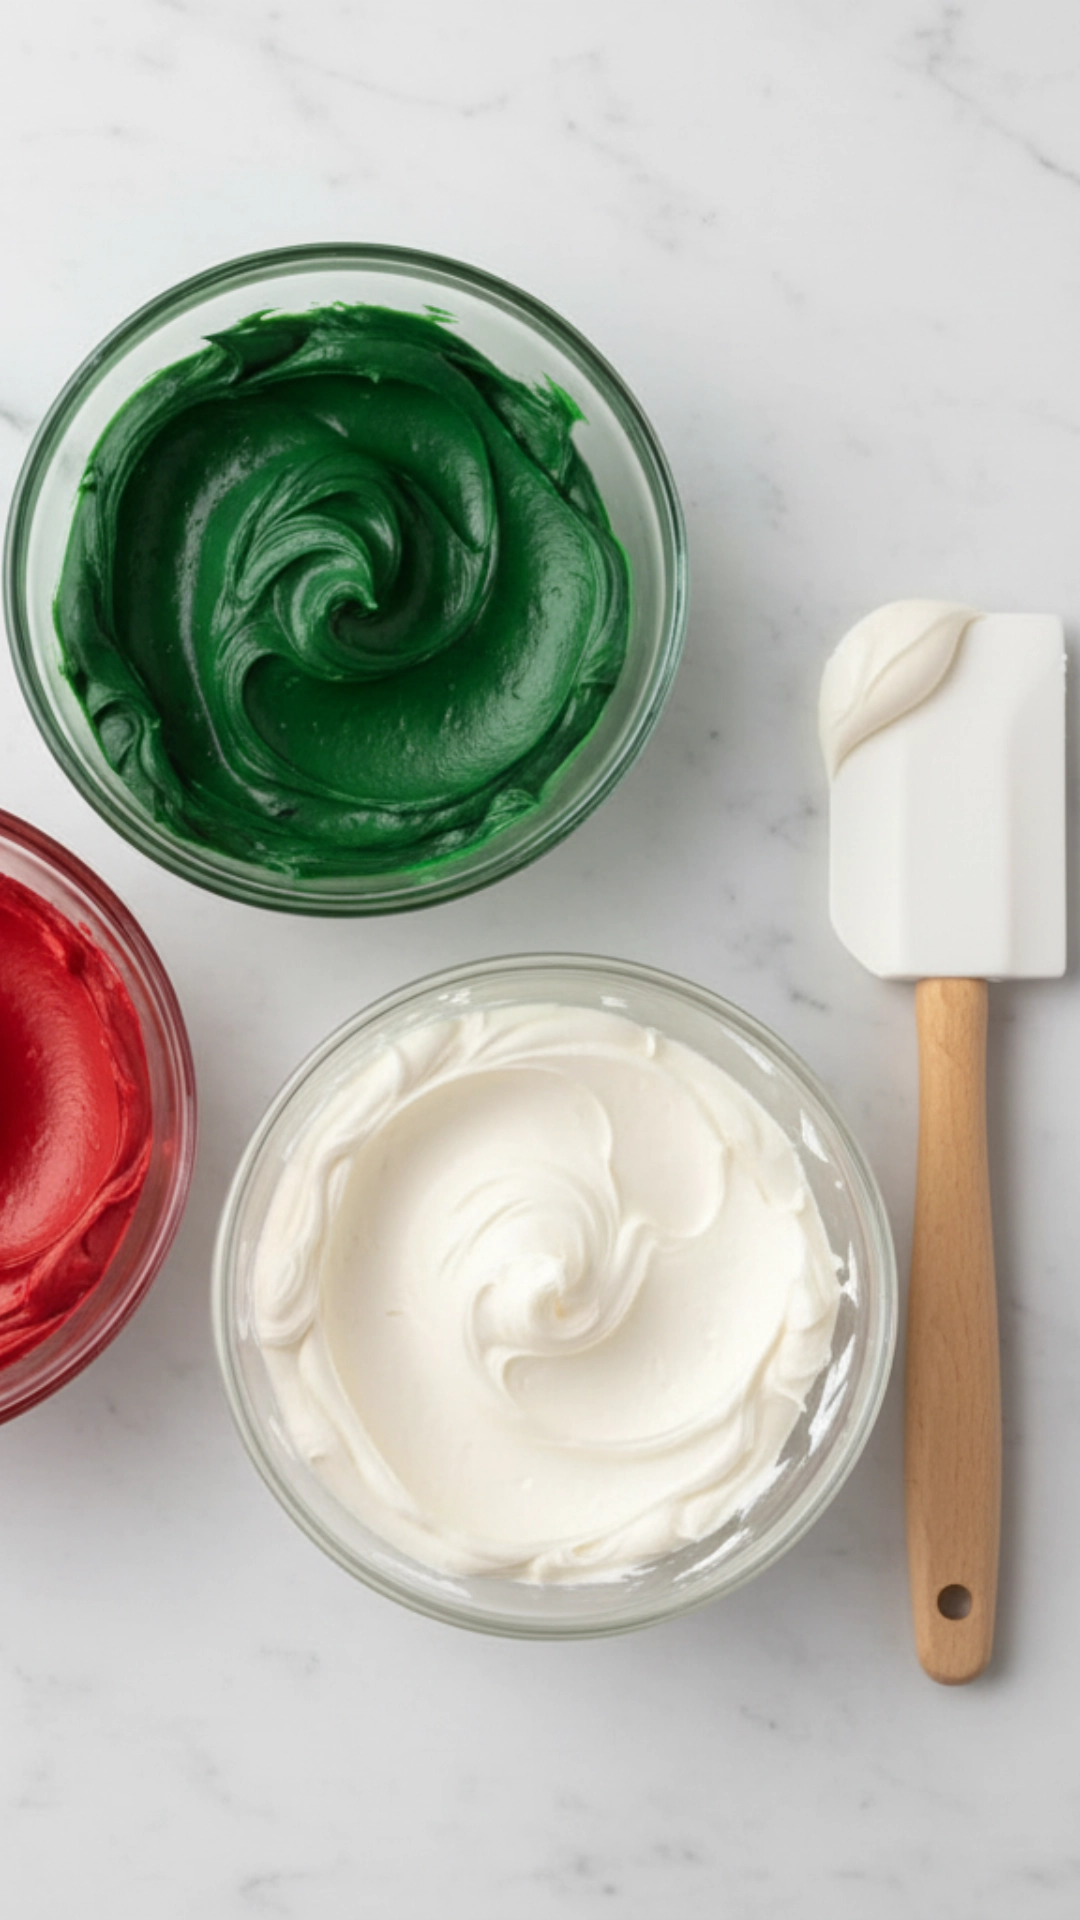
This is the only frosting recipe you need. It’s stable, pipes beautifully, and tastes like heaven. We will make a big batch so you have enough to color and decorate all 12 cupcakes.
You Will Need:
- At room temperature, 2 cups (four sticks) of unsalted butter. (This is important, not melted, just soft!)
- 4-5 cups powdered sugar, sifted
- 2 teaspoons vanilla extract
- 2-4 tablespoons milk or heavy cream
- A pinch of salt
Step-by-Step Instructions:
- Beat the Butter: Place your soft, room-temperature butter in your large mixing bowl. Using your electric mixer, beat the butter at medium-high speed for 5-7 minutes. Yes, really. Set a timer. The butter will turn from yellow to almost white and get incredibly fluffy. This is the secret to non-greasy, light frosting.
- Sift Your Sugar: Sift your powdered sugar while the butter is beating. This prevents lumpy frosting.
- Add Sugar Slowly: Turn the mixer down to low. Add the sifted powdered sugar one cup at a time. Wait for each cup to be mostly mixed in before adding the next. If you add it all at once, your kitchen will explode with sugar clouds.
- Scrape the Bowl: Once all the sugar is in, stop the mixer and scrape the bottom and sides of the bowl with your rubber spatula. You want to make sure all the butter is mixed in.
- Add Flavor: Turn the mixer back on low. Add the vanilla extract, the pinch of salt (this cuts the sweetness), and two tablespoons of your milk or cream.
- Whip It Good: Now, turn the mixer up to medium-high and let it beat for another 3-5 minutes. The frosting will become light, airy, and glorious.
- Check Consistency: Is it too stiff? Add one more tablespoon of milk. Is it too thin? Add another 1/2 cup of sifted powdered sugar. You want a “medium” consistency. It should hold its shape (a stiff peak) but still be easy to spread.
Coloring Your Frosting:
- Divide your white frosting into smaller bowls.
- Get your gel food colors (red, green, white/blue).
- Add the gel color with a toothpick. Dip a clean toothpick into the gel, then swirl it into your frosting.
- Mix. A little gel goes a long way! You can always add more.
- You will need a good amount of “Super Red” gel for a deep red. “Leaf Green” or “Kelly Green” is perfect for green.
Step-by-Step Decorating: The Christmas Tree Cupcake

This is a classic, and it’s so impressive! Your friends will think you bought these.
You Will Need:
- Your cooled cupcakes
- Green buttercream frosting
- A piping bag
- A large star tip (like a 1M or 2D)
- Small round sprinkles (like “nonpareils” or “dragees”)
- A yellow star sprinkled on top
Instructions:
- Prep Your Bag: Place the star tip into your piping bag and snip the end off. Fill the bag about 2/3 full with your green frosting. Twist the top to seal it.
- Hold the Bag: Hold the piping bag straight up and down, about half an inch above the center of your cupcake. This is a 90-degree angle.
- Pipe the Base: Squeeze the bag with firm, steady pressure. Pipe a large star right in the middle of the cupcake. This is your tree’s broad base.
- Pipe the Second Layer: Lift the bag slightly, so the tip is just above the base layer you just piped. Squeeze again, but make this star marginally smaller than the base.
- Pipe the Top: Lift the bag again. Squeeze an even smaller star on top to create the tree’s peak.
- Lift Away: Stop squeezing before you pull the bag away. Lift straight up to get a nice, sharp peak.
- Decorate the Tree: While the frosting is still “wet,” carefully sprinkle your round sprinkles onto the green “branches.” These are your ornaments.
- Add the Topper: Gently place one yellow star sprinkle on the top of your tree. That’s it! You have a beautiful 3D Christmas tree.
Step-by-Step Decorating: The Elegant Snowflake Cupcake
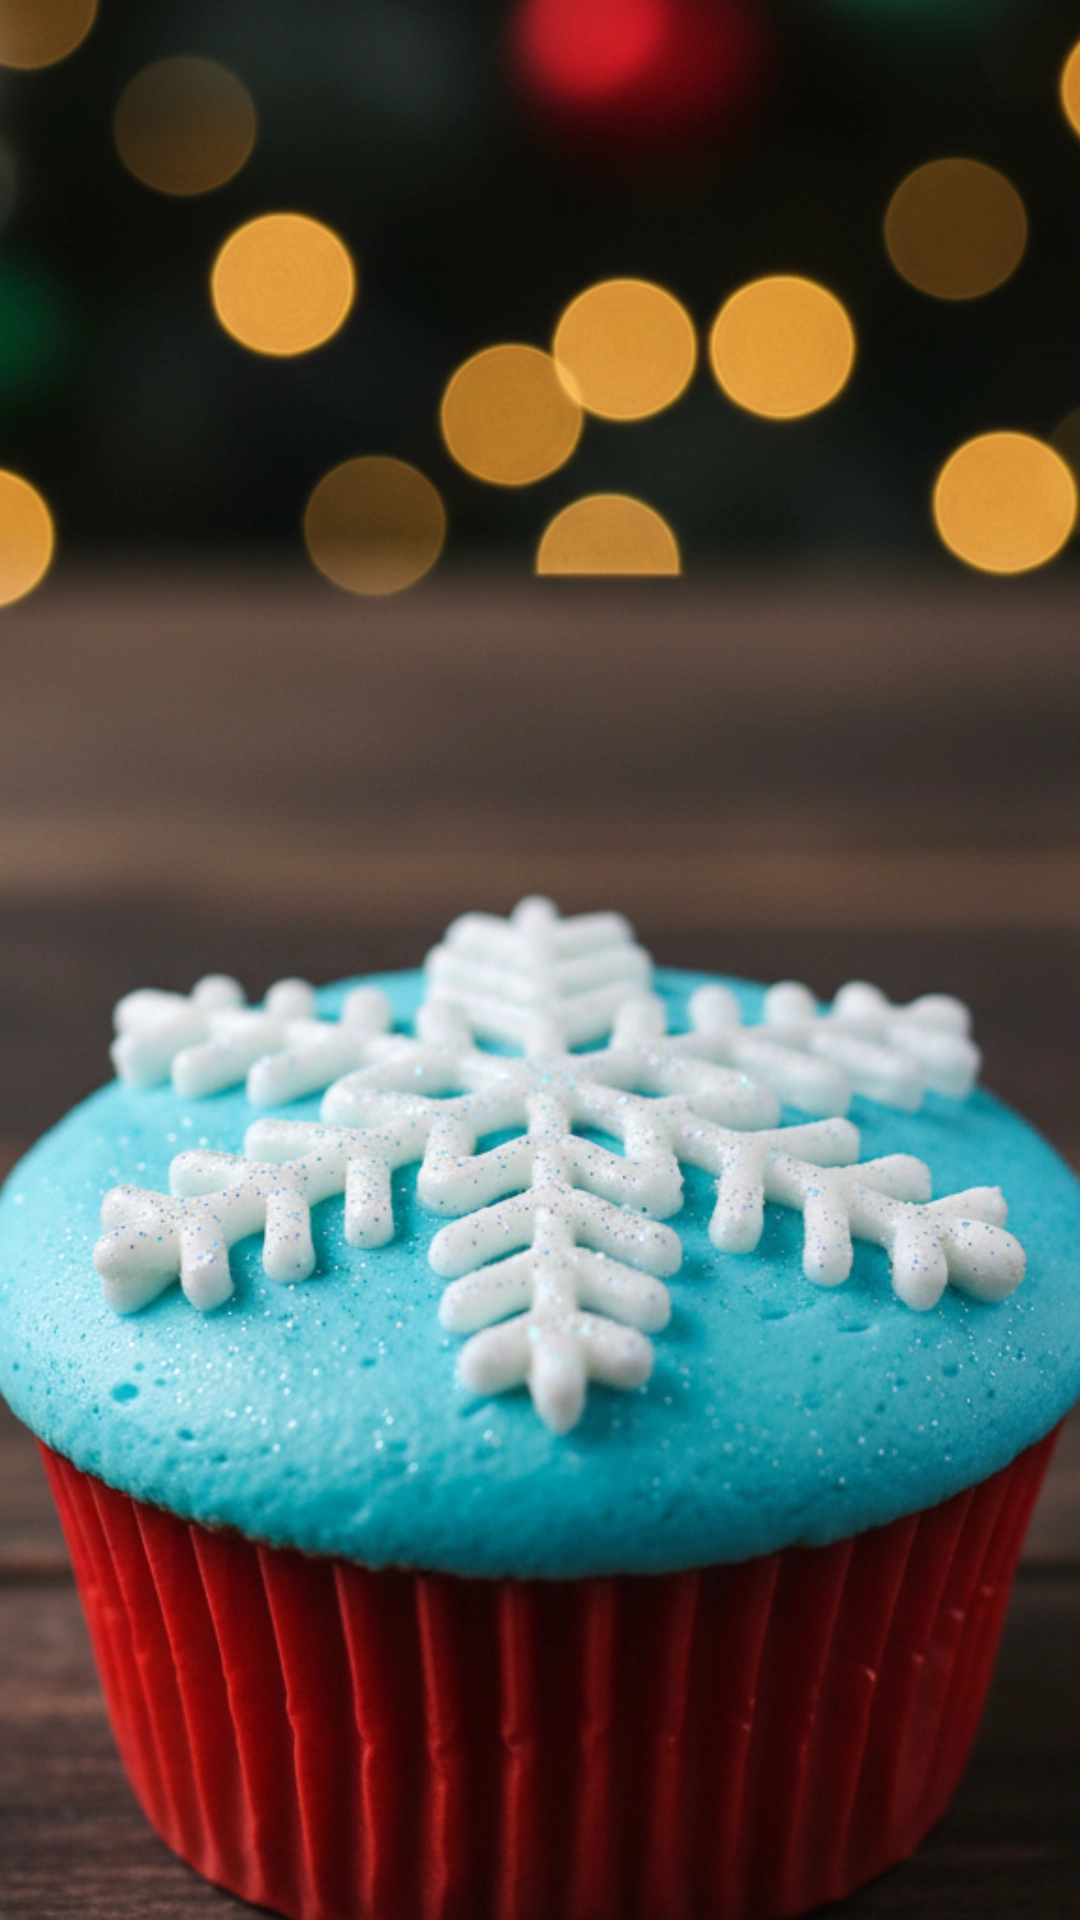
These Festive Christmas Cupcakes are so pretty and look very delicate. They are perfect for a winter-themed party.
You Will Need:
- Your cooled cupcakes
- White or light blue buttercream frosting
- A piping bag
- A small round tip (like a #3)
- An offset spatula
- White sanding sugar or edible glitter
Instructions:
- Create the Base: Use your offset spatula to spread a thin, very smooth layer of your white or light blue frosting over the top of the cupcake. This is your “sky.” Try to get it as flat as you can.
- Prep Your Bag: Place the small round tip in your piping bag and fill it with the frosting of the same color (or white if you used a blue base).
- Pipe the Cross: Hold the bag like a pencil, with the tip just barely above the frosted surface. Pipe a straight line directly across the center of the cupcake.
- Pipe the “X”: Turn the cupcake 90 degrees and pipe another straight line, crossing the first one in the center. You should now have a “plus” sign.
- Pipe the Diagonals: Now, pipe two more lines diagonally, crossing through the same center point. You should have 8 “spokes” from the middle, like a spider web or a simple star.
- Add the Details: This is what makes it a snowflake. Go to the end of one of your spokes. About halfway down the line, pipe two small lines coming off it in a “V” shape.
- Repeat: Make this “V” shape on every eight spokes. If you feel fancy, add a second, more minor “V” closer to the tip of each spoke.
- Add Sparkle: While the piping is fresh, sprinkle the cupcake top with white sanding sugar or edible glitter. This will catch the light and make your snowflake look icy and magical.
Step-by-Step Decorating: The Easy Santa Hat Cupcake
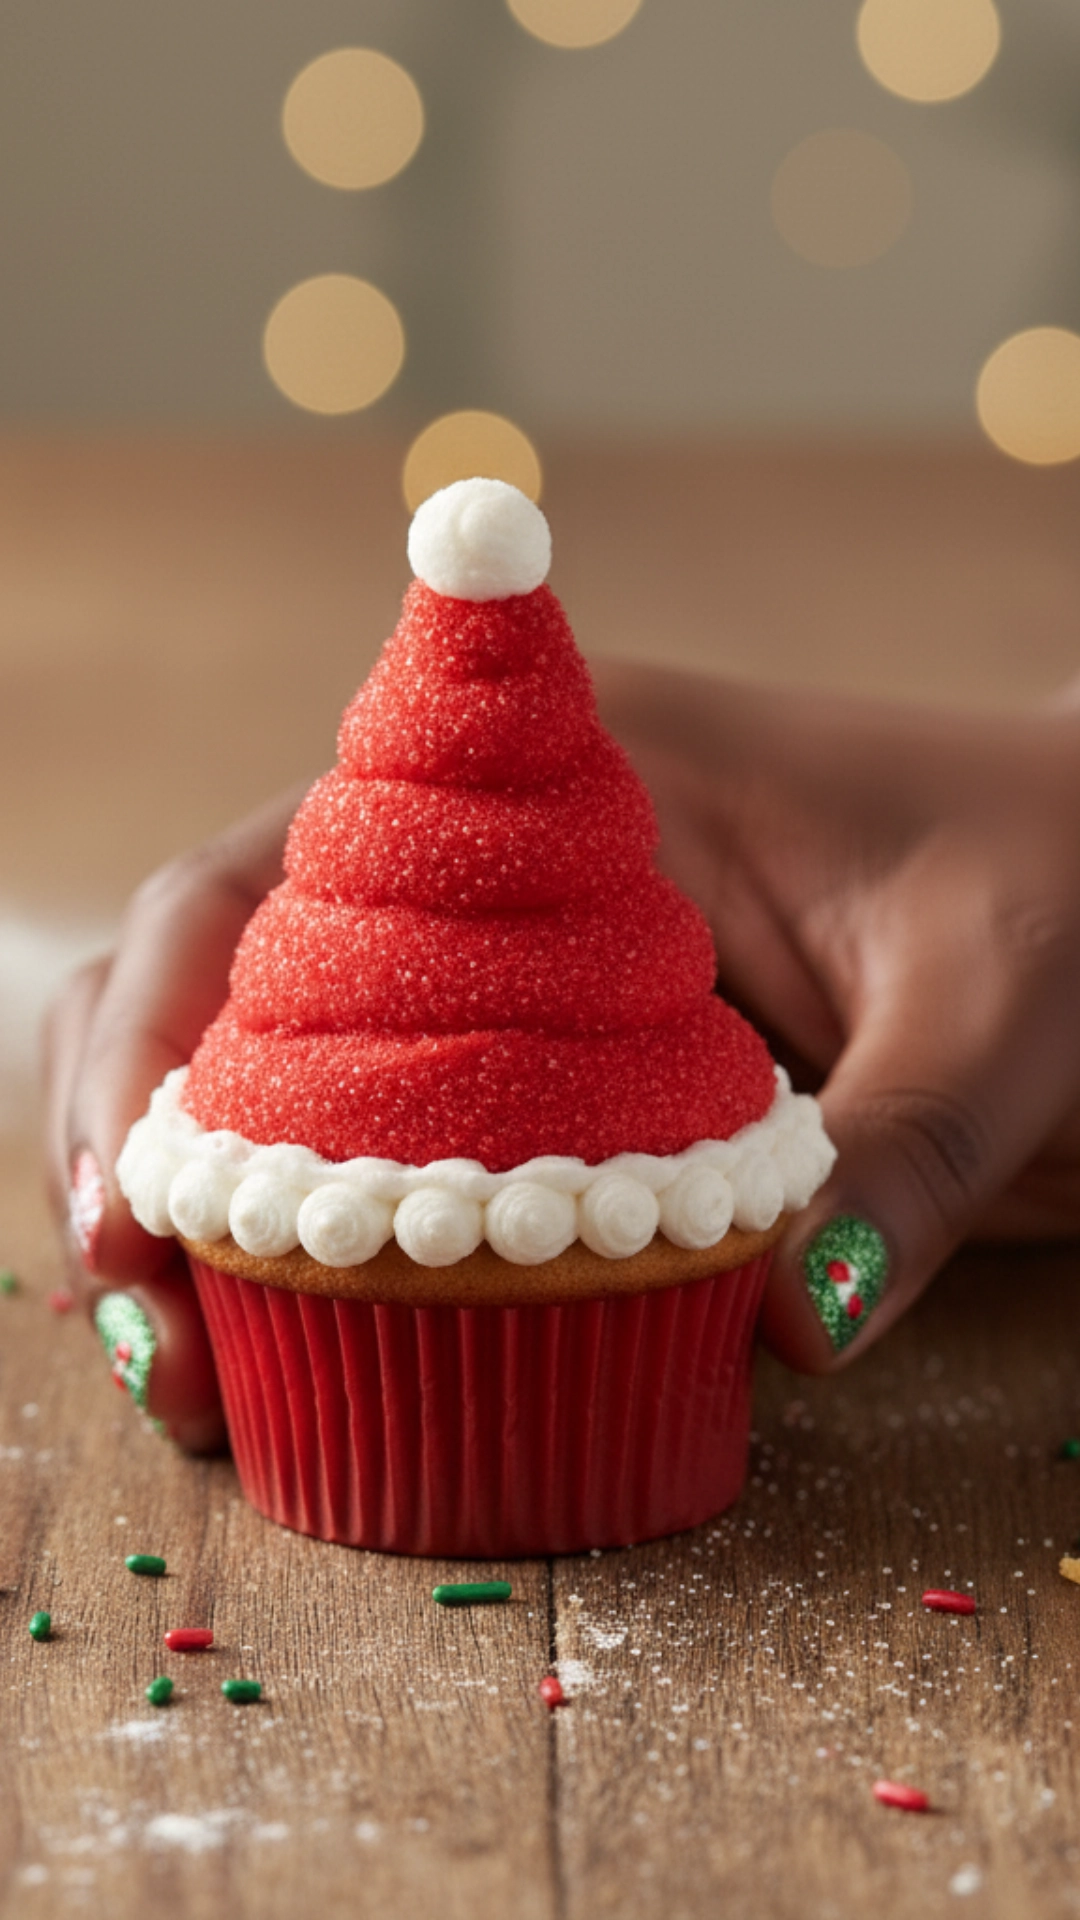
This one is so cute and uses two different colors. It’s always a hit with kids and adults alike.
You Will Need:
- Your cooled cupcakes
- Red buttercream frosting
- White buttercream frosting
- A piping bag with a large round tip (like 2A)
- A piping bag with a small star tip (or small round tip)
Instructions:
- Prep Your Bags: Fill one bag (with the large round tip) with your red frosting, and fill the other bag (with the small star tip) with your white frosting.
- Pipe the Hat: Take your red frosting bag. Hold it straight up (at a 90-degree angle) over the center of the cupcake. Start squeezing with firm, steady pressure.
- The Swirl: Squeeze a large blob of frosting in the center, and without stopping the pressure, slowly spiral upwards into a tall cone shape. It should look like a soft-serve ice cream cone. As you get to the top, decrease your pressure and pull away to make a point. This is Santa’s hat.
- Pipe the Fur Trim: Take your white frosting bag with the star tip. Hold it at the very bottom edge of the red hat. Pipe a border of small stars all the way around the base. This is the fluffy white trim of the hat.
- Pipe the Pom-Pom: Finally, point your white frosting bag at the very tip (the point) of the red hat. Squeeze a single, generous star or blob of white frosting. This is the pom-pom on top.
- You are done! It’s a perfect, adorable Santa hat.
Step-by-Step Decorating: The Simple Sparkle Ornament

Don’t have time for fancy piping? This is the fastest, easiest way to make stunning Festive Christmas Cupcakes.
You Will Need:
- Your cooled cupcakes
- Frosting in any color you like (white, red, and green are great)
- An offset spatula
- A small bowl filled with your favorite holiday sprinkles
- Miniature pretzel sticks or a small piece of licorice lace
Instructions:
- Frost the Top: Use your offset spatula to put a generous amount of frosting on the cupcake. Spread it into a smooth, slightly domed shape. It doesn’t have to be perfect.
- The Dip: This is the fun part. Hold the cupcake by its paper liner. Turn it upside down and dip the entire frosted top directly into your bowl of sprinkles.
- The Twist: Gently twist the cupcake back and forth in the sprinkles, covering the entire surface, including the edges.
- The Reveal: Lift the cupcake straight up. You will have a perfectly covered, sparkling cupcake that looks incredible.
- Add the Hanger: To make it look like an ornament, take a small piece of a mini pretzel stick (about 1 inch long) or a tiny piece of black licorice and stick it into the top edge of the cupcake. This will look just like the little metal cap on a real ornament.
- This method is so fast, you can decorate a dozen cupcakes in just a few minutes.
My Top Tips for Perfect Holiday Cupcakes
- Please don’t open the Oven: I know it’s tempting, but don’t open the oven door while your cupcakes are baking. The cold air rushing in can make them sink in the middle. Wait until the 18-minute mark.
- Sift Your Dry Ingredients: Always whisk or sift your flour, baking powder, salt, and cocoa powder. This will make your cupcakes lighter and get rid of any weird lumps.
- The Scoop is Your Friend: I said it before, but I’ll repeat it. Use an ice cream scoop to fill your liners. Your Festive Christmas Cupcakes will all be the same size, so they will bake evenly and look professional.
- Cool, Cool, Cool: I cannot stress this enough. Your cupcakes must be 100% at room temperature before you frost them. If they are warm, your beautiful buttercream will melt and slide right off. Be patient.
- Practice Your Piping: Before you pipe on a real cupcake, do a few practice swirls on a piece of parchment paper. You can scrape the frosting right back into the bowl and reuse it. This helps you get a feel for the pressure you need.
How to Store and Transport Your Masterpieces
You’ve made beautiful Festive Christmas Cupcakes! Now you need to keep them safe until the party.
- Storing: Store your frosted cupcakes in a tall, airtight container. If you bought your eggs from a refrigerated section, your cupcakes (with buttercream) should be stored in the refrigerator. Let them sit at room temperature for about 30 minutes before serving. Buttercream is best at room temperature!
- Transporting: The best way to transport them is in a dedicated cupcake carrier. This is a plastic container with little indents that hold each cupcake securely. You can use a large, shallow cardboard box if you don’t have one. You can cut “X” shapes into the box lid, flip it over, and set the cupcakes in the holes to keep them from sliding.
Your Holiday Baking Success
See? I knew you could totally do this. Making beautiful, pro-looking cupcakes is not about being a baking genius. It’s simply about following my steps and having fun with the right tricks.
You now have two amazing base recipes and a foolproof frosting. Plus, I shared four stunning, step-by-step decorating ideas. Whether you try the 3D Christmas tree or the elegant snowflake, your desserts will be unforgettable. I am so genuinely excited for you to start. Fill your kitchen with the smell of holiday spice and create something magical!
I’d love to know which decoration you try first. Your feedback always makes my day.

