This post may contain affiliate links, which means I may receive a small commission should you decide to click that link and make a purchase. For more information please refer to the Terms & Conditions.
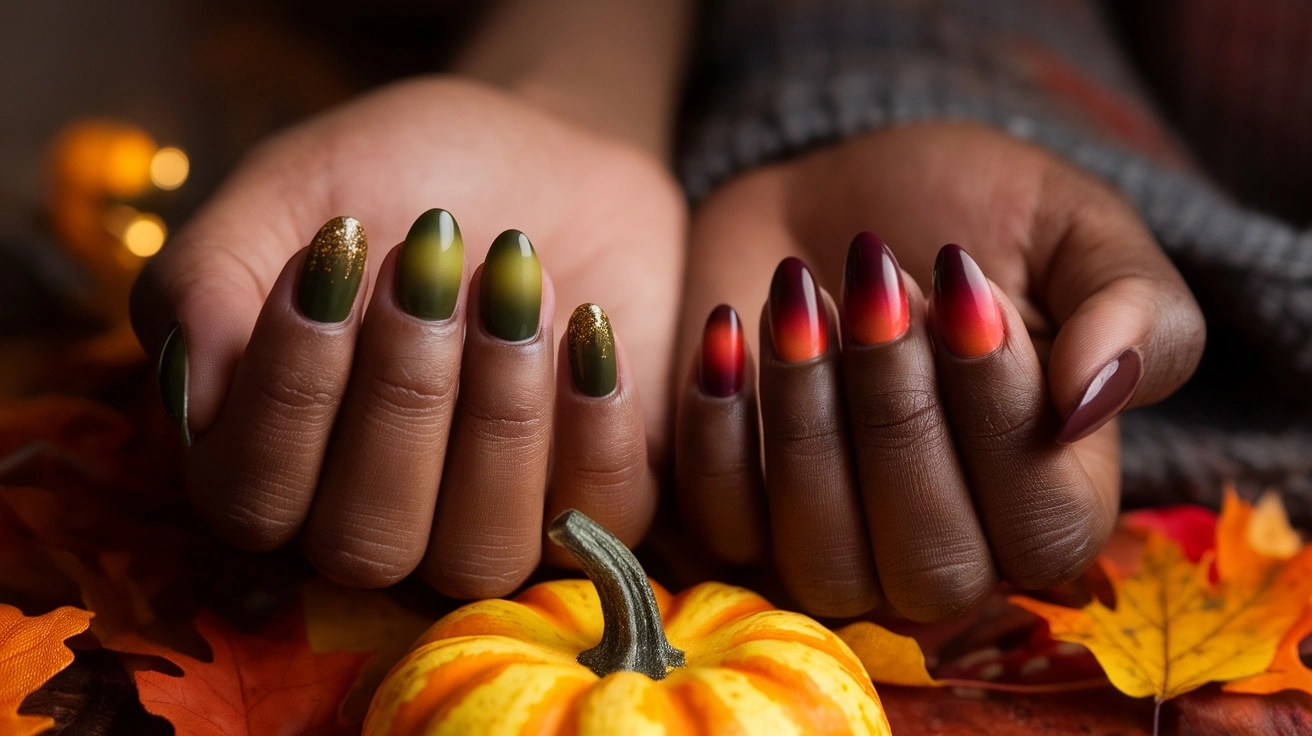
I am utterly obsessed with the magic of fall. The minute the air gets that crisp chill, I’m ready for a manicure to match. My absolute favorite go-to look has to be fall ombre nails.
There’s something so enchanting about how the colors blend. It reminds me of the beautiful leaves changing on the trees. This style looks so fancy, but I have a little secret.
It’s surprisingly easy to do yourself right at home! I’ve perfected my technique, and I’m going to walk you through everything. Let’s get ready to create some beautiful art on your fingertips!
Why I’m Obsessed with the Fall Ombre Look
Before we start, let’s discuss why this look is so perfect for fall. The beautiful gradient effect mimics the natural changes we see all around us. It’s like capturing a little piece of the season on your nails.
Think about a perfect autumn sunset, where fiery red melts into soft orange. Or picture the leaves on a tree shifting from deep green to vibrant gold. That’s the exact beauty we’re going to create with this technique.
This style is also incredibly versatile. You can go for a bold look with deep burgundies and blacks or choose something soft and subtle with cozy neutrals and creams.
It’s a sophisticated and eye-catching look that truly elevates your style.
Gathering Your Arsenal: What You’ll Need
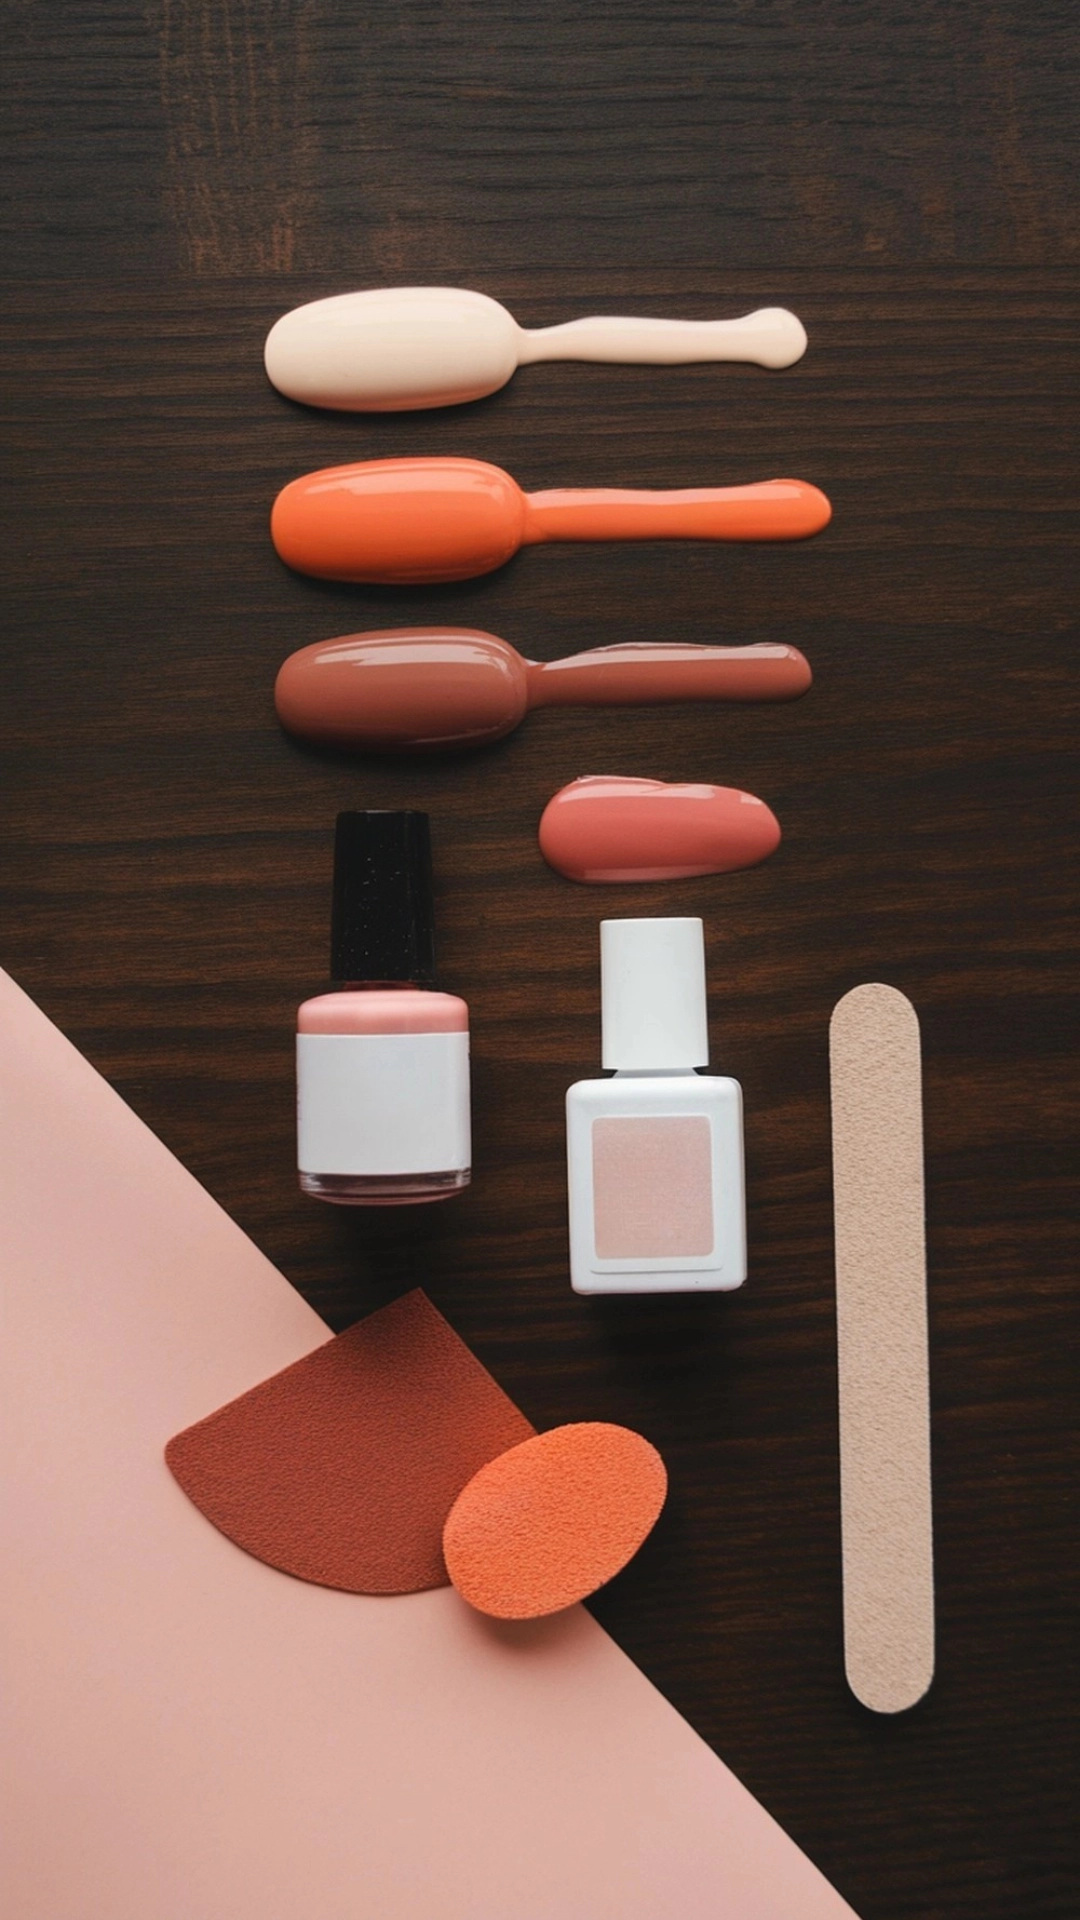
Having the right tools makes all the difference. You don’t need a professional kit, but gathering these items beforehand will make the process smooth and stress-free. Think of this as your creative toolkit for stunning nails.
- Your Chosen Nail Polishes: You’ll need at least two or three colors to blend. Pick colors that complement each other. We’ll talk more about color combinations later on!
- A Base Coat: This is non-negotiable! A good base coat protects your natural nails from staining, especially when using dark fall colors. It also gives the polish something to grip onto, making your manicure last much longer.
- A Quick-Dry Top Coat: You need a glossy, high-quality top coat to seal your design. It adds a beautiful shine and helps smooth out and blend the gradient even further, giving it that professional, airbrushed look.
- A Makeup Sponge: A simple, disposable cosmetic wedge is perfect. The porous texture is precisely what you need to create the stippled, blended effect. Cut it into smaller, more manageable pieces, about the width of your nail.
- Liquid Latex or Petroleum Jelly is your secret weapon for easy cleanup. You’ll apply this around your nail on your skin to act as a barrier. When you’re done, you just peel it off, and voila—no messy polish on your skin.
- A Small Cleanup Brush or Cotton Swab: For any little mistakes, you’ll want a small, stiff-bristled brush (an old eyeliner or lip brush works great) or a cotton swab.
- Nail Polish Remover: You’ll need this for the cleanup phase. Pure acetone works best for precision cleaning with a brush.
- A Piece of Foil or a Small Plate: This will be your palette, on which you’ll paint the polish before dabbing the sponge in it.
Prepping for Perfection: The Crucial First Steps
A beautiful manicure always starts with excellent prep work. Don’t skip these steps! Just 15 extra minutes here will ensure your fall ombre nails look flawless and last days without chipping.
- Start with a Clean Canvas: Obliterate any old nail polish. Even if your nails are bare, swipe them with a cotton ball soaked in nail polish remover to remove any natural oils that could prevent the polish from adhering properly. Please wash your hands with soap and water afterward and dry them thoroughly.
- Shape and Smooth: File your nails into your desired shape. Whether you love a classic square, a trendy almond, or a soft oval, make sure they are all even. Gently buff the surface of your nails with a fine-grit buffer. This smooths out any ridges and gives the base coat a slightly textured surface to stick to.
- Tend to Your Cuticles: Gently push back your cuticles using a wooden or metal cuticle pusher. Never cut your cuticles, as they protect your nail bed from infection. Taking care of this step creates a clean, neat frame for your nail art.
- Apply Your Protective Shield (Base Coat): Apply one thin, even layer of your base coat to every nail. Be sure to cap the free edge (the tip of your nail) by swiping the brush. This helps prevent chipping. Let it dry completely for at least two minutes before moving on.
How to Create Your Fall Ombre Nails: A Step-by-Step Guide
Now for the fun part! This is where the magic happens. Take your time, be patient, and remember that practice makes perfect. Your first try might not be flawless, and that’s okay.
Step 1: Choose Your Autumn Palette
The colors you choose will define your look. For a smooth blend, pick colors in the same family or next to each other on the color wheel. For fall, think of warm, earthy, and rich tones.
- For a subtle look: Choose two colors a few shades apart, like a creamy beige and a soft caramel brown.
- For a dramatic look: Choose three colors, from light to dark—for example, a light cream, a burnt orange, and a deep burgundy.
Step 2: Apply Your Base Color
Apply one or two coats of the lightest color from your chosen palette to all your nails. This creates a bright canvas for the other colors, making your ombre pop. Make sure this layer is dehydrated before you proceed. We’re talking 10-15 minutes of drying time, minimum. If you touch it and it smudges, it’s not ready.
Step 3: Protect Your Skin
This is the game-changing step for easy cleanup. Carefully apply liquid latex around your nail on the cuticle and the skin on the sides. If you don’t have liquid latex, apply petroleum jelly with a cotton swab. Be careful not to get it on your actual nail. This barrier will catch all the excess polish.
Step 4: Create the Gradient on the Sponge
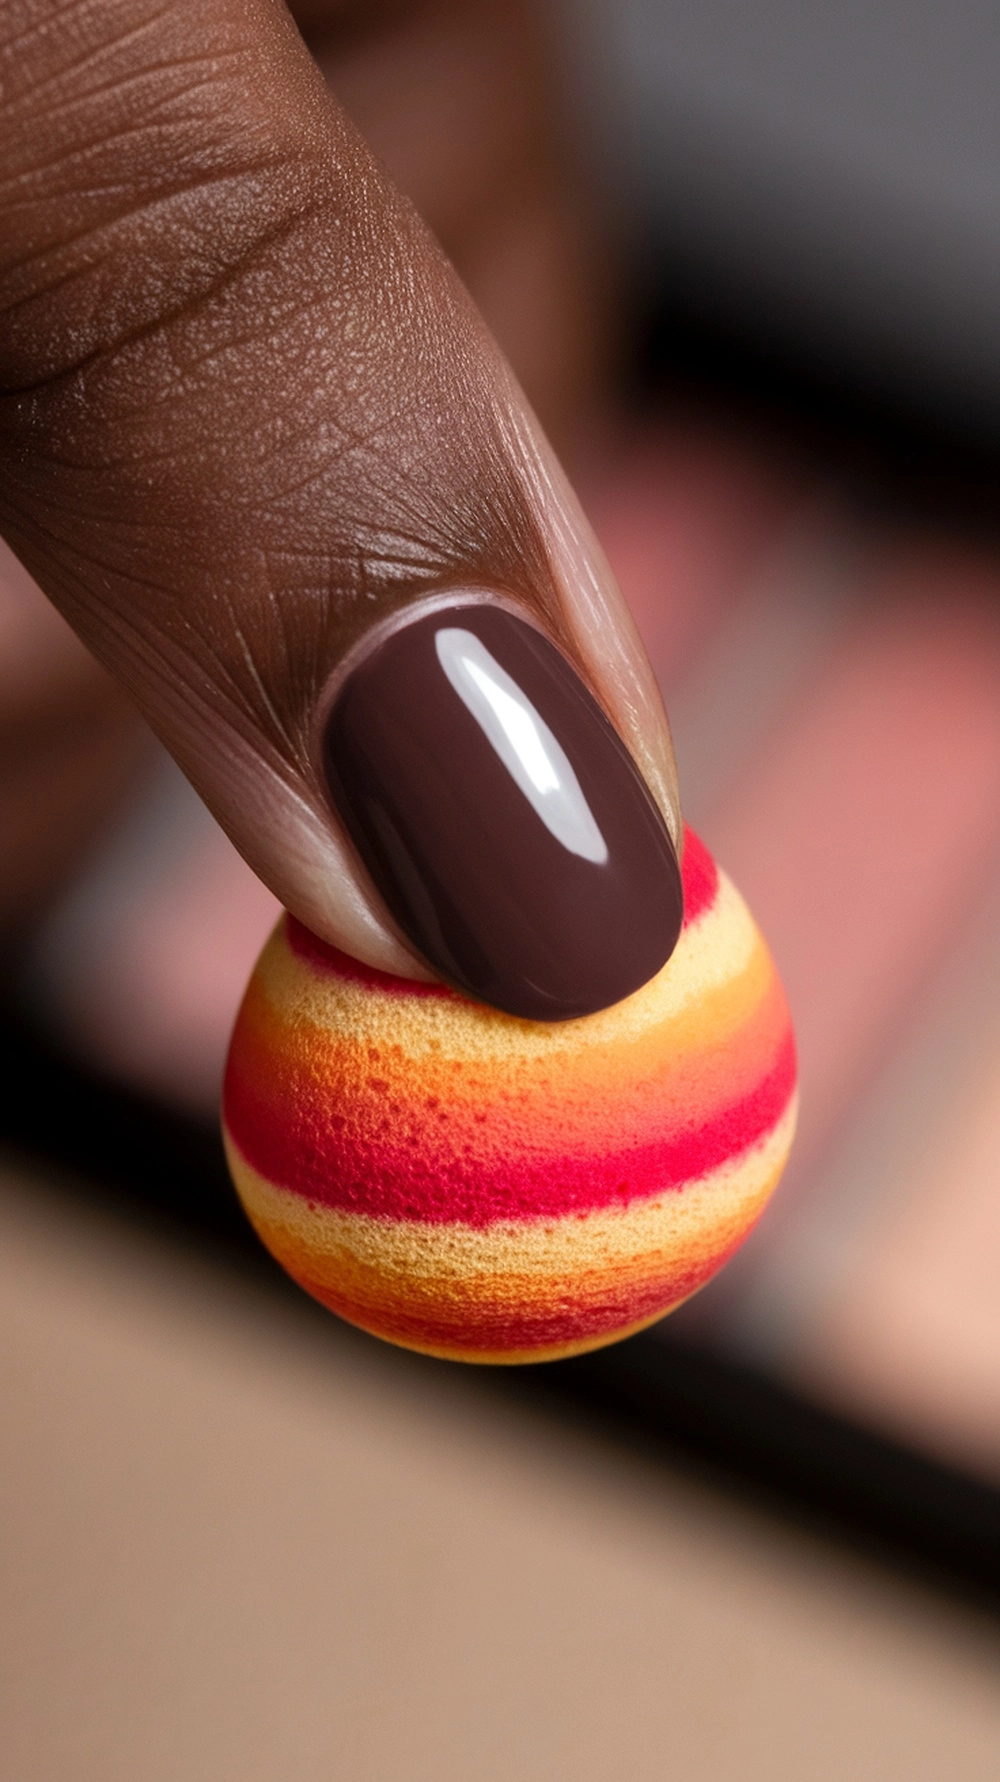
Take your piece of foil or your palette. Paint thick, horizontal stripes of your chosen colors directly onto your makeup sponge. The colors should be right next to each other, slightly overlapping to encourage blending. Make sure you apply a generous amount of polish, as the sponge will absorb some of it.
- Pro Tip: Work quickly here! Nail polish starts to dry as soon as it hits the air.
Step 5: The Stamping Technique
Now, take the polish-loaded sponge and begin dabbing it onto your nail. Use a gentle bouncing or stamping motion. Don’t press too hard, and don’t drag the sponge. The first layer will look very sheer and speckled—trust the process! Cover the entire nail with this stippled effect.
Step 6: Repeat for Intensity
To build up the color and make the gradient more opaque, repeat steps 4 and 5. Reapply the polish stripes to your sponge and dab it onto your nail again. Try to align the colors in the same position as the first time. You’ll probably need to do this 2-3 times to get the vibrant, blended look you want.
Step 7: The Big Clean-Up
Once you’re happy with the color intensity, it’s time to clean up. If you used liquid latex, gently peel it off using tweezers. It should come off in one satisfying strip, taking all the messy polish with it. If you used petroleum jelly, wipe it away carefully.
Use your small cleanup brush or a cotton swab dipped in nail polish remover to clean up any remaining polish around the edges for a crisp, perfect line.
Step 8: Seal the Deal with a Top Coat
This is the final, magical step. Apply a generous layer of a good, quick-dry top coat. Floating the top coat over the nail will slightly melt the layers of polish together, blending the gradient even more seamlessly. Be sure to cap the free edge to lock in your design and prevent chips.
Your top coat will also smooth out any texture left by the sponge.
Stunning Fall Ombre Nail Color Combinations to Try
Need some inspiration? I’ve got you covered. Here are some of my all-time favorite color palettes for fall ombre nails.
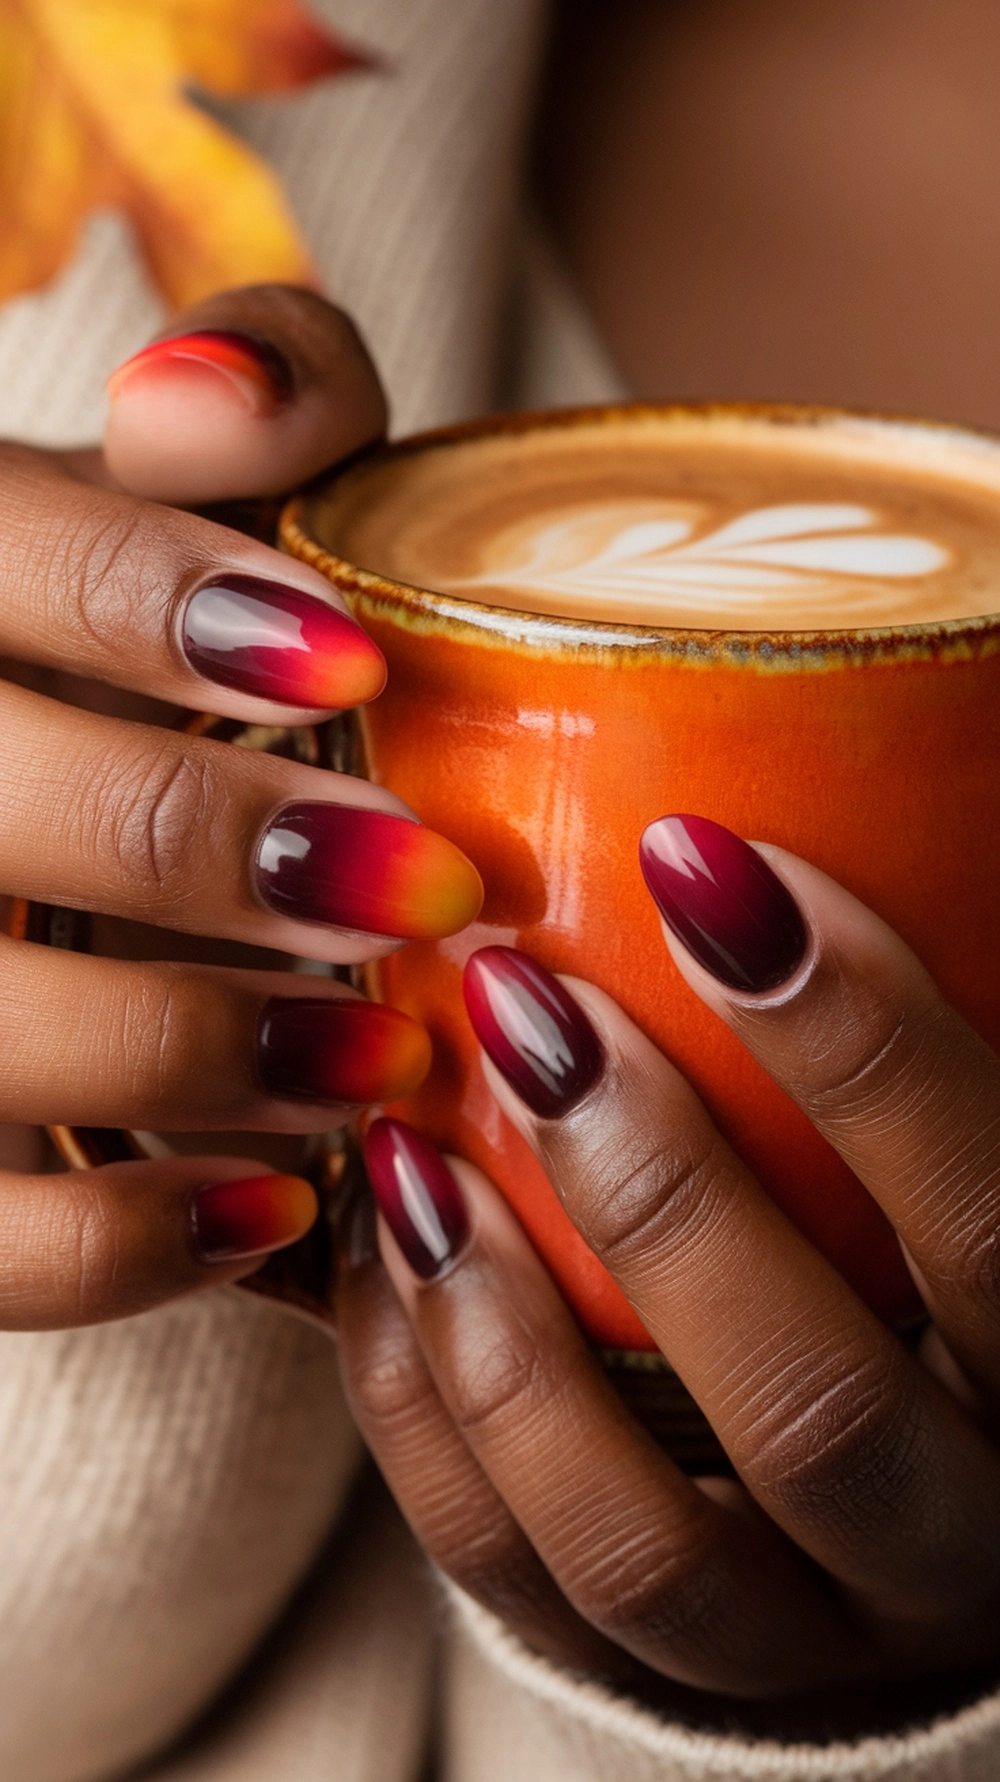
- Classic Autumn Sunset: This is the quintessential fall look.
- Colors: A deep burgundy, a fiery red, and a warm orange.
- How to: Apply the orange as your base. Then, create a gradient on your sponge with all three colors: burgundy at the cuticle, red in the middle, and orange at the tip.
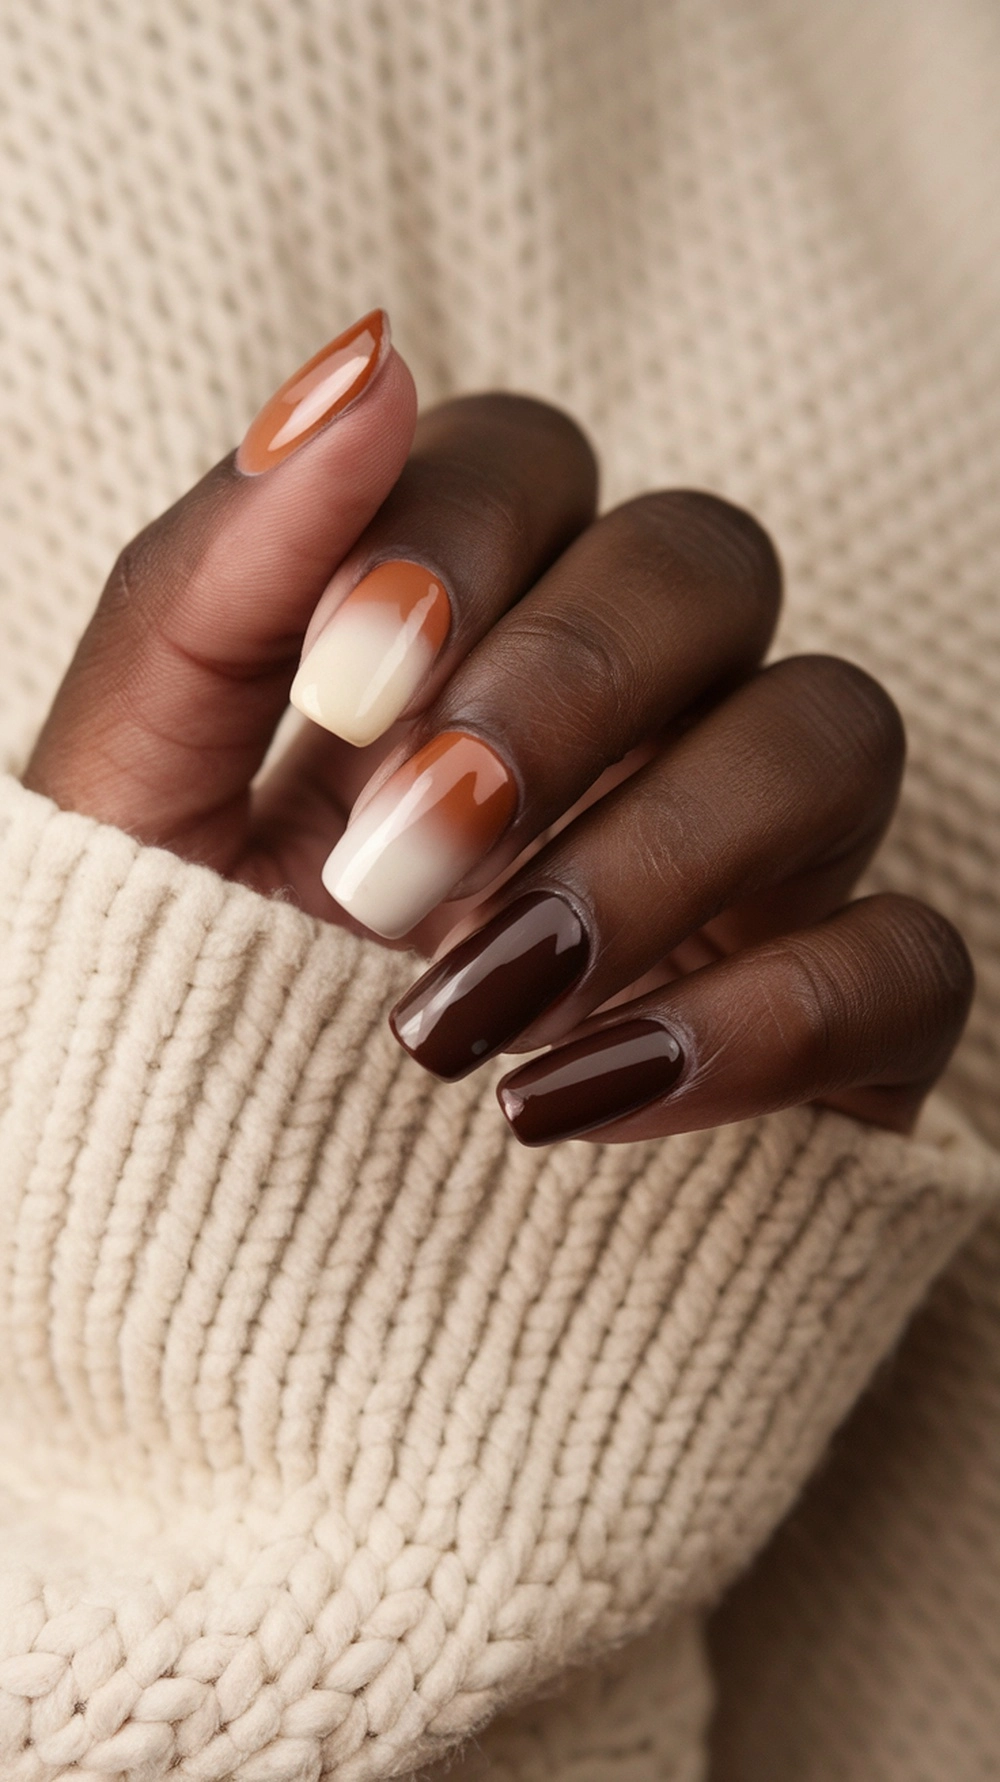
- Spiced Pumpkin Latte: Cozy, chic, and perfect for every day.
- Colors: A creamy off-white, a soft caramel, and a rich coffee brown.
- How to: Use the creamy off-white as your base. Layer the caramel and coffee brown on the sponge for a warm, inviting blend.
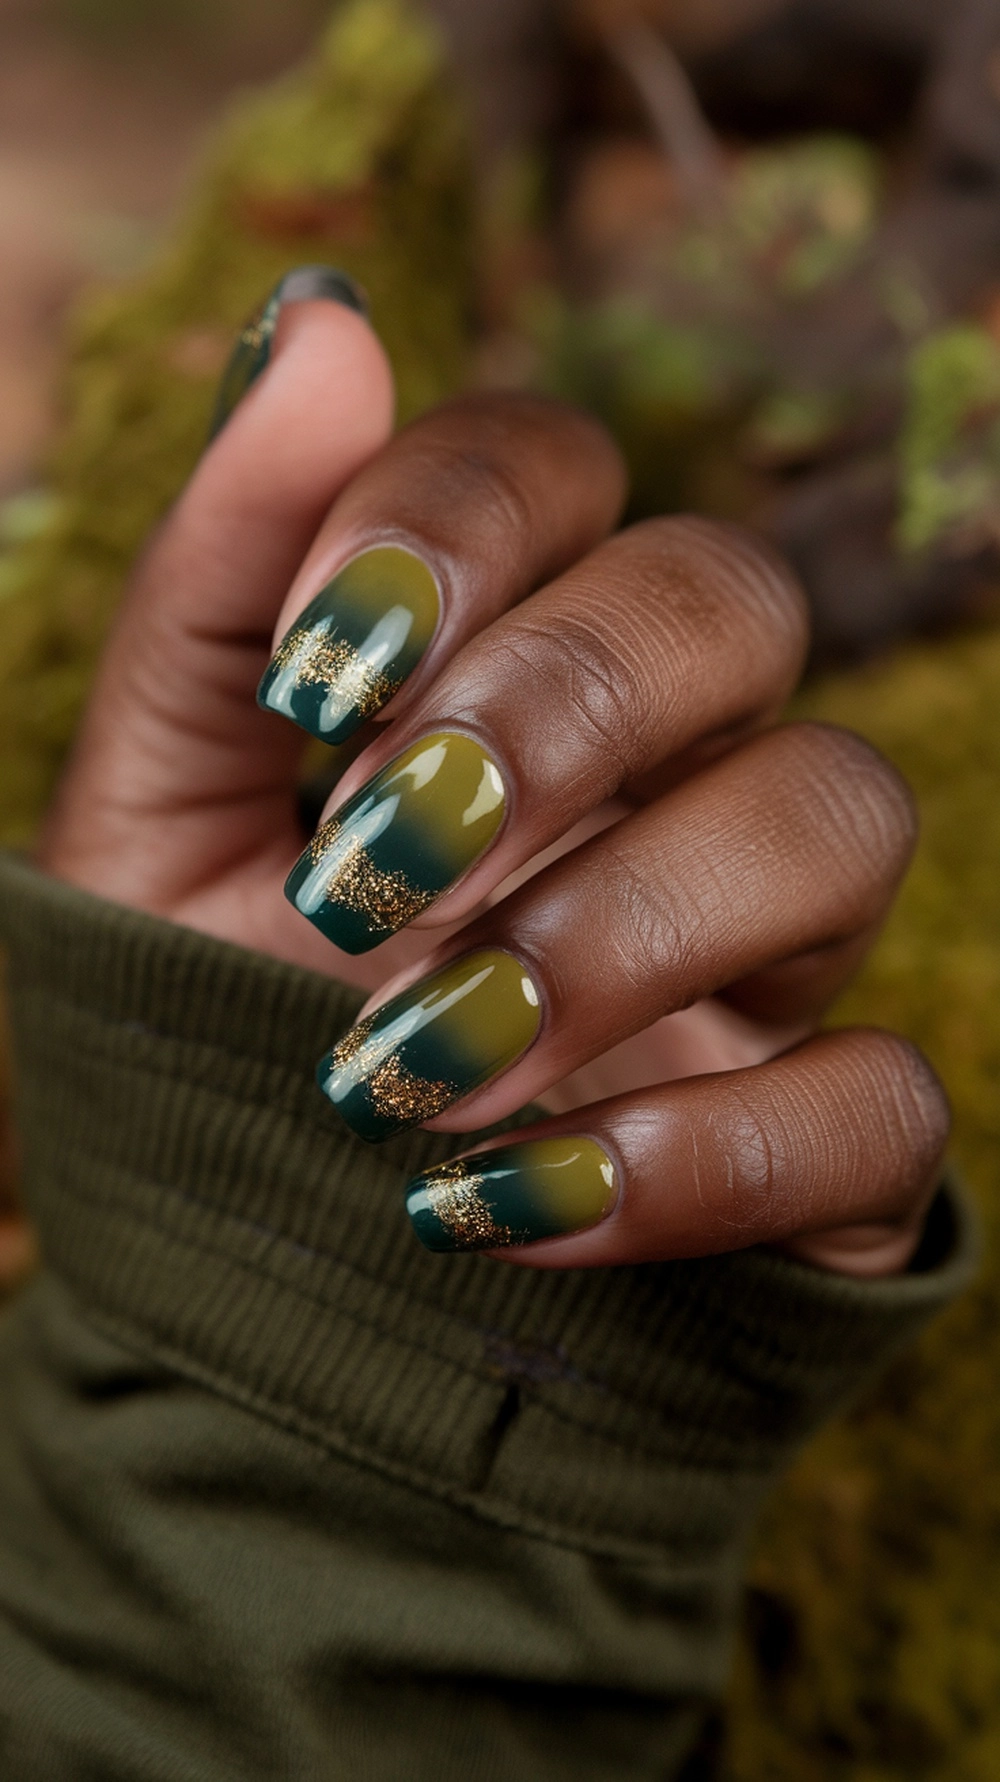
- Enchanted Forest: A moody and magical combination.
- Colors: A deep forest green, a muted olive green, and a pop of gold glitter.
- How to: Use olive green as your base. Create a gradient with forest green near your cuticle and olive at the tip. Before it dries, dab a little gold glitter polish at the tip with the sponge for a touch of sparkle.
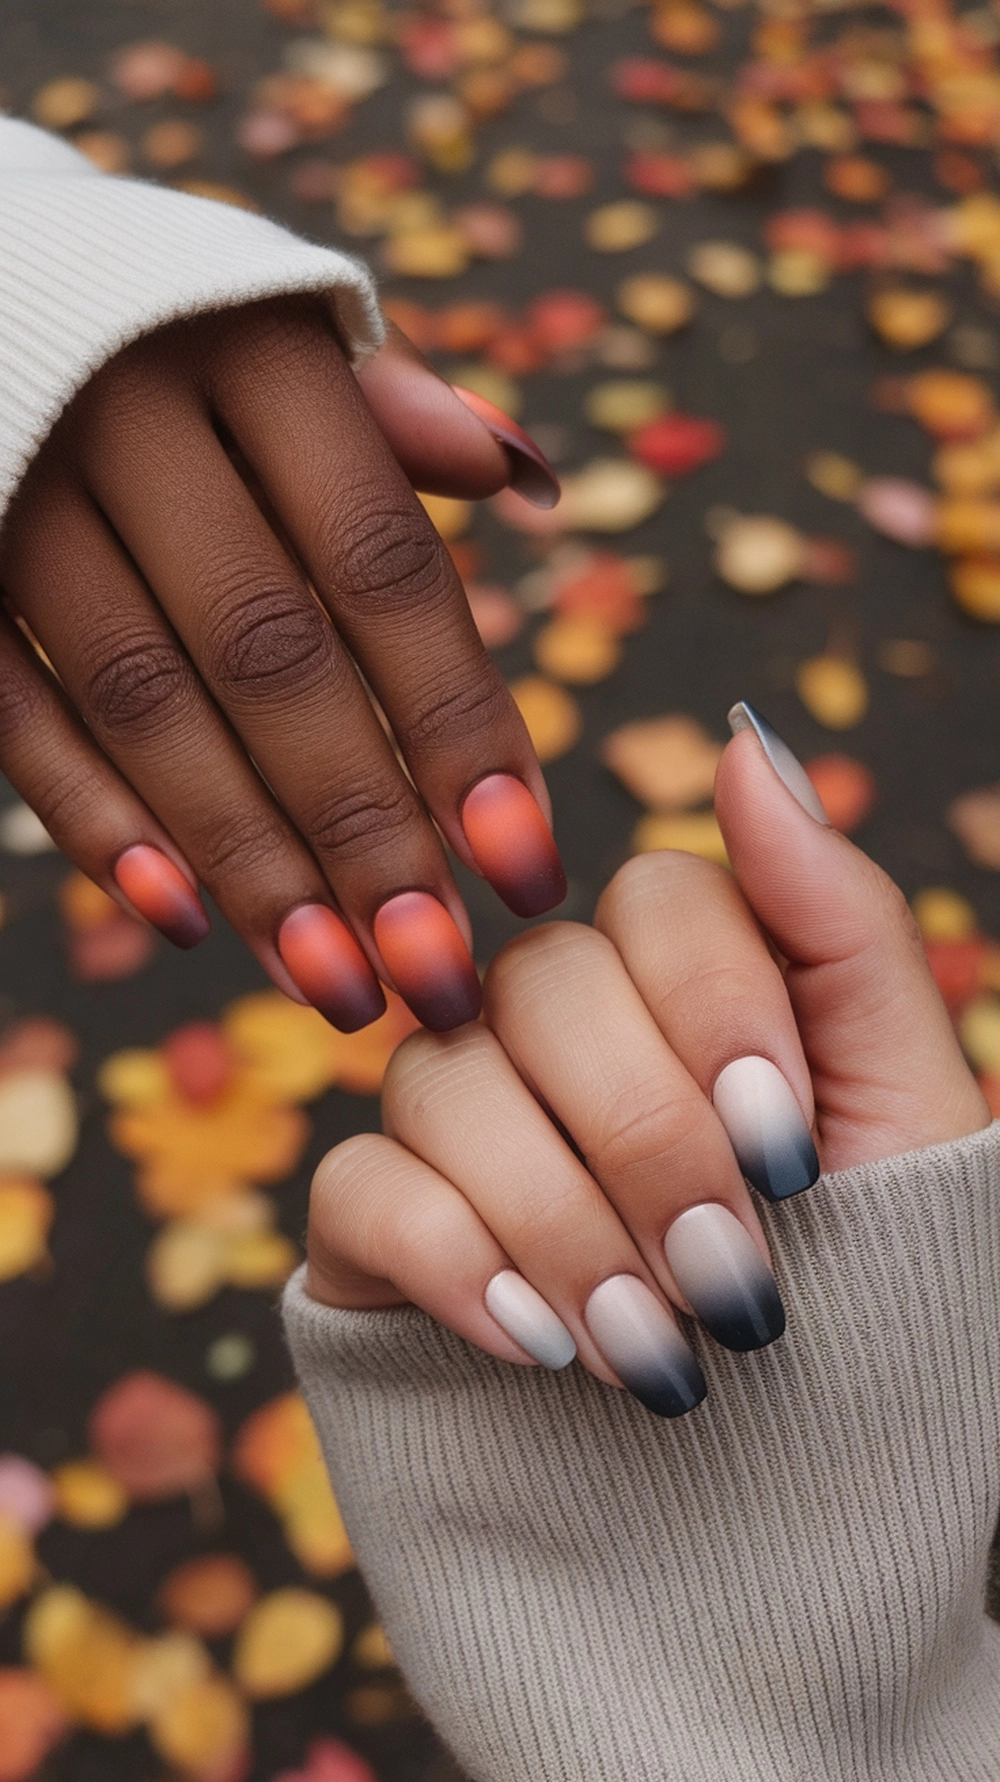
- Cozy Sweater Weather: This is a sophisticated and neutral look.
- Colors: A soft taupe, a warm grey, and a deep chocolate brown.
- How to: The taupe makes a beautiful, light base. Then, blend the grey and chocolate brown for a gradient that feels as comforting as your favorite cashmere sweater.
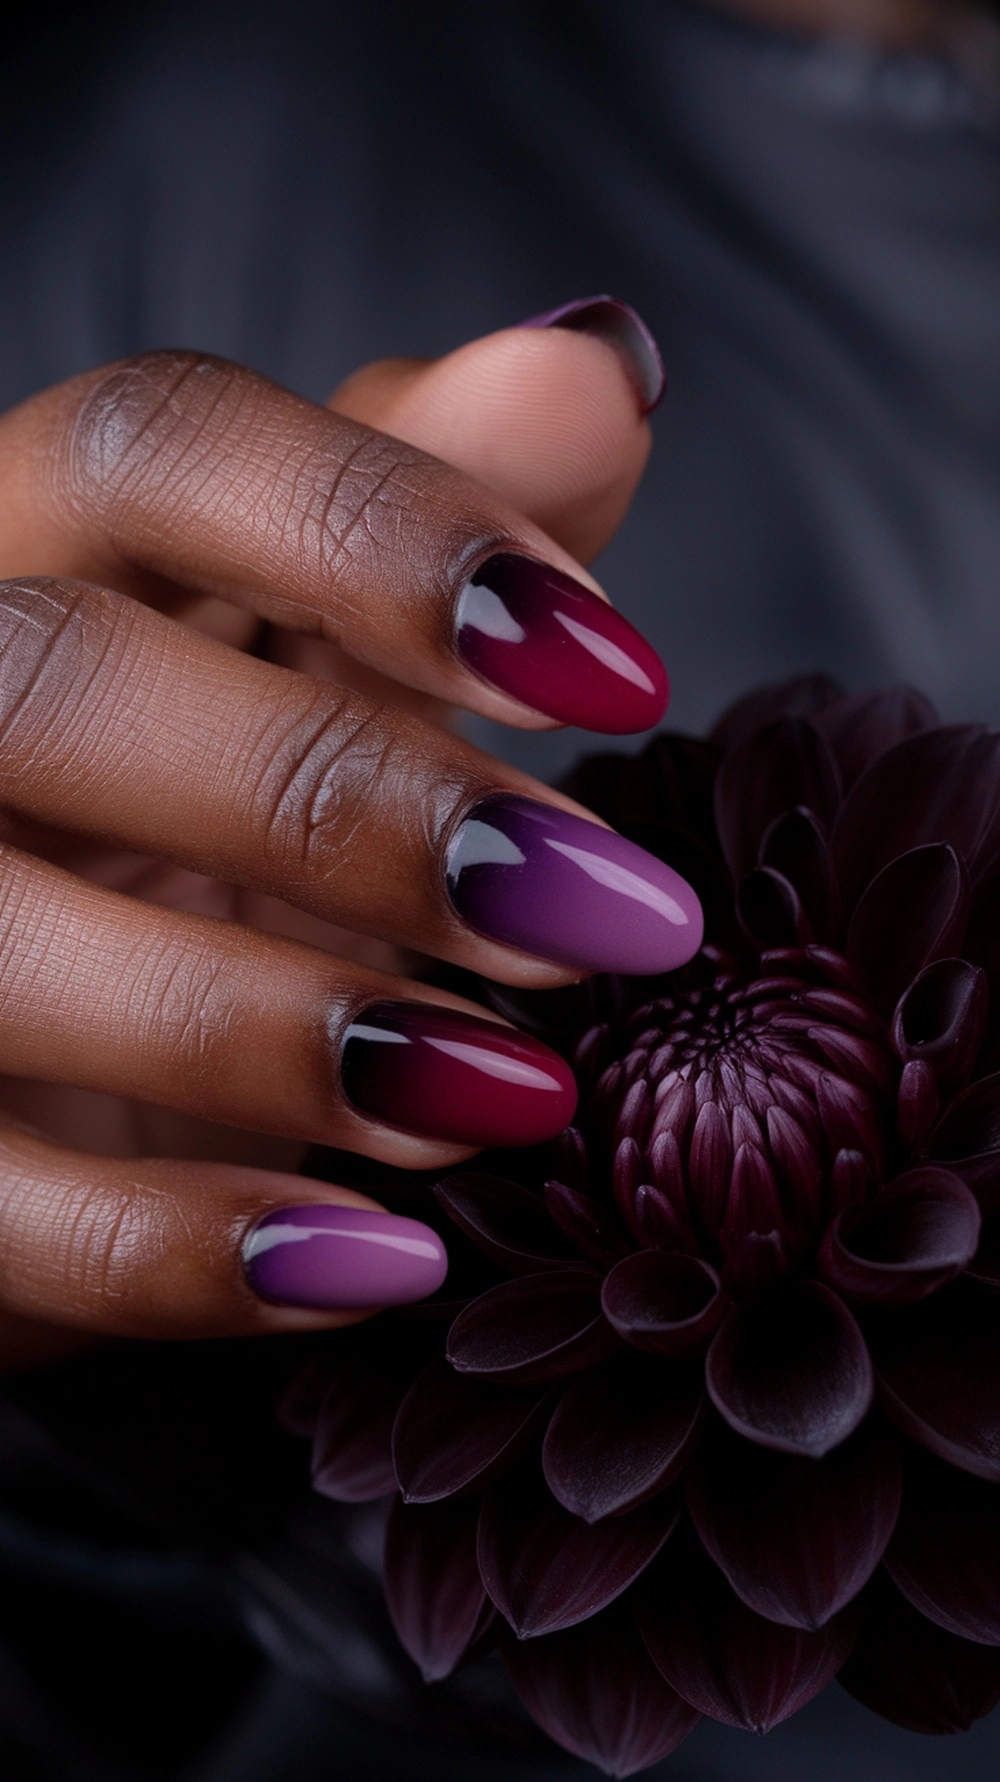
- Midnight Harvest: Bold, dramatic, and perfect for a night out.
- Colors: A deep plum, a rich wine-red, and a touch of black.
- How to: Use the wine-red as your base color. On the sponge, paint a stripe of plum and a skinny stripe of black at the very edge. Dab this at the tip of your nail for a dark, vampy ombre effect.
Pro Tips for Flawless Fall Ombre Nails
Over the years, I’ve picked up a few tricks that make a huge difference.
- Dampen Your Sponge: Before you apply polish, very slightly dampen your makeup sponge with water and then squeeze out all the excess. A barely damp sponge will not soak up as much polish, allowing more of it to transfer to your nail.
- Roll, Don’t Drag: When applying the sponge to your nail, try a slight rolling motion from one side of the nail to the other, along with the dabbing. This can help create an even smoother blend.
- Blend on the Palette First: After painting the stripes on your foil or palette, gently dab the sponge up and down a few times on the palette. This pre-blends the colors at the seams before applying it to your nail.
- Don’t Rush the Top Coat: Wait a few minutes after your final sponge application before adding your top coat. The top coat brush can drag the polish and smudge your hard work if the design is too wet.
- Glitter Hides Mistakes: If your blend isn’t as perfect as you’d like, a thin coat of a scattered glitter or shimmer polish can hide imperfections and add a beautiful dimension to your manicure.
Troubleshooting Common Ombre Nail Mishaps
It’s normal to run into a few issues, especially when first starting. Here’s how to fix some common problems.
- Problem: My gradient looks patchy or has bald spots.
- Solution: This usually means you didn’t have enough polish on your sponge or pressed too hard. Apply the polish generously to the sponge on your next coat and use a lighter, bouncier dabbing motion.
- Problem: The polish is drying too fast on the sponge.
- Solution: You have to work quickly. Have everything ready to go before you start. If you’re using multiple colors, choose polishes from the same brand, as they are more likely to have similar drying times.
- Problem: I can see the sponge texture on my nail.
- Solution: This is normal! The sponge is supposed to leave a slightly stippled texture. A good, thick, glossy top coat is the key to smoothing this. It fills the tiny gaps and gives you that sleek, airbrushed finish.
- Problem: My colors aren’t blending well; I see harsh lines.
- Solution: When you paint the colors onto the sponge, make sure they overlap slightly. Also, applying thinner layers is better than one or two thick, heavy layers. The repetition of the dabbing truly builds the blend.
Conclusion
I hope this guide has shown you how fun and rewarding this can be. Creating beautiful fall ombre nails at home is all about the creative process. It’s a chance to design a look that is uniquely and beautifully yours.
So put on your favorite fall playlist and gather your polishes. Don’t be afraid to experiment with all your favorite autumn colors. Find a style that you are completely in love with.
With these tips, you’ll show off your stunning nails quickly. You’ve got this!
